
Prusament Old Spool to Smart Spool Conversion Adaptor
Rowan Dove

AI找相似


打印配置(0)
模型文件(0)
 0
0 0
0 0
0
发布时间:2026-06-06 07:34:22
0
0



 000
000Rather than recycling your old Prusament spool sides, consider giving them a new life comprising a smart spool compatible with the new 900 gram Prusament refills. This adaptor, which replaces the cardboard core of your spool, is comprised of two parts that twist and latch together (no special tool needed). The adaptor also optionally houses an OpenPrintTag, with a caveat.
Due to the geometry of the spool sides, the tag is positioned at the center of the spool core. This goes against the OpenPrintTag recommendation that the tag be placed near a side of the spool; the readability of the tag with certain devices may be impacted. The presence of metal screws in the adaptor assembly may also affect scanning performance.
Neither of these factors have noticeably impacted reading performance in tests with an iPhone.
The following non-printable items are necessary in assembly (per spool):
4 M3x12–20 machine screws (shorter is better); any button or socket head that fits in a Prusament spool hexagon (max diameter 7mm) will work
4 M3 hex nuts
1 OpenPrintTag (optional); available on Prusa's eShop
Designed for a 0.4mm nozzle. Print the two parts of the adaptor as oriented; standard settings, 0.2mm layer height, no supports.
For stable drying, select a material at least as temperature resistant as your refill. Parts were tested in PETG.
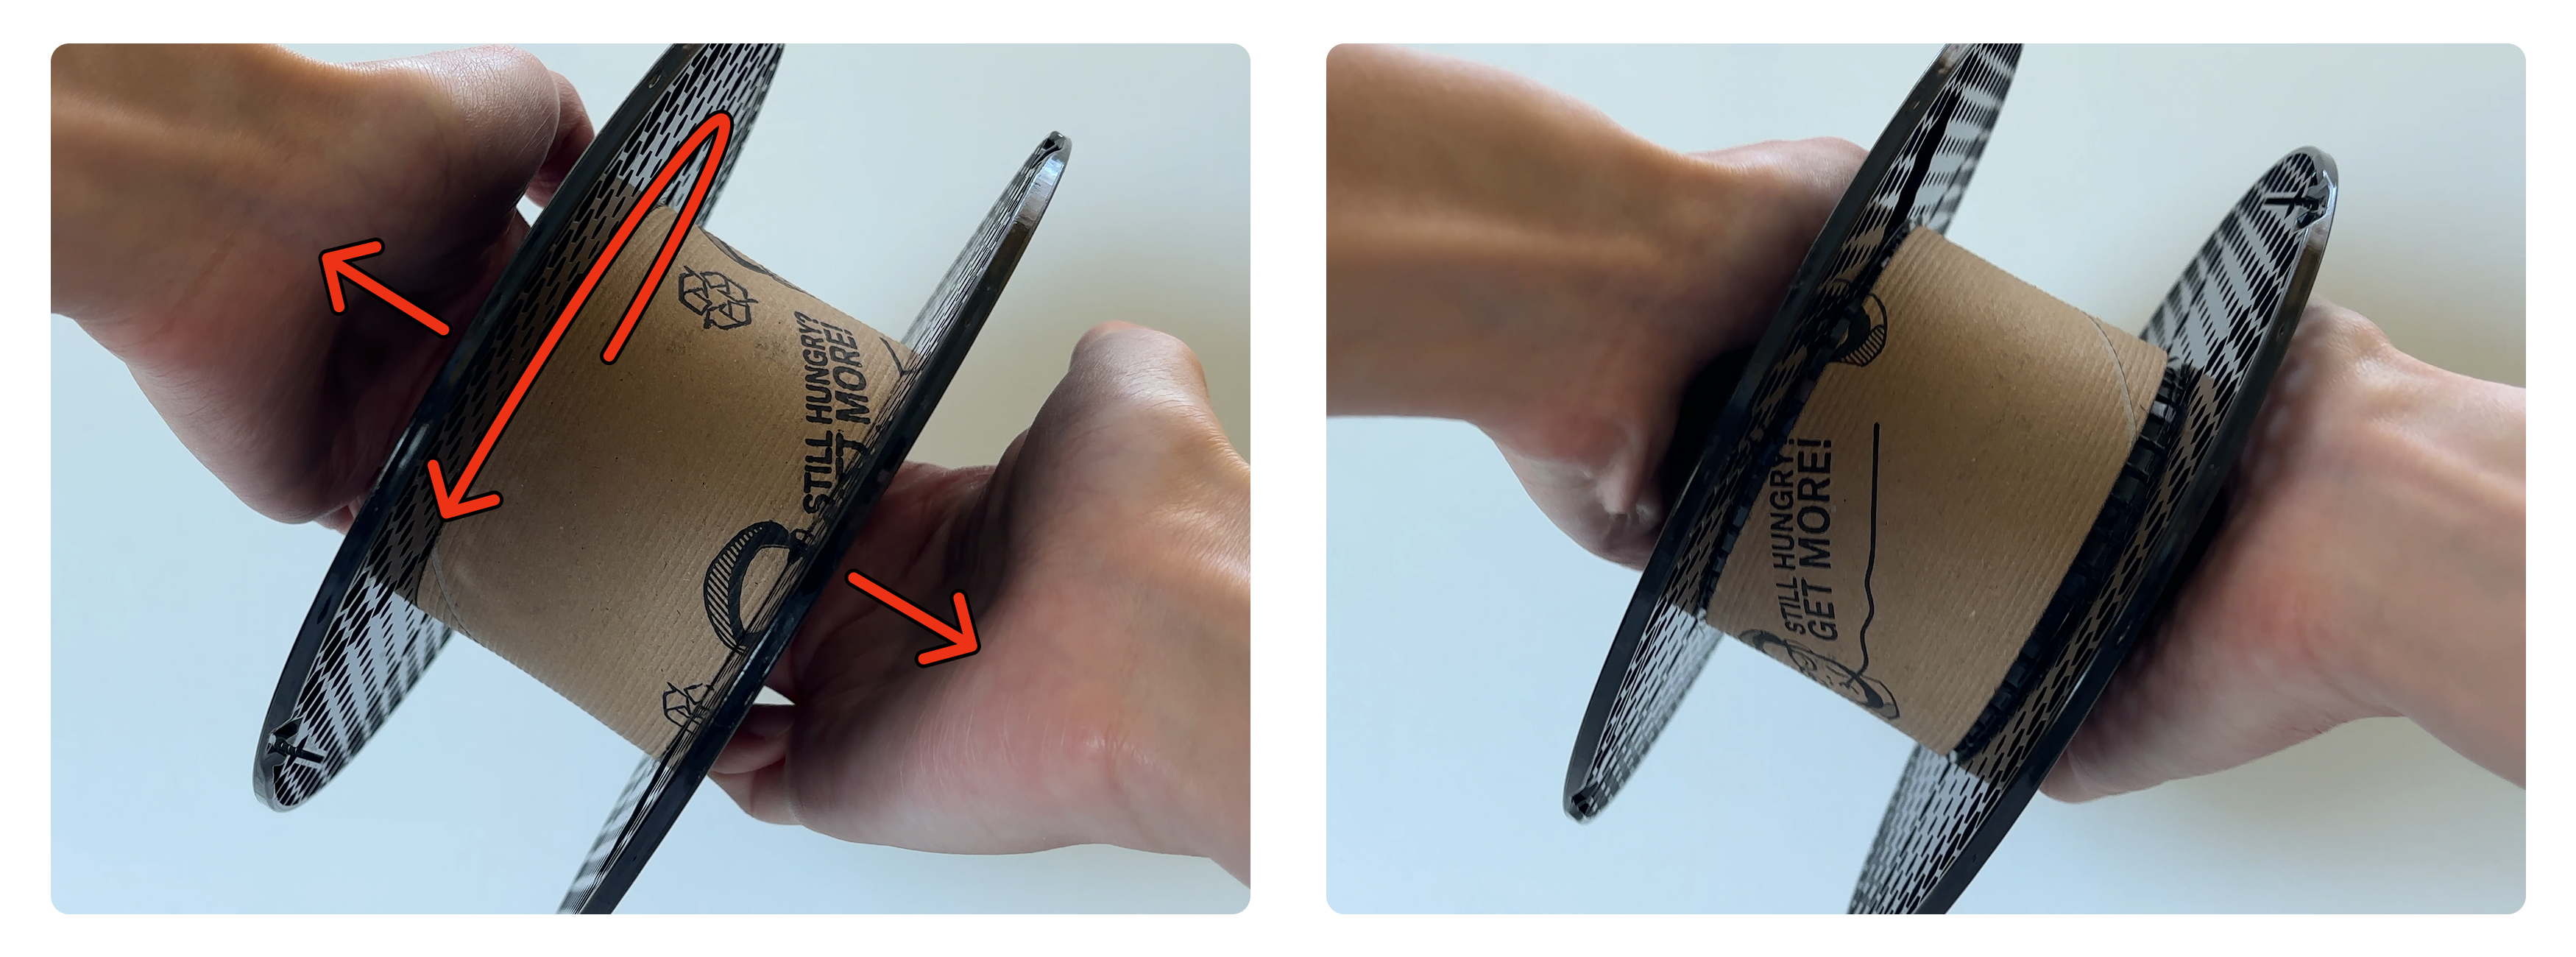
Accessing from the interior of the spool, apply force along the circumference of the cardboard core to separate it from the spool sides. Note that the gray, high-temp Prusament spools are glued to the core, and may take significantly more force to separate.
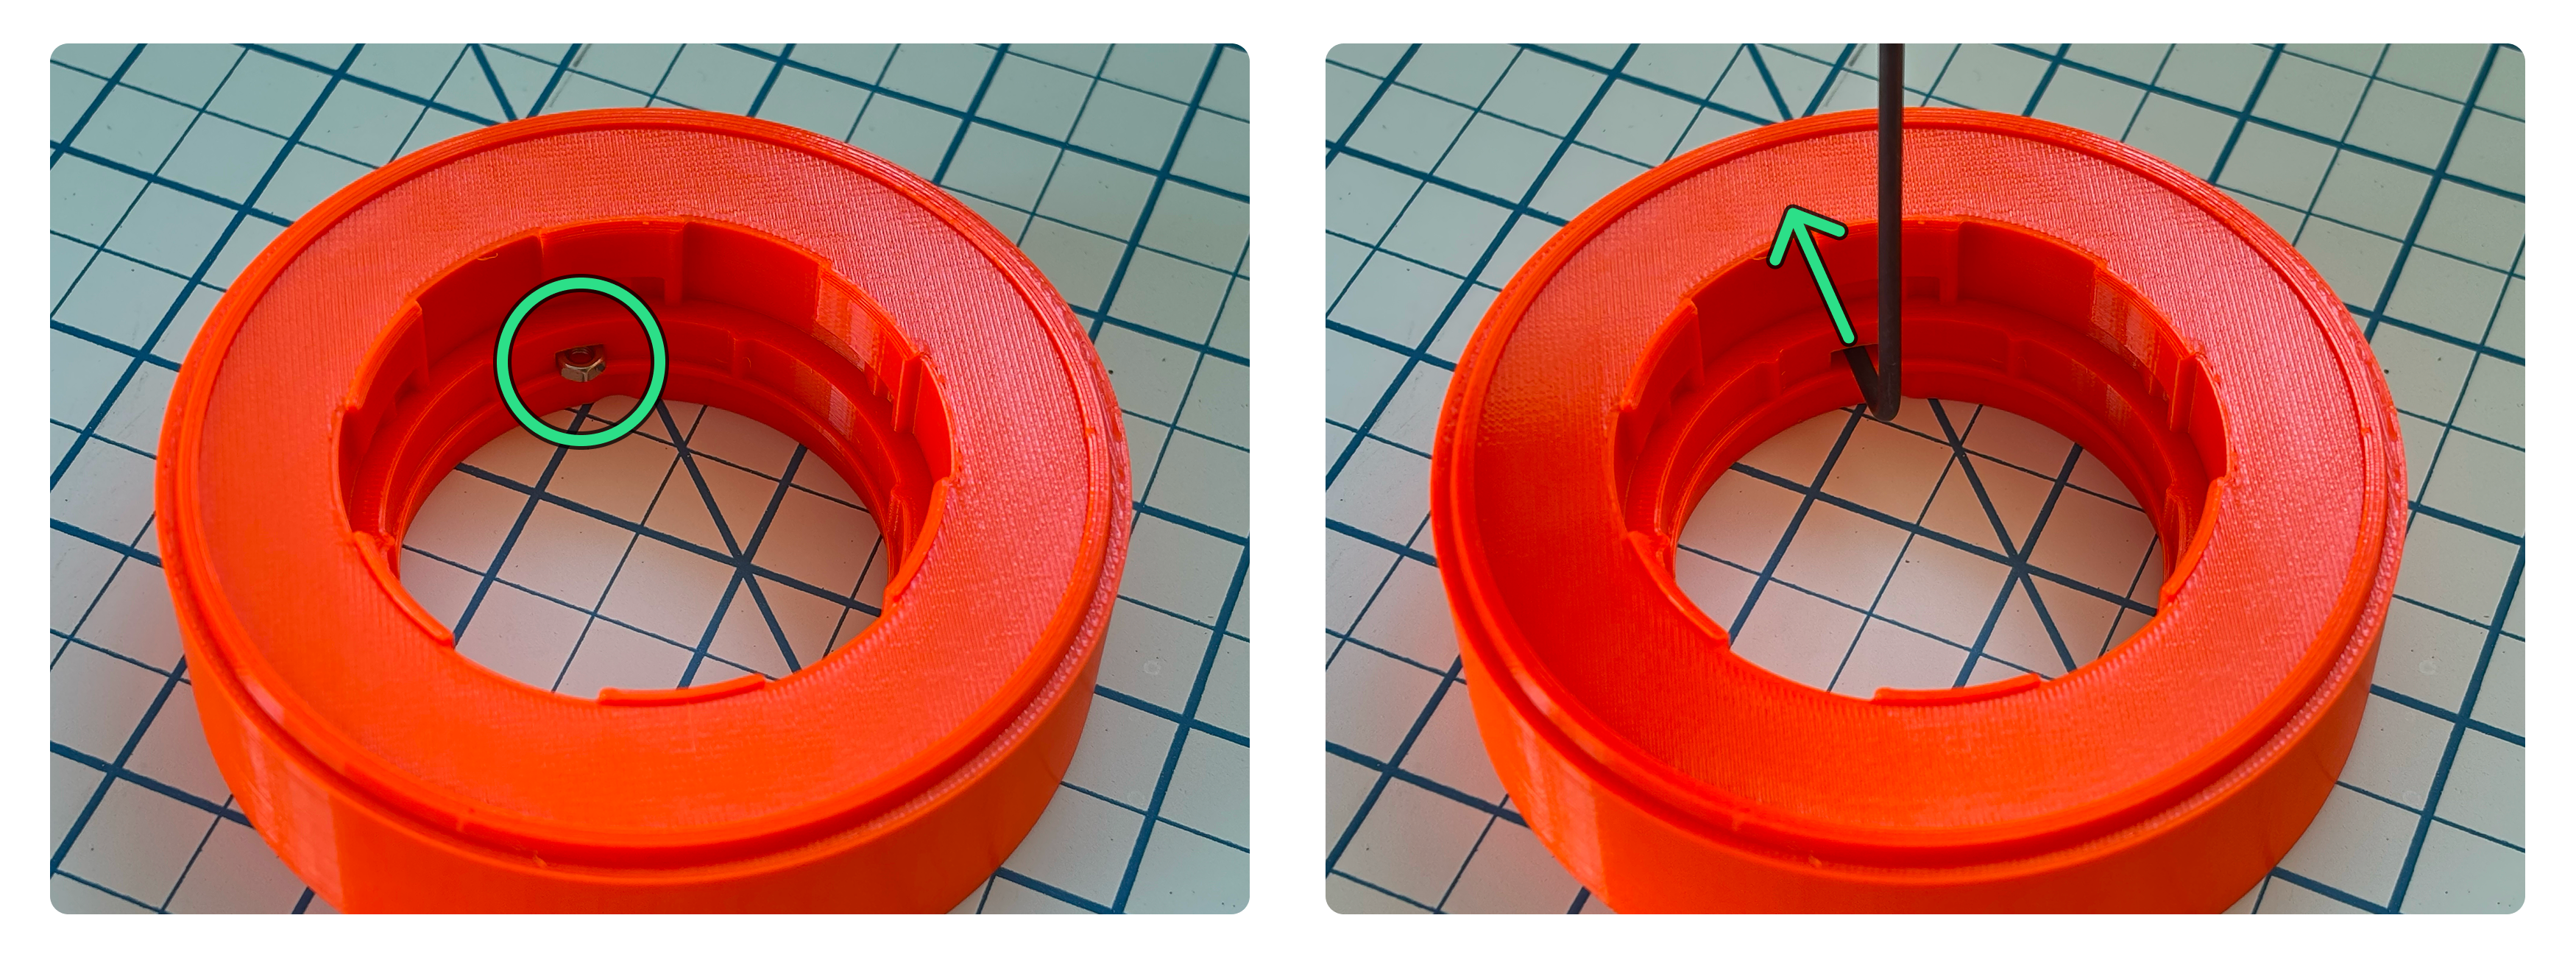
Fully insert the nuts into their respective slots (2 per side) with an allen key or similar tool.
Aligning the notch in the spool center with the matching cutout in each adaptor, slide each adaptor onto its respective side.

Locate the two screw holes in alignment with the hexagonal pattern on each side of the adaptor. Fasten each adaptor to its spool side at these points. Do not overtighten.

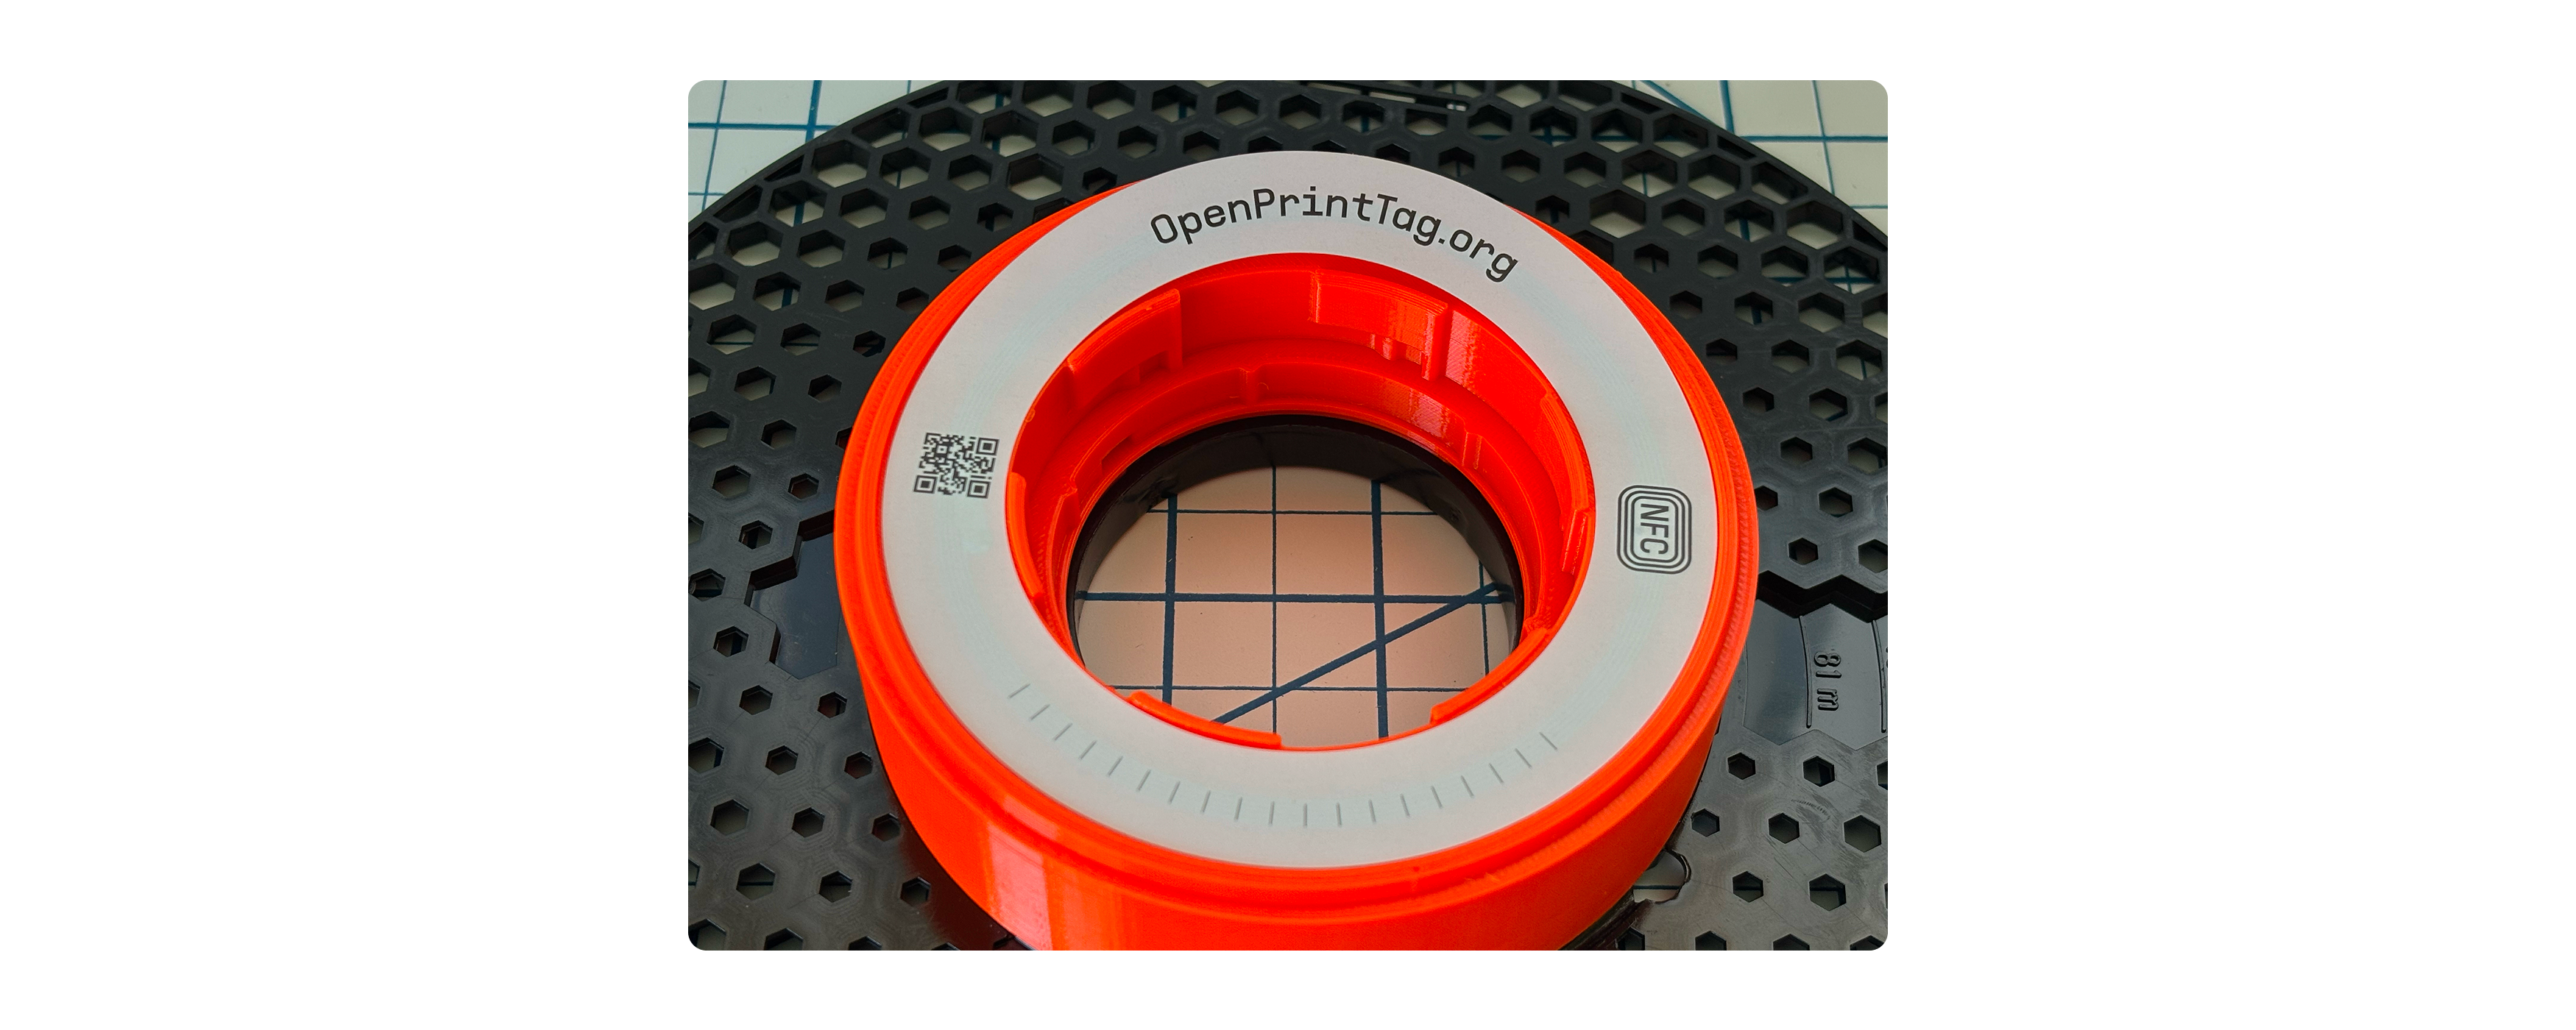
Applying the tag on the insert side is recommended for easier access and removal if necessary. Ensure the application surface is clean and decently smooth.
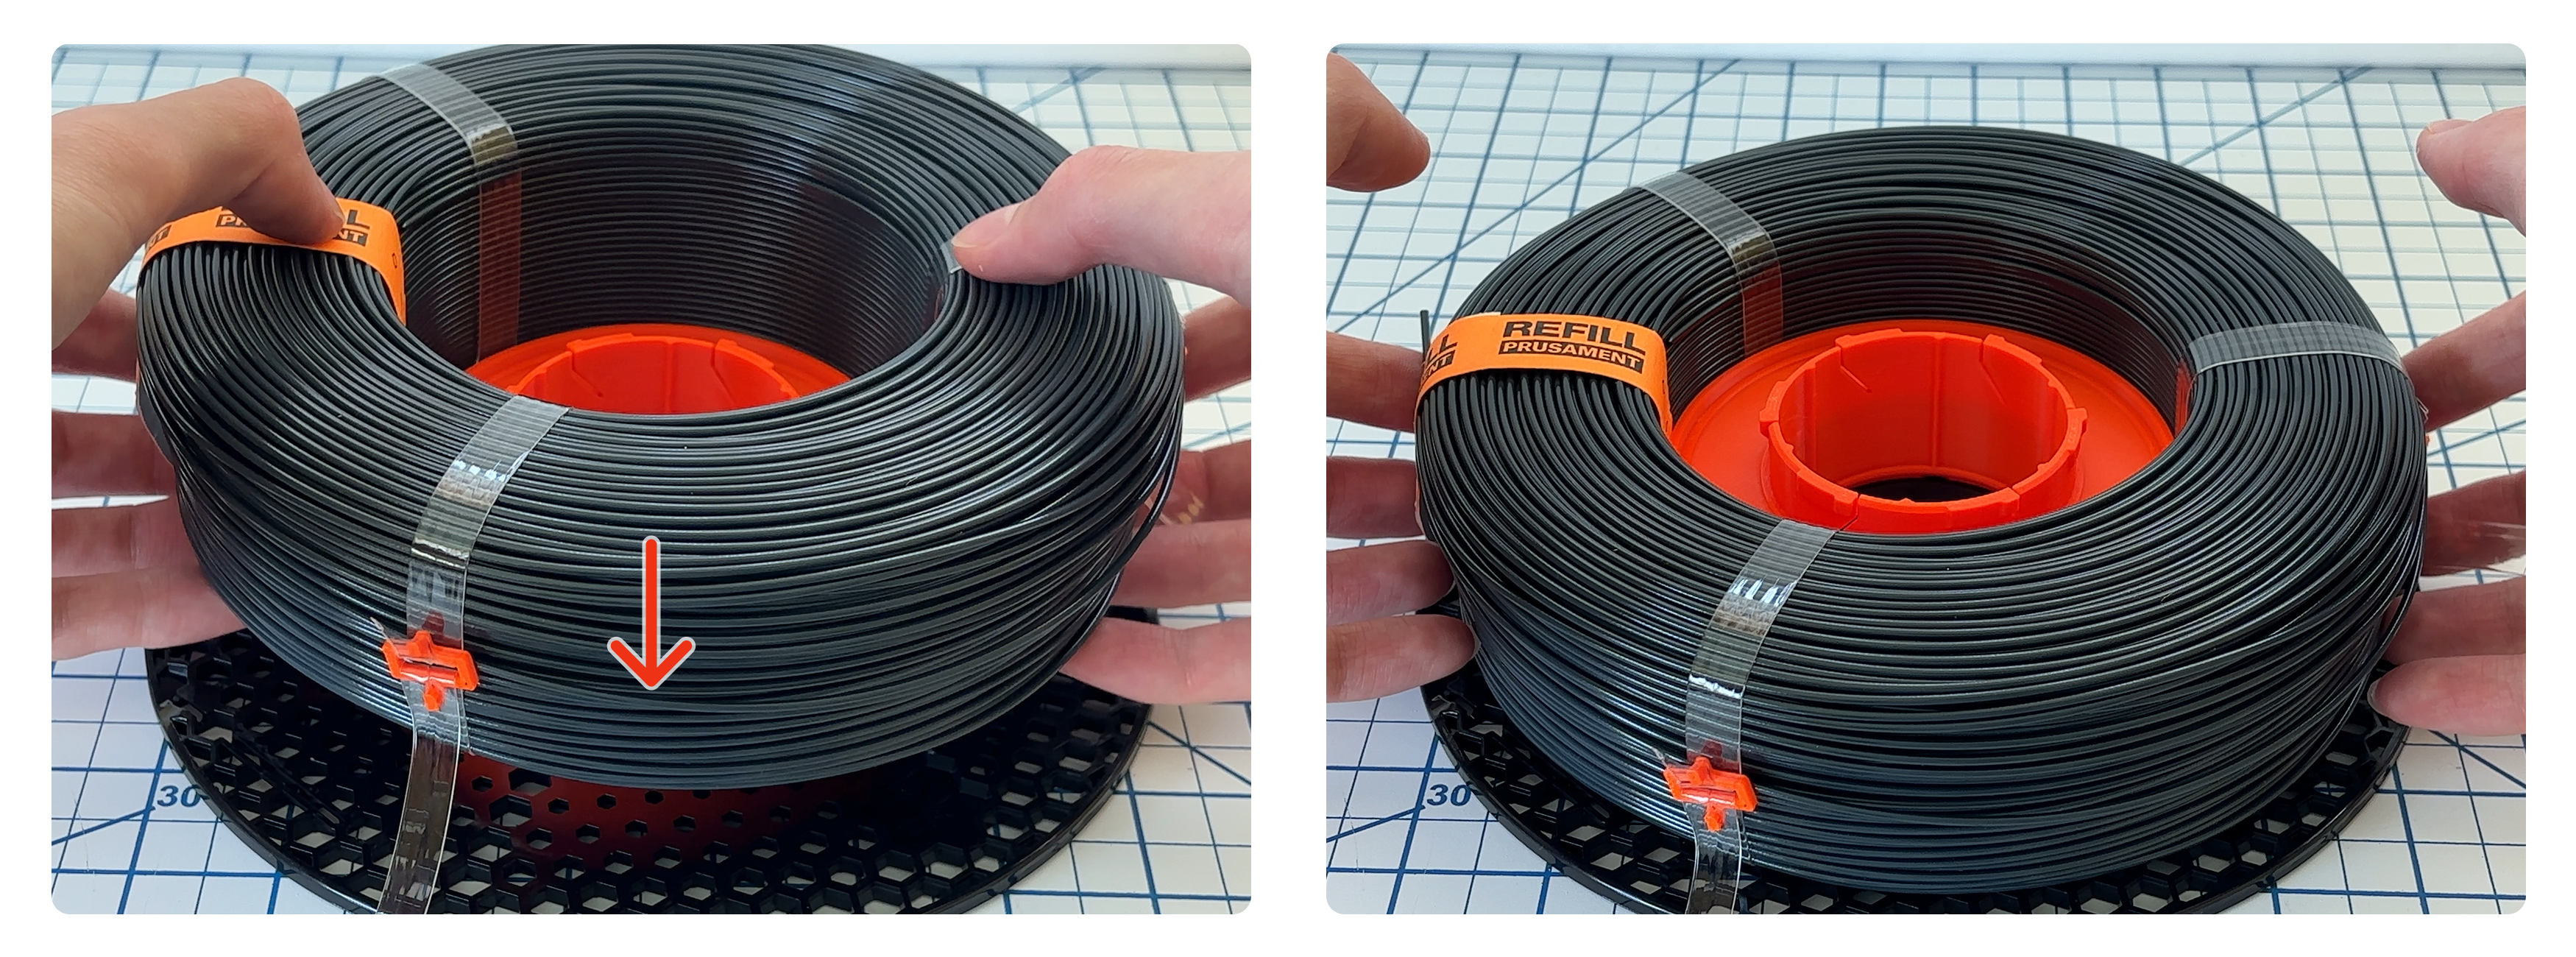
Warning: Handle the refill with care, and observe the state of the inside winding. These refills have a notoriously tight fit, and any disruption to the inside winding may prevent sliding onto the spool core.
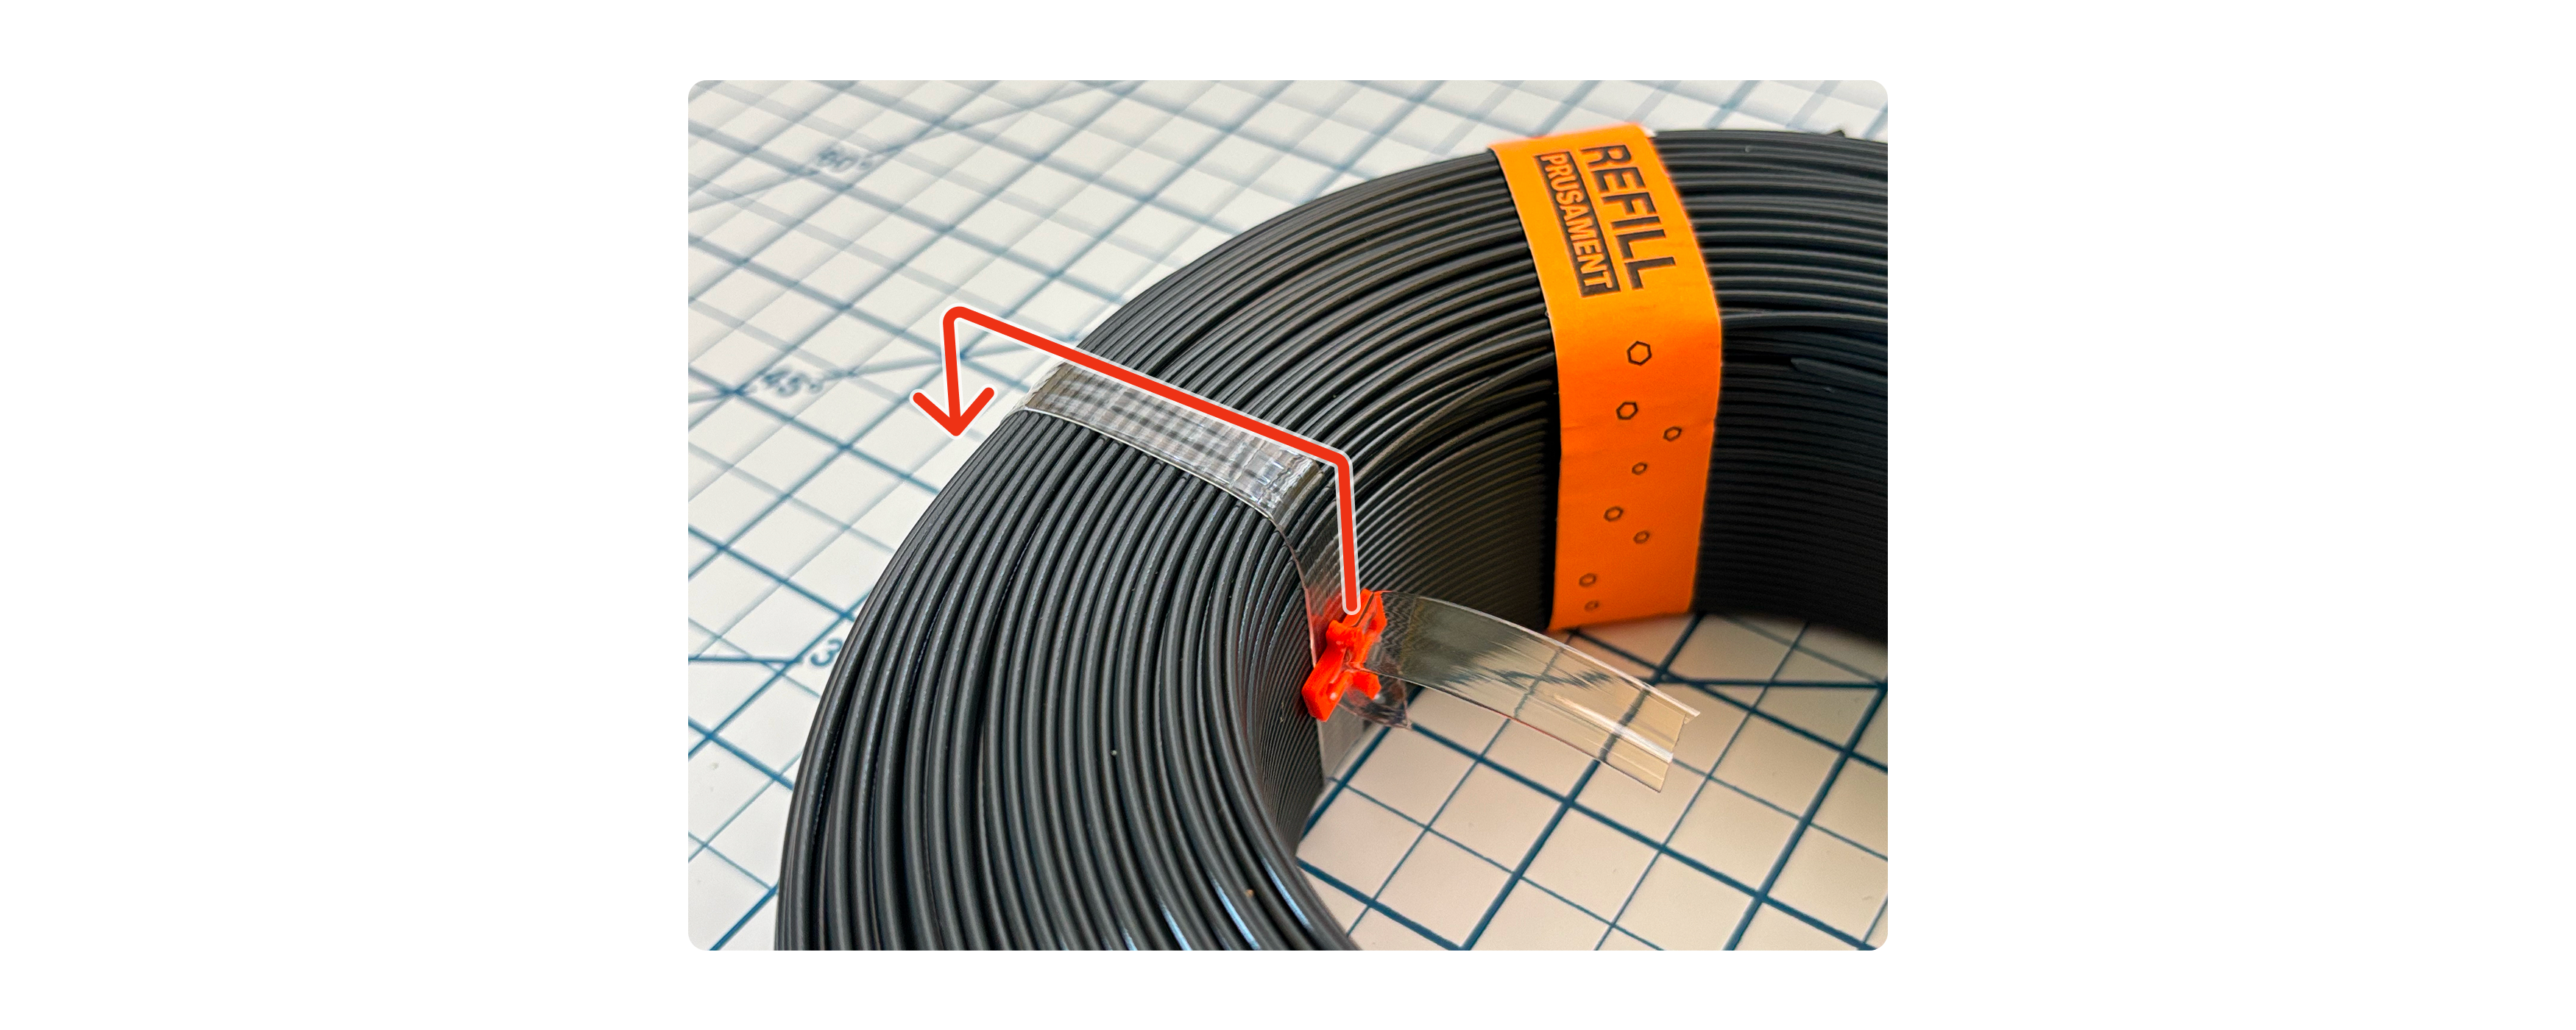
If your refill is bound with transparent straps, slide the orange holders to the exterior face.
Slide the refill onto a side of the spool. If you encounter resistance, don't overapply force to avoid collapsing the inside winding. Slide the spool on as level as possible; should it still get stuck, you might try: flipping the refill over, or straightening out the inside winding by hand.
Carefully insert the other side of the spool, and rotate to the latching position. You'll know the two sides have fully latched when the core's inside ribs are aligned.
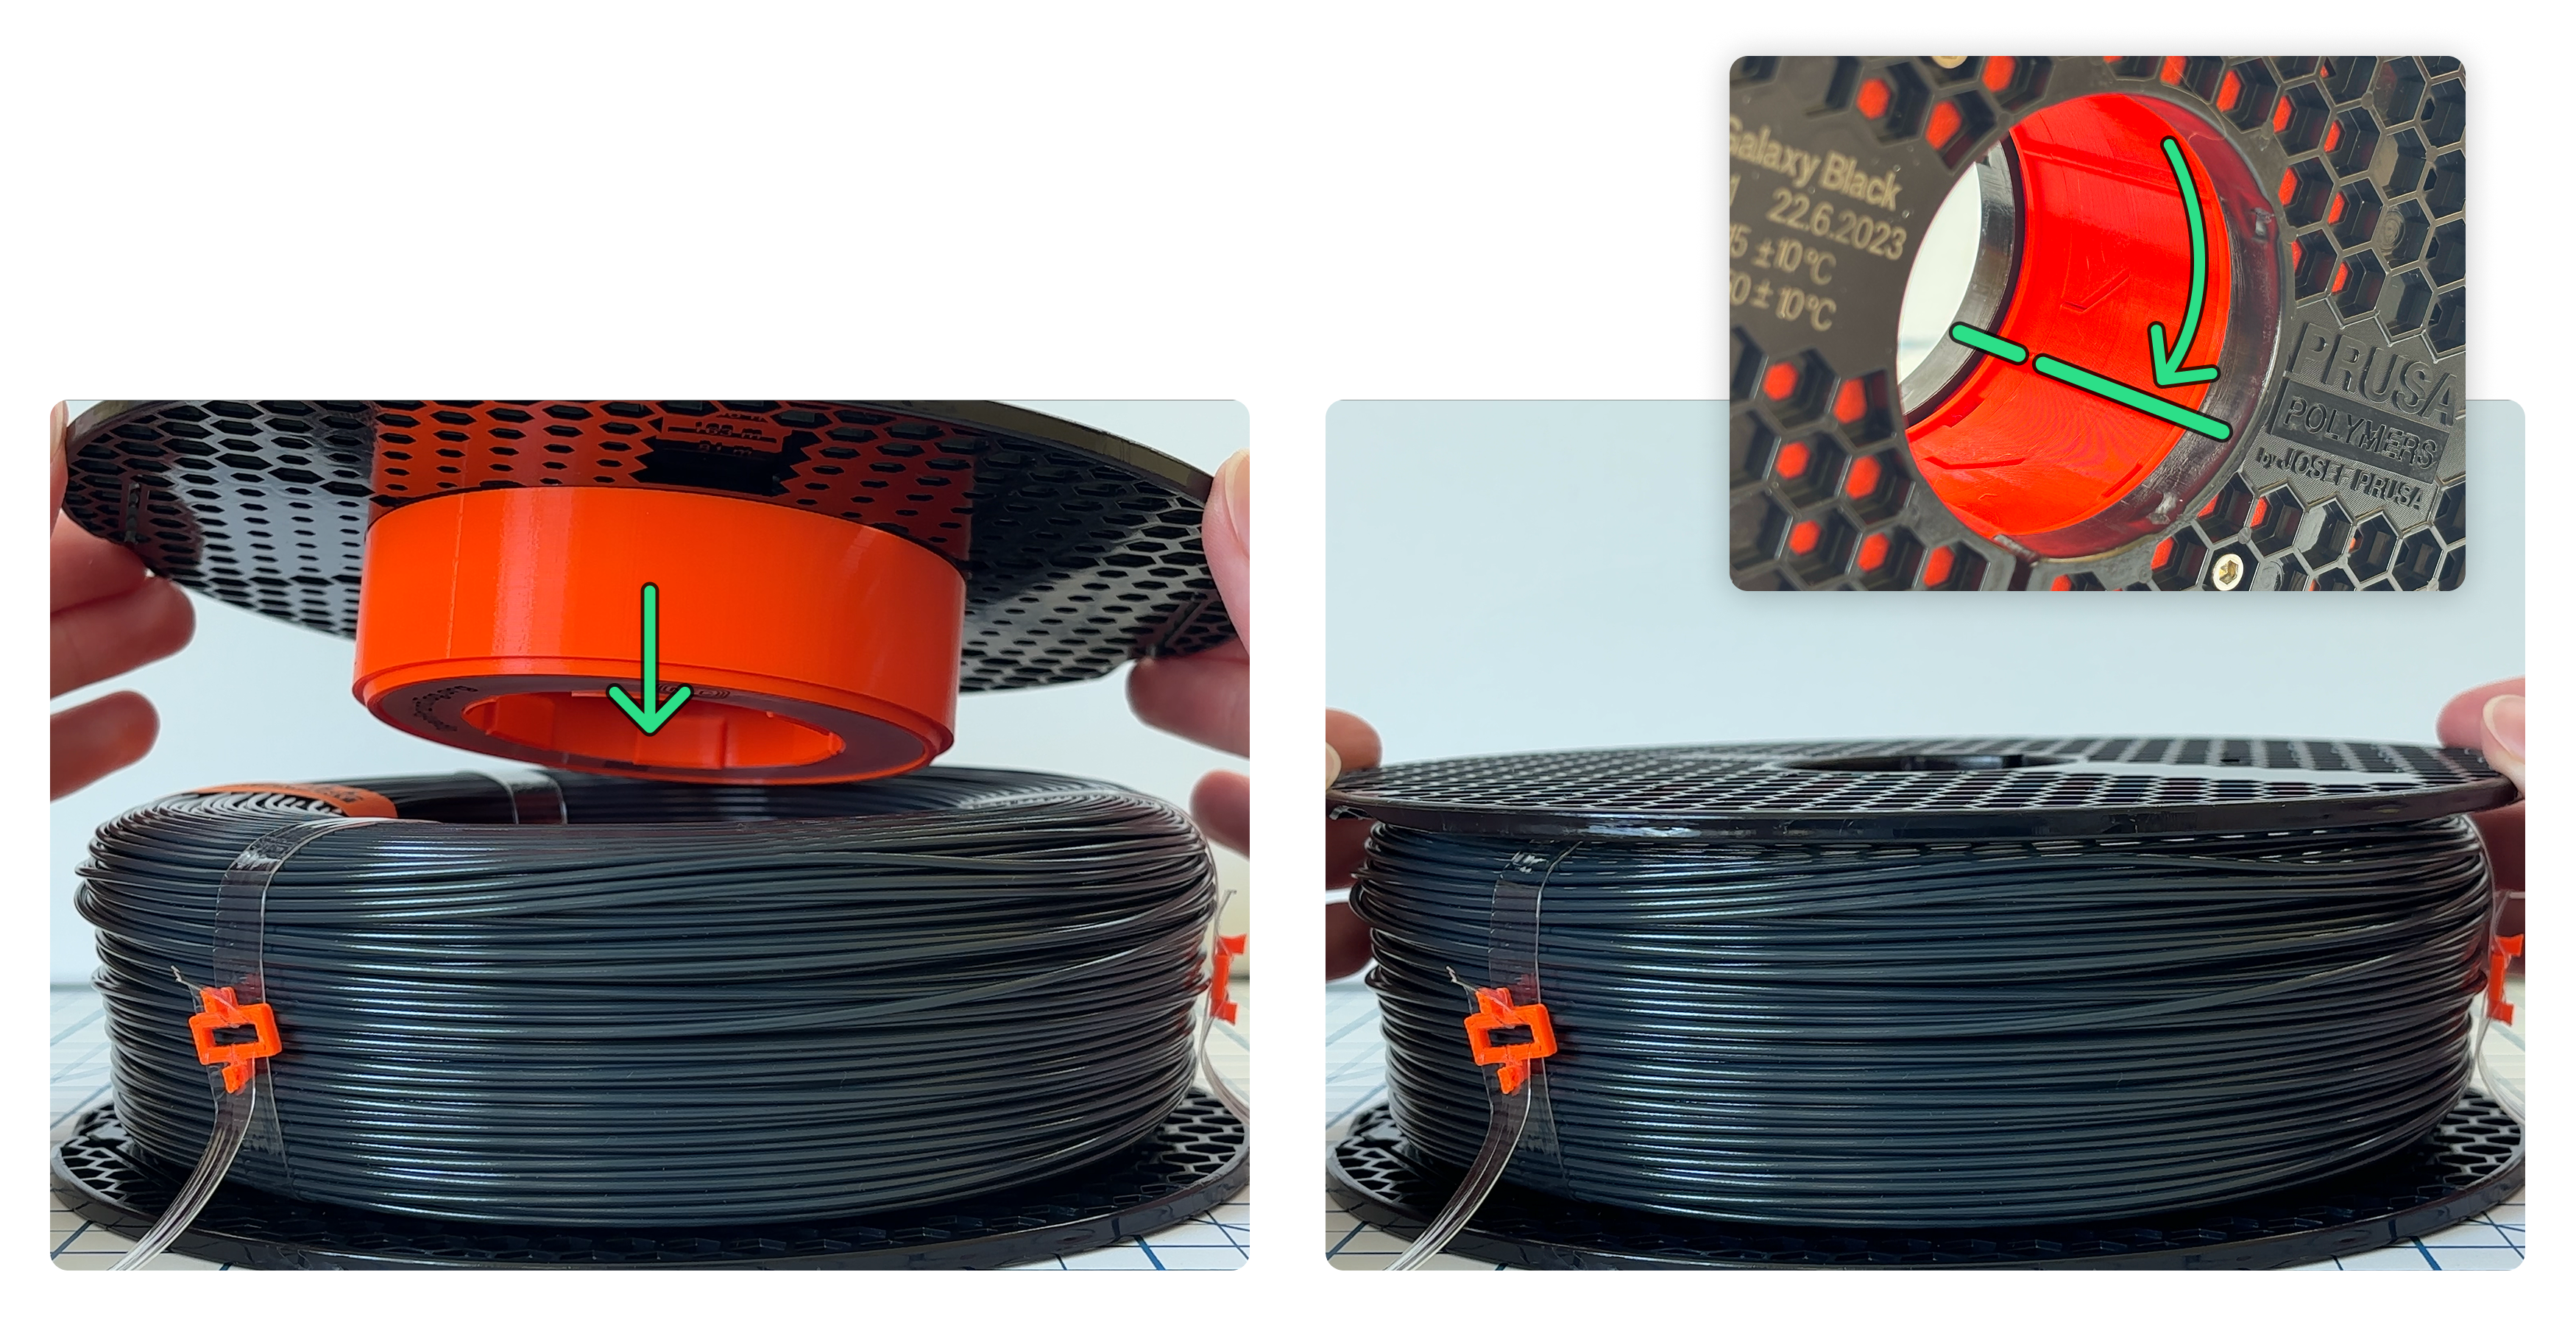
Release the straps—there's no going back now! With the looser fit, you may be able to pull them out.
