
Iris - Educational model
lock_prof

AI找相似


打印配置(0)
模型文件(0)
 0
0 0
0 0
0
发布时间:2026-04-04 11:49:51
0
0
 000
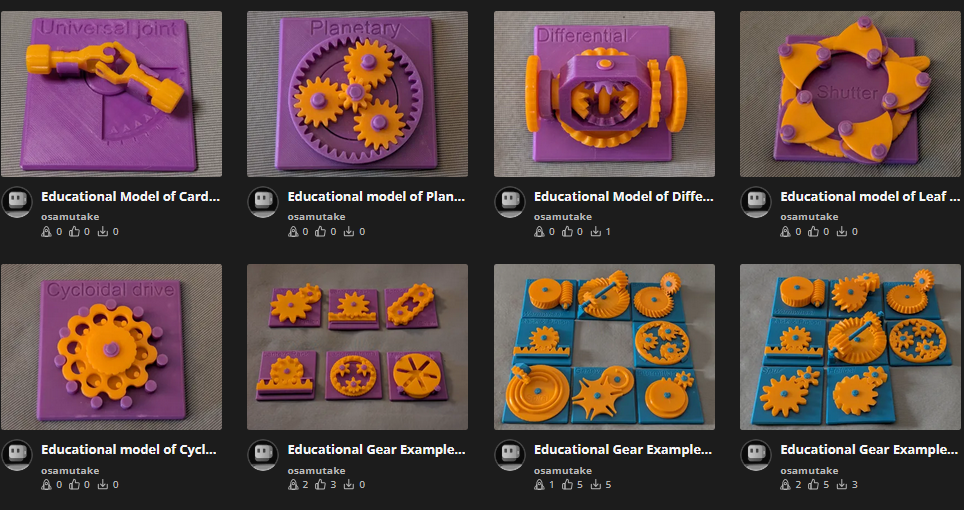
000This model is one of my educational mechanical mechanism examples on 80mm x 80mm base plates.
You can find all models of the series in this collection => [Mechanical Mechanism Examples]
This is an educational model of iris, where the thin blades open and close without changing the circular shape of the aperture.
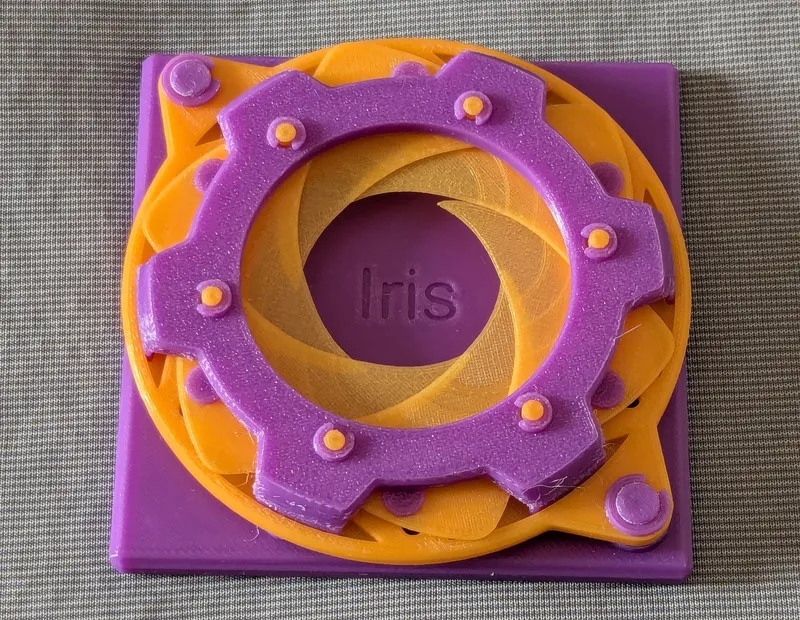
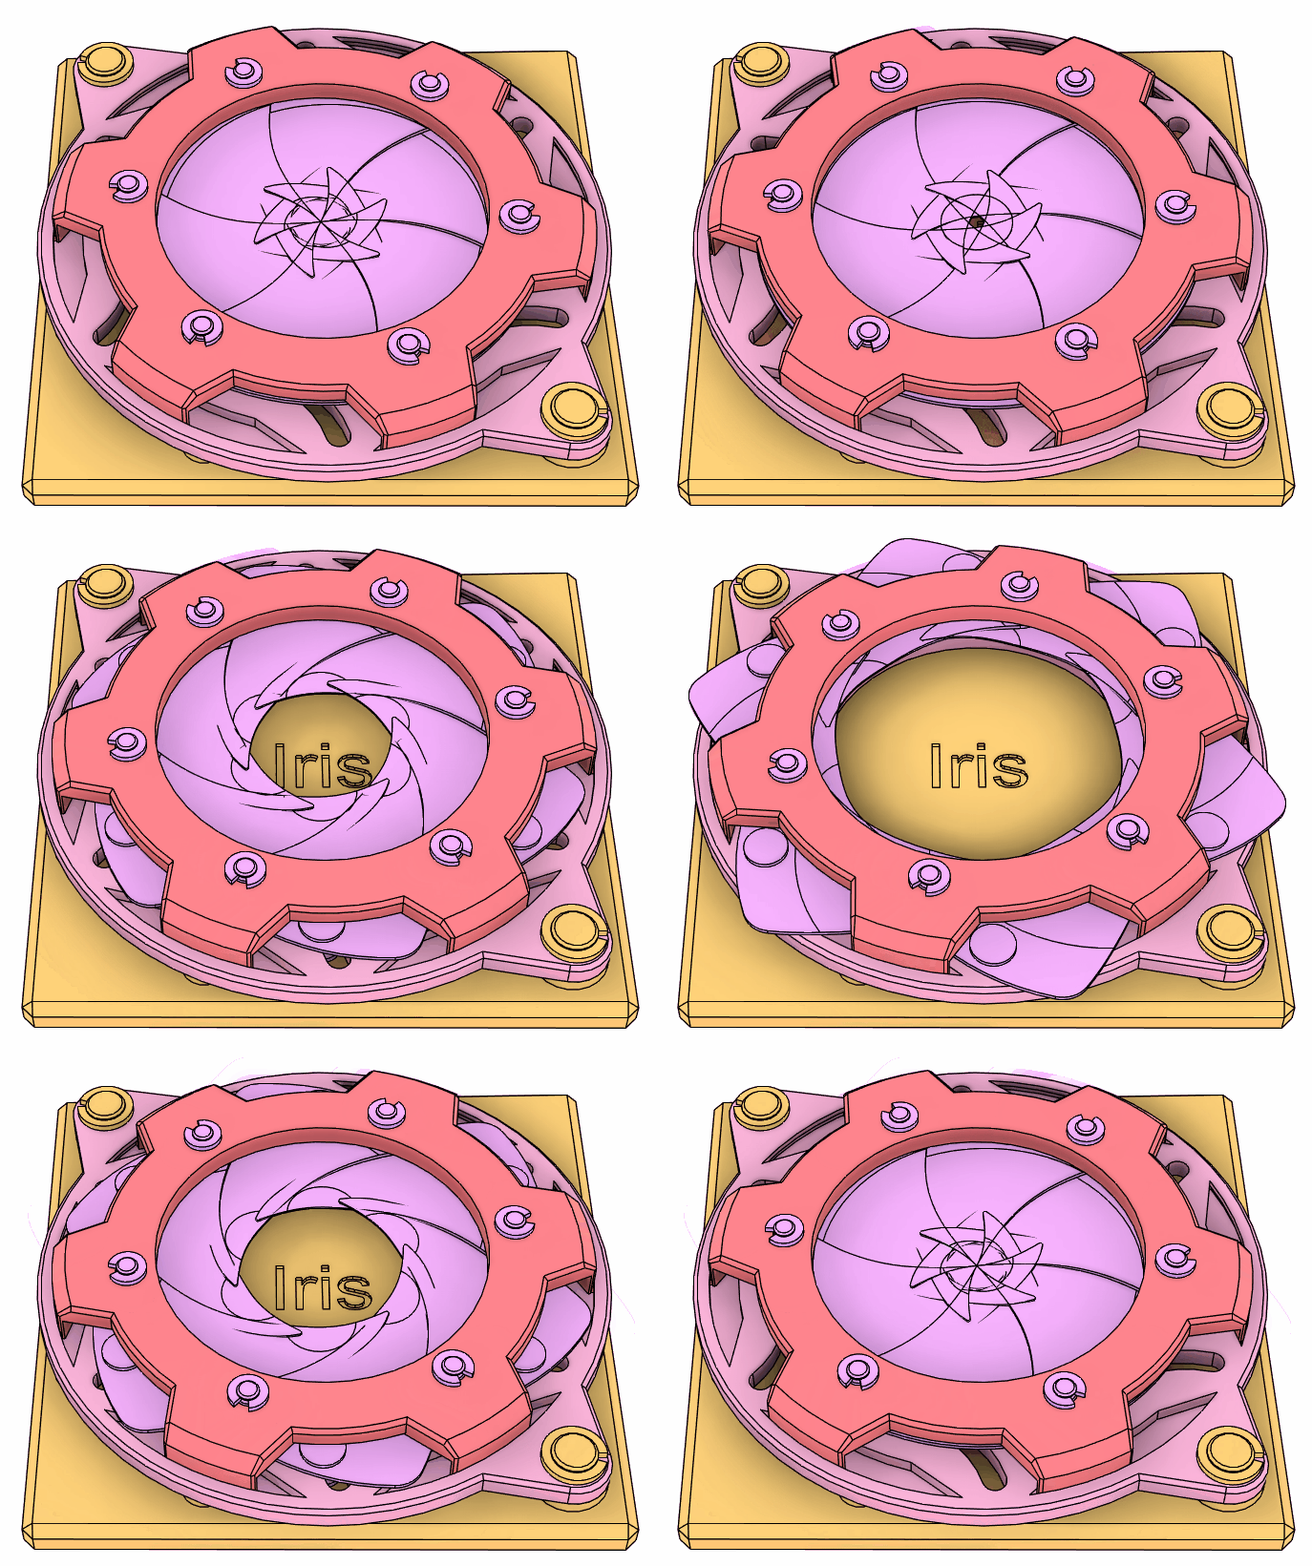
The mechanical iris is used in compound camera lenses to adjust the brightness of the incoming light.
In this model, each thin, triangular-shaped blade has a rotational pivot at one corner, and this pivot is fixed to the control ring. Each blade also has a pin near its outer edge, and the pin runs inside a slot on the other ring. When the two rings rotate relative to each other, the slot acts as a cam groove, causing the blade to rotate about its pivot—effectively swinging the blade in and out.
Here, six blades are arranged evenly around the circumference. Their synchronized motion opens and closes the aperture symmetrically. Each blade is not a perfect triangle; instead, its edges are shaped so that the aperture remains close to a circle throughout its motion.
The blades are thin and flexible so that they can overlap one another when the aperture is closed.
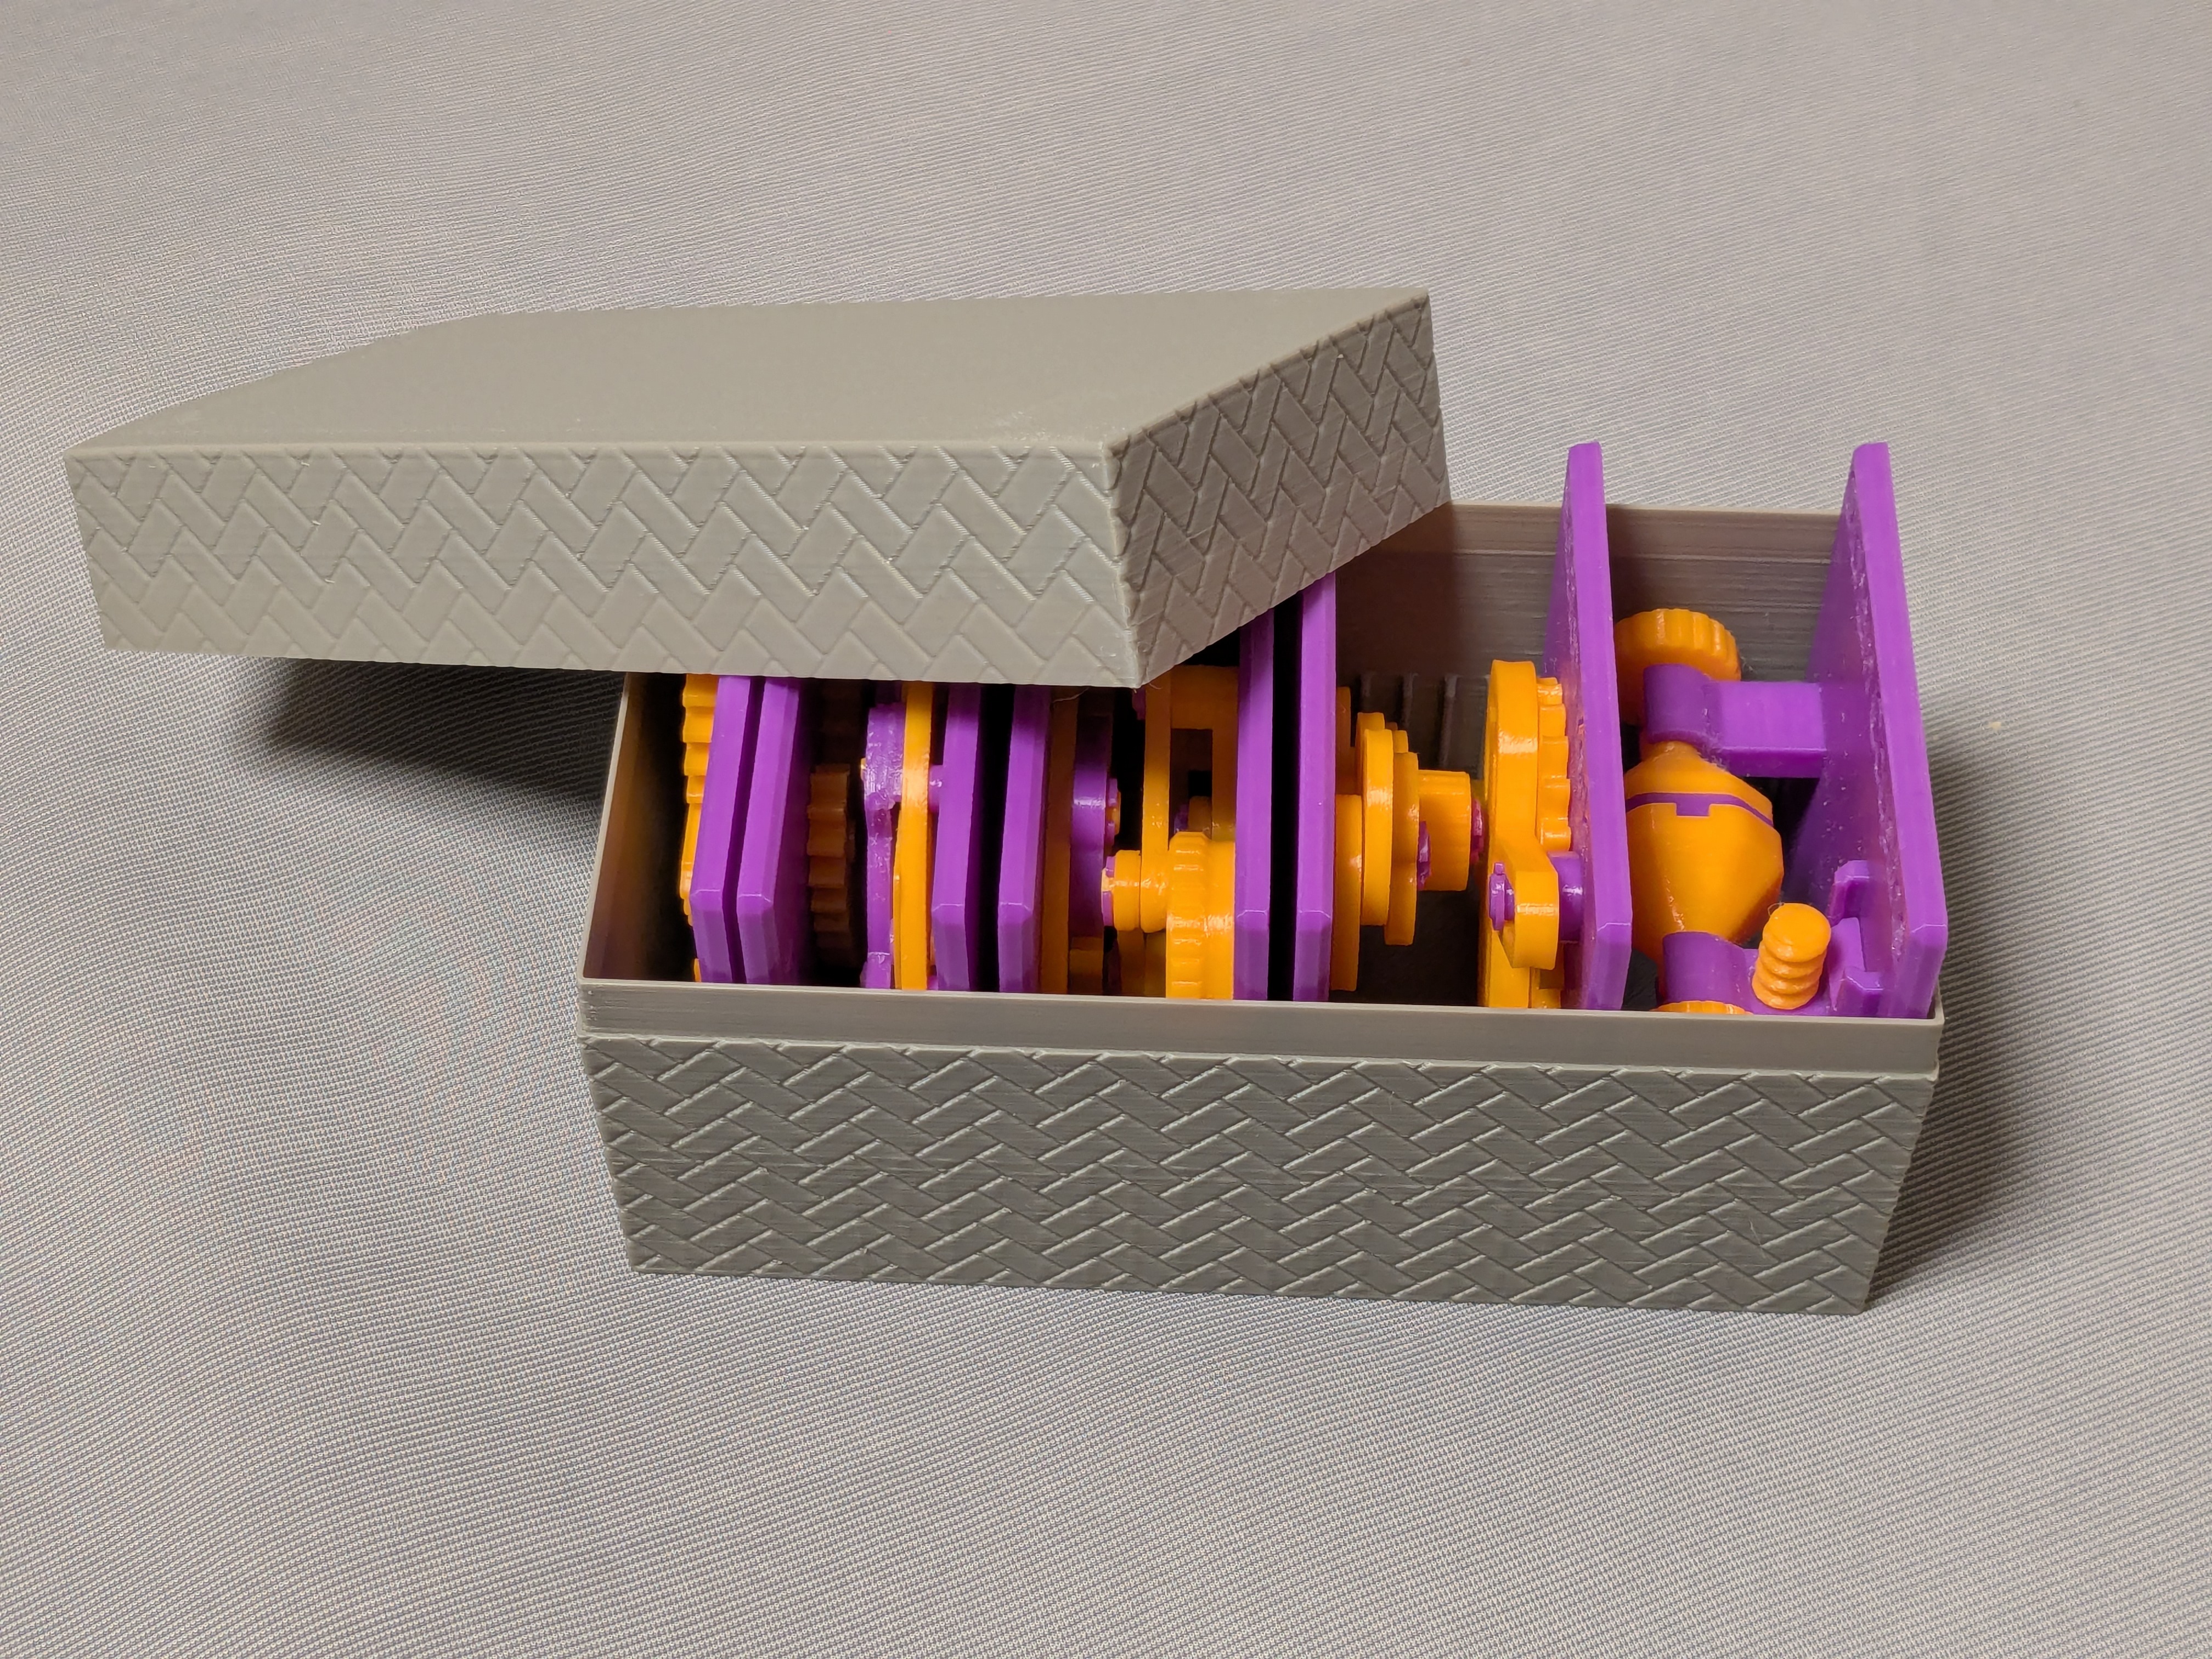
This model is compatible with the case included in my first set.
Note that, in this model, the rotation of the bases for bearings is intentionally made not too smooth.
Sometimes, the gears suffer from the stringing effect and/or elephant foot effect, resulting in a too tight fit to the shafts (they are designed with a 0.15 mm radial clearance).
If you see rough surface on the shafts due to stringing, sand off the roughness with a small piece of sand paper.
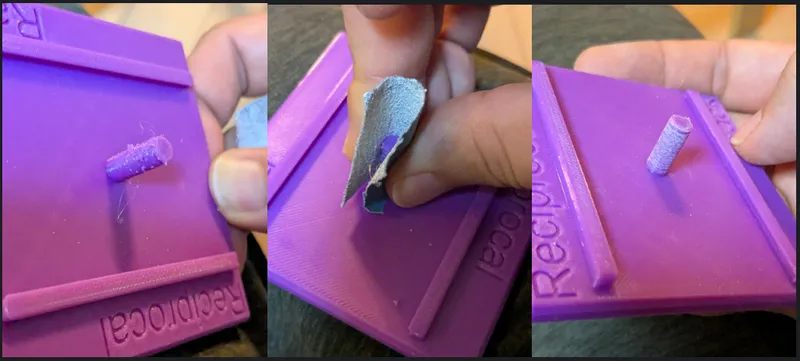
If you feel the gears do not rotate smoothly due to an elephant effect, widen the hole slightly by using a thin round bar file.
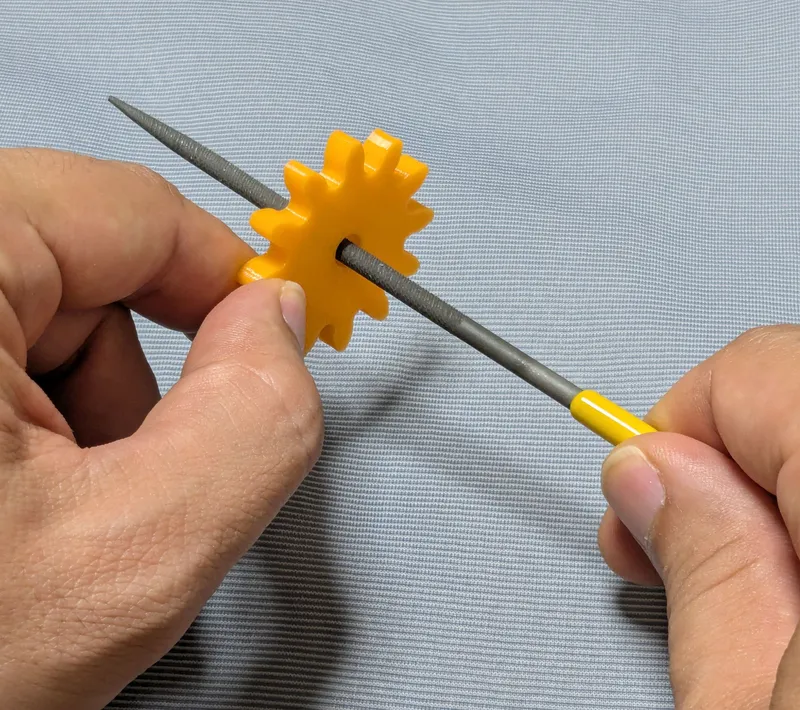
Without those issues, the parts should rotate very smoothly with minimal friction.
First, put the pins onto the blades.
Then, assemble the blades on the control ring at the pivots and secure them with the retaining rings.
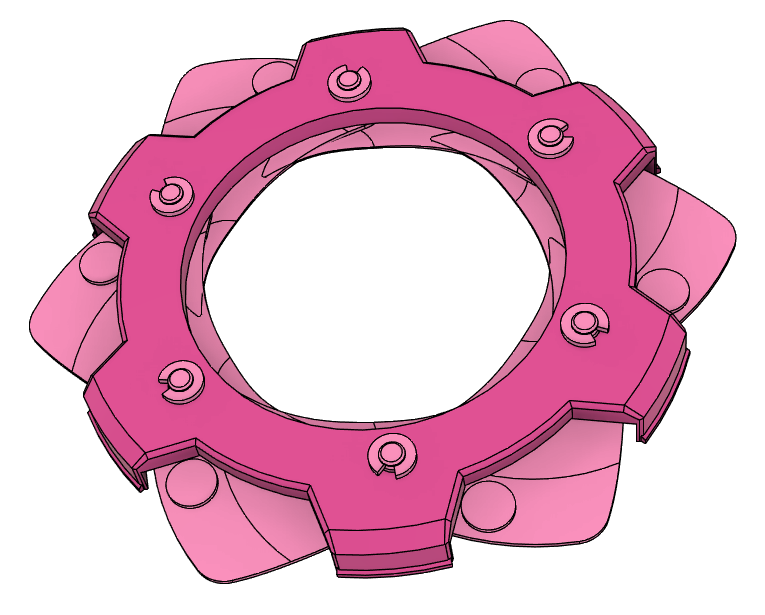
Insert the pins into the slots on the larger ring and snap the legs of the control ring into the guide rails on the larger ring.
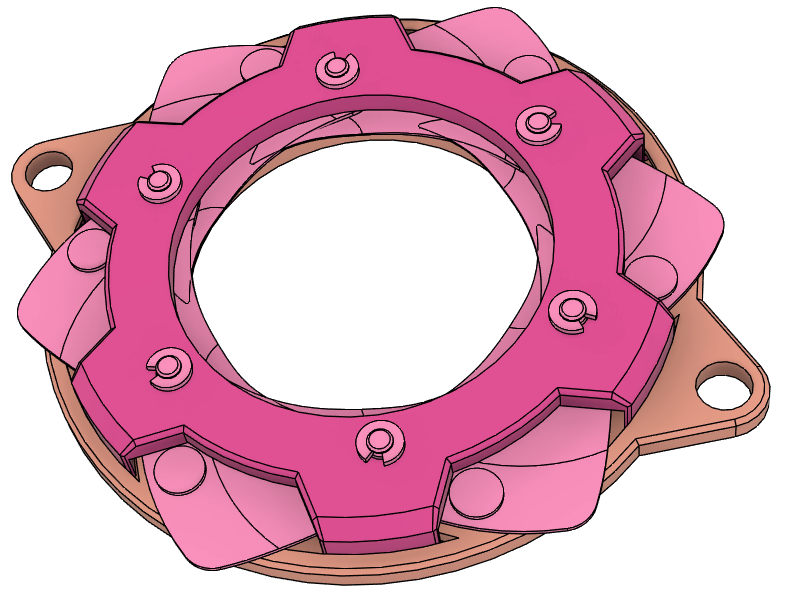
Secure the pins with the retaining rings on the backside.
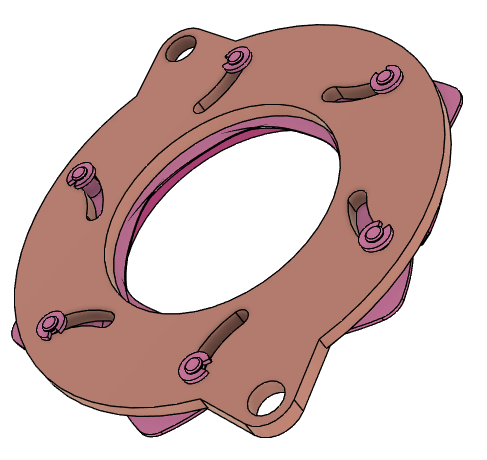
At this point, check that the aperture can be opened and closed smoothly by relatively rotating the two rings.
Then, fix the outer ring onto the base plate with the larger retaining rings.
You may also be interested in the models in my educational mechanical mechanism examples.
Find them in this collection:
https://makerworld.com/collections/15048577-my-educational-mechanism-models
Happy printing!
I got into gears thanks to K.$uzuki's amazing articles and YouTube videos. Many of the mechanisms shown in this series came from the introductions on his website. He also makes excellent gear models himself. This series wouldn’t have existed without his inspiration.
I learned a lot about technical detail of designing gear tooth profiles from Haguruma-No-Hanashi website. I’m truly grateful for that.
