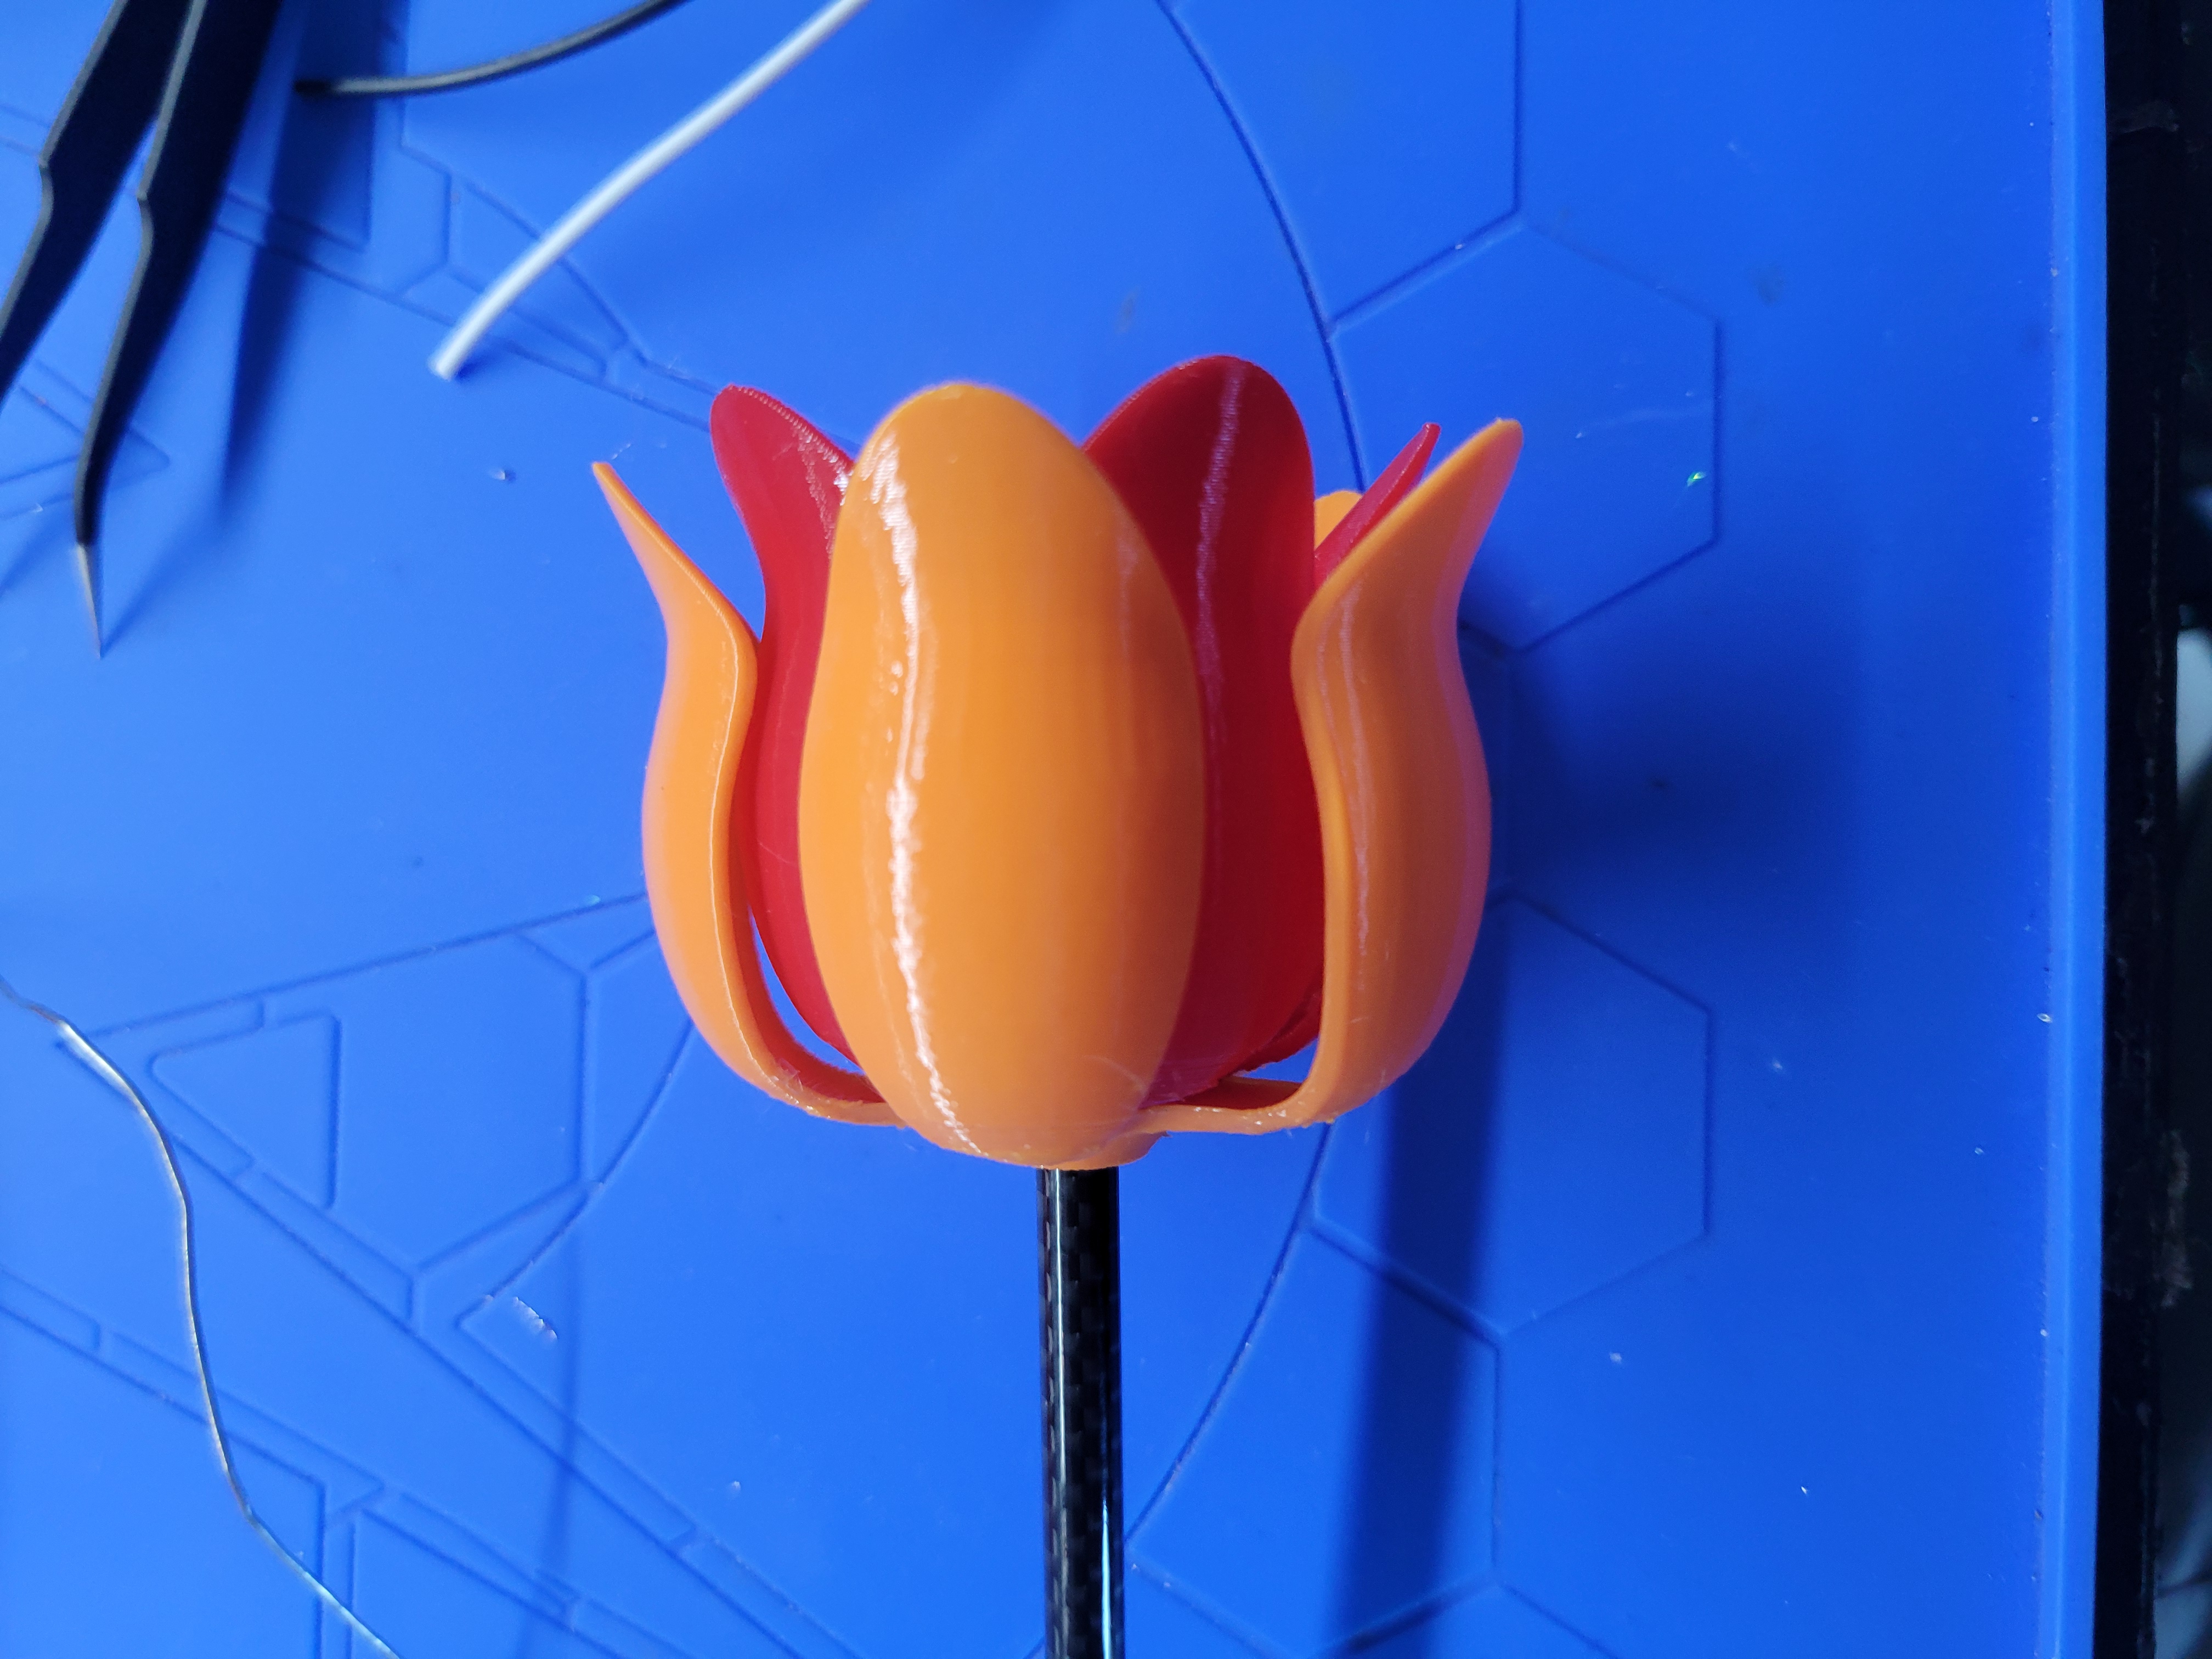
This model is still in progress, so expect changes to electronics and housing, but the proof of concept looks pretty cool I think.
! The leaf model is from here. I modified the part slightly to get it to fit, but otherwise that part is a direct copy from @robinwkurtz_11402. Everything else was made by me.
Some M2 + M3 bolts (all cap head. length is threaded region)
6 x M3 10mm [6mm to 12mm] Soil <-> Upper pot
4 x M2 8mm [5mm to 9mm] Upper pot <-> Lower pot
6 x M2 4mm [3mm to 6mm] ESP32 & Mic <-> Lower pot (only 4 needed if no mic)
(Optional) 2 x M2 4mm [3mm to 4mm] NEOP Jewel <-> Inner petals. These aren't really needed, they won't come apart barring weird tolerance issues if you get a clone jewel
Print the leaves one at a time. They always break when doing multiple at the same time.
License notes:
I don't care what you do with my model, feel free to remix it, sell it, weaponize it, I don't care. However, the leaf model was shared with CC - attribution, so while it's not share alike and I am not requiring attribution, I would ask that you still credit the original author of that model (@robinwkurtz_11402).
Instructions:
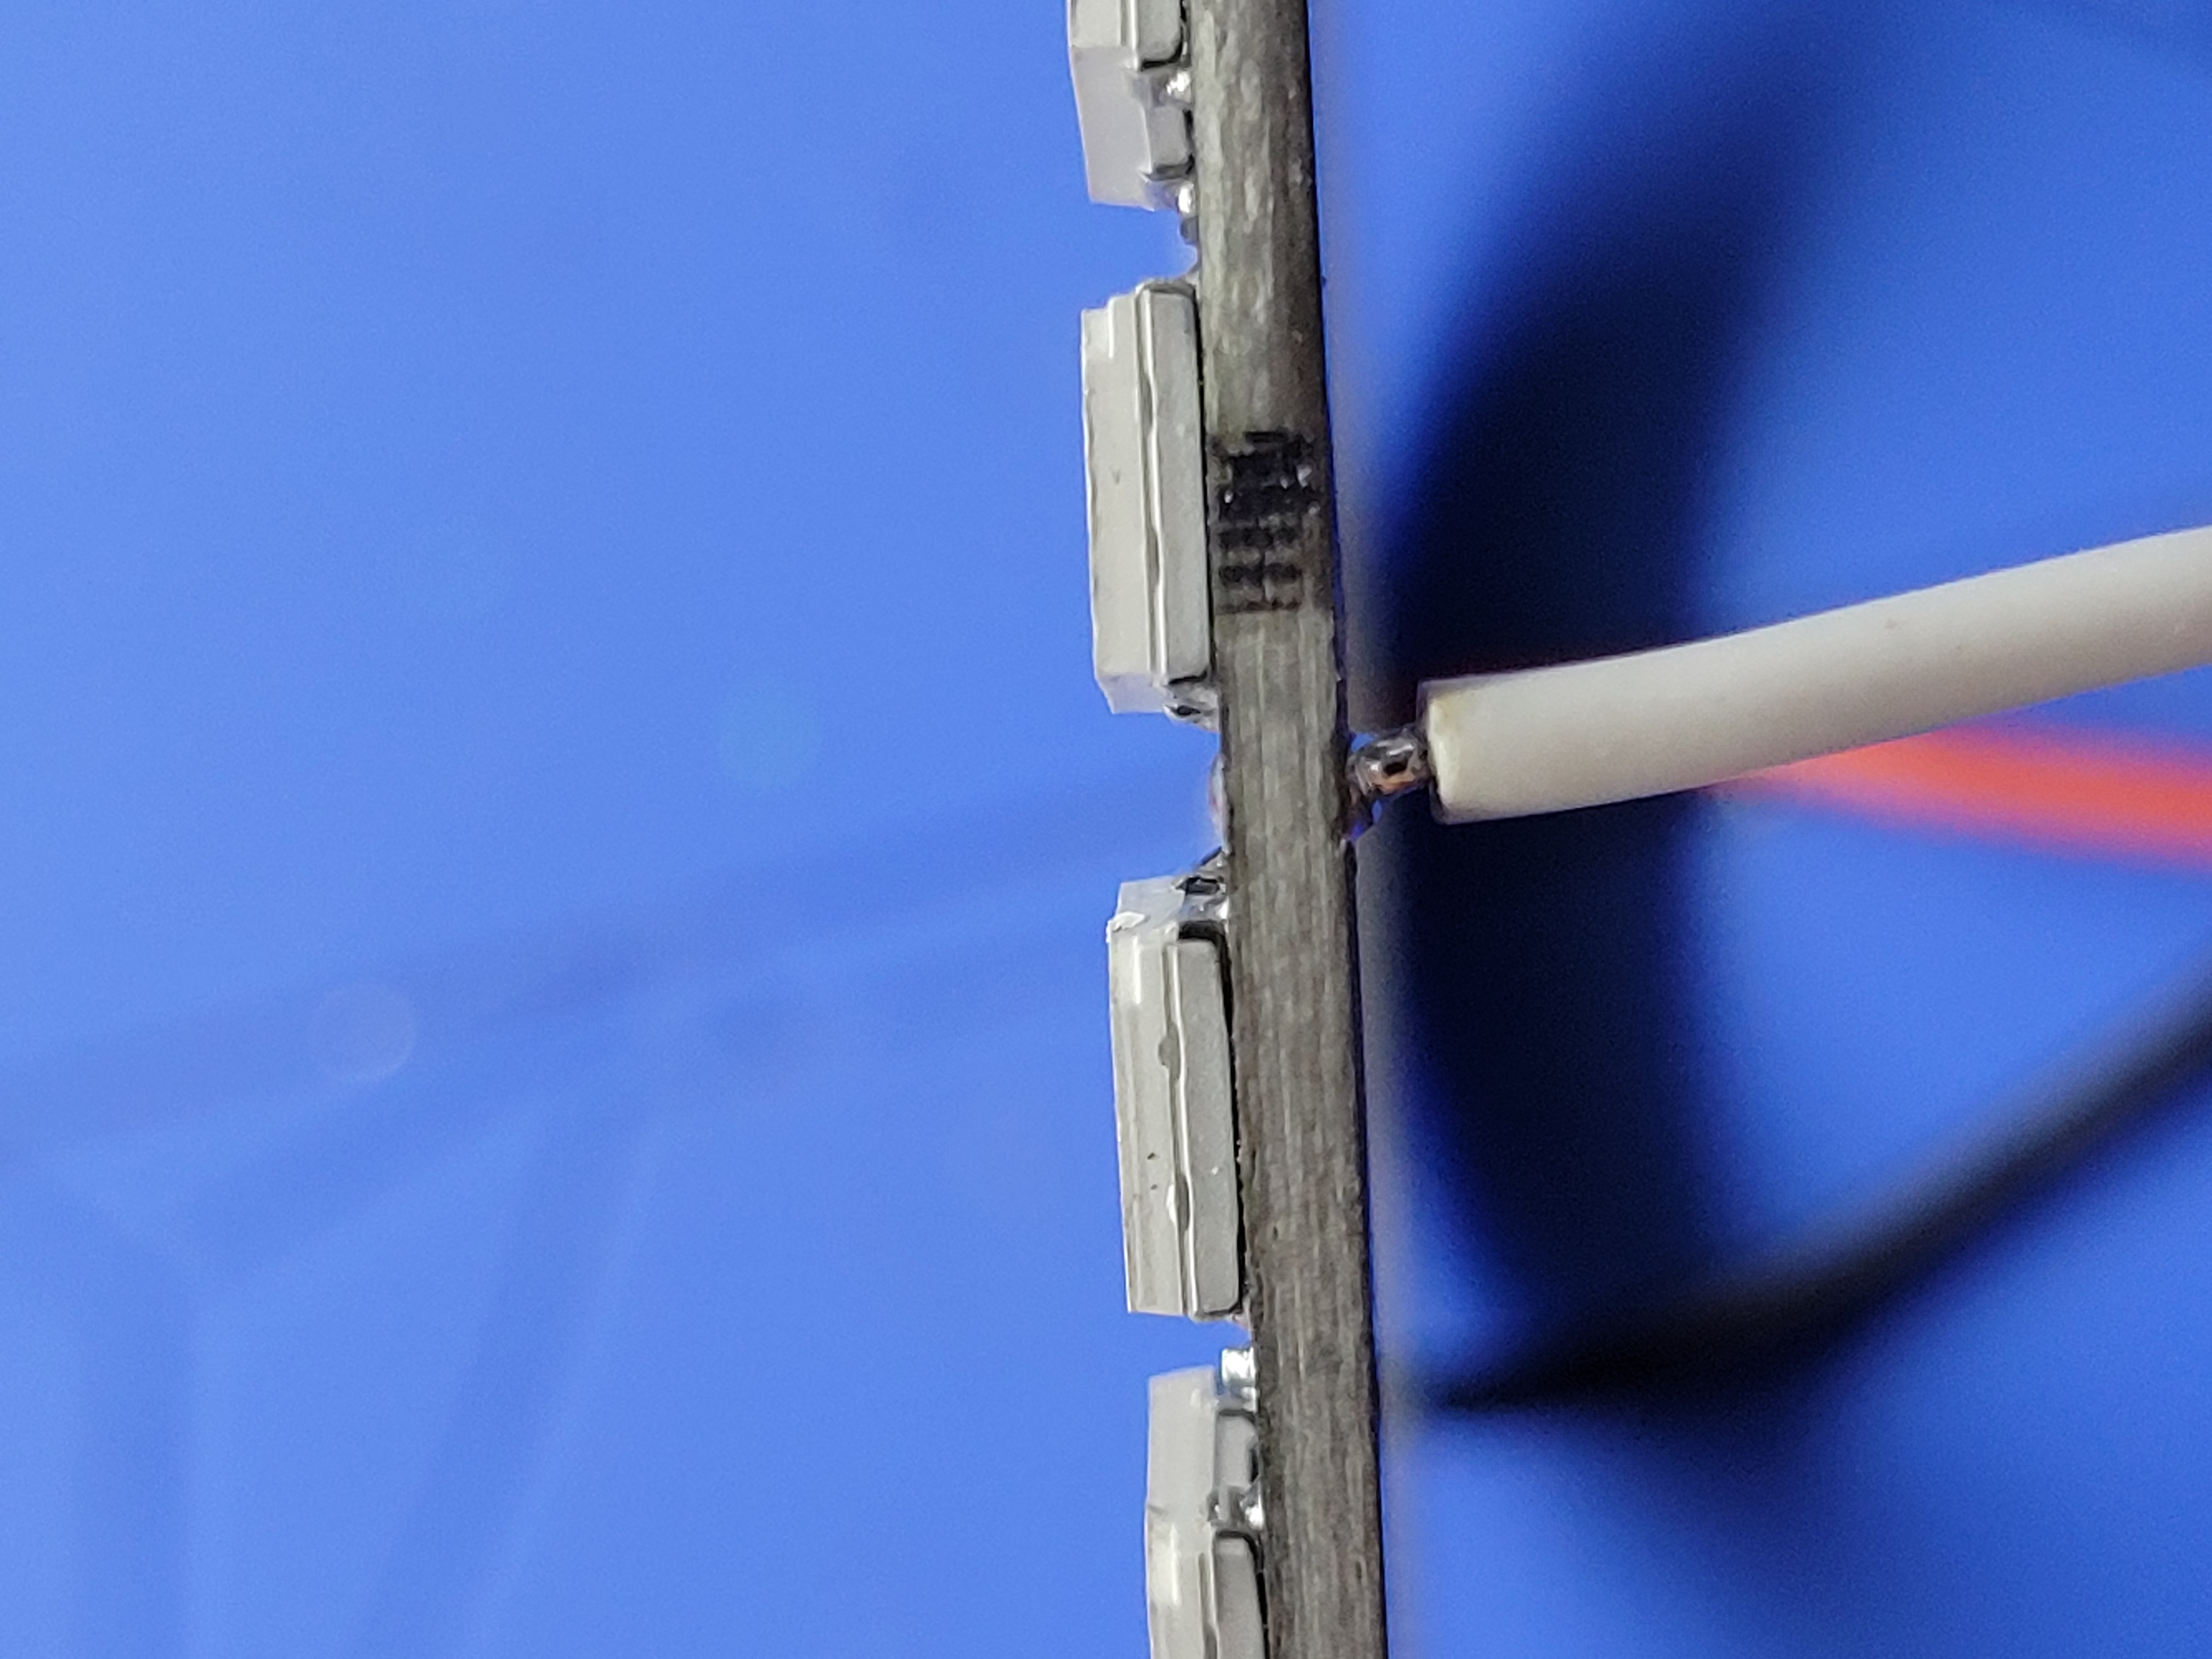
Solder wires to 24 LED ring
make sure the cables do no protrude from the top by more than ~0.8mm
Insert LED ring into WLED Tulip - new pot - Soil and add WLED Tulip - diffuser on top
make sure the cables line up, it should sit flush
Insert soil assembly into WLED Tulip - upper pot.
Secure with 6 x M3 10mm
Attach WLED Tulip - inner petals and WLED Tulip - outer petals to the carbon rod.
Make sure the rod does not stick out from the top
Solder ~300mm wires onto the NeoPixel ‘jewel’
Consider sanding off the breakpoints around the edge, (with a mask, those particles are not good to breathe) if the next step is hard to insert.
Make sure the cables are angled inwards, there is not a lot of room for them to group up in the middle.
Insert the ‘jewel’ into WLED Tulip - inner petals
Make sure the cables are threaded through the carbon with the same orientation as that on the jewel so they do not cross over each other.
Optionally secure with 2 x M2 4mm, but be sure your screws do NOT contact the legs of the WS2811 LED chips
Insert the leaves on the bottom of the carbon rod
I think one WLED Tulip - small leaf and one WLED Tulip - medium leaf looks best
Insert the rod into the soil assembly
Again, make sure the wires keep their orientation so they do not cross
Trim Dupont connectors on the ESP32 dev board.
(if you have them)
Solder wires together. LED power goes to VIN and GND, their data lines go to D2 and D4, but it doesn't matter which. Just take note.
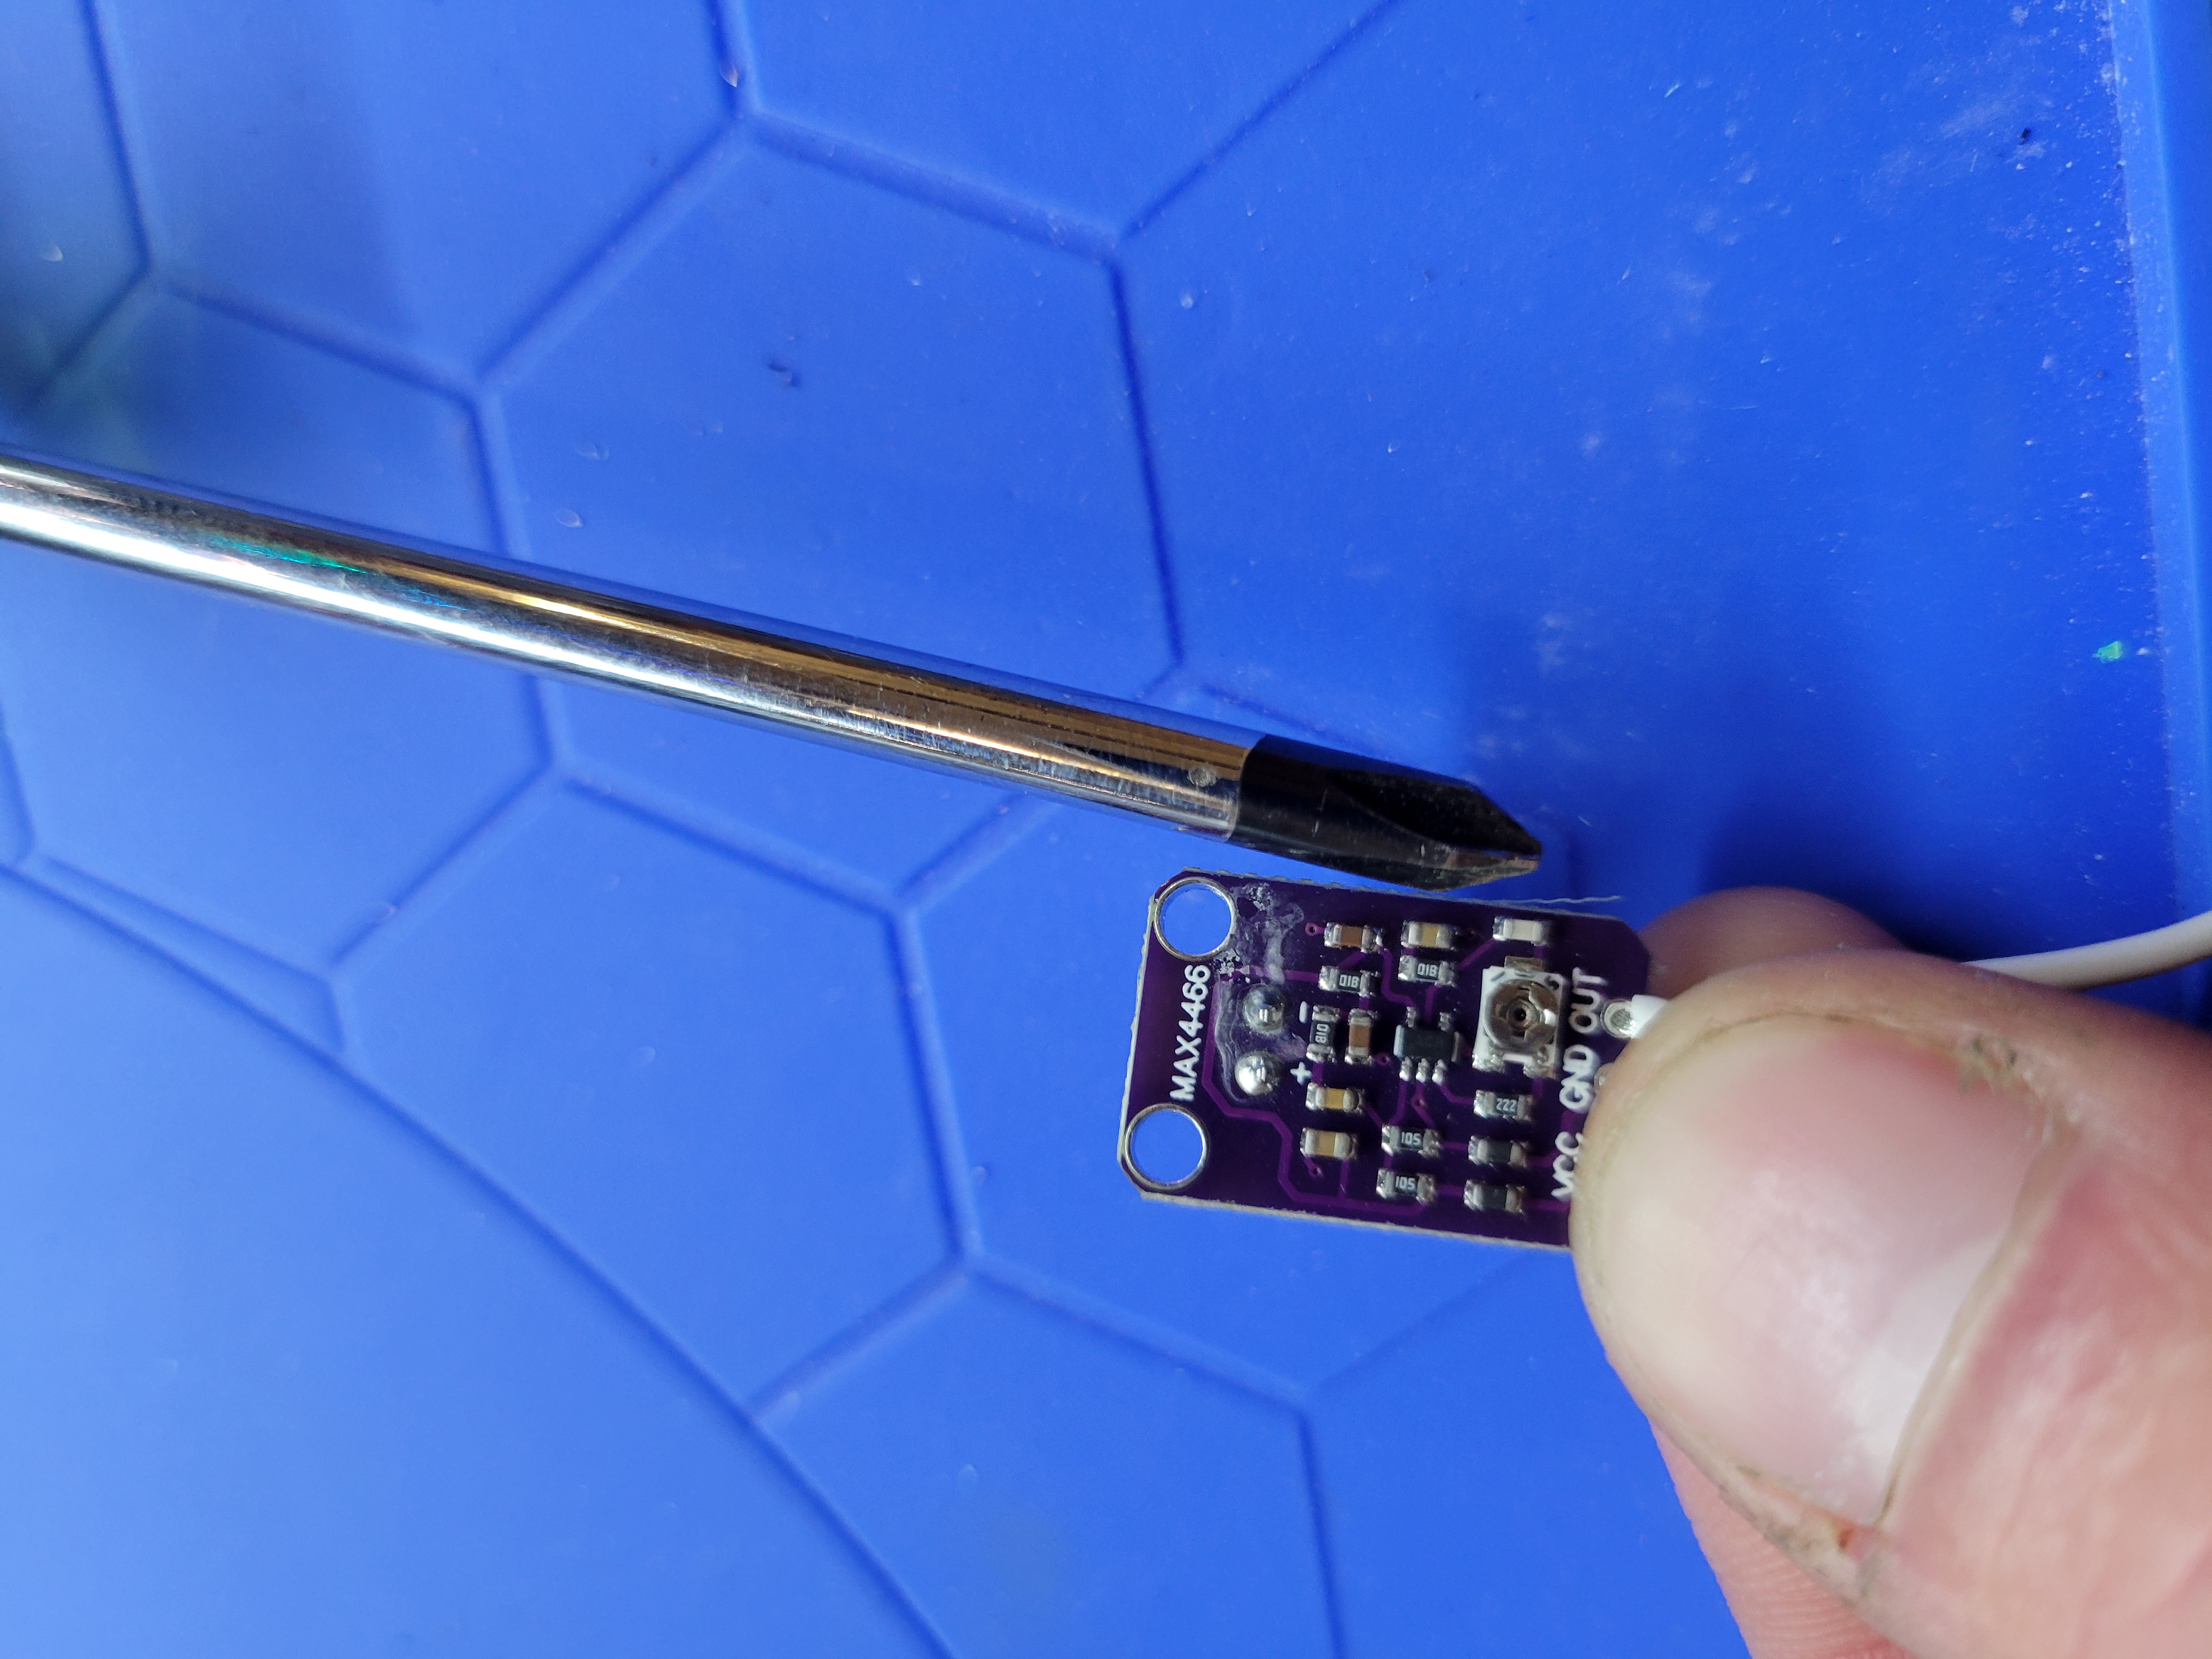
(Optional) If using microphone, attach the mic power to the 3V3 and GND line, and the signal to D34
Turn up the gain on the Mic, if you are using it.
Turn the little potentiometer all the way counter-clockwise.
It is worth installing WLED at this point when you can access the boot button.
Refer to the WLED docs to install and configure WLED. I recommend using the web installer at https://install.wled.me/ Just make sure you hold the boot button when starting installation. You will then need to set your LED outputs to be D2 and D4, and adjust their lengths to 7 for the ‘jewel’ and 24 for the big ring.
If using the microphone, set the pin to 34 and mode to analog in Usermod settings
If that all works, secure the boards with M2 4mm screws.
Attach the WLED Tulip - new pot - lower pot with the WLED Tulip - new pot - upper pot with 4 x M2 8mm screws


 0
0 0
0 0
0