Snapmaker U1 - 180-degree door hinge
CalicoRam

AI ile Benzer Model Bul


Baskı Profili(0)
Model Dosyası(0)
 0
0 0
0 0
0
Yayınlandı:2026-01-17 16:40:47
0
0



 000
000By default, the door of the Snapmaker U1 opens to an angle of no more than 90 degrees. I want to have more unrestricted access, so I made this 180-degree door hinge
It uses compression fittings to fix the glass door to the hinge, and it comes with a stopper to prevent the door from opening too wide and hitting the side-mounted spool. Only a small amount of support is needed during printing. The attached file includes an Orca Slicer 3MF file for the U1 itself.
Printing Notes:
Please use any material you like to print these hinges, as they bear very little load. I recommend using 3-layer walls and 15% gyroscopic filling. Three of the components need support. The support is manually drawn in the attached configuration and Orca 3MF files.
Printing components:
Required hardware:
Assembly:
Note:The hinges on the U1 are not very sturdy. If you handle them roughly, they're prone to warping or bending. Please be careful when using them.
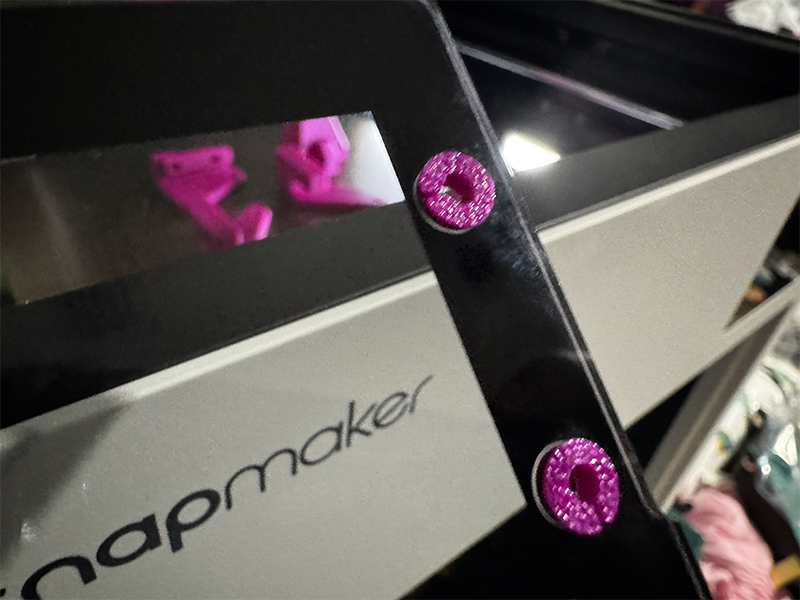
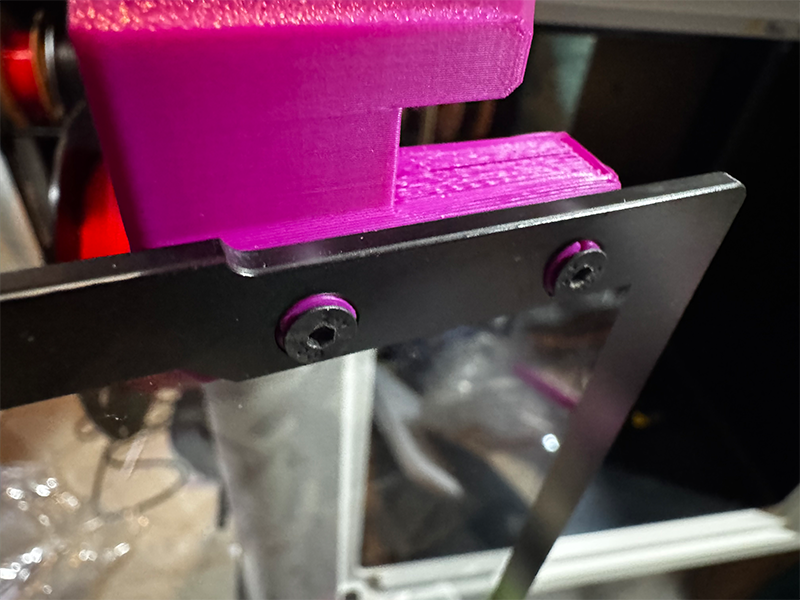
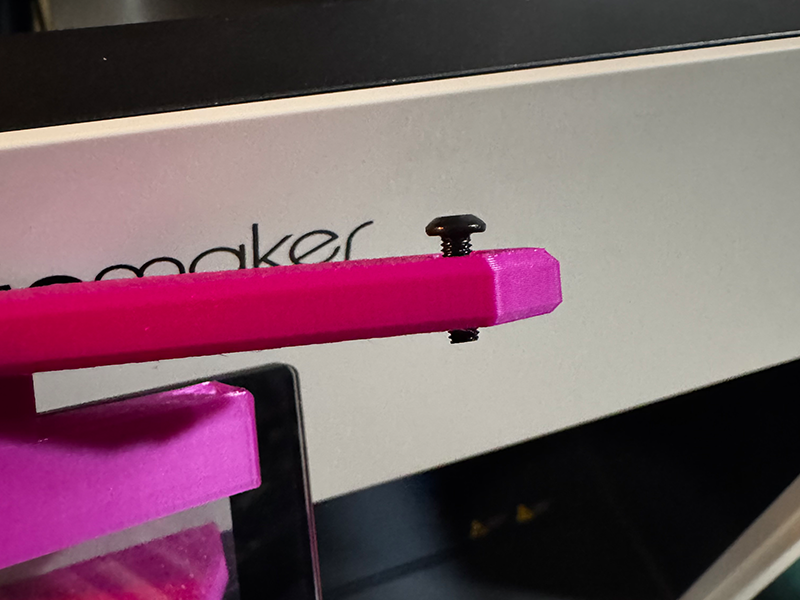
While fixing each insert, screw in a countersunk screw from the front until it starts to protrude from the other side. These inserts are designed to fix the glass by compression.
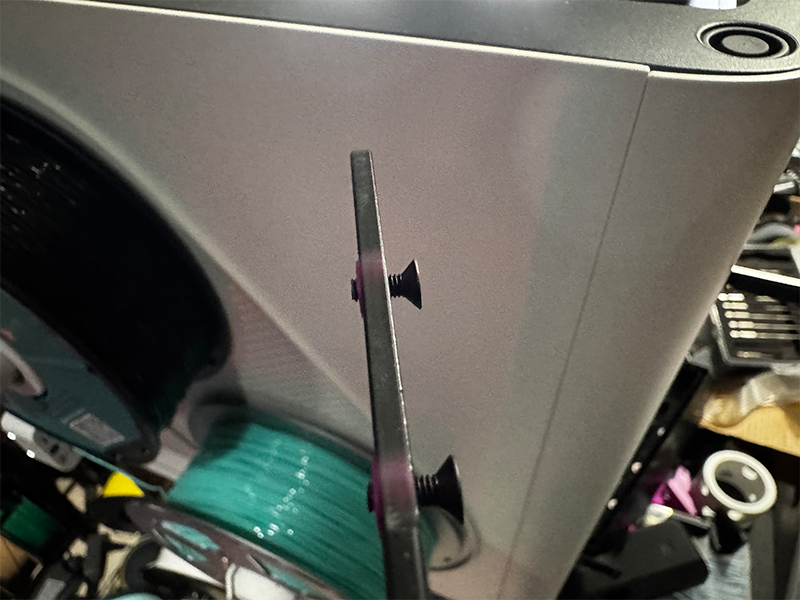
Put the hinged glass side in place, and then fully screw in the screws
Screw a 10mm M3 screw
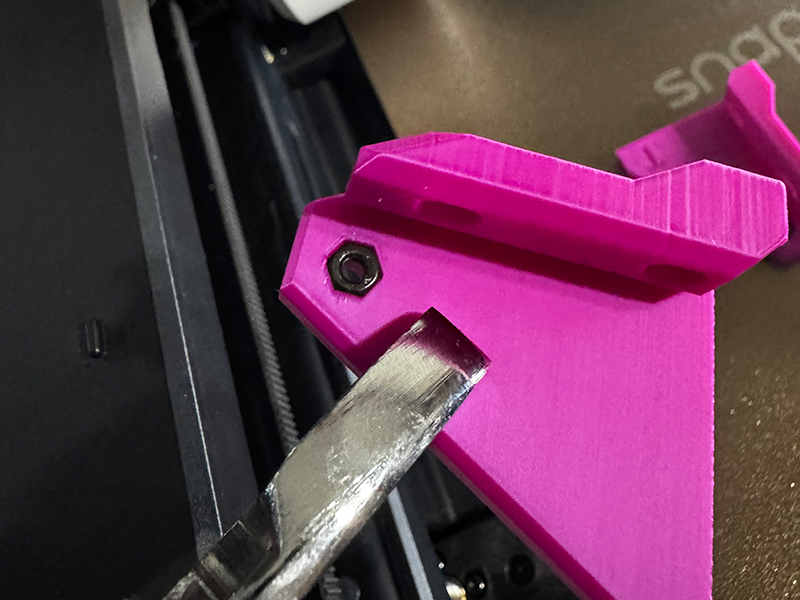
For each hinge side component, press in an M3 nut with pliers
Use two 8mm screws and washers to install each side of the hinge on the door hinge. Apply inward pressure when tightening the screws. After the screws are tightened, there should be no looseness or gap in these parts
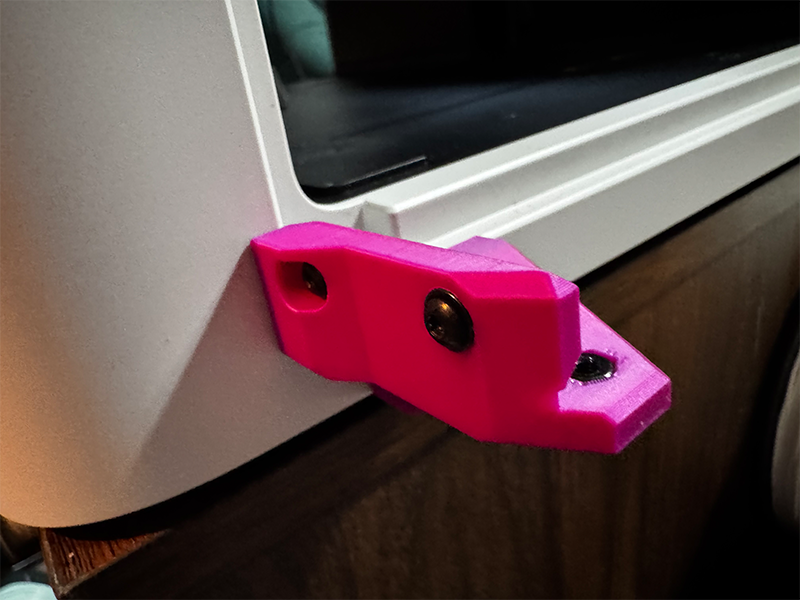
Place the glass in the door frame and position it so that the protruding screws are located at the connection points between the bracket components. This might require some effort, but please place a washer on the connection screws between the components, as shown in this unfortunately blurry photo. Once in place, tighten these screws to complete the hinge. If the hinge is too tight, loosen the screws slightly.
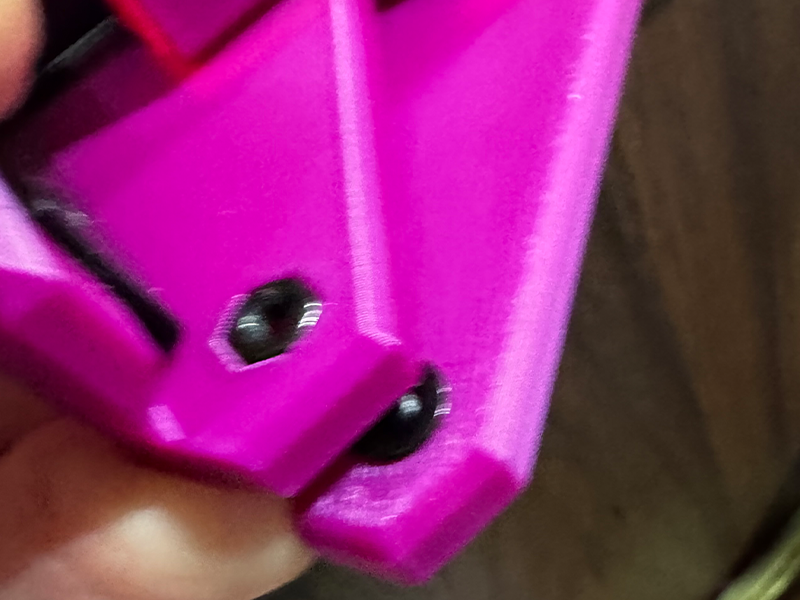
Insert a 3-6mm
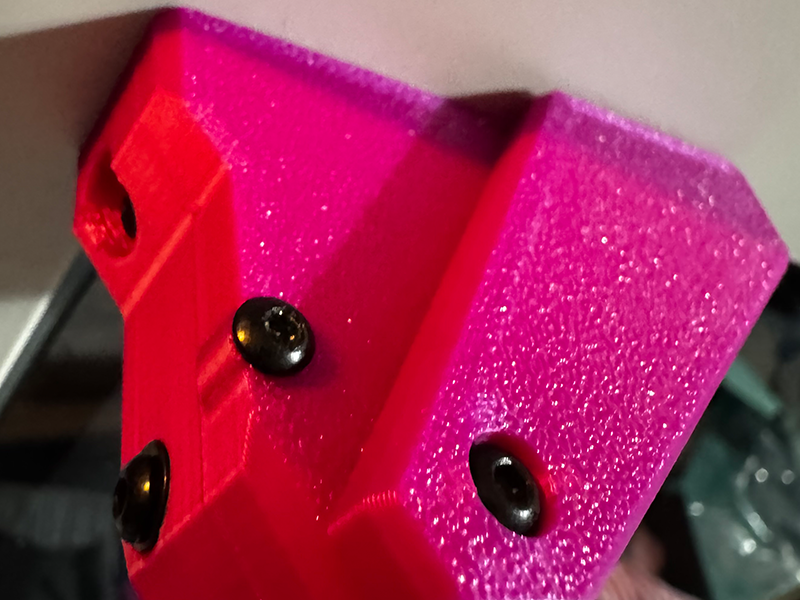
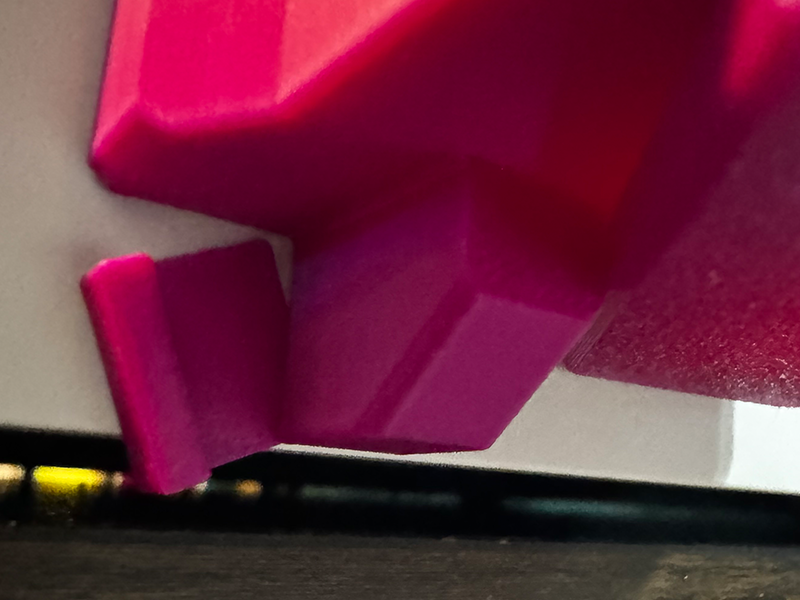
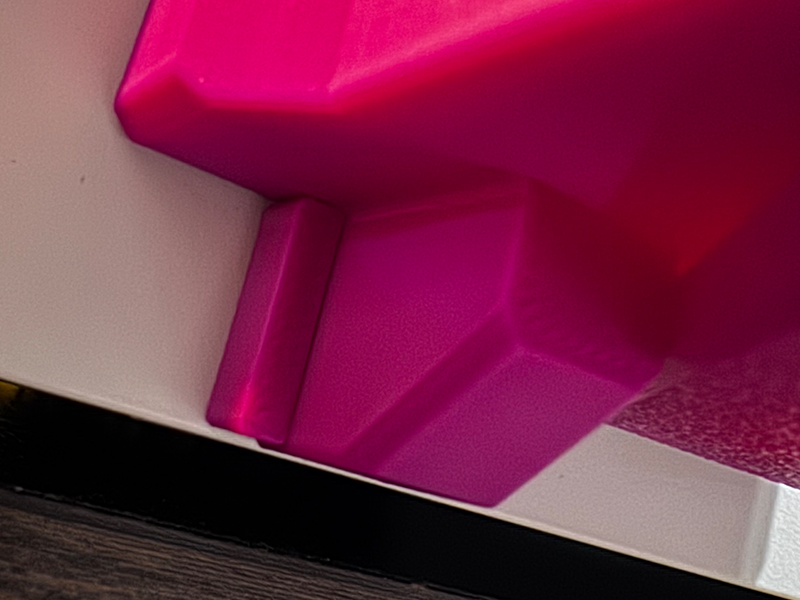
(Optional) If you find that the door is slightly sagging and hitting the bottom of the frame, please use the included shims as shown to slightly raise the angle of the bottom hinge