
Microphone parabolic usb desktop
SlowChisel33

AI ile Benzer Model Bul


Baskı Profili(0)
Model Dosyası(0)
 0
0 0
0 0
0
Yayınlandı:2024-06-07 15:08:13
0
0



 000
0001 step
For the assembly you need the simplest USB card - for example this i

The main thing is that it should have a microphone input.
Step 2 - remove the case and unsolder the USB socket
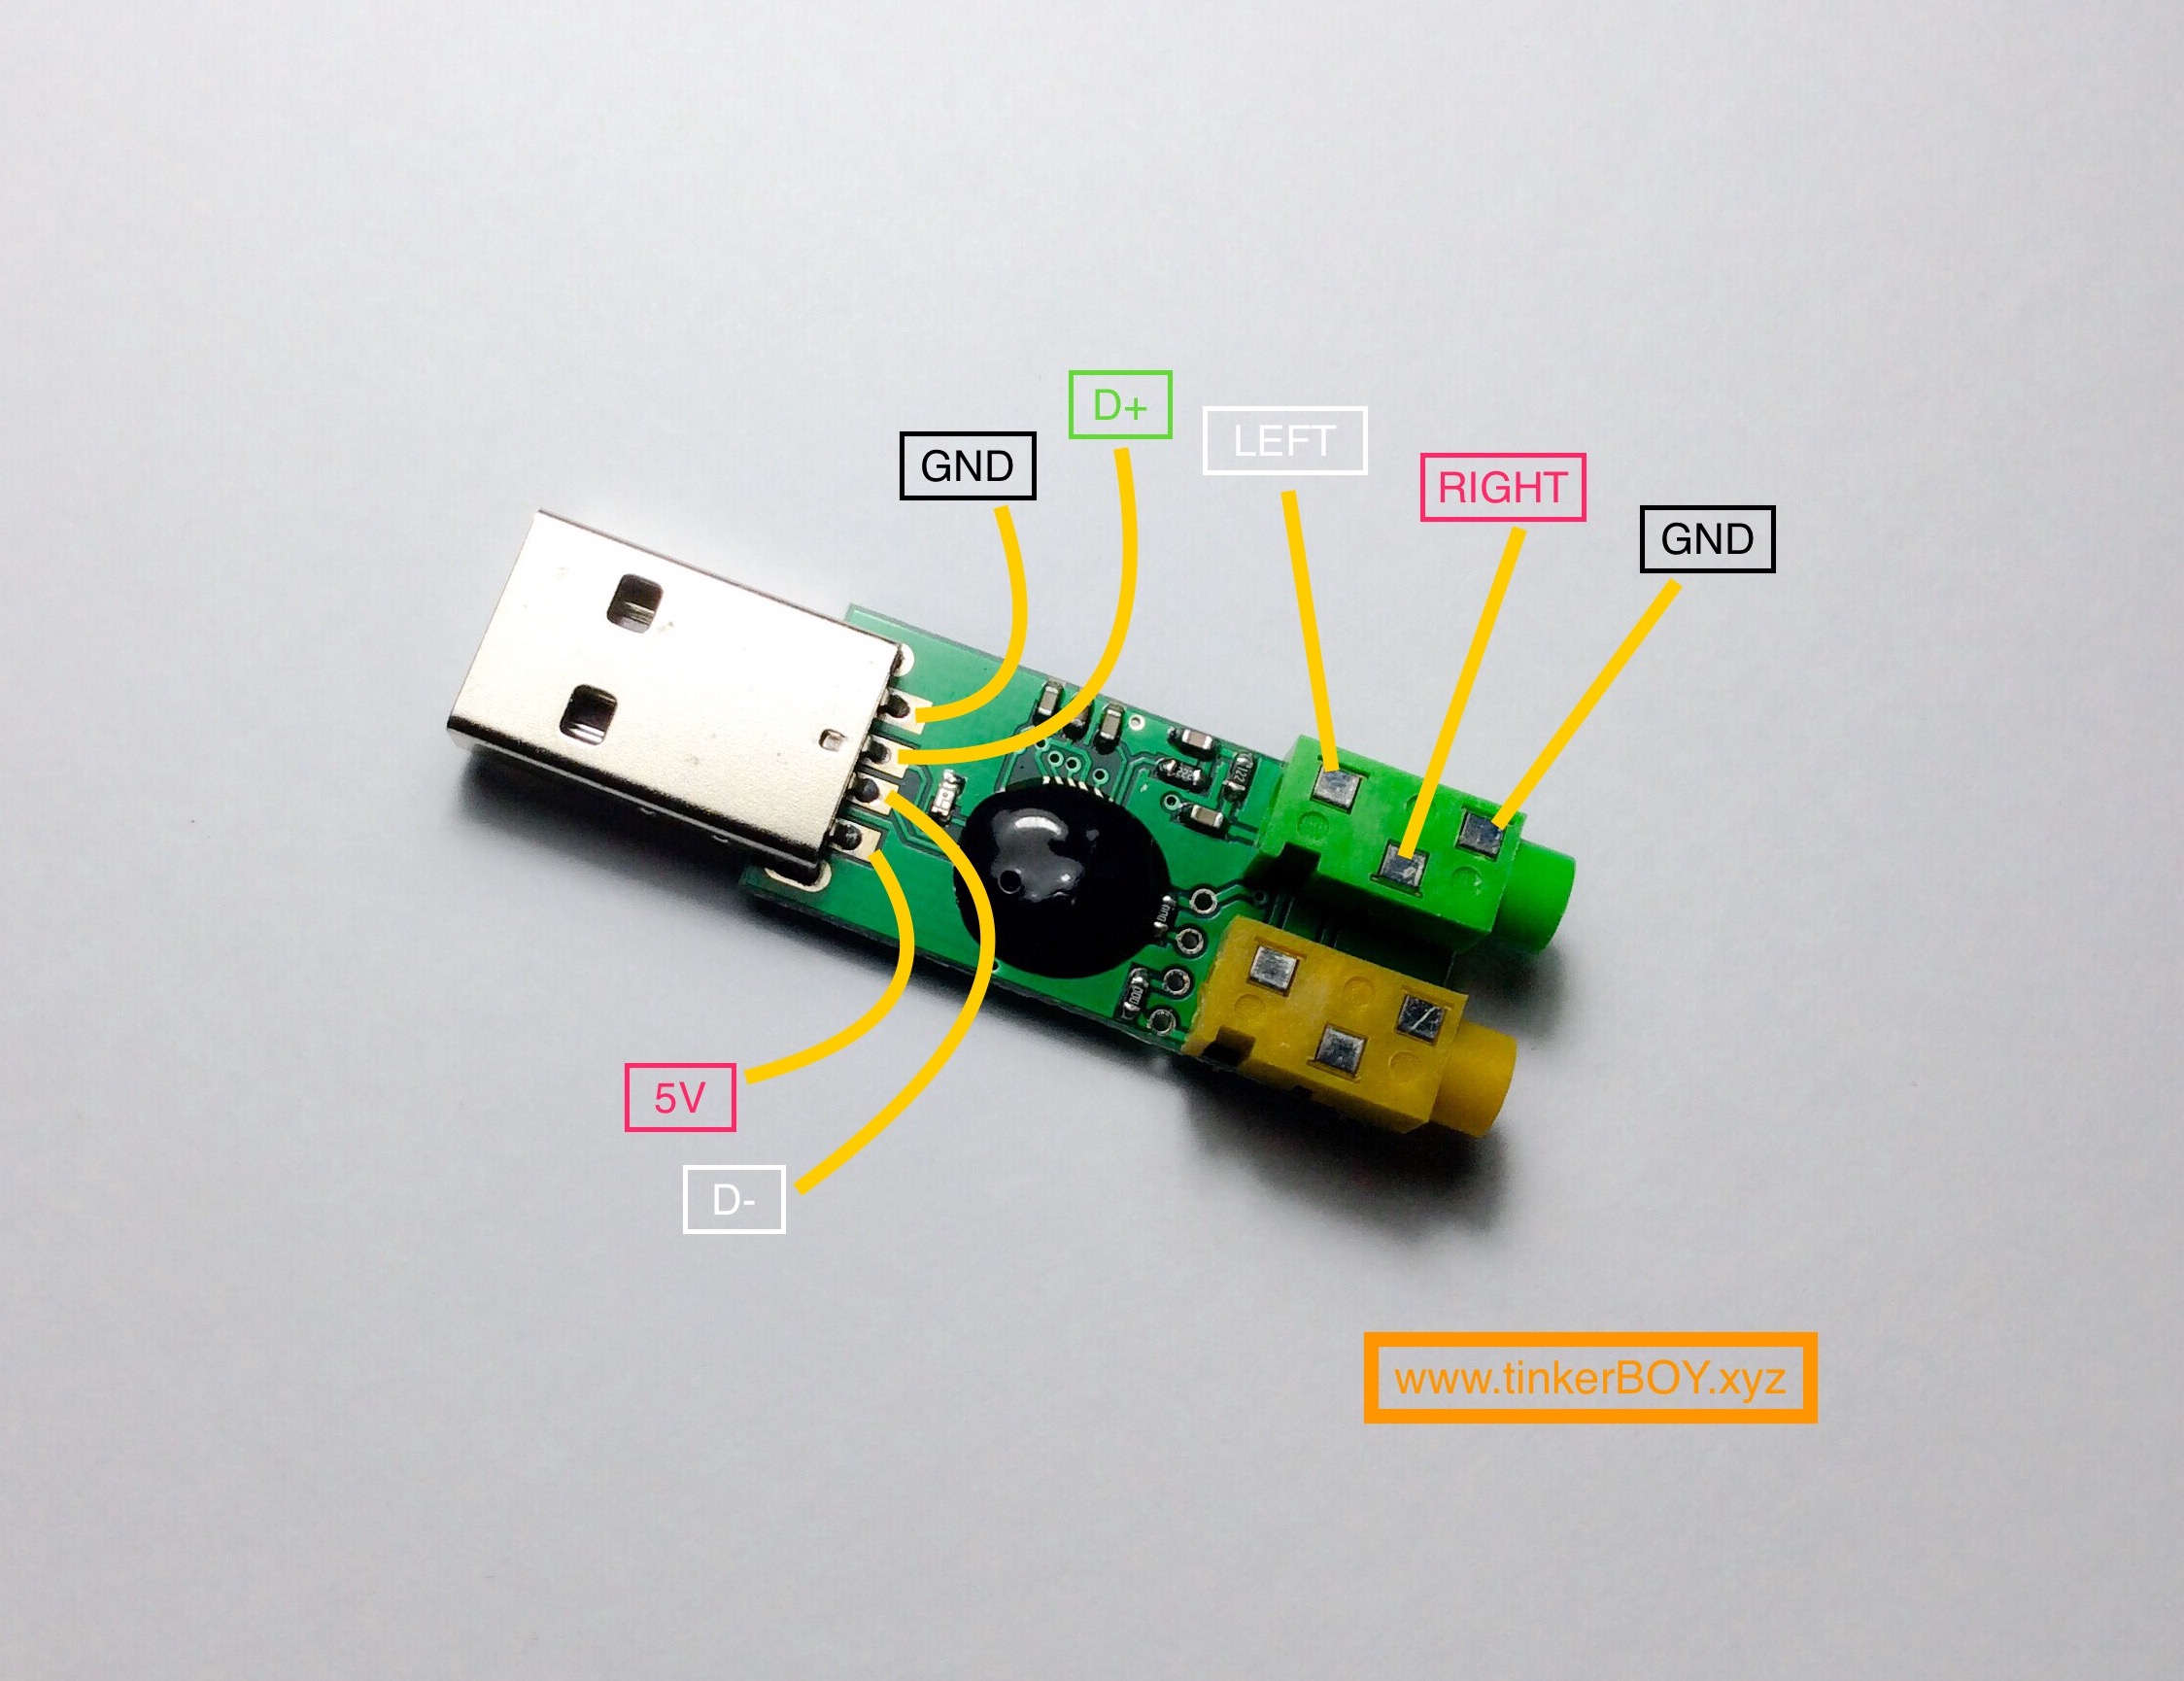
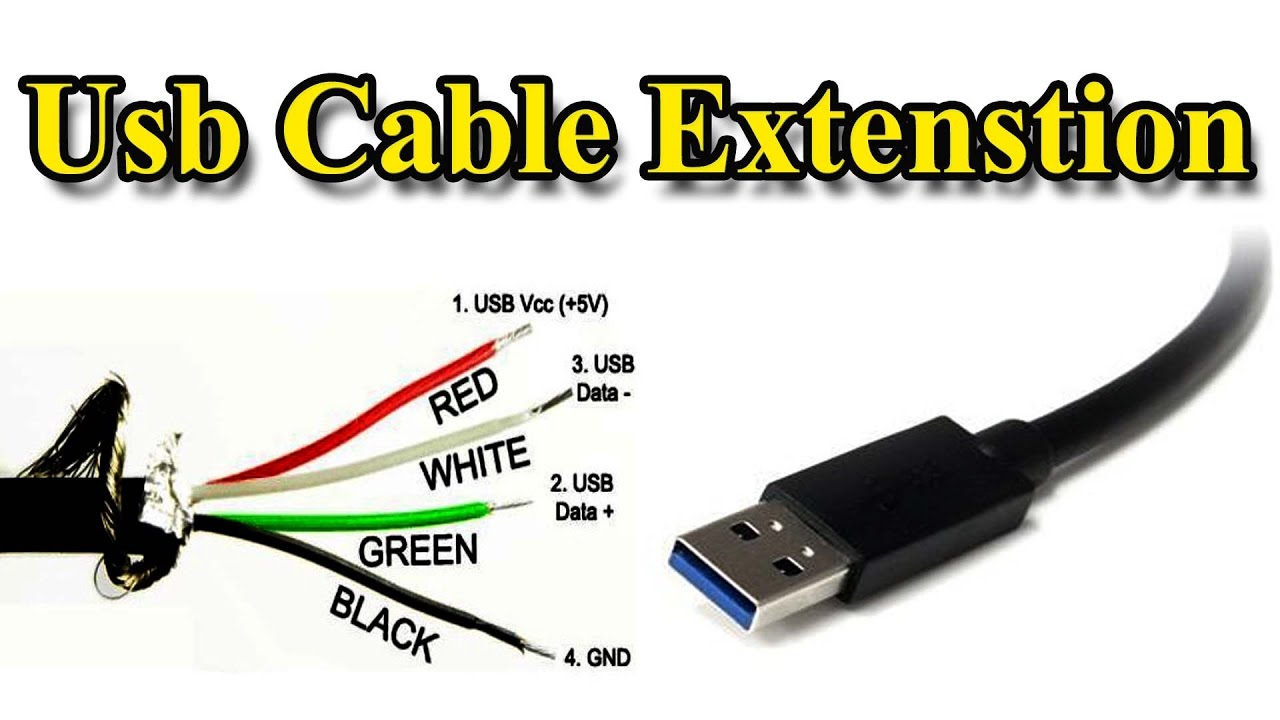
3 step - solder a usb cable from something in place of the USB socket - here is the cable pinout.
4 step - solder microswitch im into the +5 (red) power supply gap.
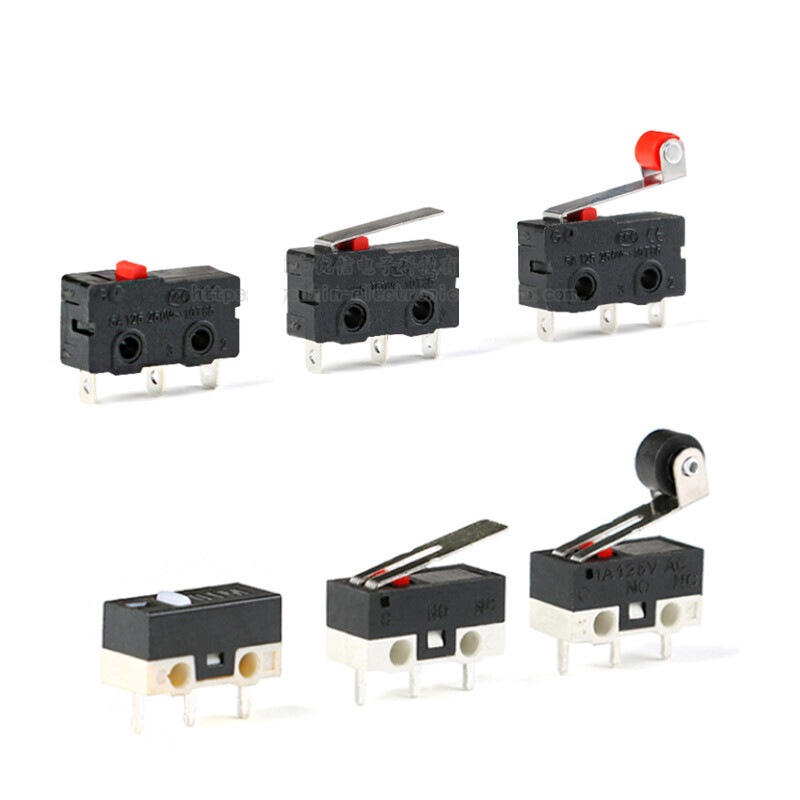
Before soldering check that in normal state it was switched off - if you don't like it or didn't find it - you can solder any one you like or don't put it at all - just the microphone will work all the time while it is plugged into the slot on the computer.
We solder thin wires to it and insert it into part #5, then solder the loose ends to the microphone input. Sockets from the card can also be soldered out - they are not needed anyway.
Step 5 - look for and find a microphone capsule, for example, such as this one.
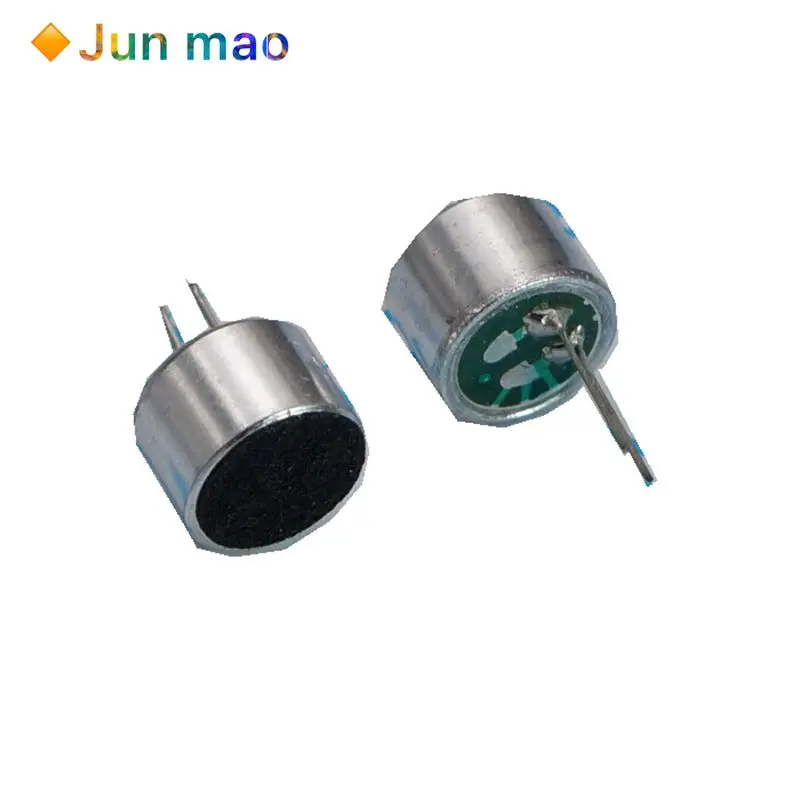
Step 6, assemble everything and use it. You can put a thin foam or cloth on the protective front cover and tighten it with a ring - as desired.
1 шаг
Для сборки Вам нужна самая простая USB карточка - например такая
2 шаг - убираем корпус и отпаиваем USB гнездо
3 шаг припаиваем на место USB разъёма usb кабель от чего-нибудь - вот распайка кабеля
4 шаг в разрыв питания +5 (красный) впаиваем микровыключатель перед впайкой проверьте, чтобы в нормальном состоянии он был выключен - не нравится или не нашли - можете впаять любой, какой понравится, или вообще не ставить - просто микрофон будет тогда работать постоянно, пока воткнут в разtъм на компьютере.
5 шаг - ищем и находимм микрофонный капсуль например такой , припаиваем к нему тонкие провода и вставляем в часть №5, затем свободные концы припаиваем к микрофонному входу. Гнезда с карты тоже можно выпаять - они все равно не нужны.
6 шаг собираем все и пользуем. На защитную переднюю крышку можно положить и притянуть кольцом тонкий поролон или ткань - по желанию.
