
Full-featured 3x3 Cube (Advanced Version) for FDM printers
susan williams09

AI ile Benzer Model Bul
Baskı Profili(0)
Model Dosyası(0)
 0
0 0
0 0
0
Yayınlandı:2026-04-05 02:33:08
0
0



 000
000This cube will require brass inserts, screws, springs, washers and magnets. It will require you to sand and glue and lubricate (after wearing it in dry). This is much more involved than my previous cube but the result is much closer to a commercial speed cube.
This will not be comparable in price to a commercial cube!
I will try my best to show you how to clean up and assemble the parts so that you have a working cube at the end.
Printing: 0.4mm nozzle and 0.1mm layers
2 * Core pieces with 3-4 walls and a decent infill (30% cubic)
6 * Centre inside pieces with 2 walls and no infill
6 * Centre outside pieces with 2 walls and no infill
24 * Edge pieces with 2 walls and no infill
24 * Corner pieces with 2 walls and no infill
Colour Caps required per colour: (red, blue, green, white, yellow and orange)
1 * Centre CC
4 * Edge CC
4 * Corner CC
All of these extra parts can be found on temu.com for a fairly reasonable price.

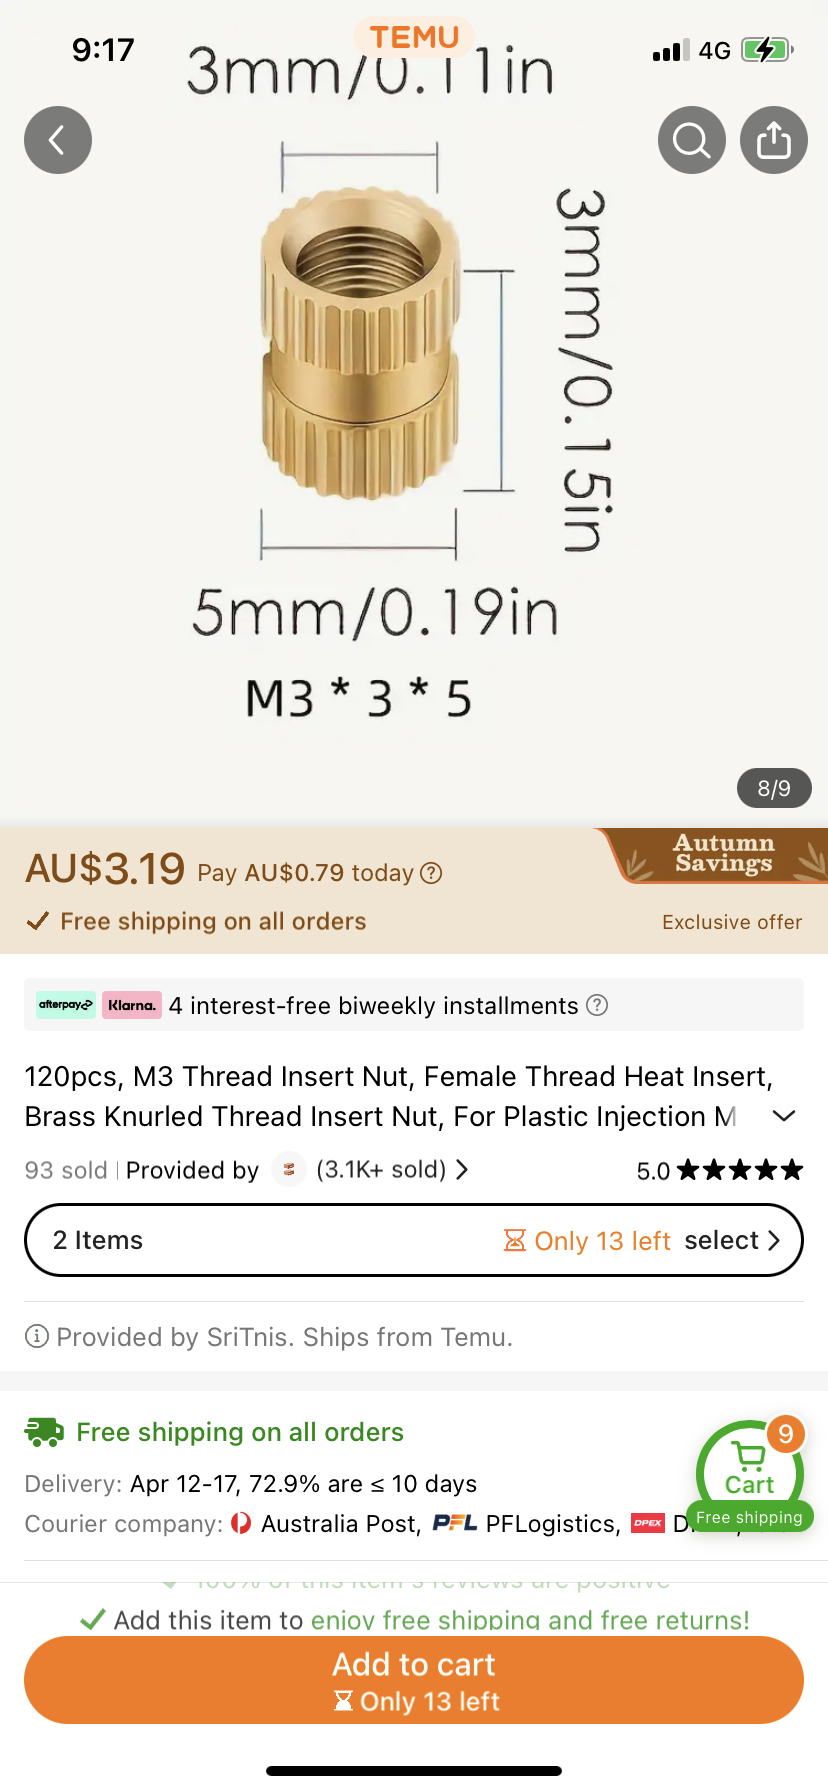

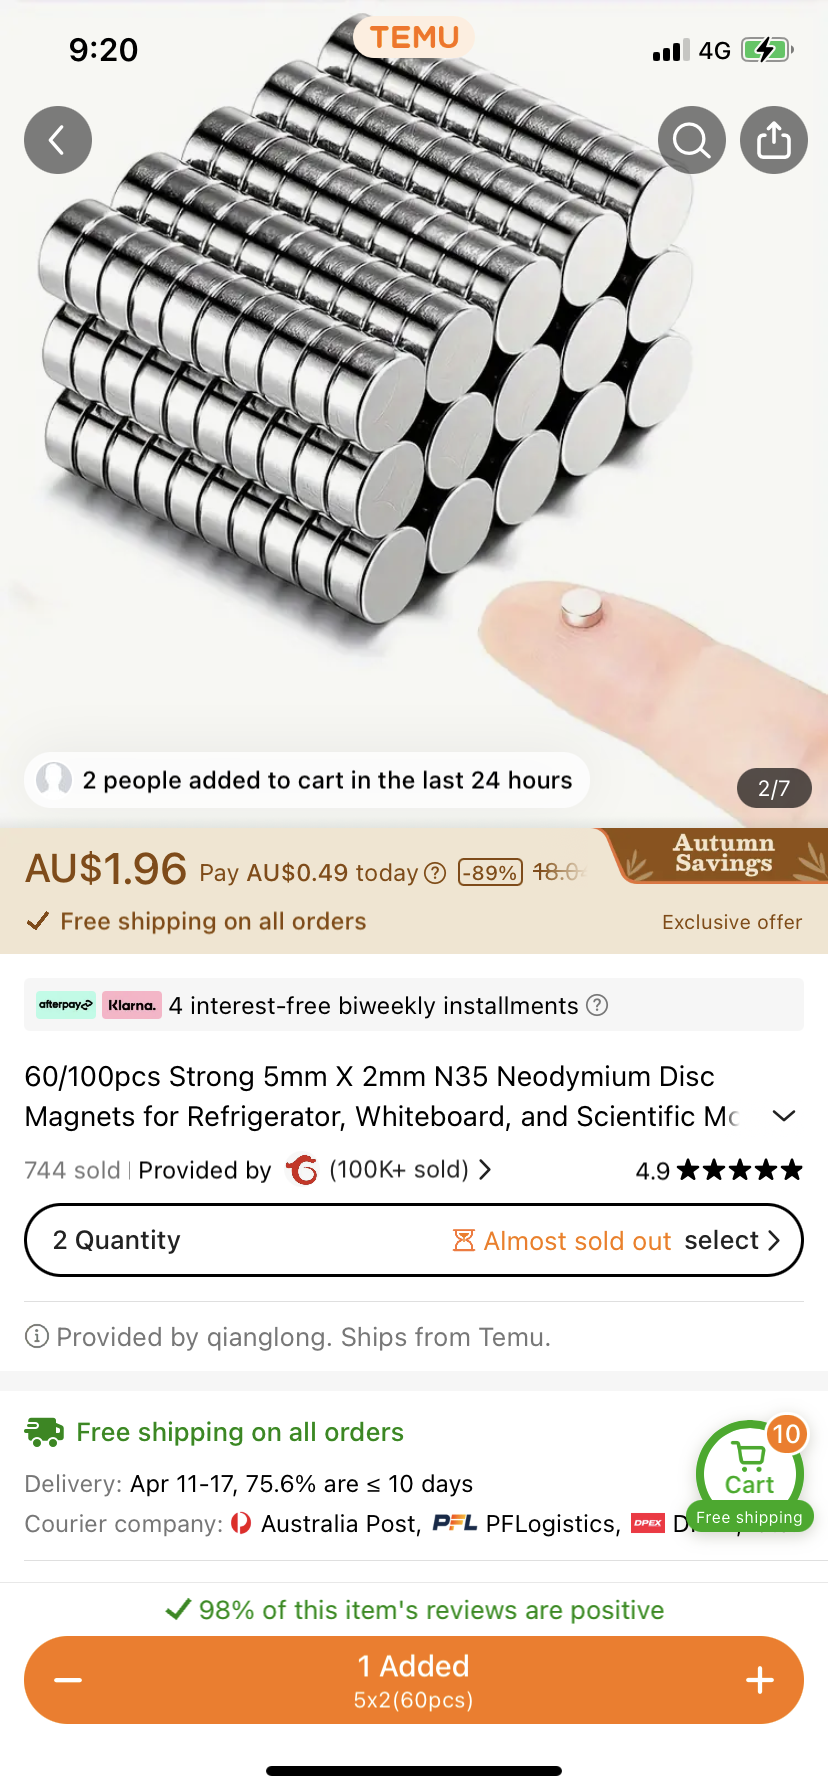
Extra parts needed:
6 * M3 Brass insert
6 * M3 machine screw with 20mm of thread
48 * Cylindrical neodymium magnets (5mm OD, 2mm Depth) (N35 is a gentle magnetic alignment but for a more snappy response you can go higher)
6 * Stainless steel springs (6.7mm OD, 5.5mm Depth, 0.5mm Wire Diameter)
6 * M3 steel washer
First start printing all of the parts in small batches unless you are really confident in your printers ability to make perfect parts.
All of the parts I have designed are made to be printed without support or infill, the core will need 4 walls at 0.4mm but the rest can be printed with only 2. The colour caps are 1mm thick and you'll need to fill them completely so if you are going to print them at 0.1mm layers which i recommend then make sure there are at least 10 layers between the top and bottom.
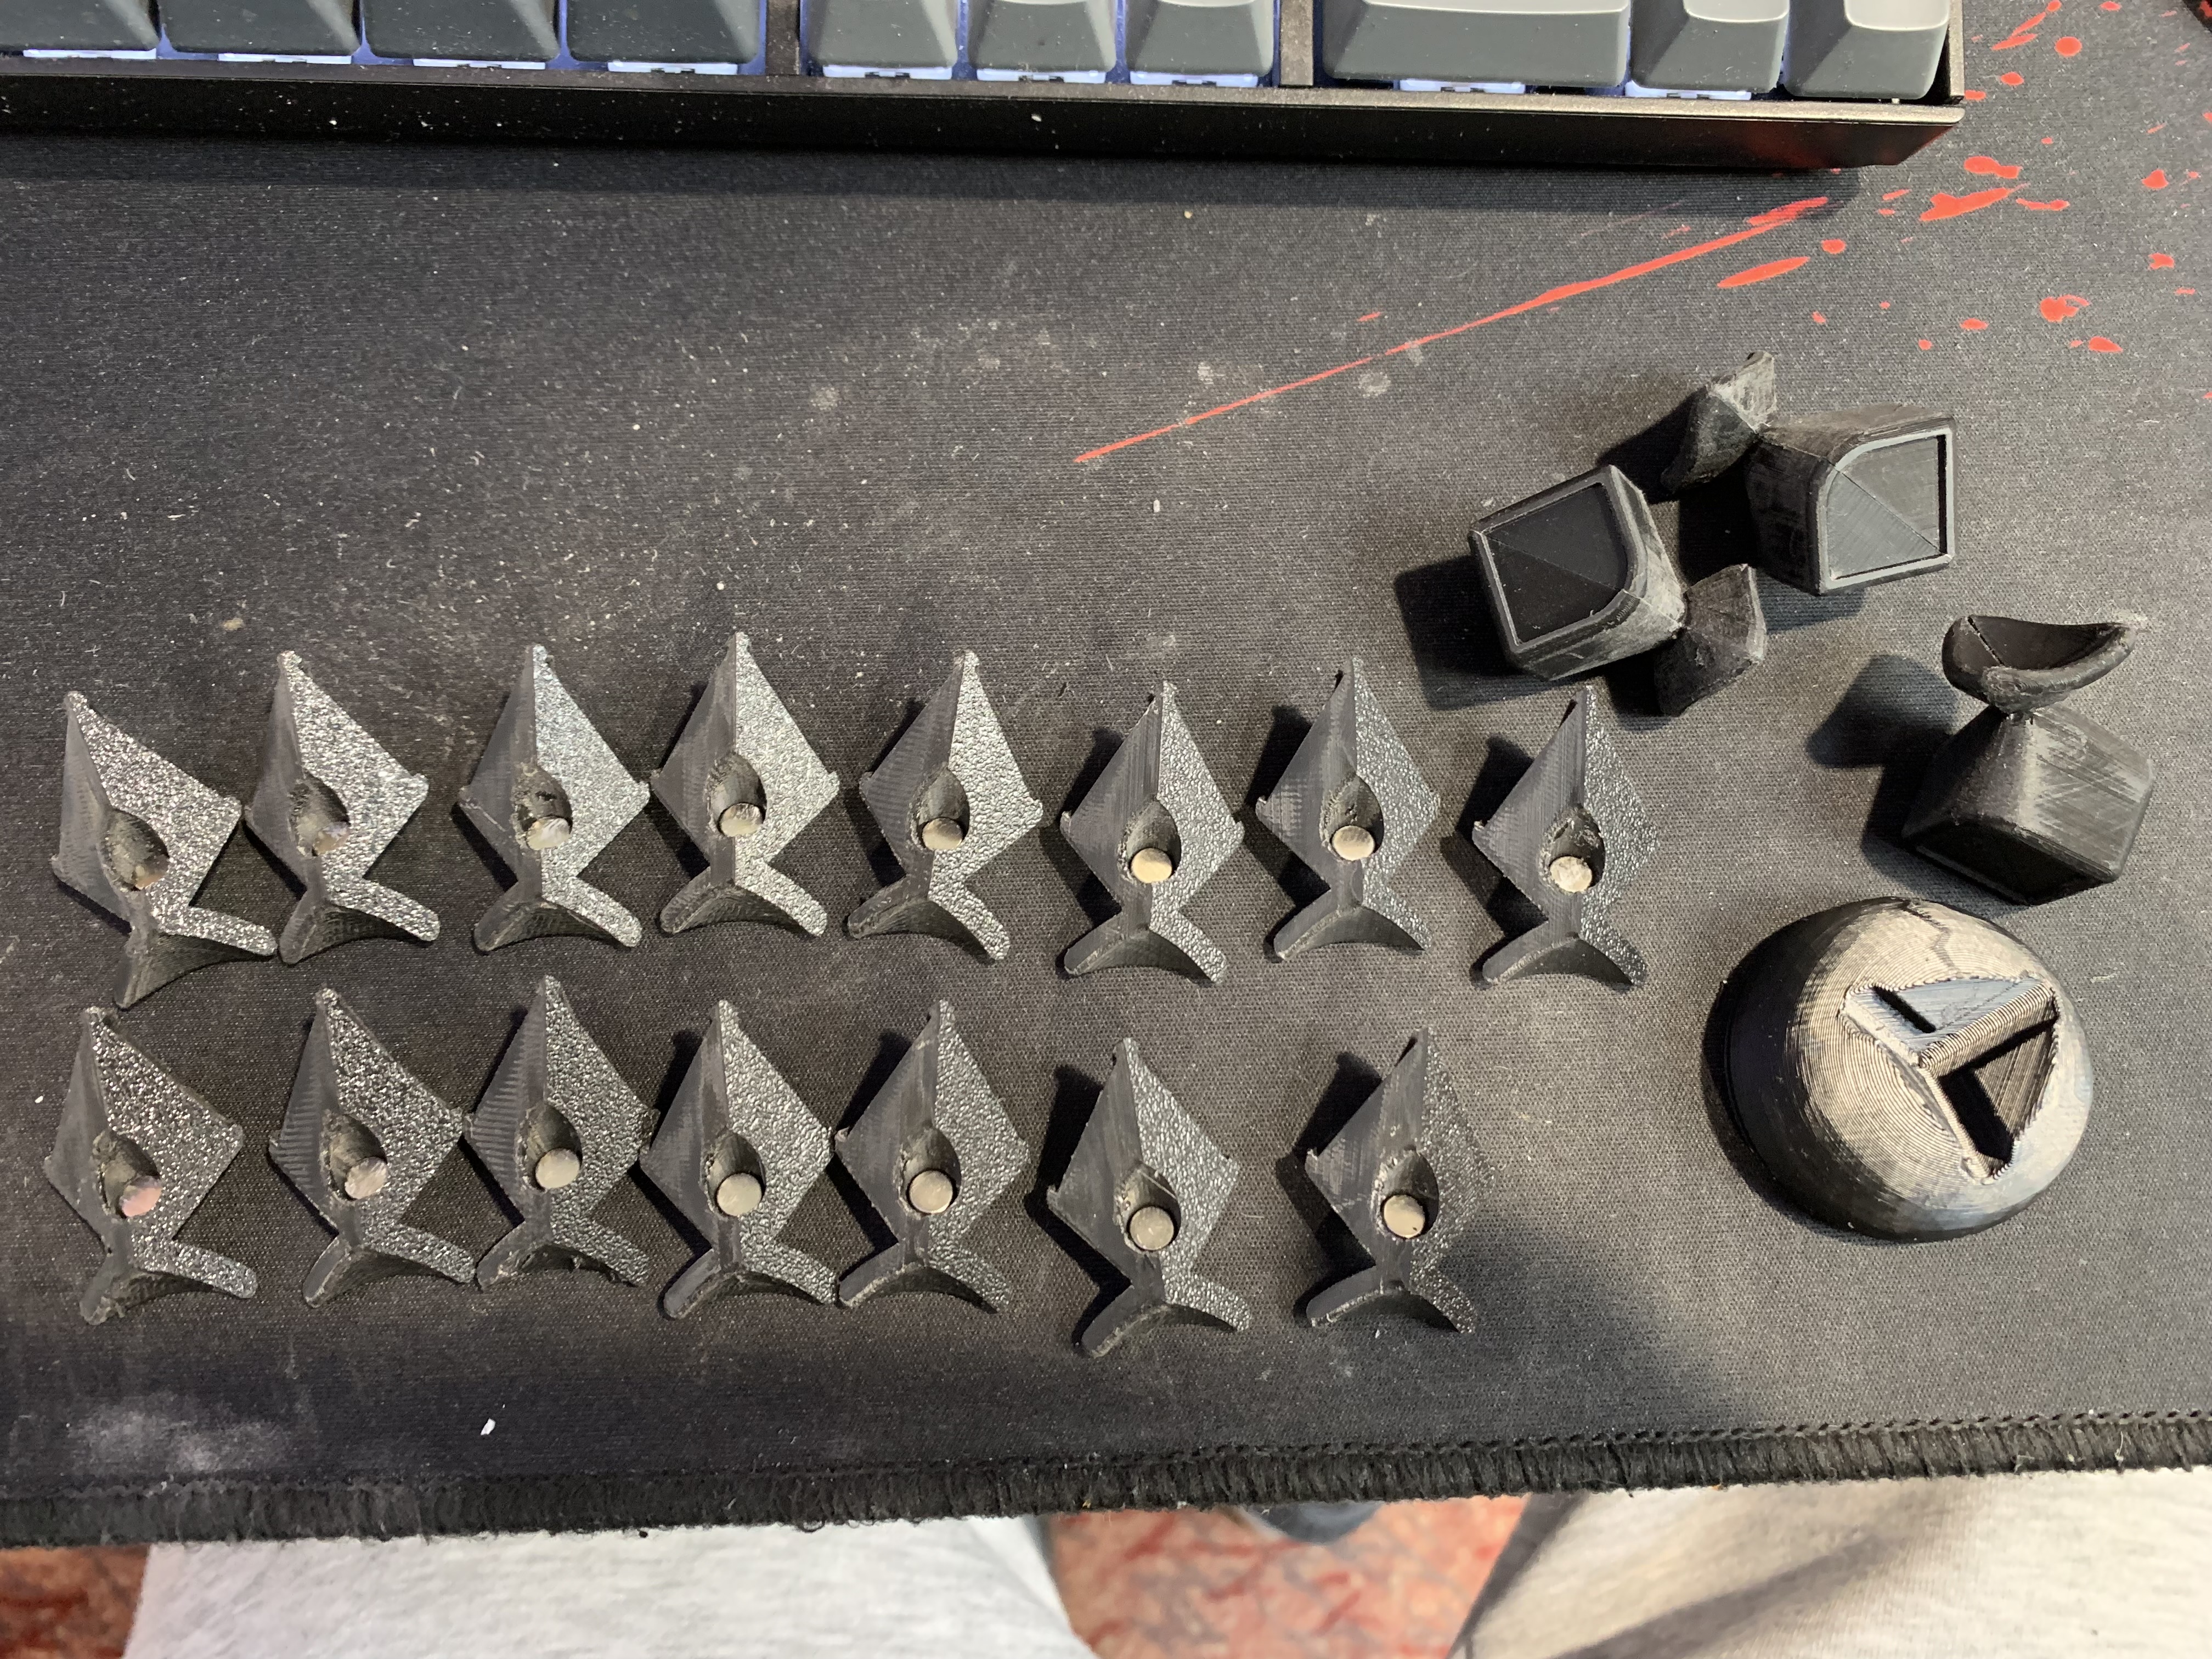
Once you have printed all of the parts, you should have 24 edge pieces and 24 corner pieces. These all have a space for the 5*2 magnets to go into with a tiny droplet of CA glue. I use a larger cylindrical magnet with one end marked to make sure that the magnets are facing the correct way. All of the magnets in the edge pieces must be facing the same way as each other and the opposite way to the magnets in the corner pieces.
Once the glue has set, start pairing up the edge magnets and use the edge glueing jig to make sure that they are aligned (test fit them before applying glue) You should now have 12 complete edges. Lightly sand any rough edges in the contact areas being careful not to make any marks on the visible outer parts.
Each corner is made up of 6 parts, 3 corner pieces and 3 corner colour caps. Start by sanding the inside faces to get rid of any plastic that might interfere with the glueing process and then test fit three corner pieces into the corner glueing jig to make sure they line up properly. Apply a few droplets of CA glue to the inside faces then put them together into the jig wiggling them a bit to make sure they are settled nicely before the glue sets. These corner pieces will require a light sand across the contact surfaces so that they can smoothly turn without catching. You should have 8 complete corners now.
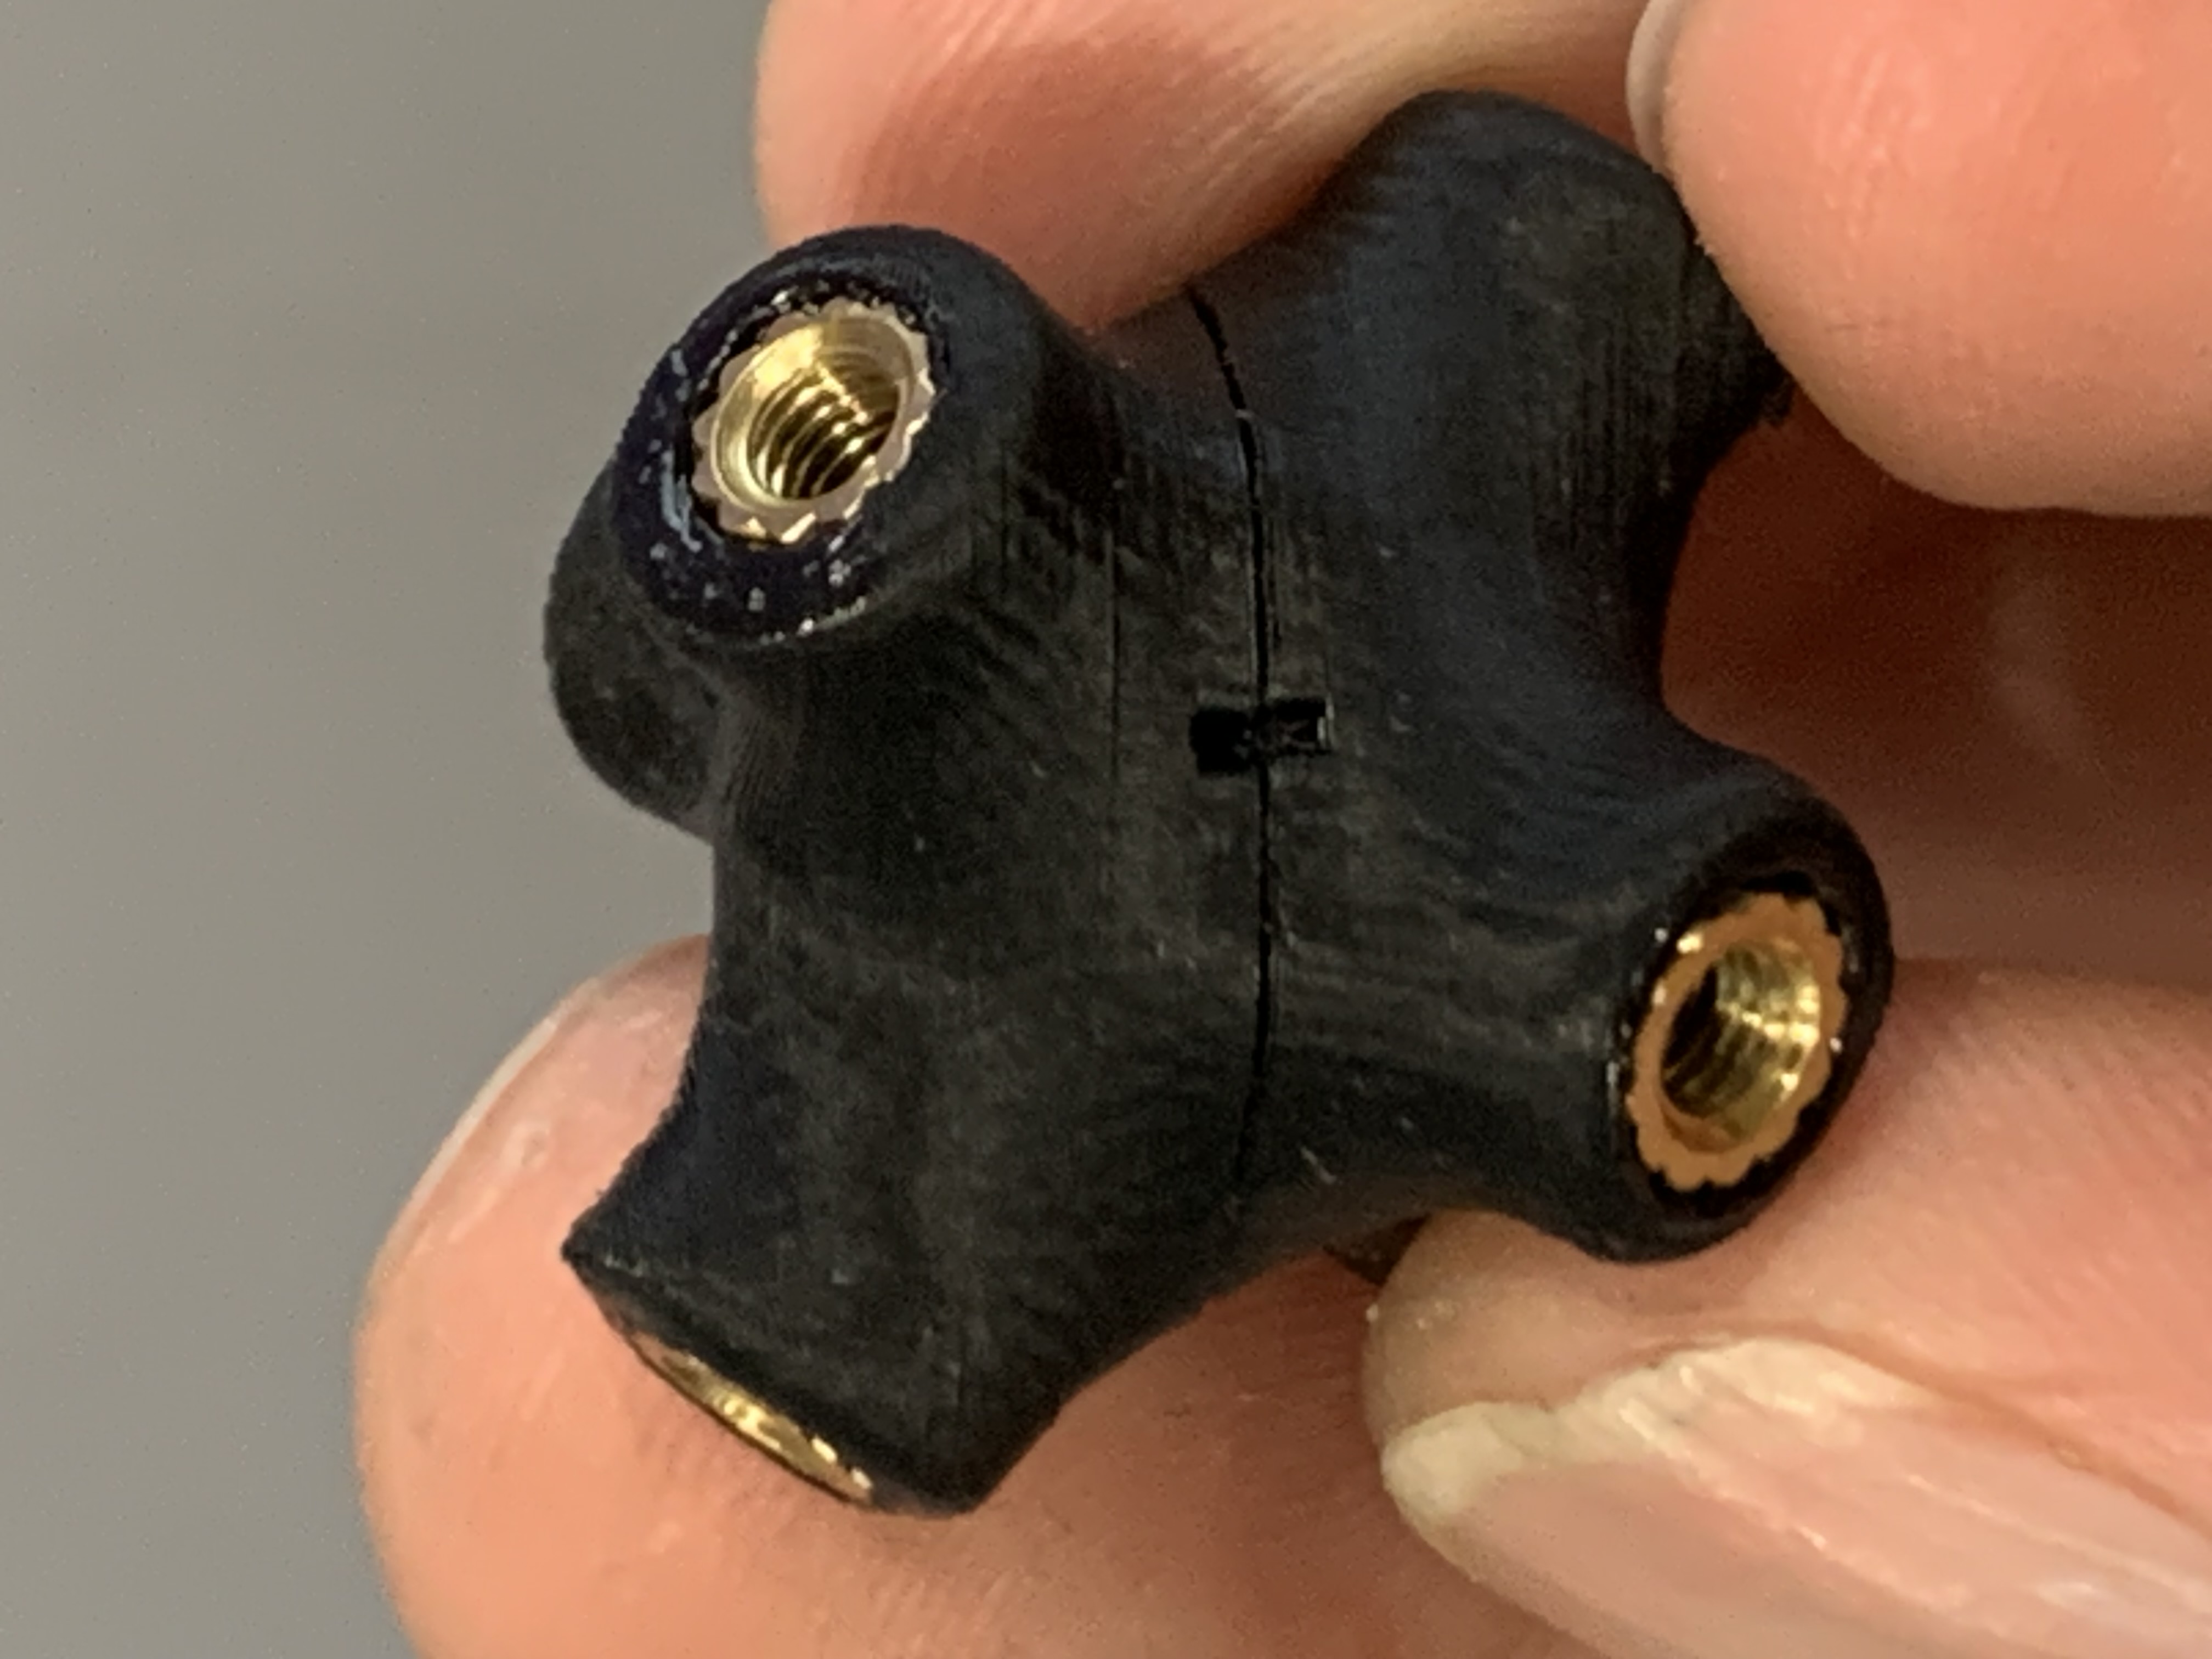
The core is made up of 2 identical pieces that you will need to align by finding a little notch and lining it up. Apply some CA glue to the face of one or both and hold them together until the glue sets. Use a soldering iron to push the brass inserts into each of the six holes and align them as best as you can, if they aren't straight you can put a screw into it and heat up the screw with a cigarette lighter to soften the plastic enough for you to correct it's alignment.
This bit is fiddly but it's unfortunately necessary, sand the coating from one side of the steel washer, (high grade stainless steel ones won't work) and clamp it to the spring as shown in the picture, then solder the spring to the washer making sure that the solder flows and sticks in at least one spot. There isn't a lot of force that it has to hold against but it does need to be solid so that the washer doesnt slip around.

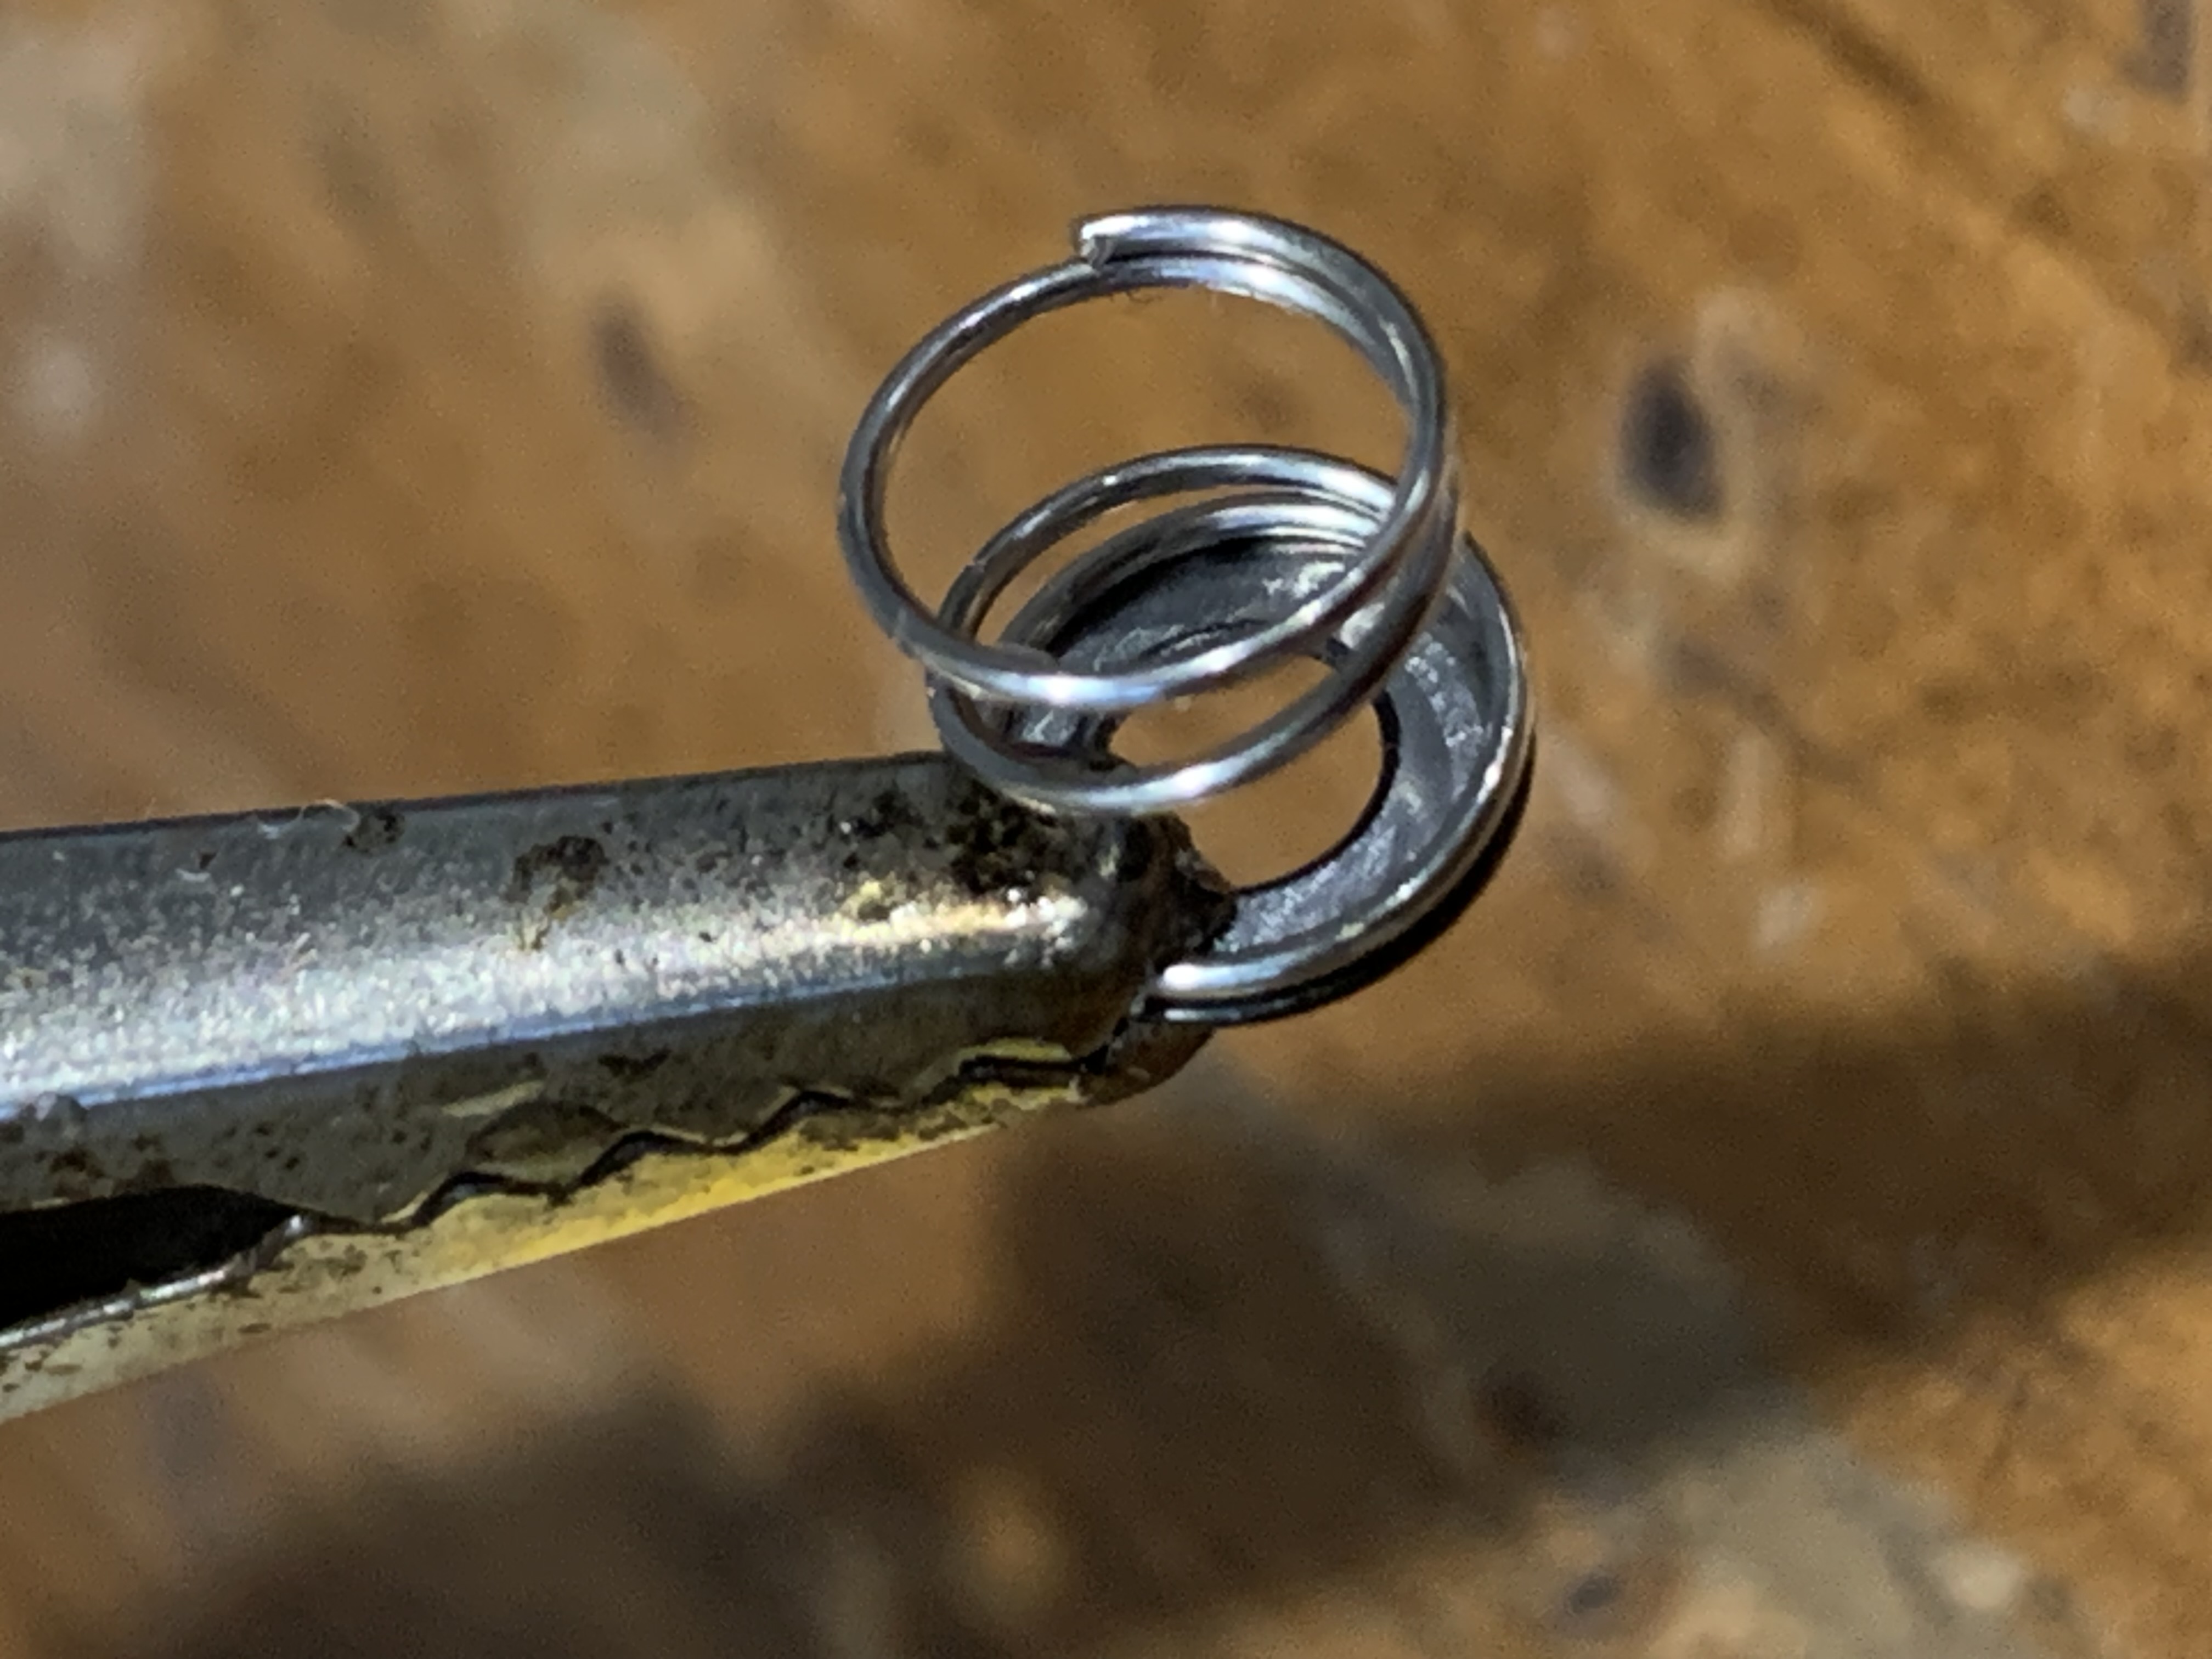

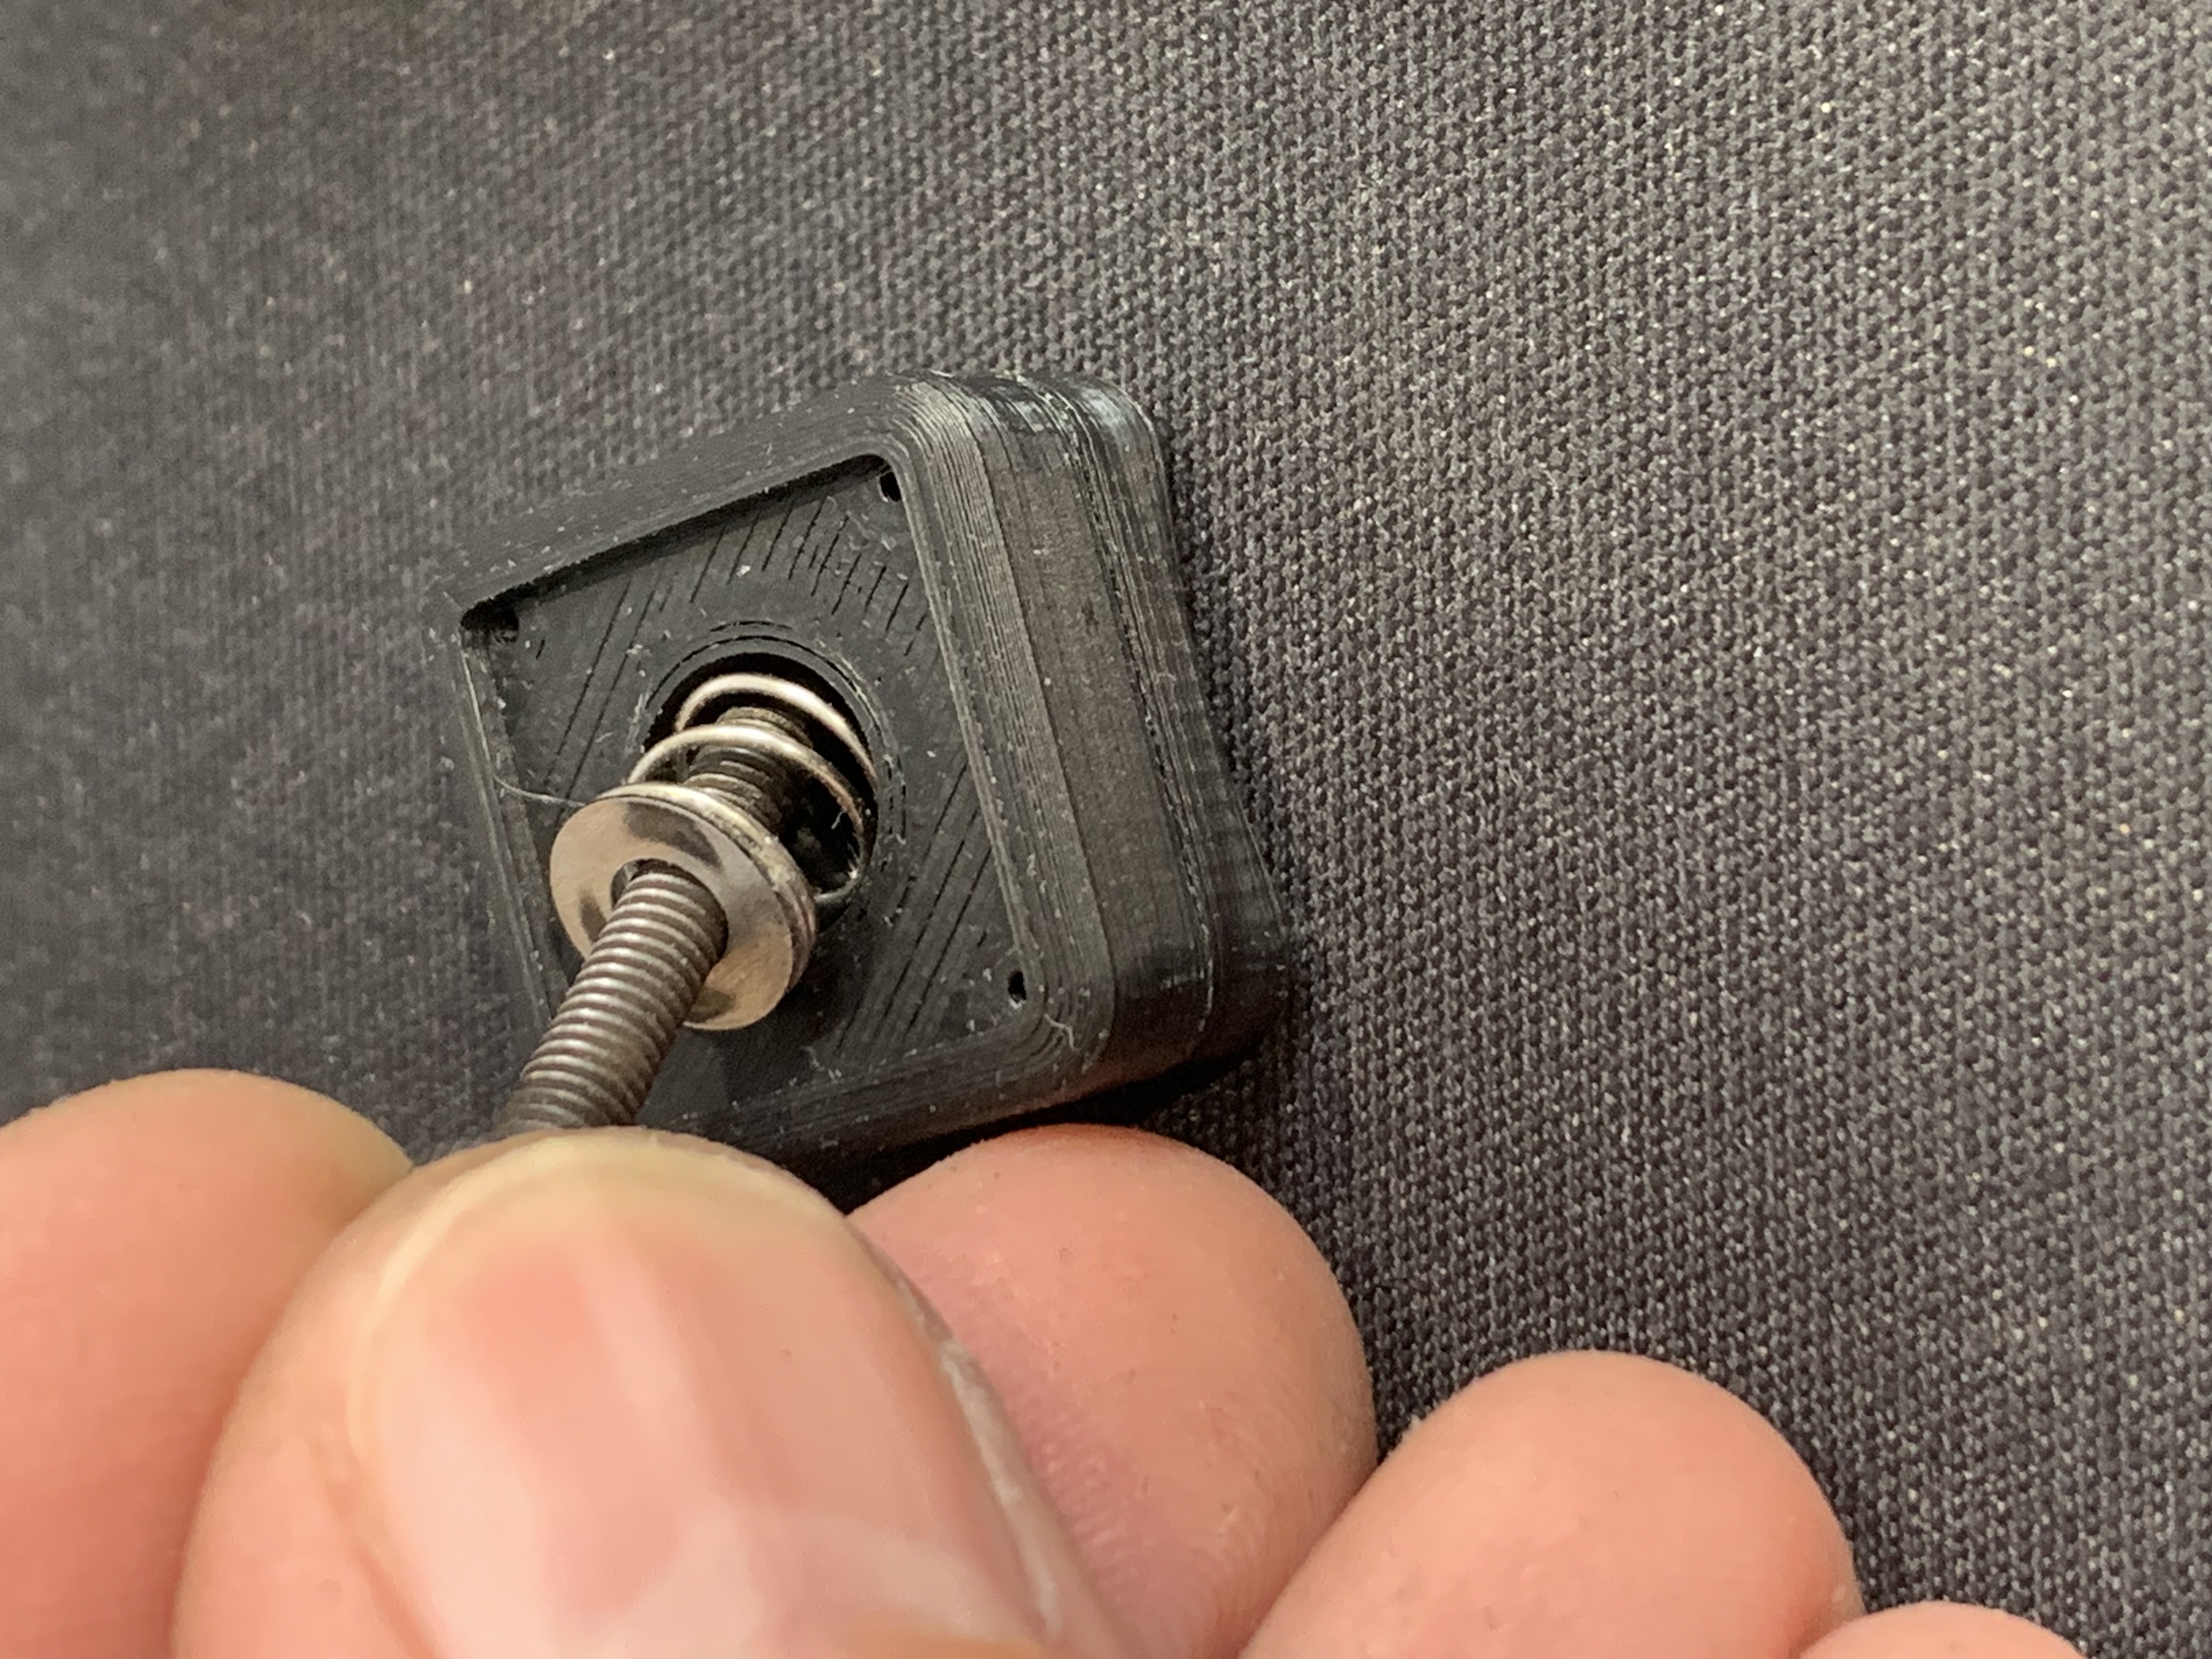
Glue each centre inside piece to a centre outside piece, they aren't too difficult to align by hand and then let the glue set. Now put a screw through the washer/spring assembly as shown in the picture and then put it into a the centre piece and finally into the core. Do the same for three more pieces making a ring around the core.
You can start assembling the cube by putting an edge piece in between each of the four centre pieces and then making layers out of the remaining parts as shown in the video.
The screws will need to have a drop of thread locker placed on them so they don't work their way out of the core. You are almost finished, you just need to print out the nine colour caps of each of the six colours and glue them inthe correct position.
The final video is of me eventually solving the cube, as you can see i'm still a novice. The scratchy sound is not nearly as loud as it sounds in the video but it is definitely not as smooth as i would have liked, It still catches every now and then and there is too much travel in the springs. There is room for improvement in both the design of the cube and in my solving technique but I'm not finished yet!
