Imperial Volume Conversion Chart
rare_harbor

Найти похожую с ИИ

Профиль печати(0)
Файл модели(0)
 0
0 0
0 0
0
Опубликовано:2026-06-04 13:28:11
0
0
 000
000This is a conversion chart for the absolutely wild imperial measurement system. If you happen to find a recipe online from a particularly colonized geographical location, this might come in useful. I have mine posted on my fridge, because sometimes I have just filled my 1/2 cup measuring spoon with flour and the recipe is also asking for a 1/2 cup of water. What am I to do? Use two of the 1/4 cups? That one's filled with vegetable oil! Use half of the 1 cup? I'm BAKING, not COOKING! I can't just eyeball it! Aaargh!
Fear not. I merely have to glance over at this handy dandy conversion chart to see immediately that I need to dump eight tablespoons (or twenty four teaspoons) of water into my mixing bowl.
"But Topos," I hear you say. "Why should a 3d printer be used for the creation of this incredibly useful chart? Why not simply print this on a piece of paper?"
"Genevieve," I reply (if your name is Genevieve, which it probably isn't). "There is a reason recipe books are printed on high gloss paper with thick covers and ring binding instead of glue binding. Kitchens and paper are mortal enemies, as immortalized in the children's game ro kitchen bo, where rock beats kitchen, kitchen beats paper, and paper beats rock. Wild temperature fluctuations, high humidity, and randomized fluid flinging will quickly render your 2d printer's beautiful work into a soggy mess. This piece of pure plastic will not warp, wrinkle, or wave in the wind. It will not become discolored or burned. It might melt, but if that happens you likely have larger problems on your hands. It is far better suited to this task than a piece of paper."
"I could laminate it," you say, but I have stopped listening.
Large model measures 170mm x 263mm
No corner holes
I didn't consider folks with smaller print beds. Sorry. You might have to shrink it a little to fit. Or purchase a printer with a larger bed. But that seems a bit like an overreaction. Still, I'm not your dad. I'm more like your weird aunt. Go crazy.
Smaller model measures 140mm x 216mm
Made specifically to fit into an 8.5in x 5.5in envelope. Great for sending a gift to any OTHER weird aunts you might have.
Don't send it to me. I've got plenty of these things.
Has holes for attaching to walls or gluing magnets into.
If you have a tool changer or an Automatic Material System (AMS), you will probably be fine. These instructions are for those amazing makers who do things the hard way.
After you have modified the original model to your own satisfaction, slice it.
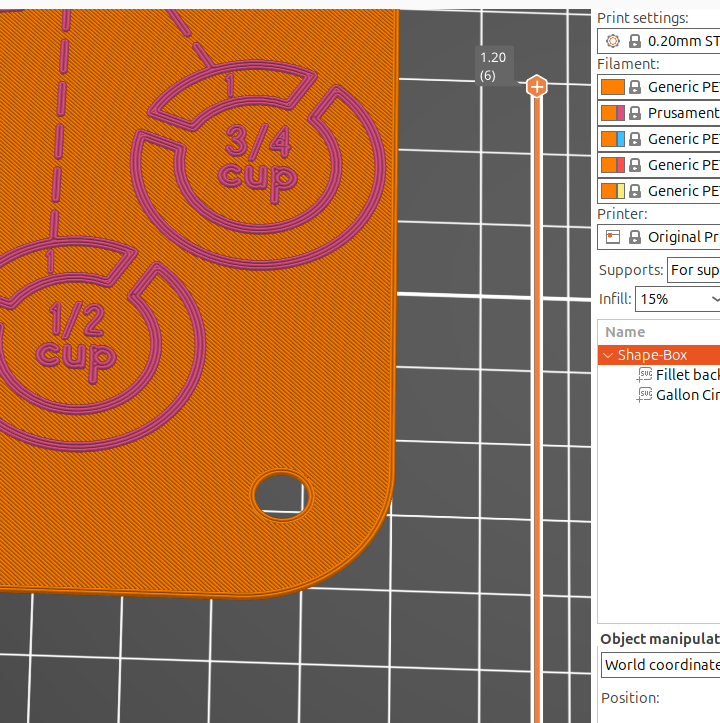
In the slicing preview, grab the little + in the top right hand corner and pull it down carefully, layer by layer, until you reach the layer that the circles and the text disappear. This is what it looks like in PrusaSlicer, but the process is very similar for other slicers.
Before | After |
|---|---|
 |  |
Right click and select "Add Pause."
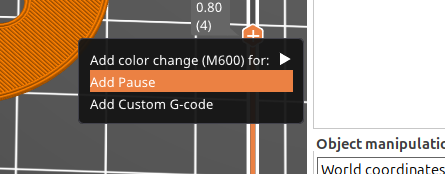
Slice the print again. Then save it and export it or send it or whatever you typically do to get it to your printer.
Your printer should PAUSE (not STOP) on the layer you selected. When it does, do a filament change to the color that you'd like for it to be. Remember to use compatible materials. If you print the base in PLA but the top in PETG, you're going to be making spaghetti instead of this cool chart.
Resume the print.
Celebrate by baking cookies (NOT OPTIONAL. MANDATORY STEP. REQUIRED.)
If you only have one color filament but you would still like this cool chart, it may be possible to create it anyway. While in the 3d Editor view, select the Gallon Circle part and increase its height very slightly.
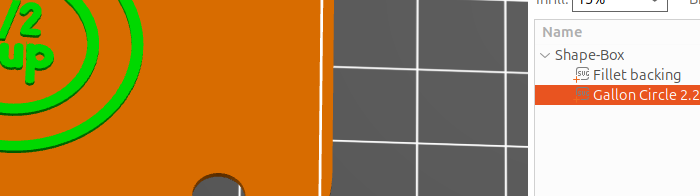
Slice the model and check to see how many layers the text and markings rise above the backing. 4 or 5 might be enough, but I'm gonna be honest here... I haven't done this very often and every time I do it has looked bad. I'm including these instructions because I attribute the poor quality to a lack of skill on my part, rather than a flaw in the method. This might be very wrong, though.
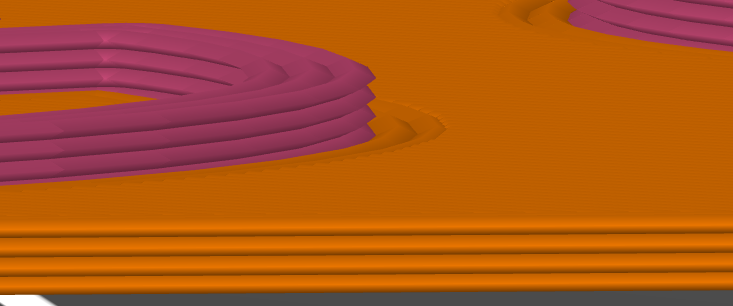
If it is 4 or 5 layers of text and circles, export or send it to the printer. Otherwise, go back to the 3d Editor view and either increase or decrease the height of the Gallon Circle part as necessary.
Print it.
After it is printed, carefully use either paint or a marker to mark all of the raised sections while trying valiantly to avoid marking or painting the base plate. I recommend having a cotton swab and solvent on hand to fix mistakes before they dry. Different paints and markers work better on different materials, so if something doesn't seem to be providing the contrast you'd like, try switching to a different paint or reprinting it in a different material. Or power through, you crazy kid.
Enjoy your pretty craft project! Cookie step is optional with this method.
The font is Njal, and is free for commercial use. I don't remember the specific site I originally downloaded it from, but if you have a favorite font distributor, it's likely available there. A quick search found it in several different font repositories.
This print is originally based on a picture I have seen floating around the internet for years. I swear that I tried to find its original source, but since I failed, you have no way of knowing how hard I looked. If you happen to know where I can attribute it to, please leave it in the comments. I recreated it as an .svg and modified it pretty heavily, but the concept originated from somewhere else.
As you can see, this is my very first upload. If I got something wrong or left something out, please let me know. I love you. Mwah.
