Omamori (Large)
Owen Elsie

Найти похожую с ИИ


Профиль печати(0)
Файл модели(0)
 0
0 0
0 0
0
Опубликовано:2026-04-22 15:38:36
0
0
 000
000
Follow this wiring guide to put those electrical components together. Measurements are not absolute, so you can make them a bit longer. I prefer to make all of those under 50mm to 40mm, and they fit. For the connectors to battery and fan, I use JST XH and PH, depending on which one the battery is shipped with and how you like them to arrange, so that you won't accidentally connect the wrong jack.
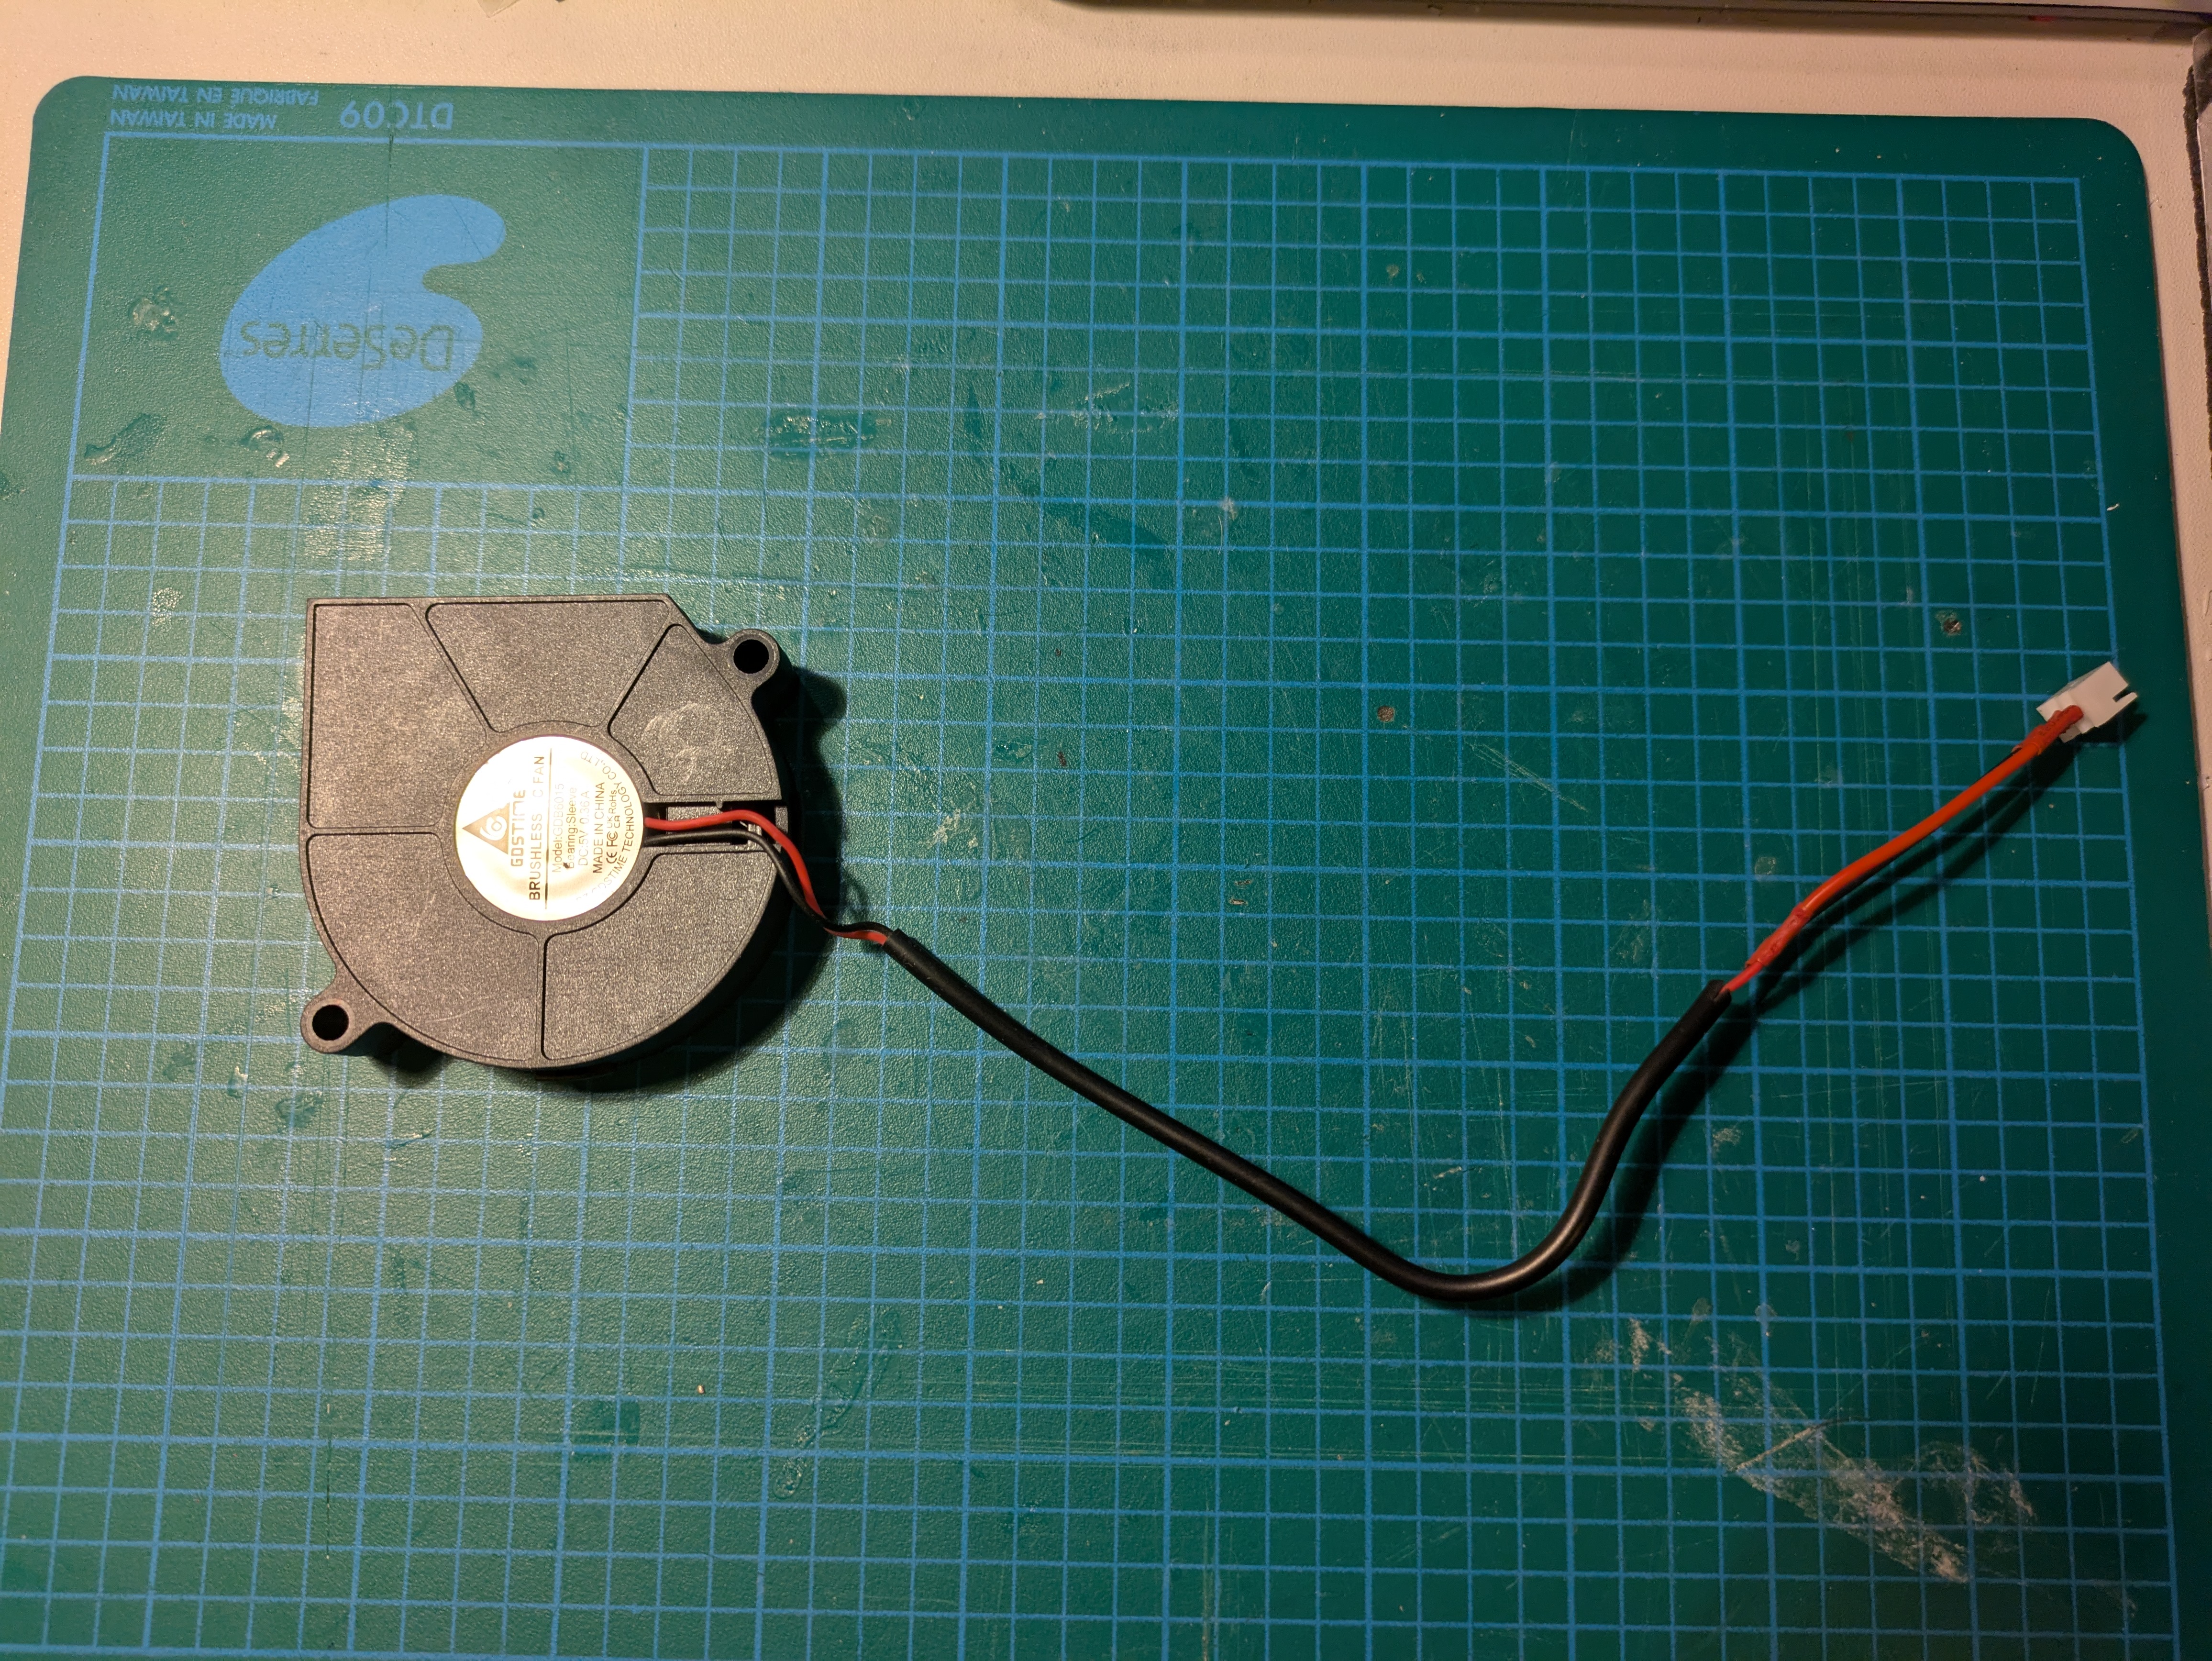
Assemble and solder the fan cable. Make sure the sleeved part is around 12cm.

Assemble and solder electrical unit.
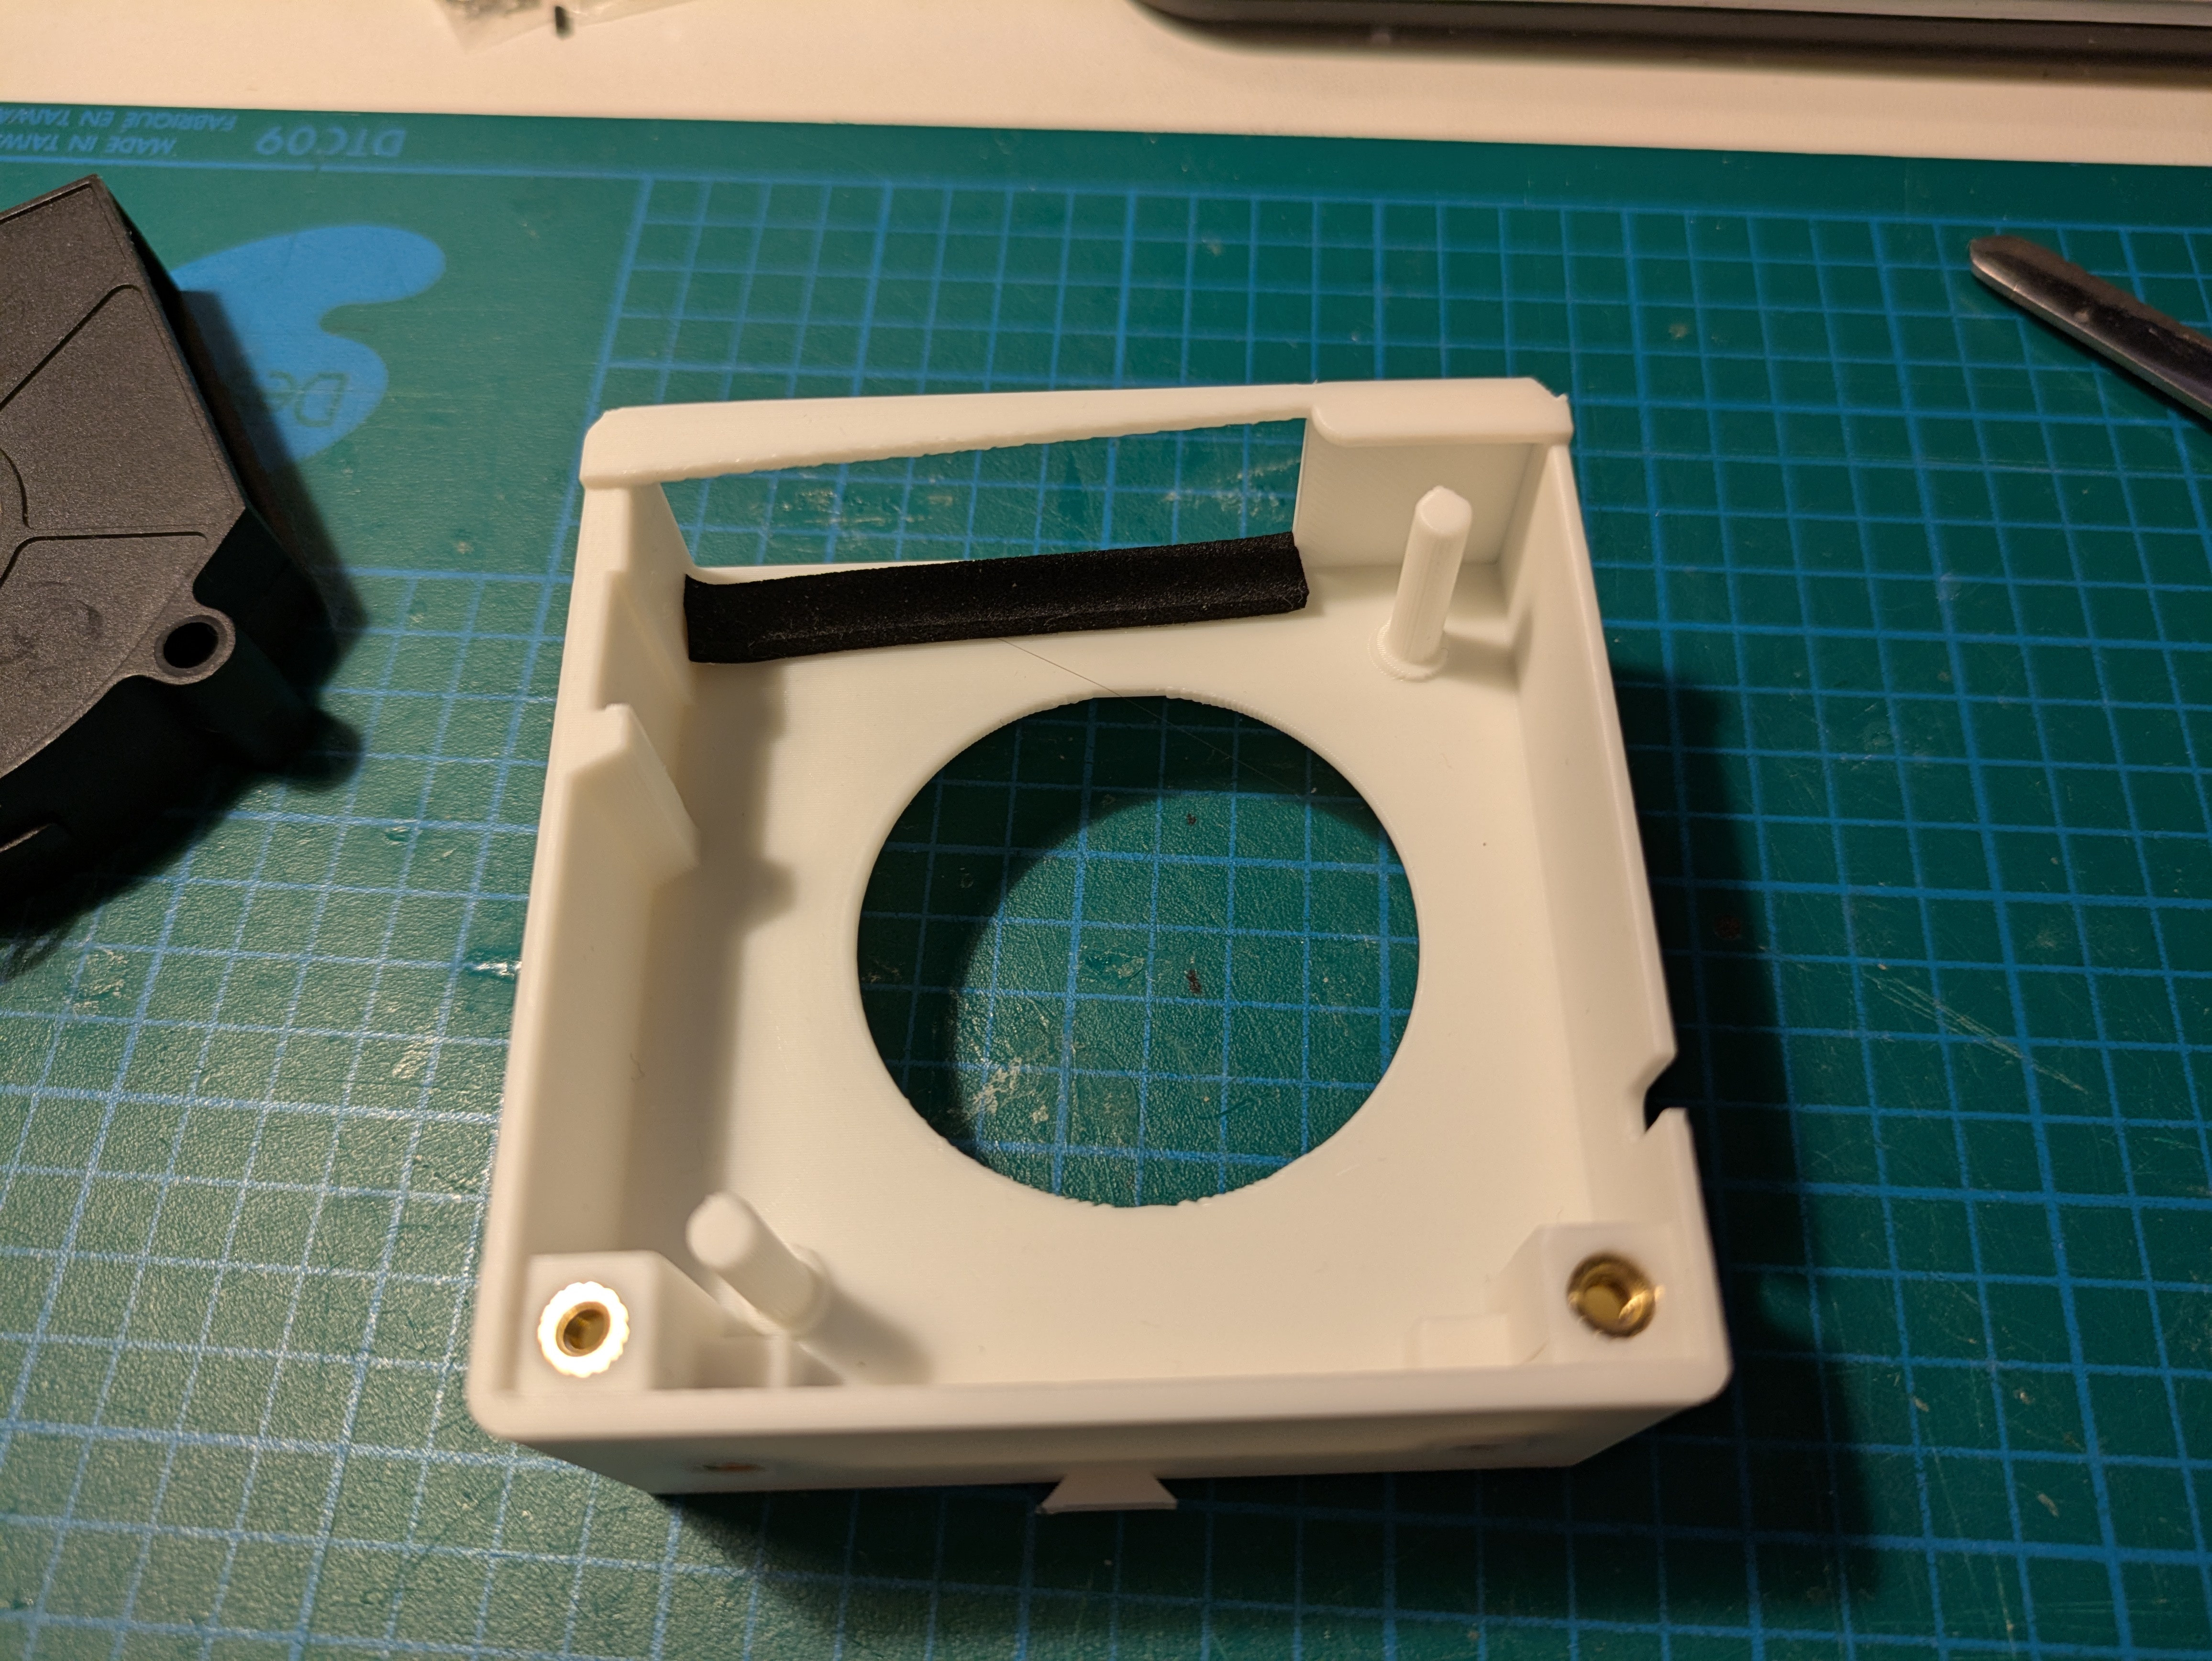
Cut and attach an adhesive foam strip to the filter box top component.
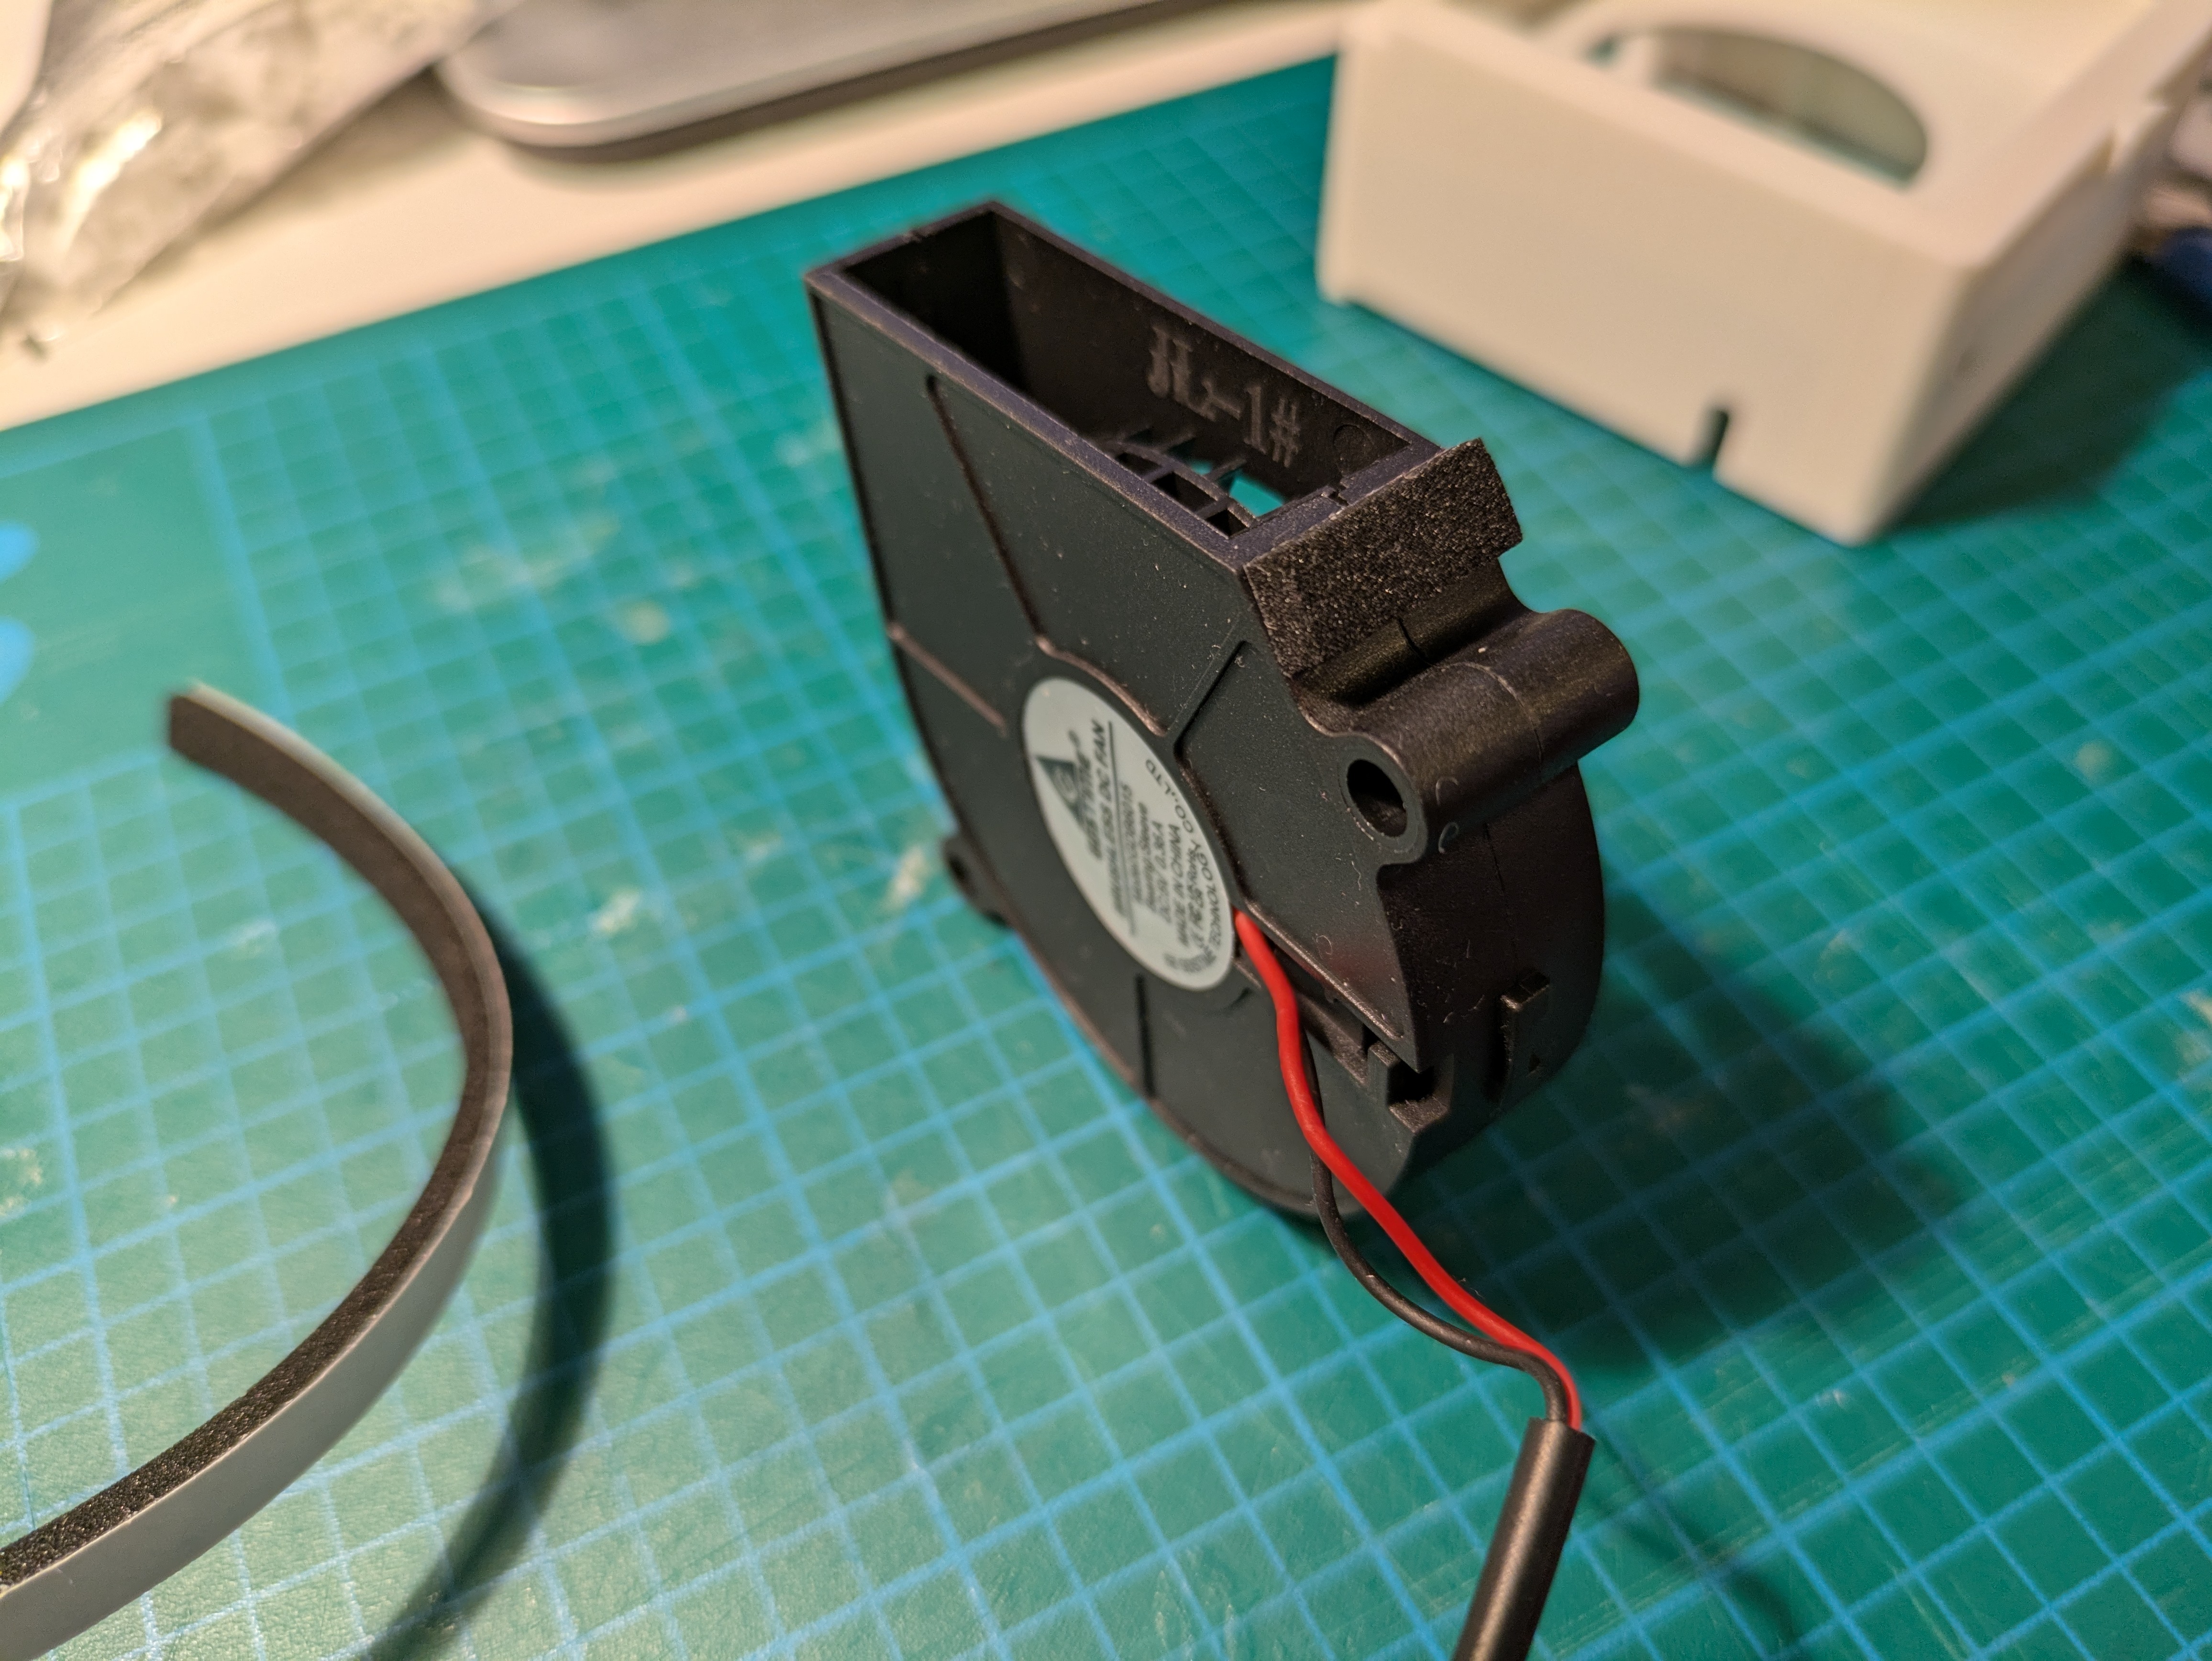
Same to the fan.
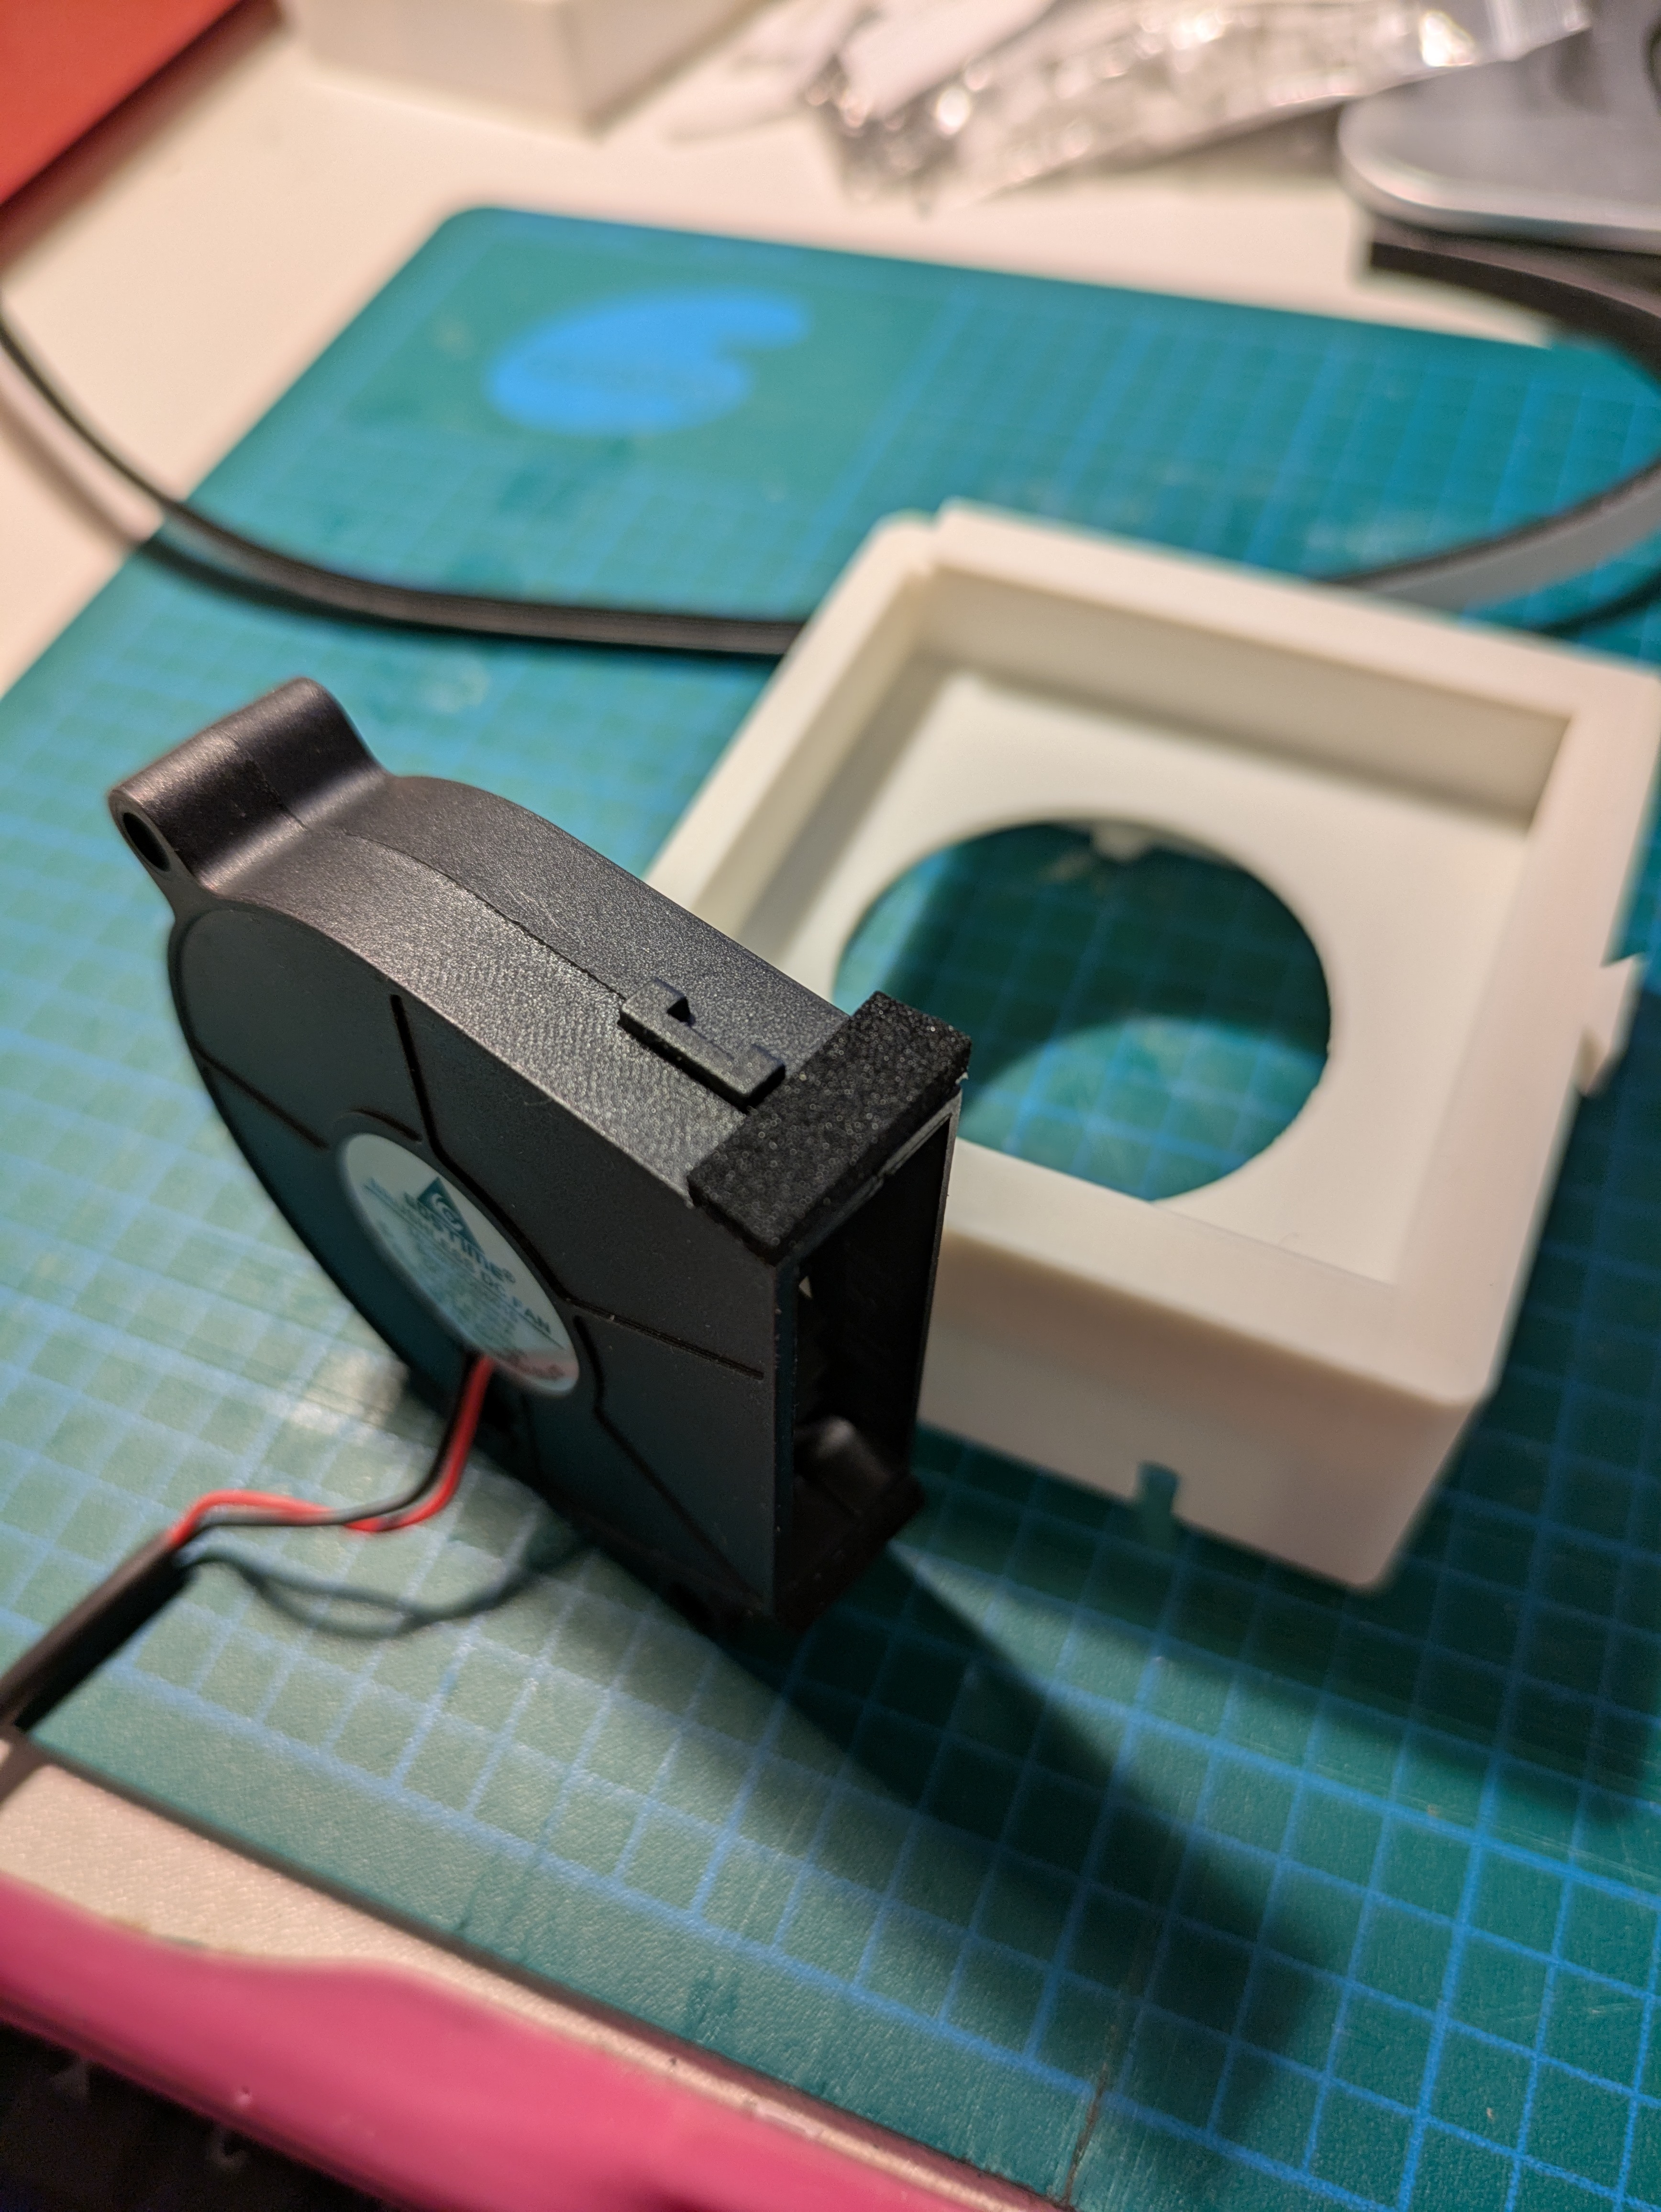
On the other side of the fan.
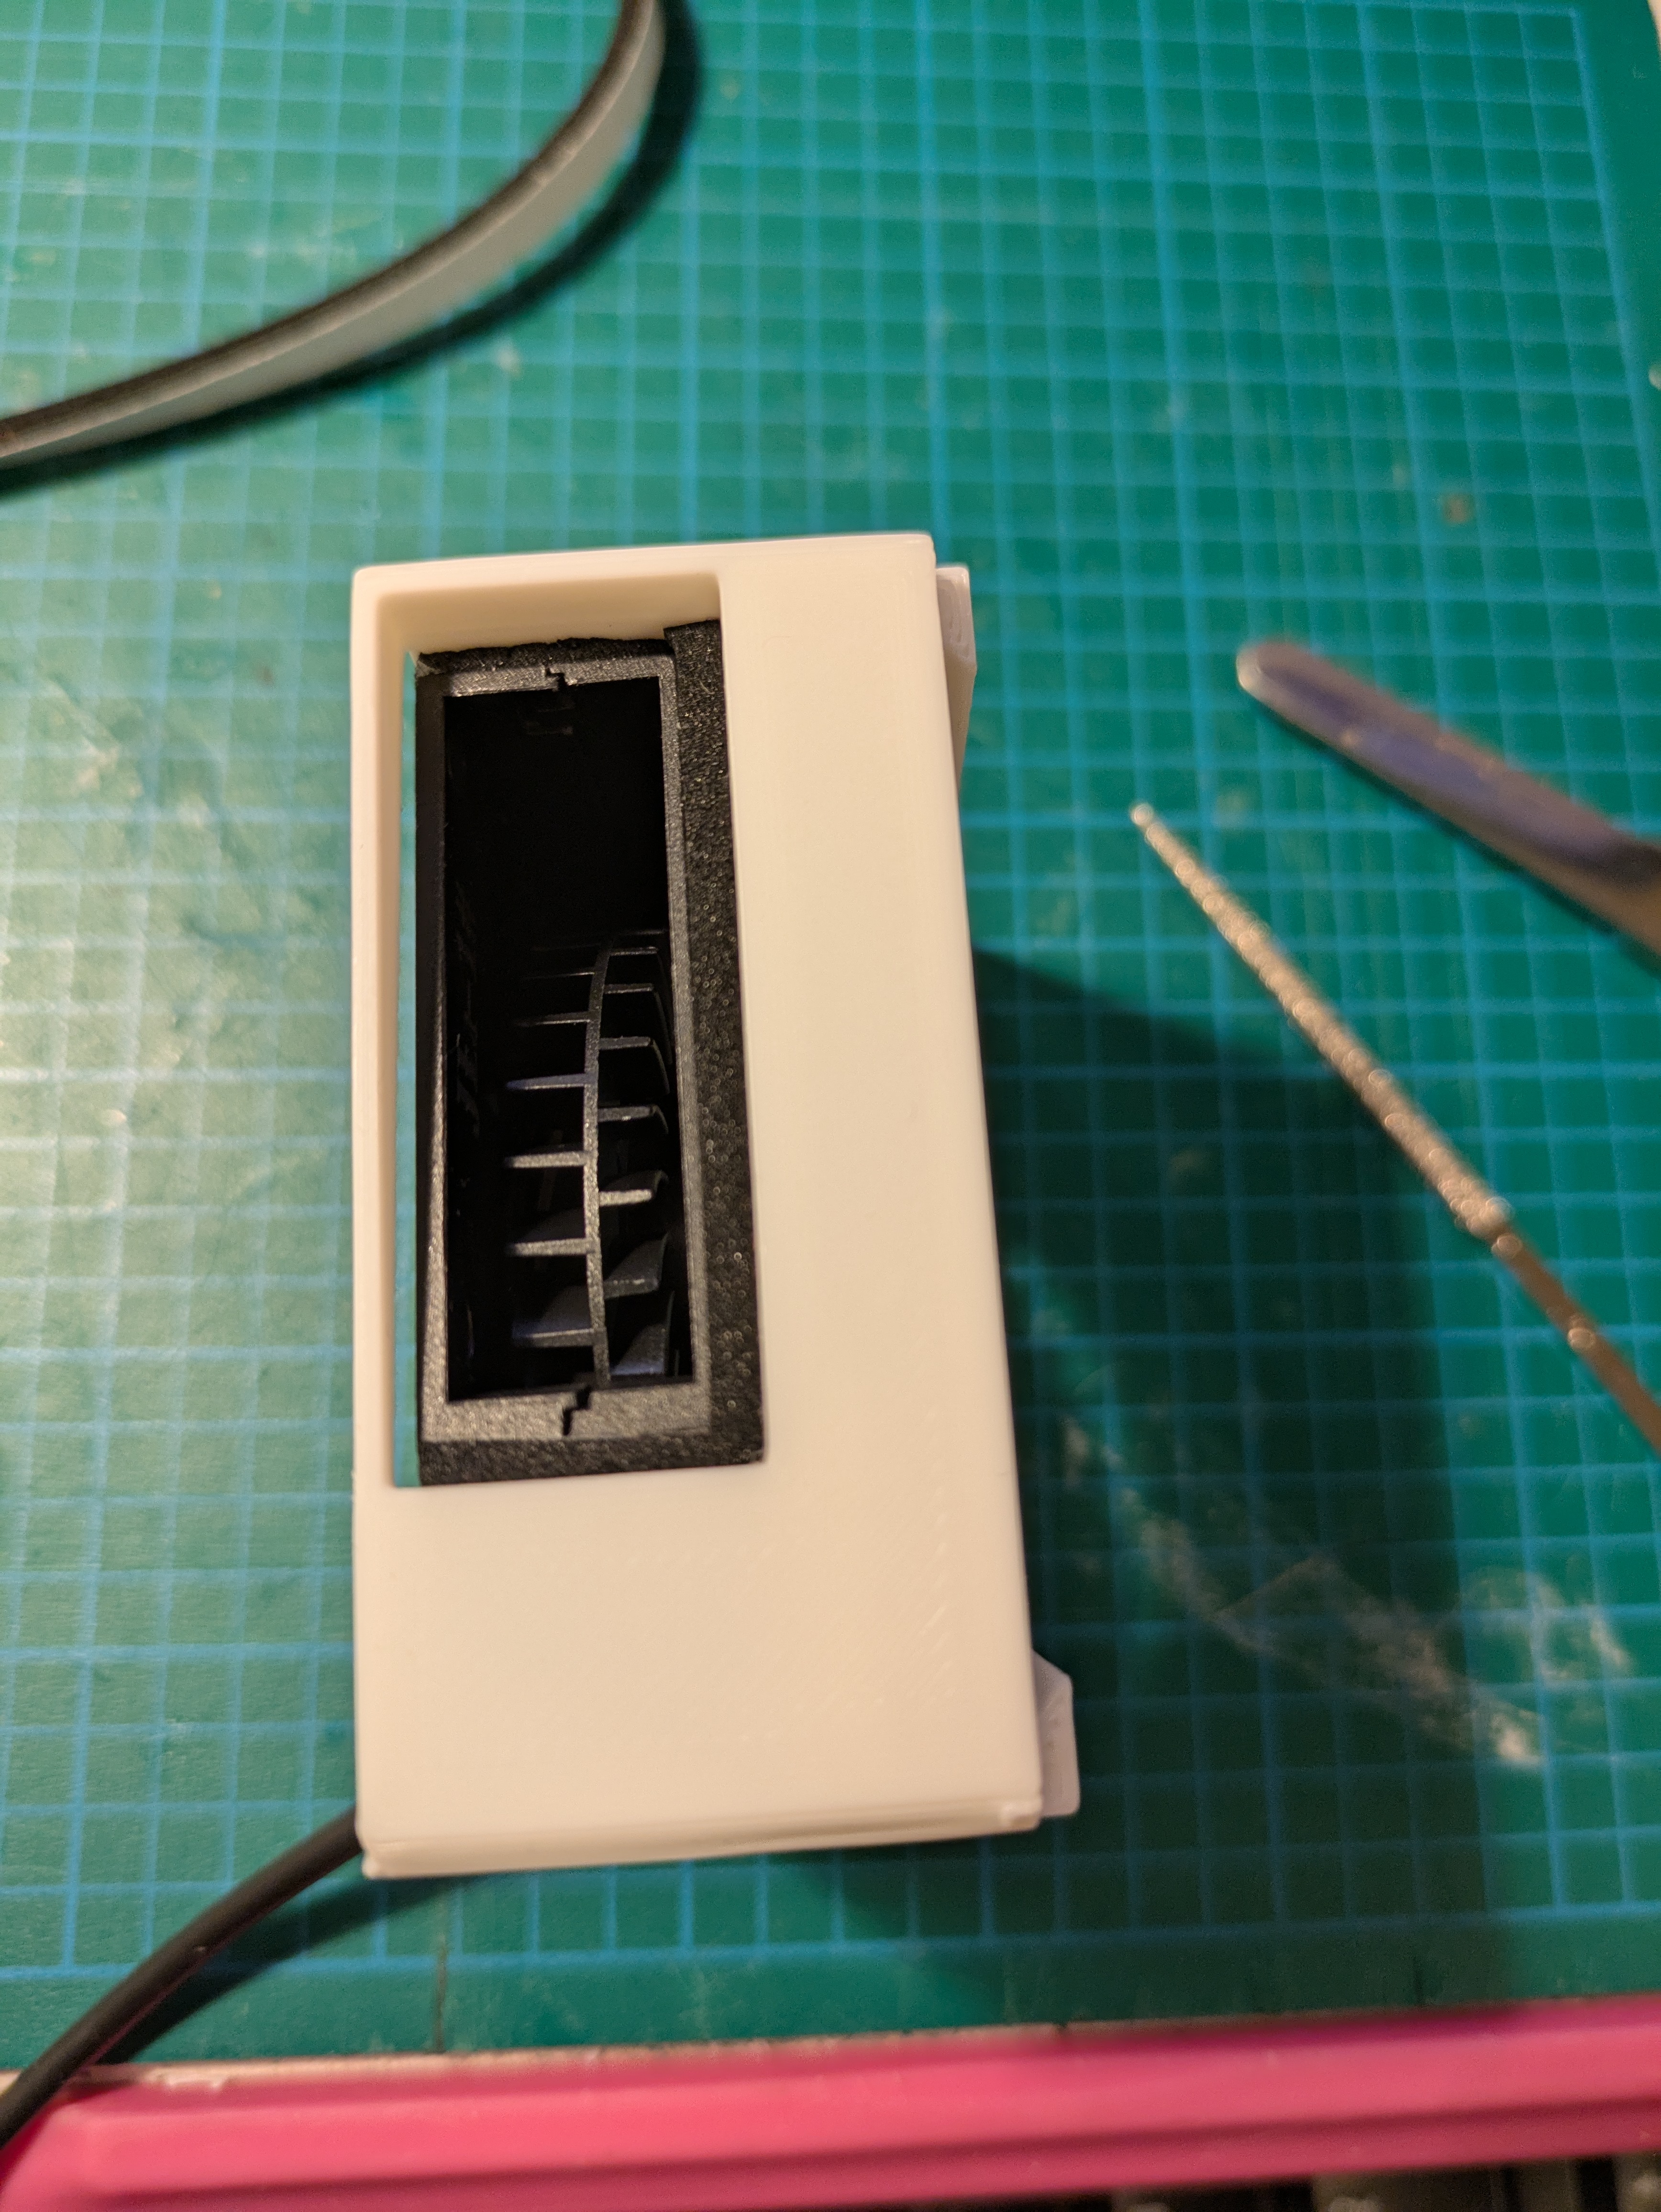
Then you push the fan gently through the two posts. Please make sure those foam strips are not tangled to the walls of the filter box top component.
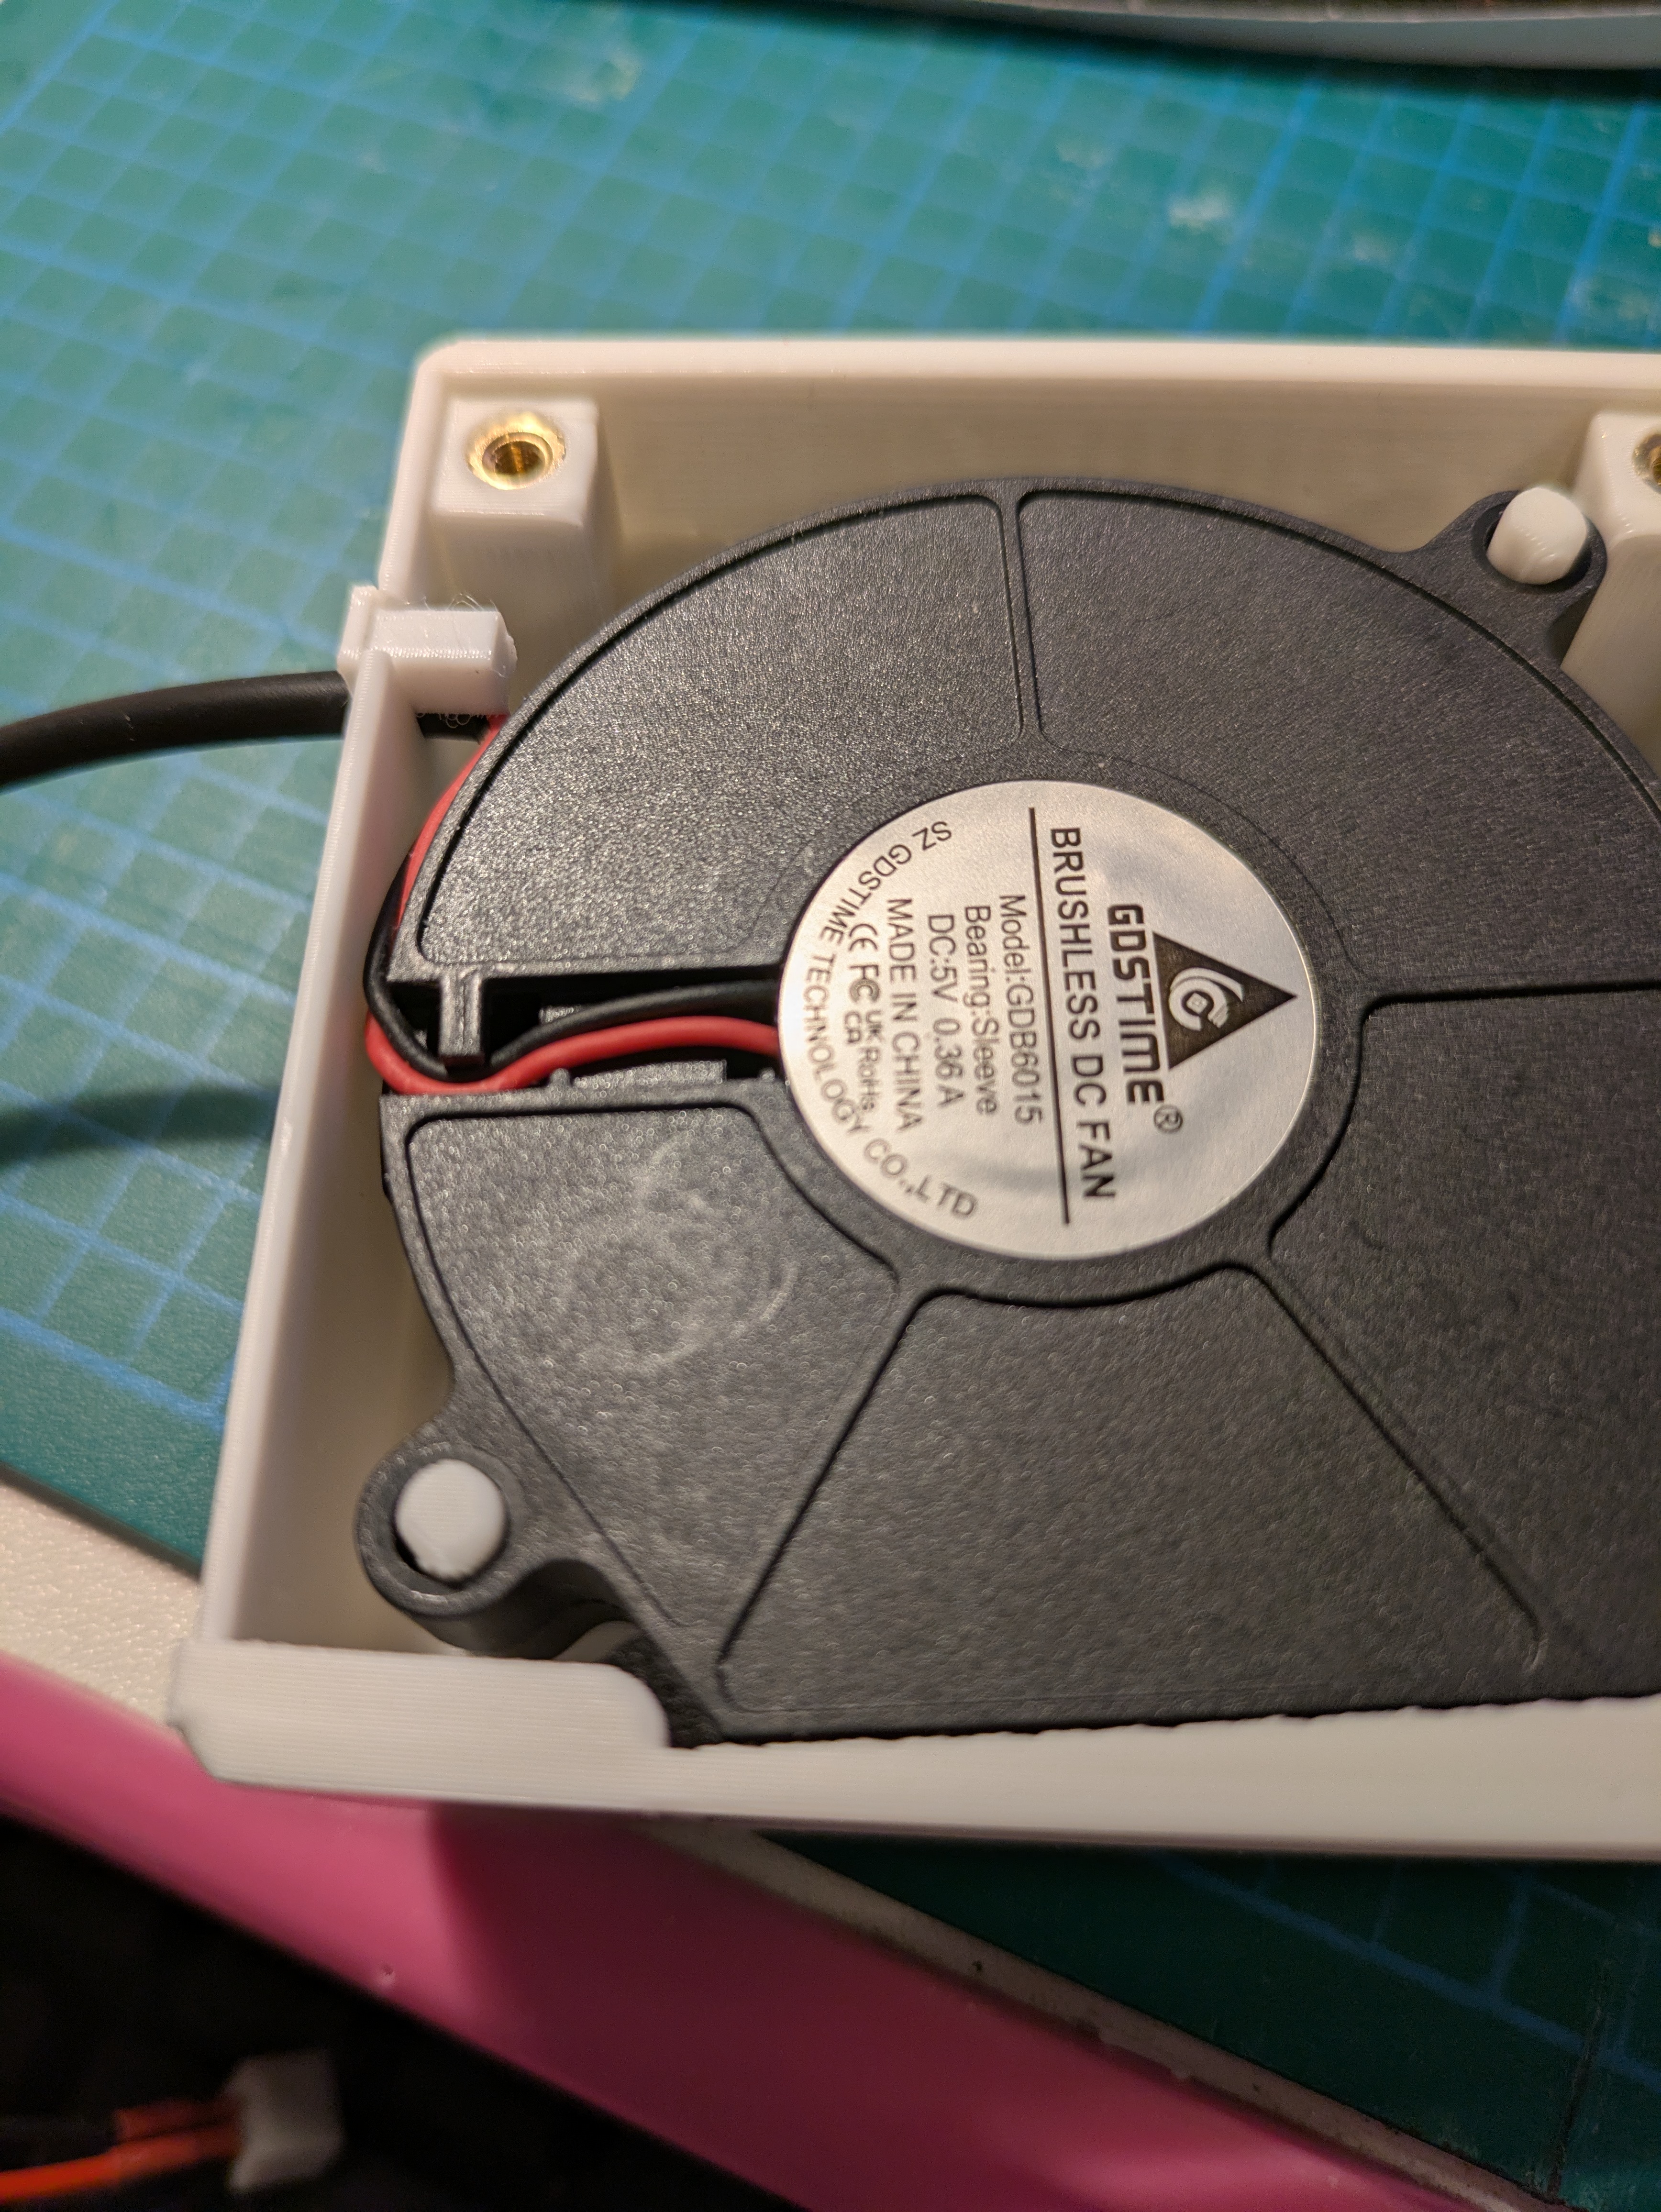
Now rest the sleeved cable other the hole and then place the TPU plug over it.

Close the filter box and put 8mm flathead M3 screws on.
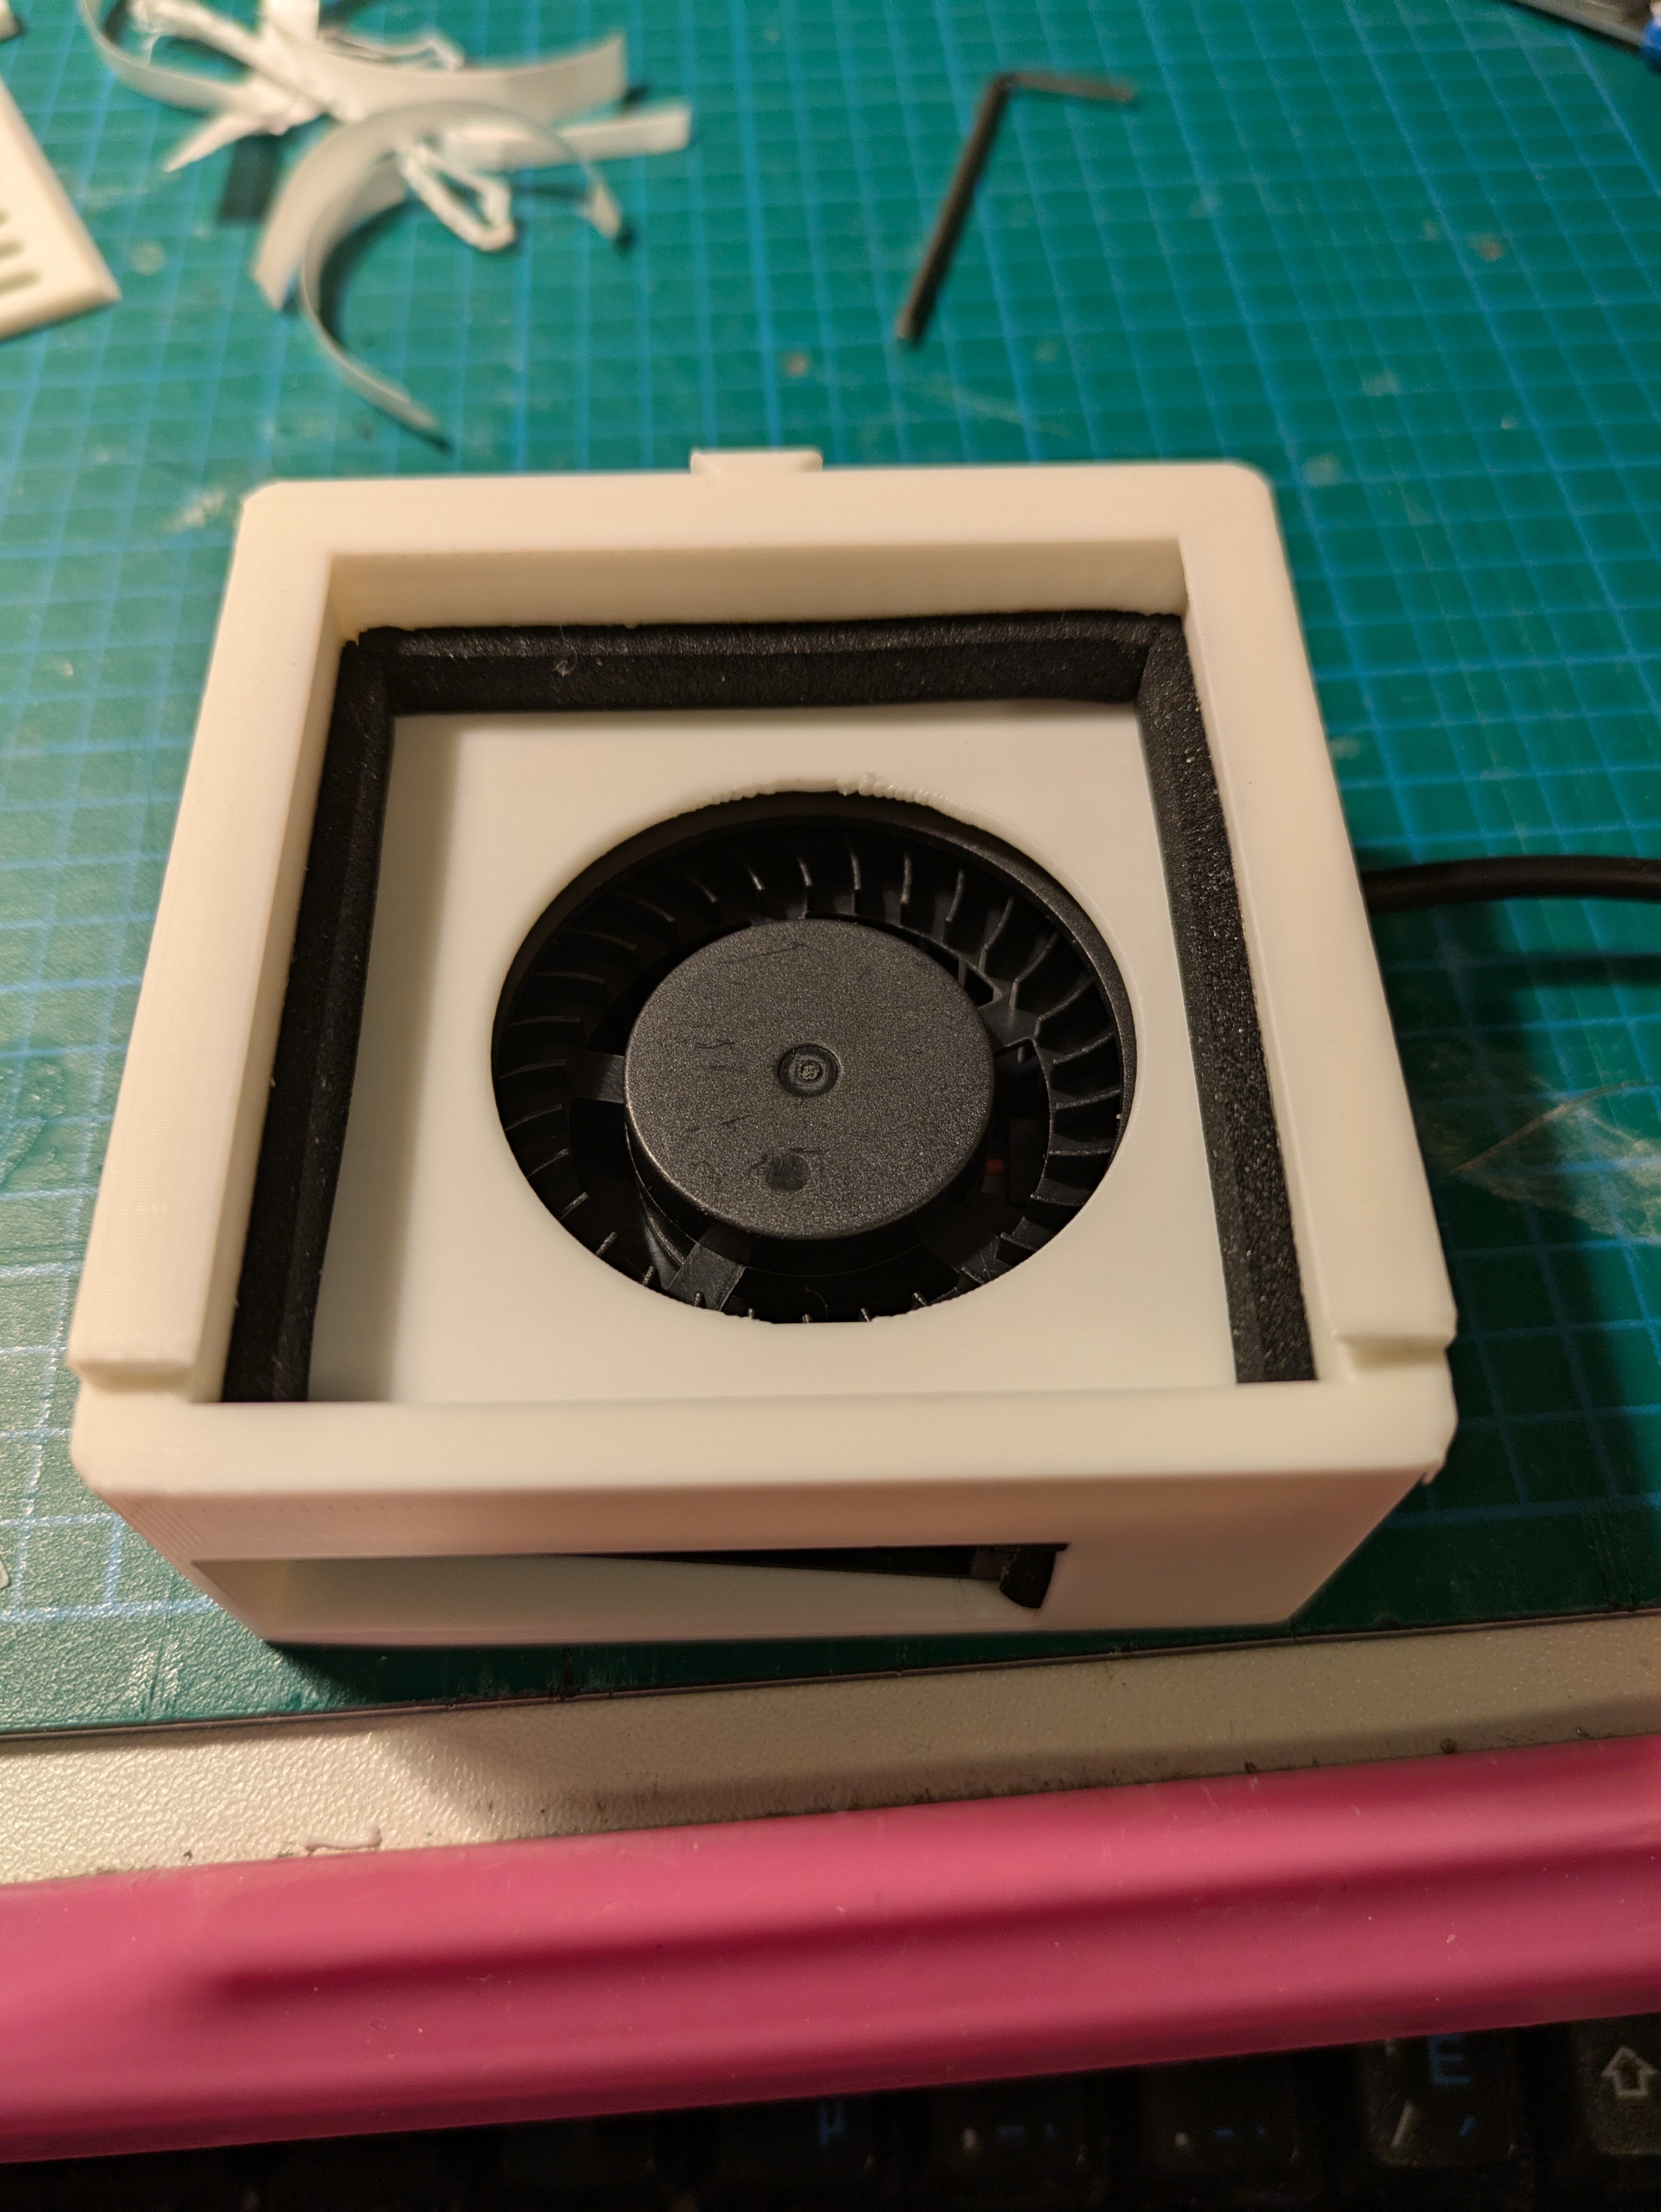
Attach the adhesive foam tapes around the filter space. Only 3 sides will be sufficient.
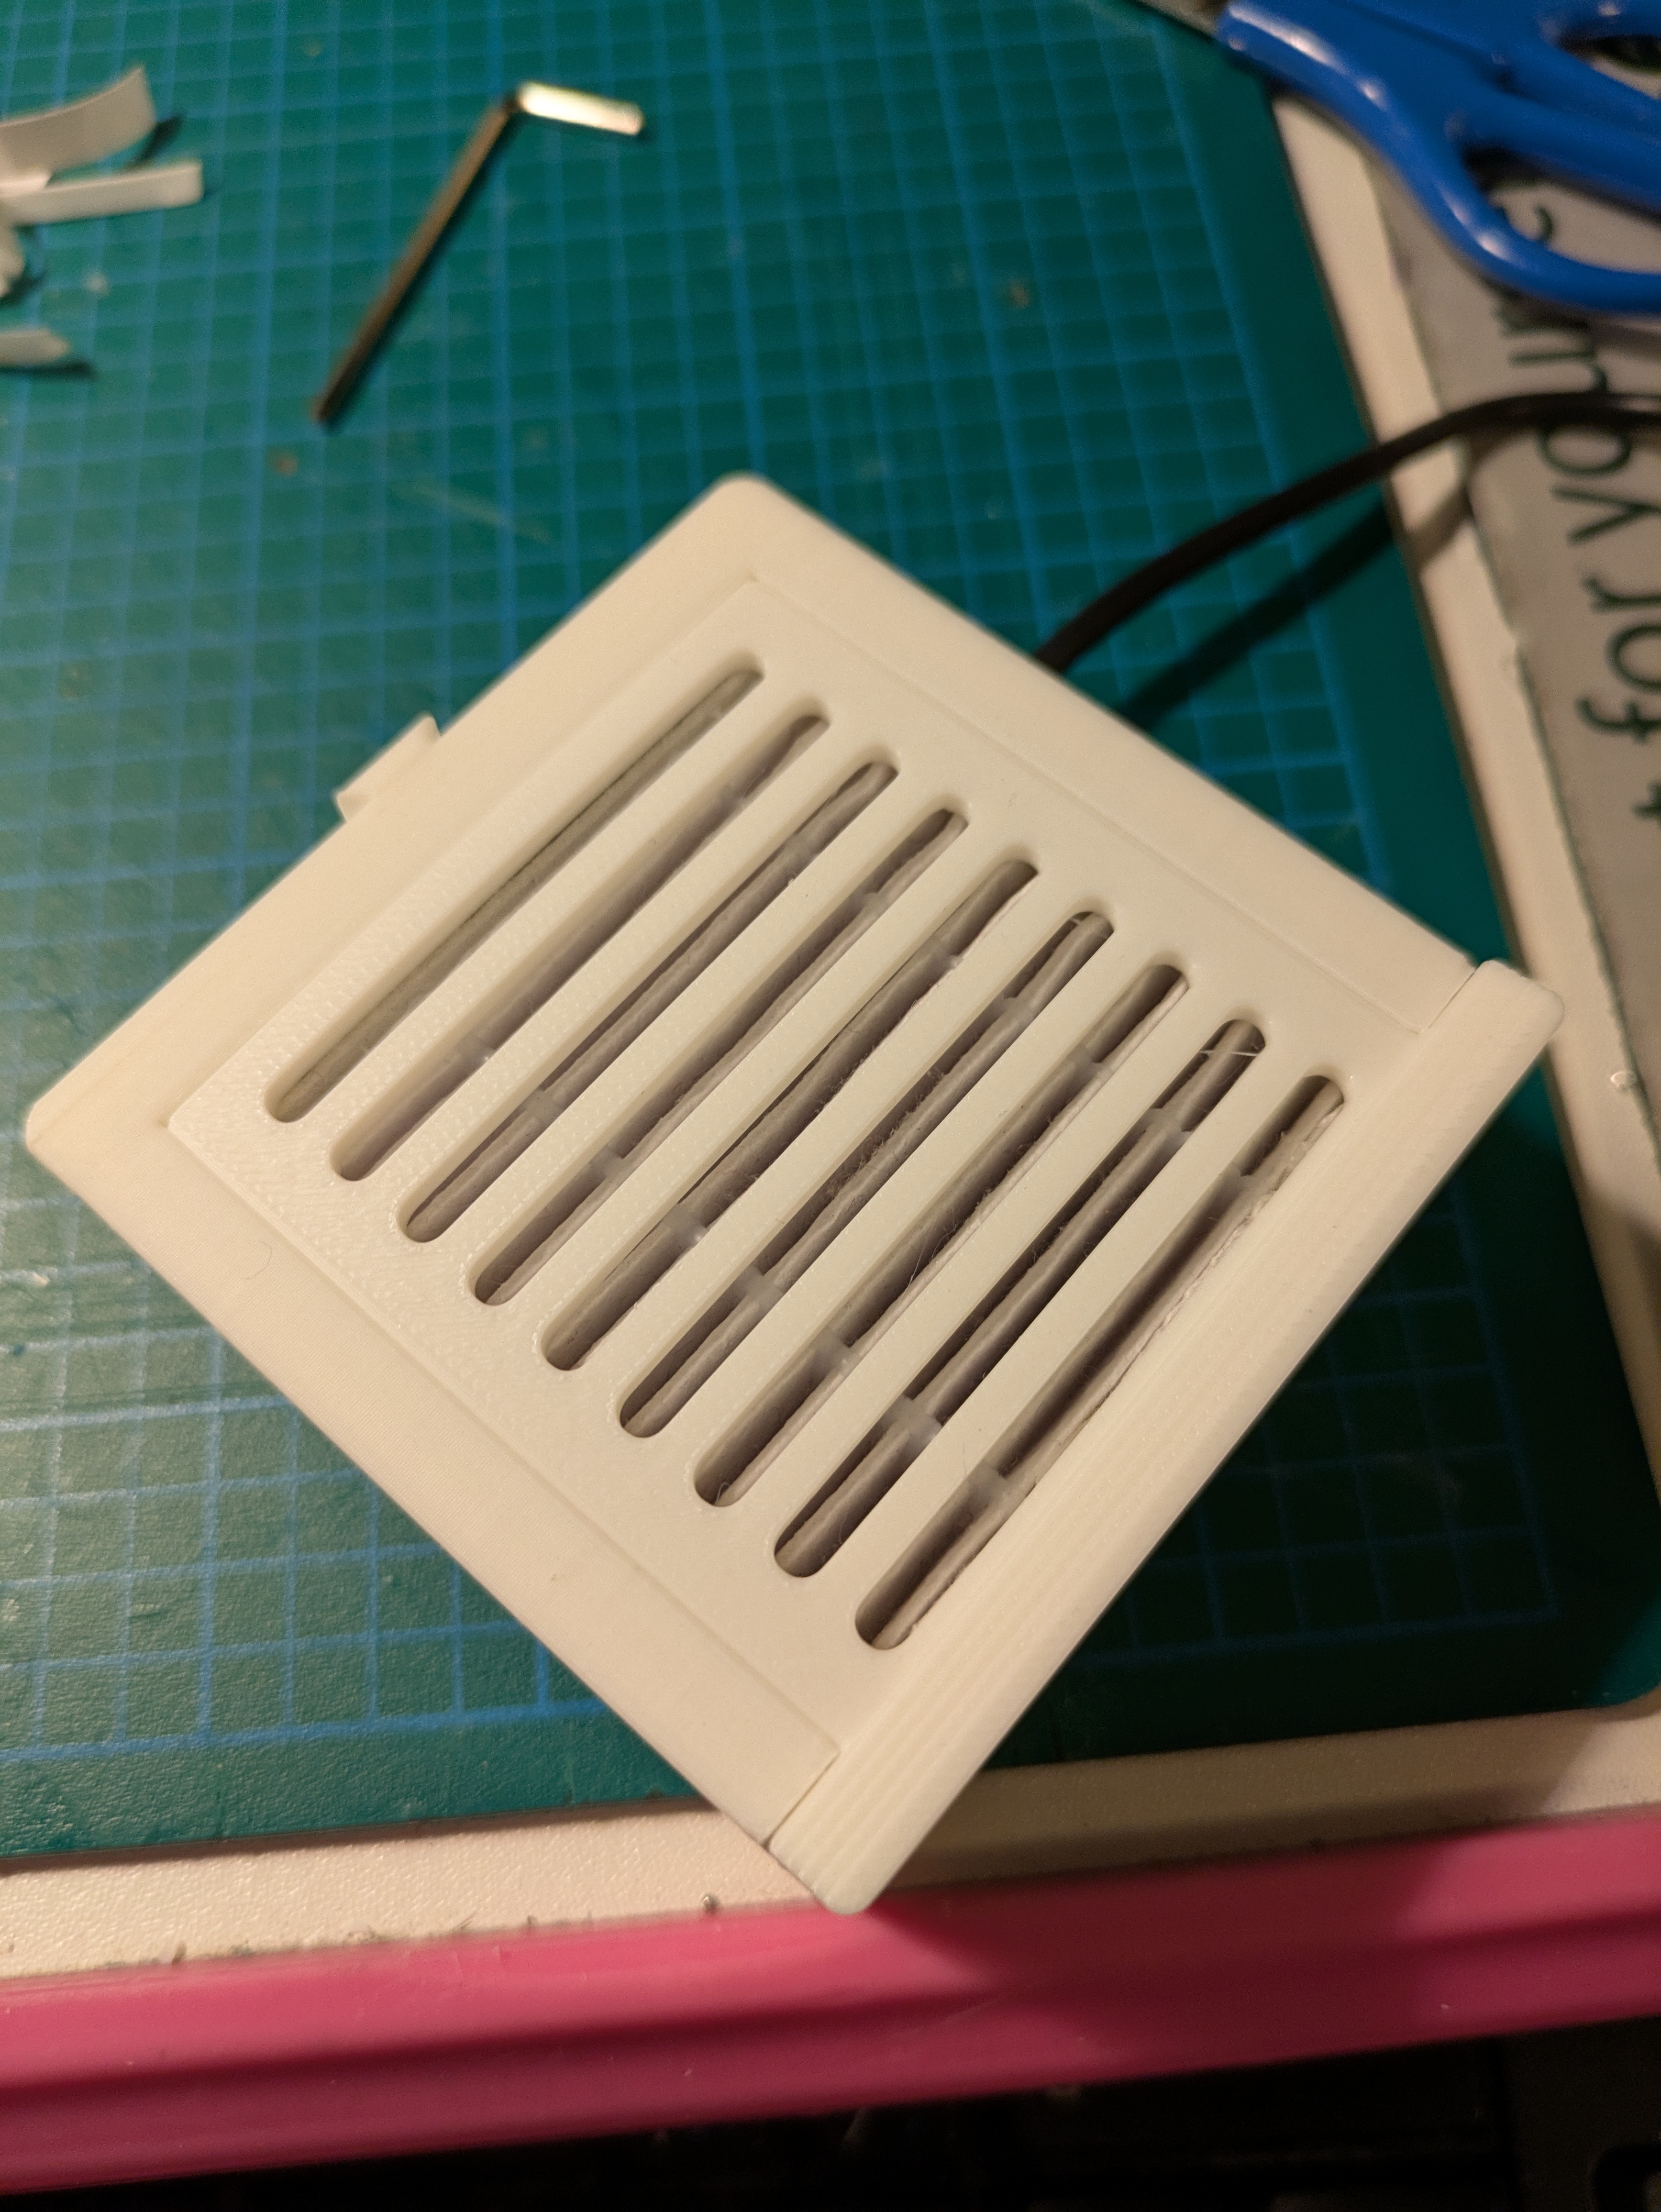
Now put the filter in the filter cover on.
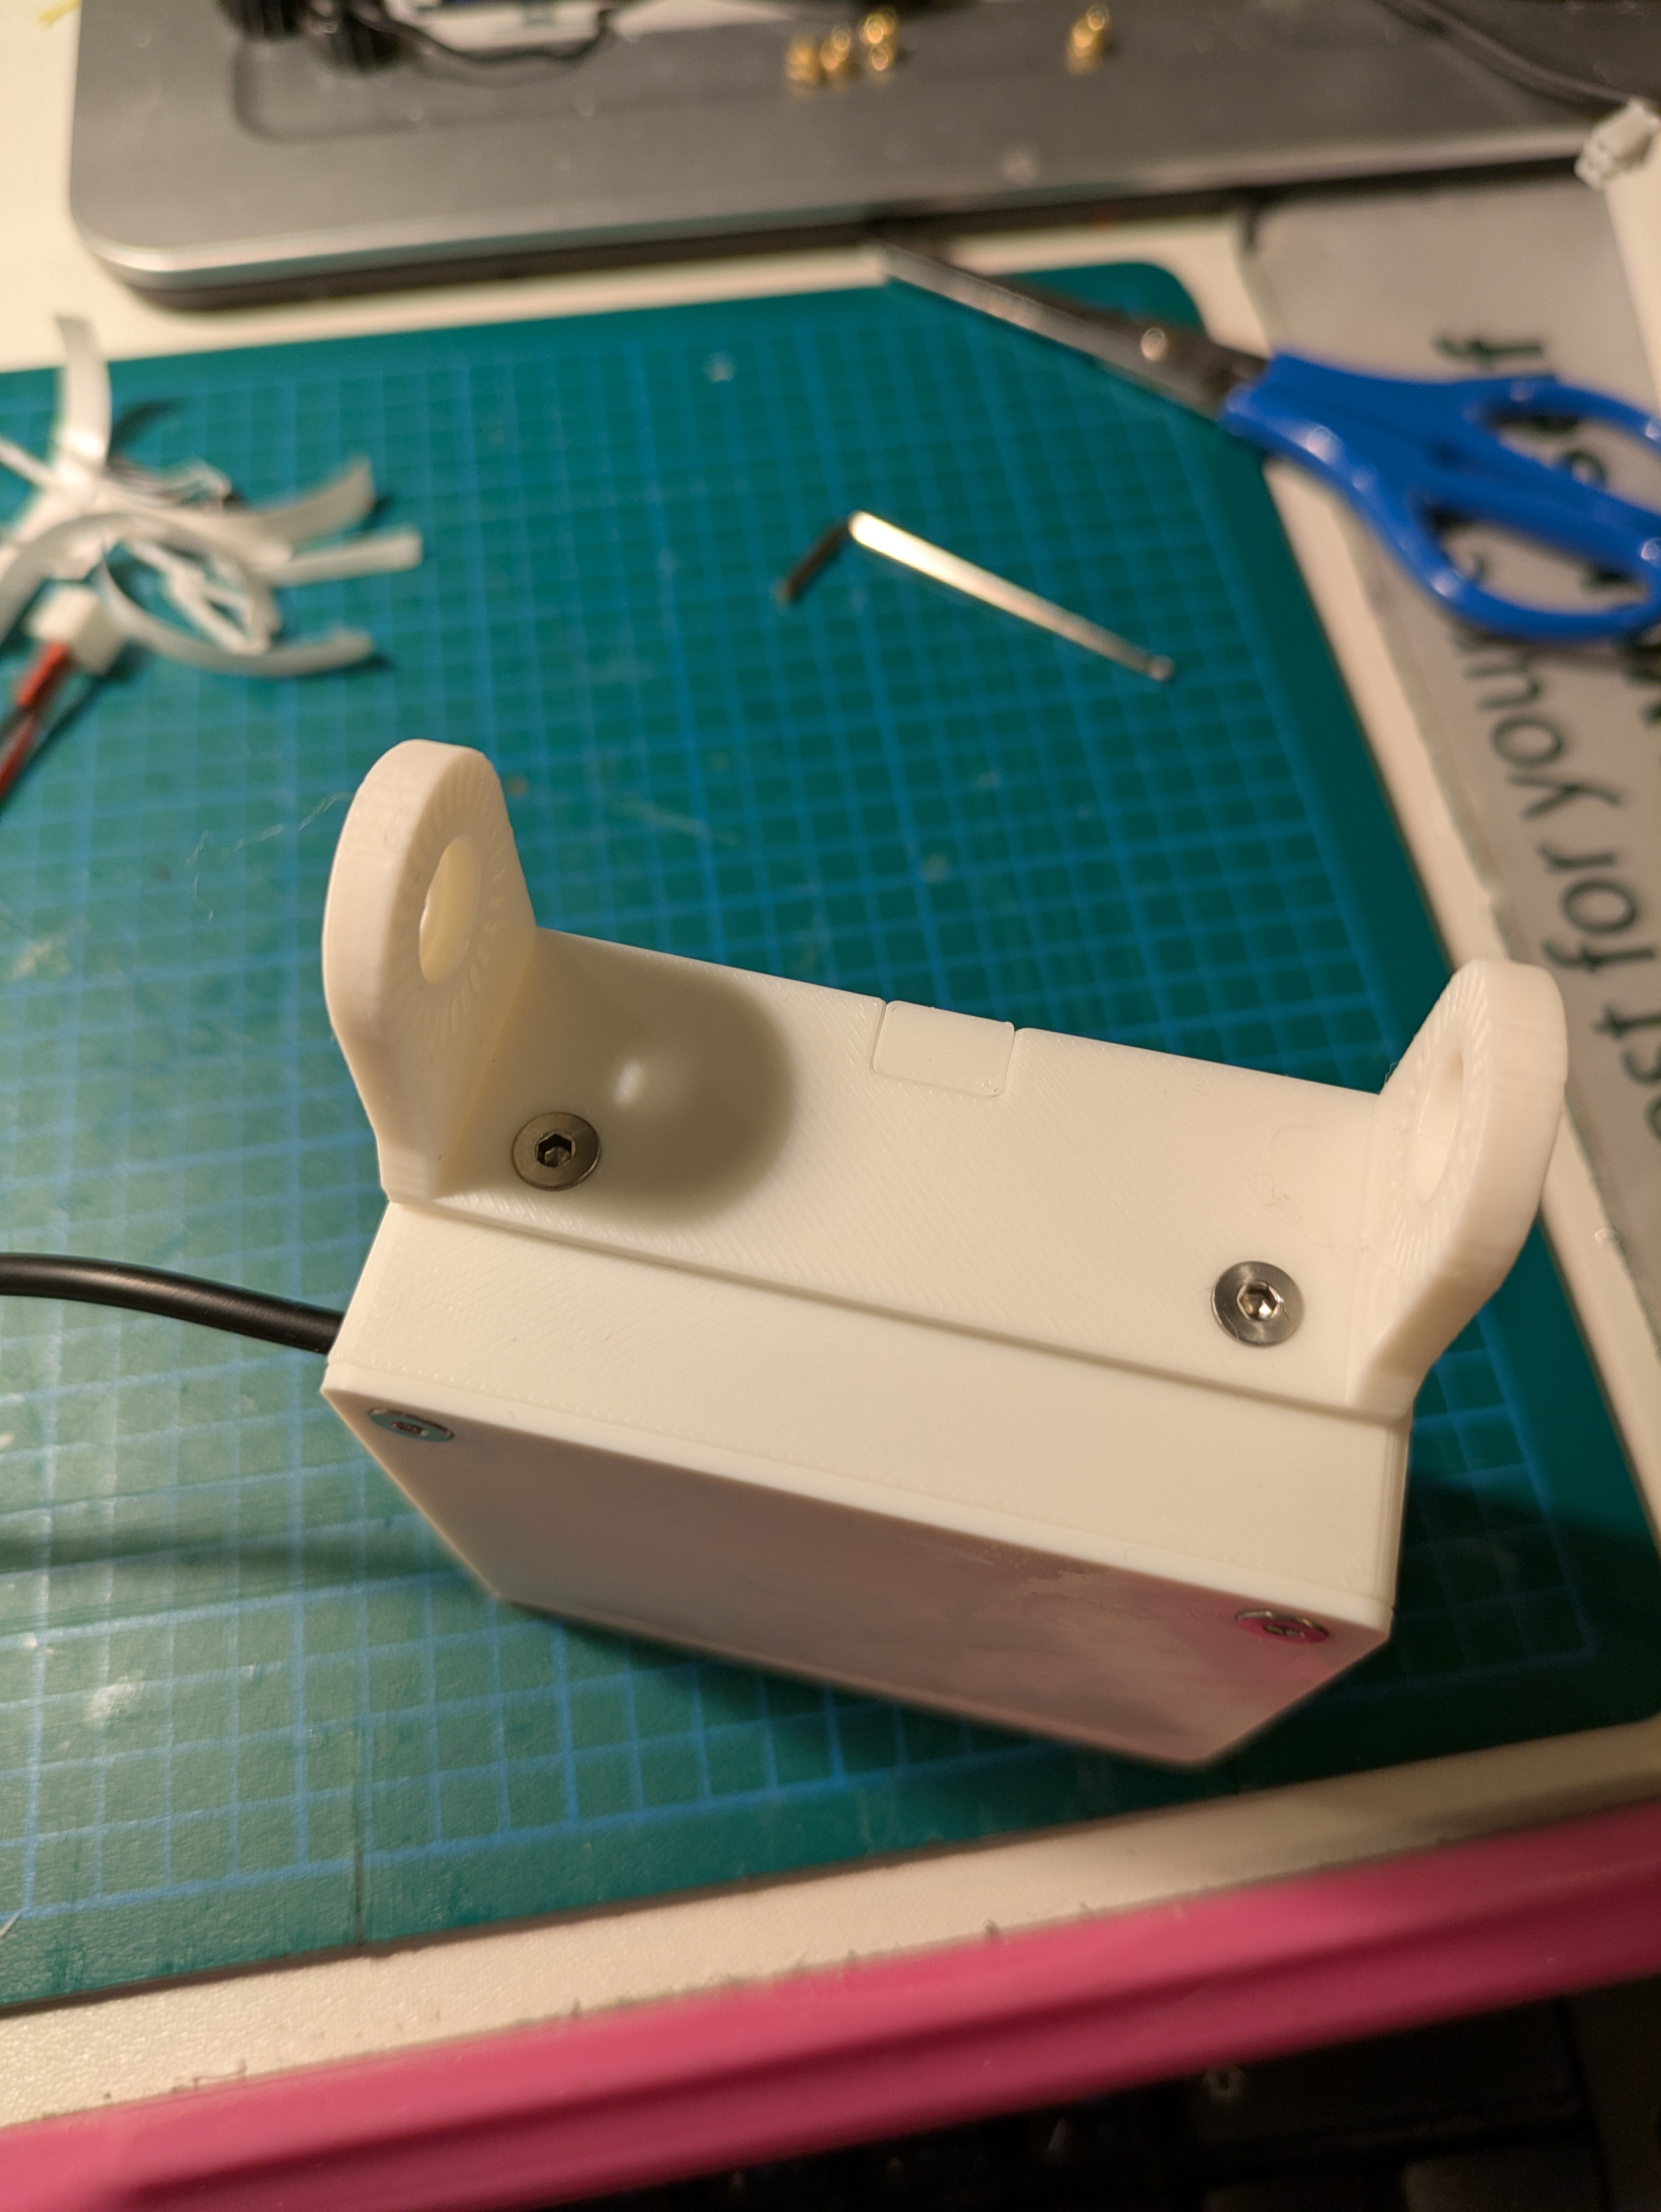
Secure the rotating arms with two 5mm flathead M3 screws.
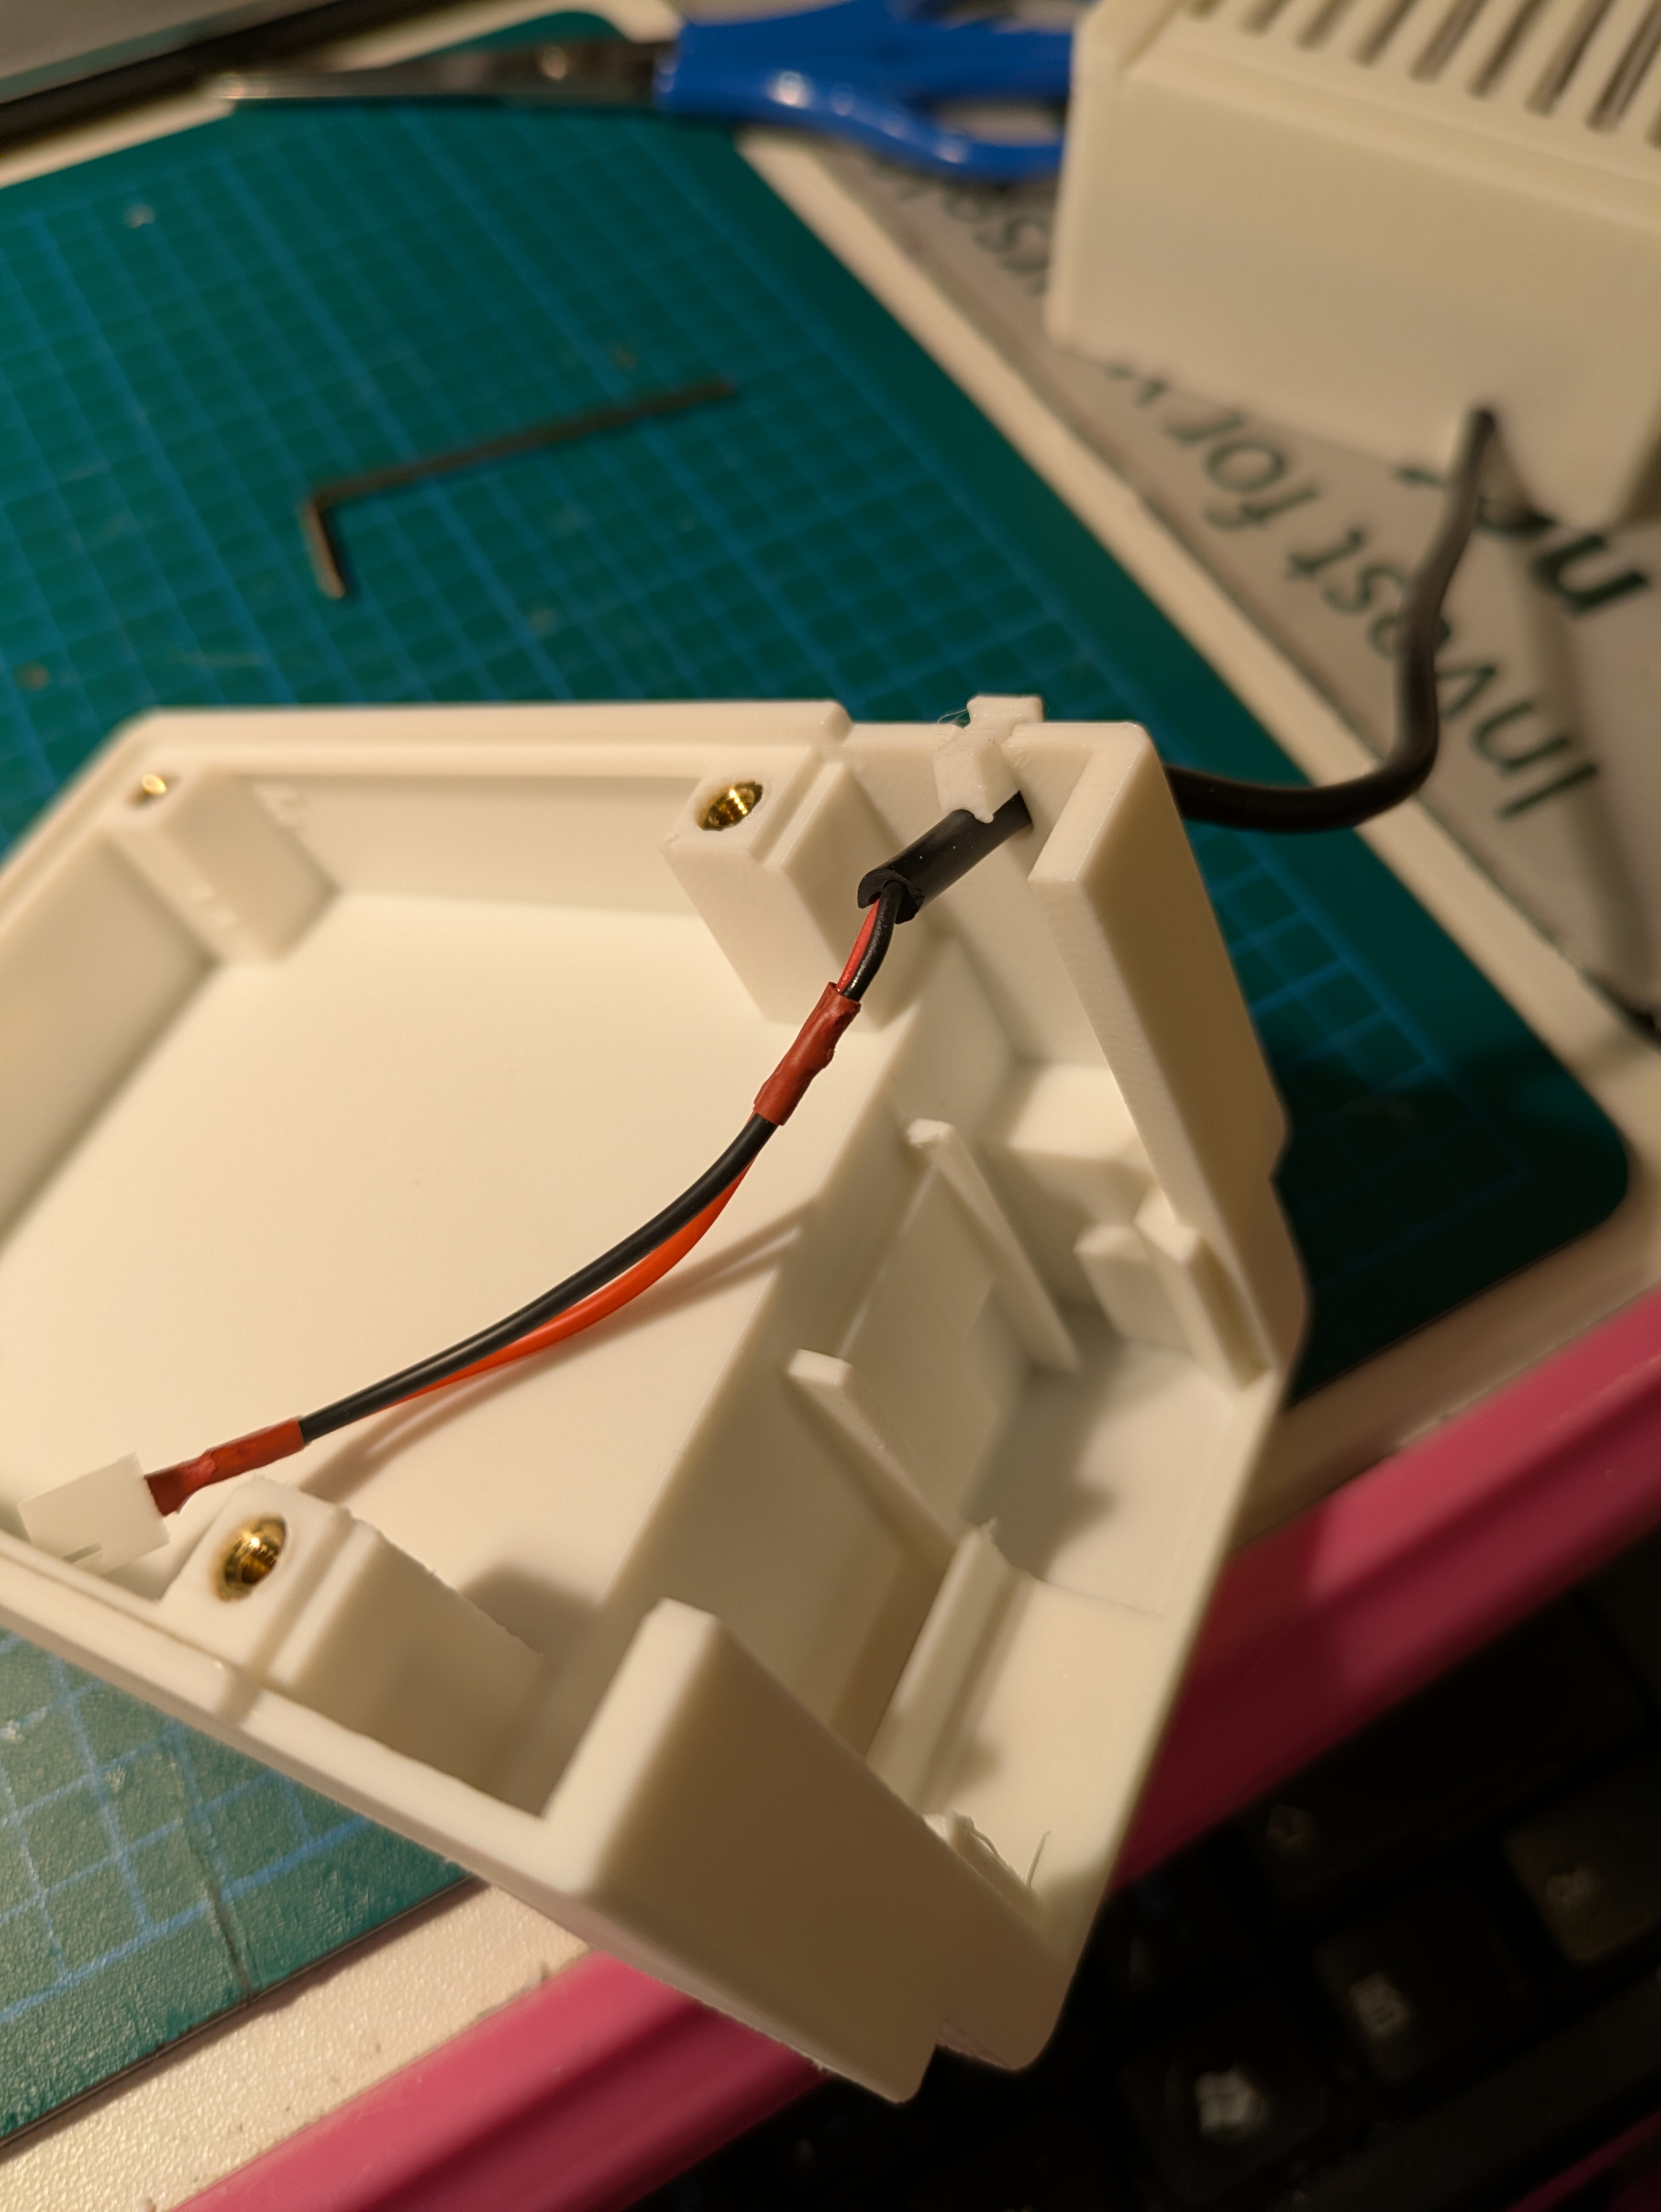
Rest the other end of the sleeved cable over the hole of the electrical component, and then place the second TPU plug over it.
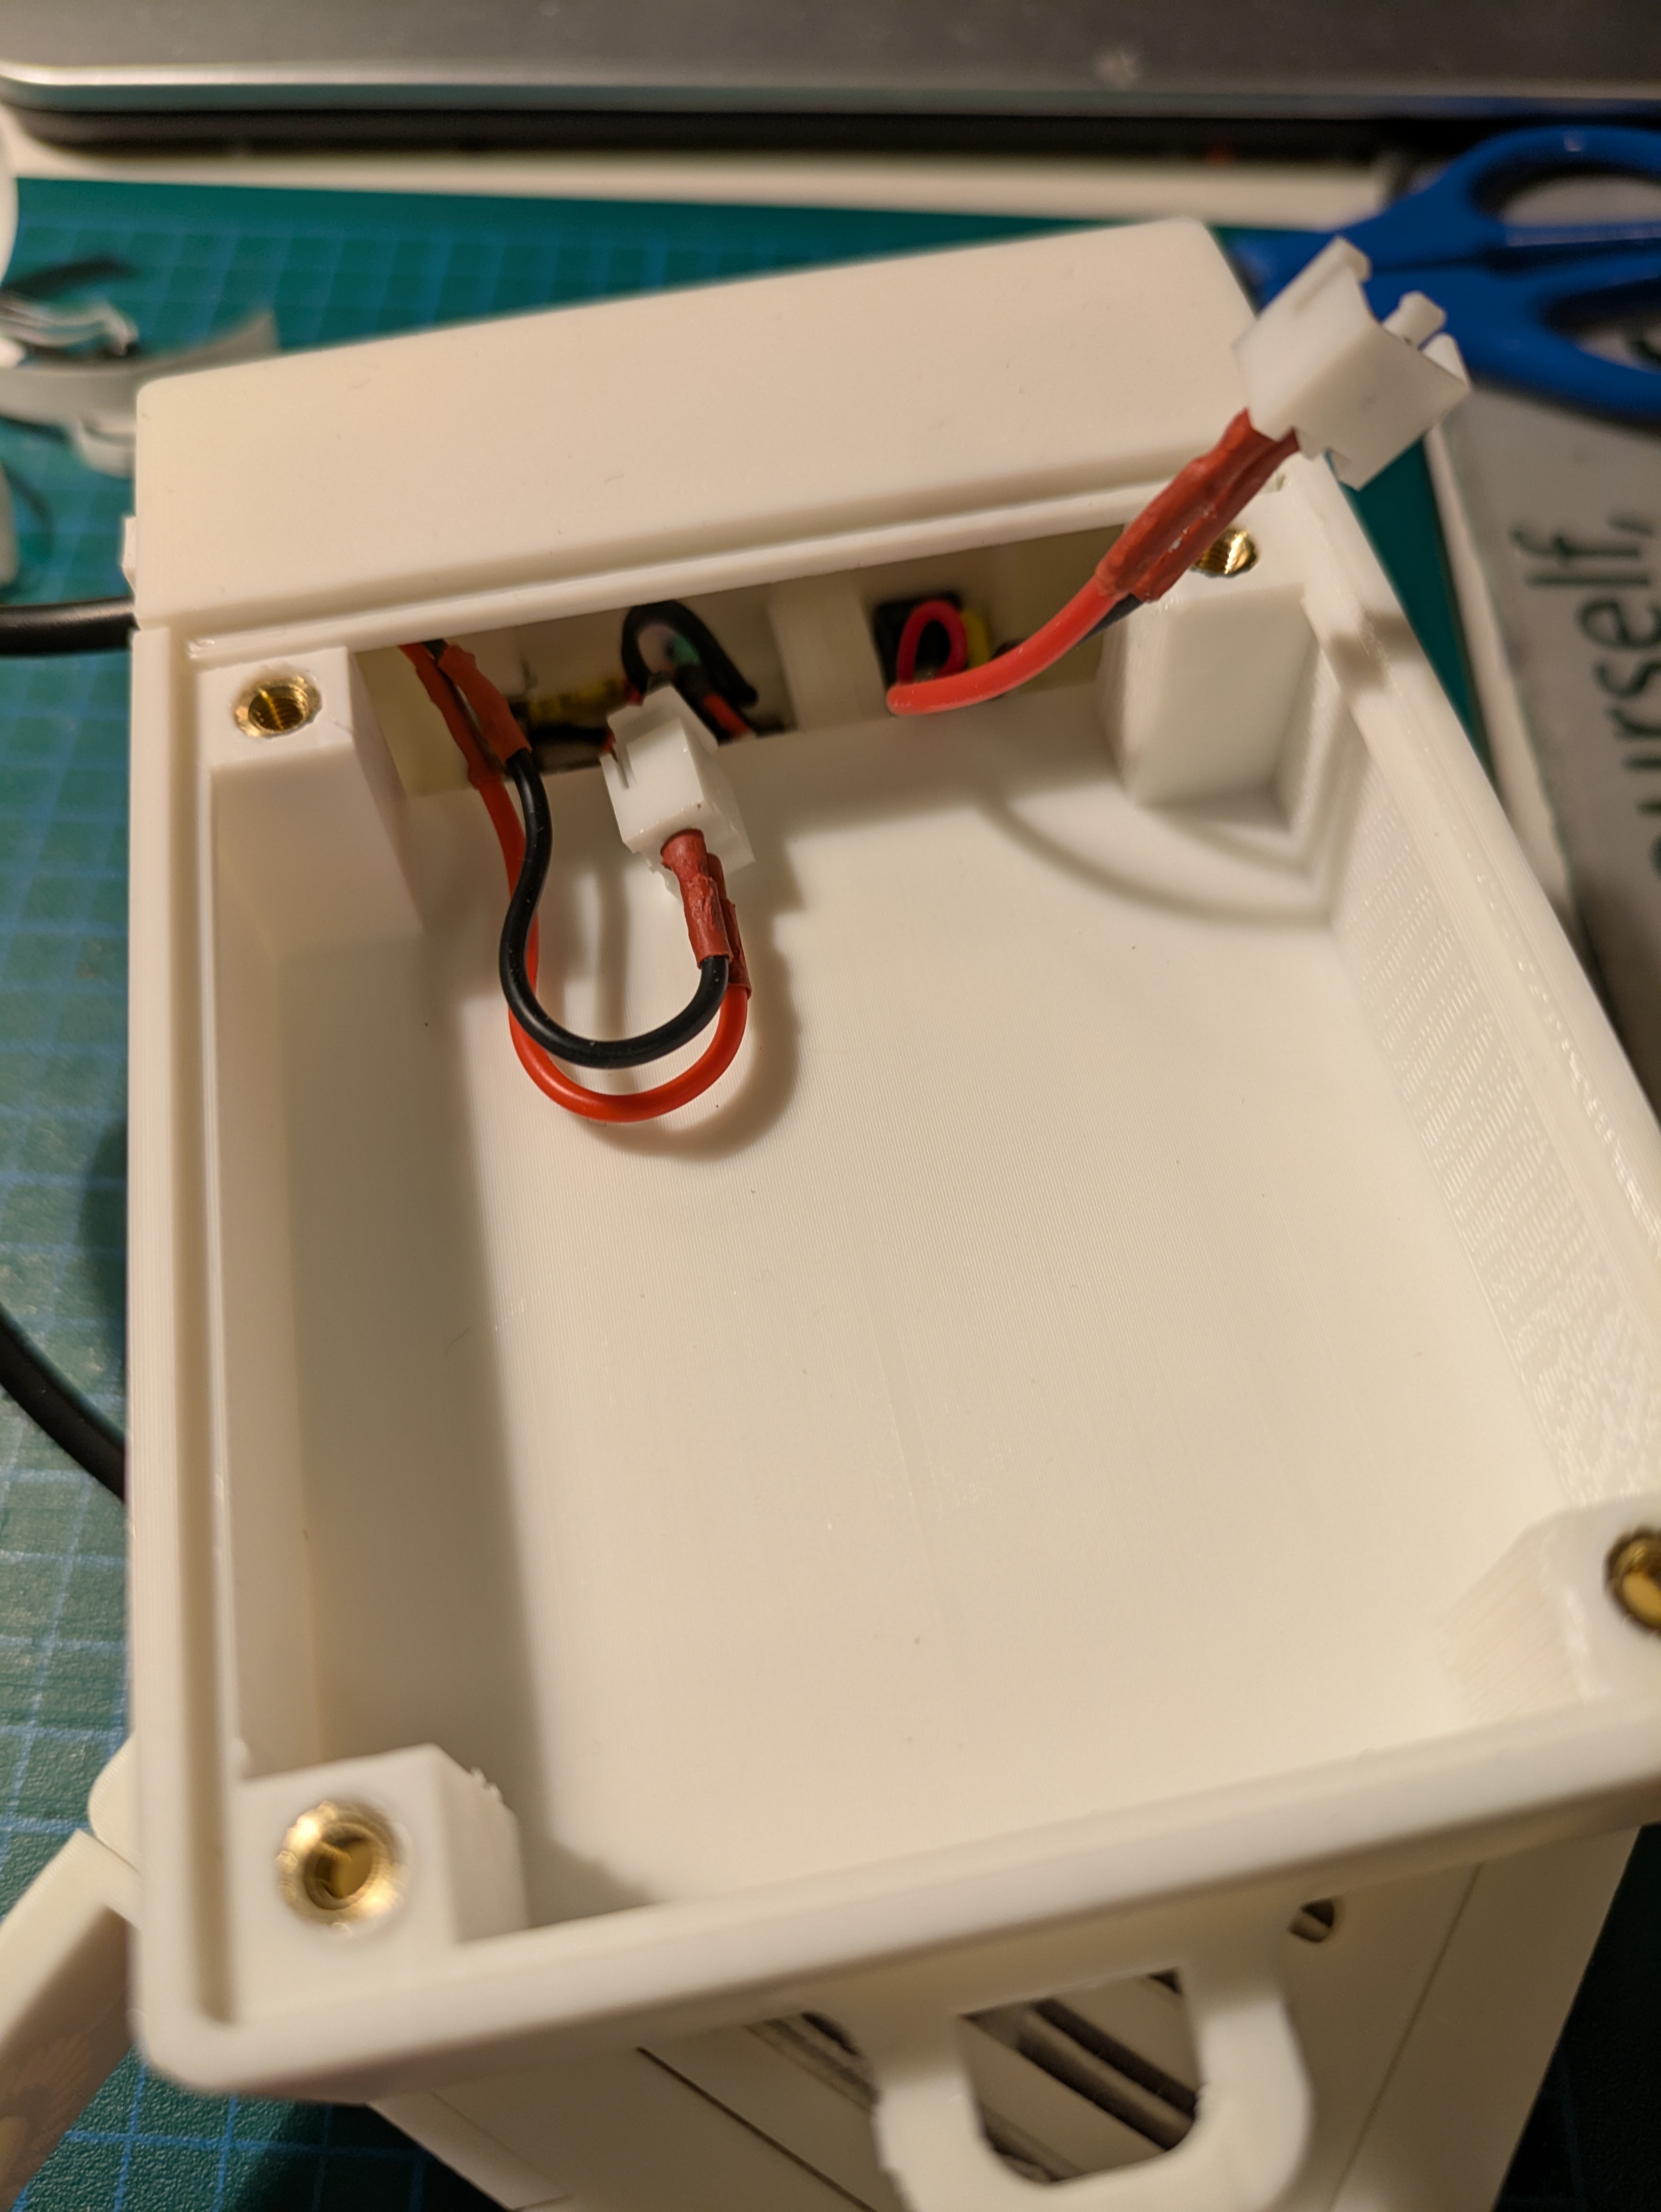
Now this is the most difficult part: slide the electrical unit through the rails and carefully push it down, while making sure the USB-C connector is going through the hole and both MT3608 and TP4056 are properly in their respective slots. And then connect the fan to the electrical unit.
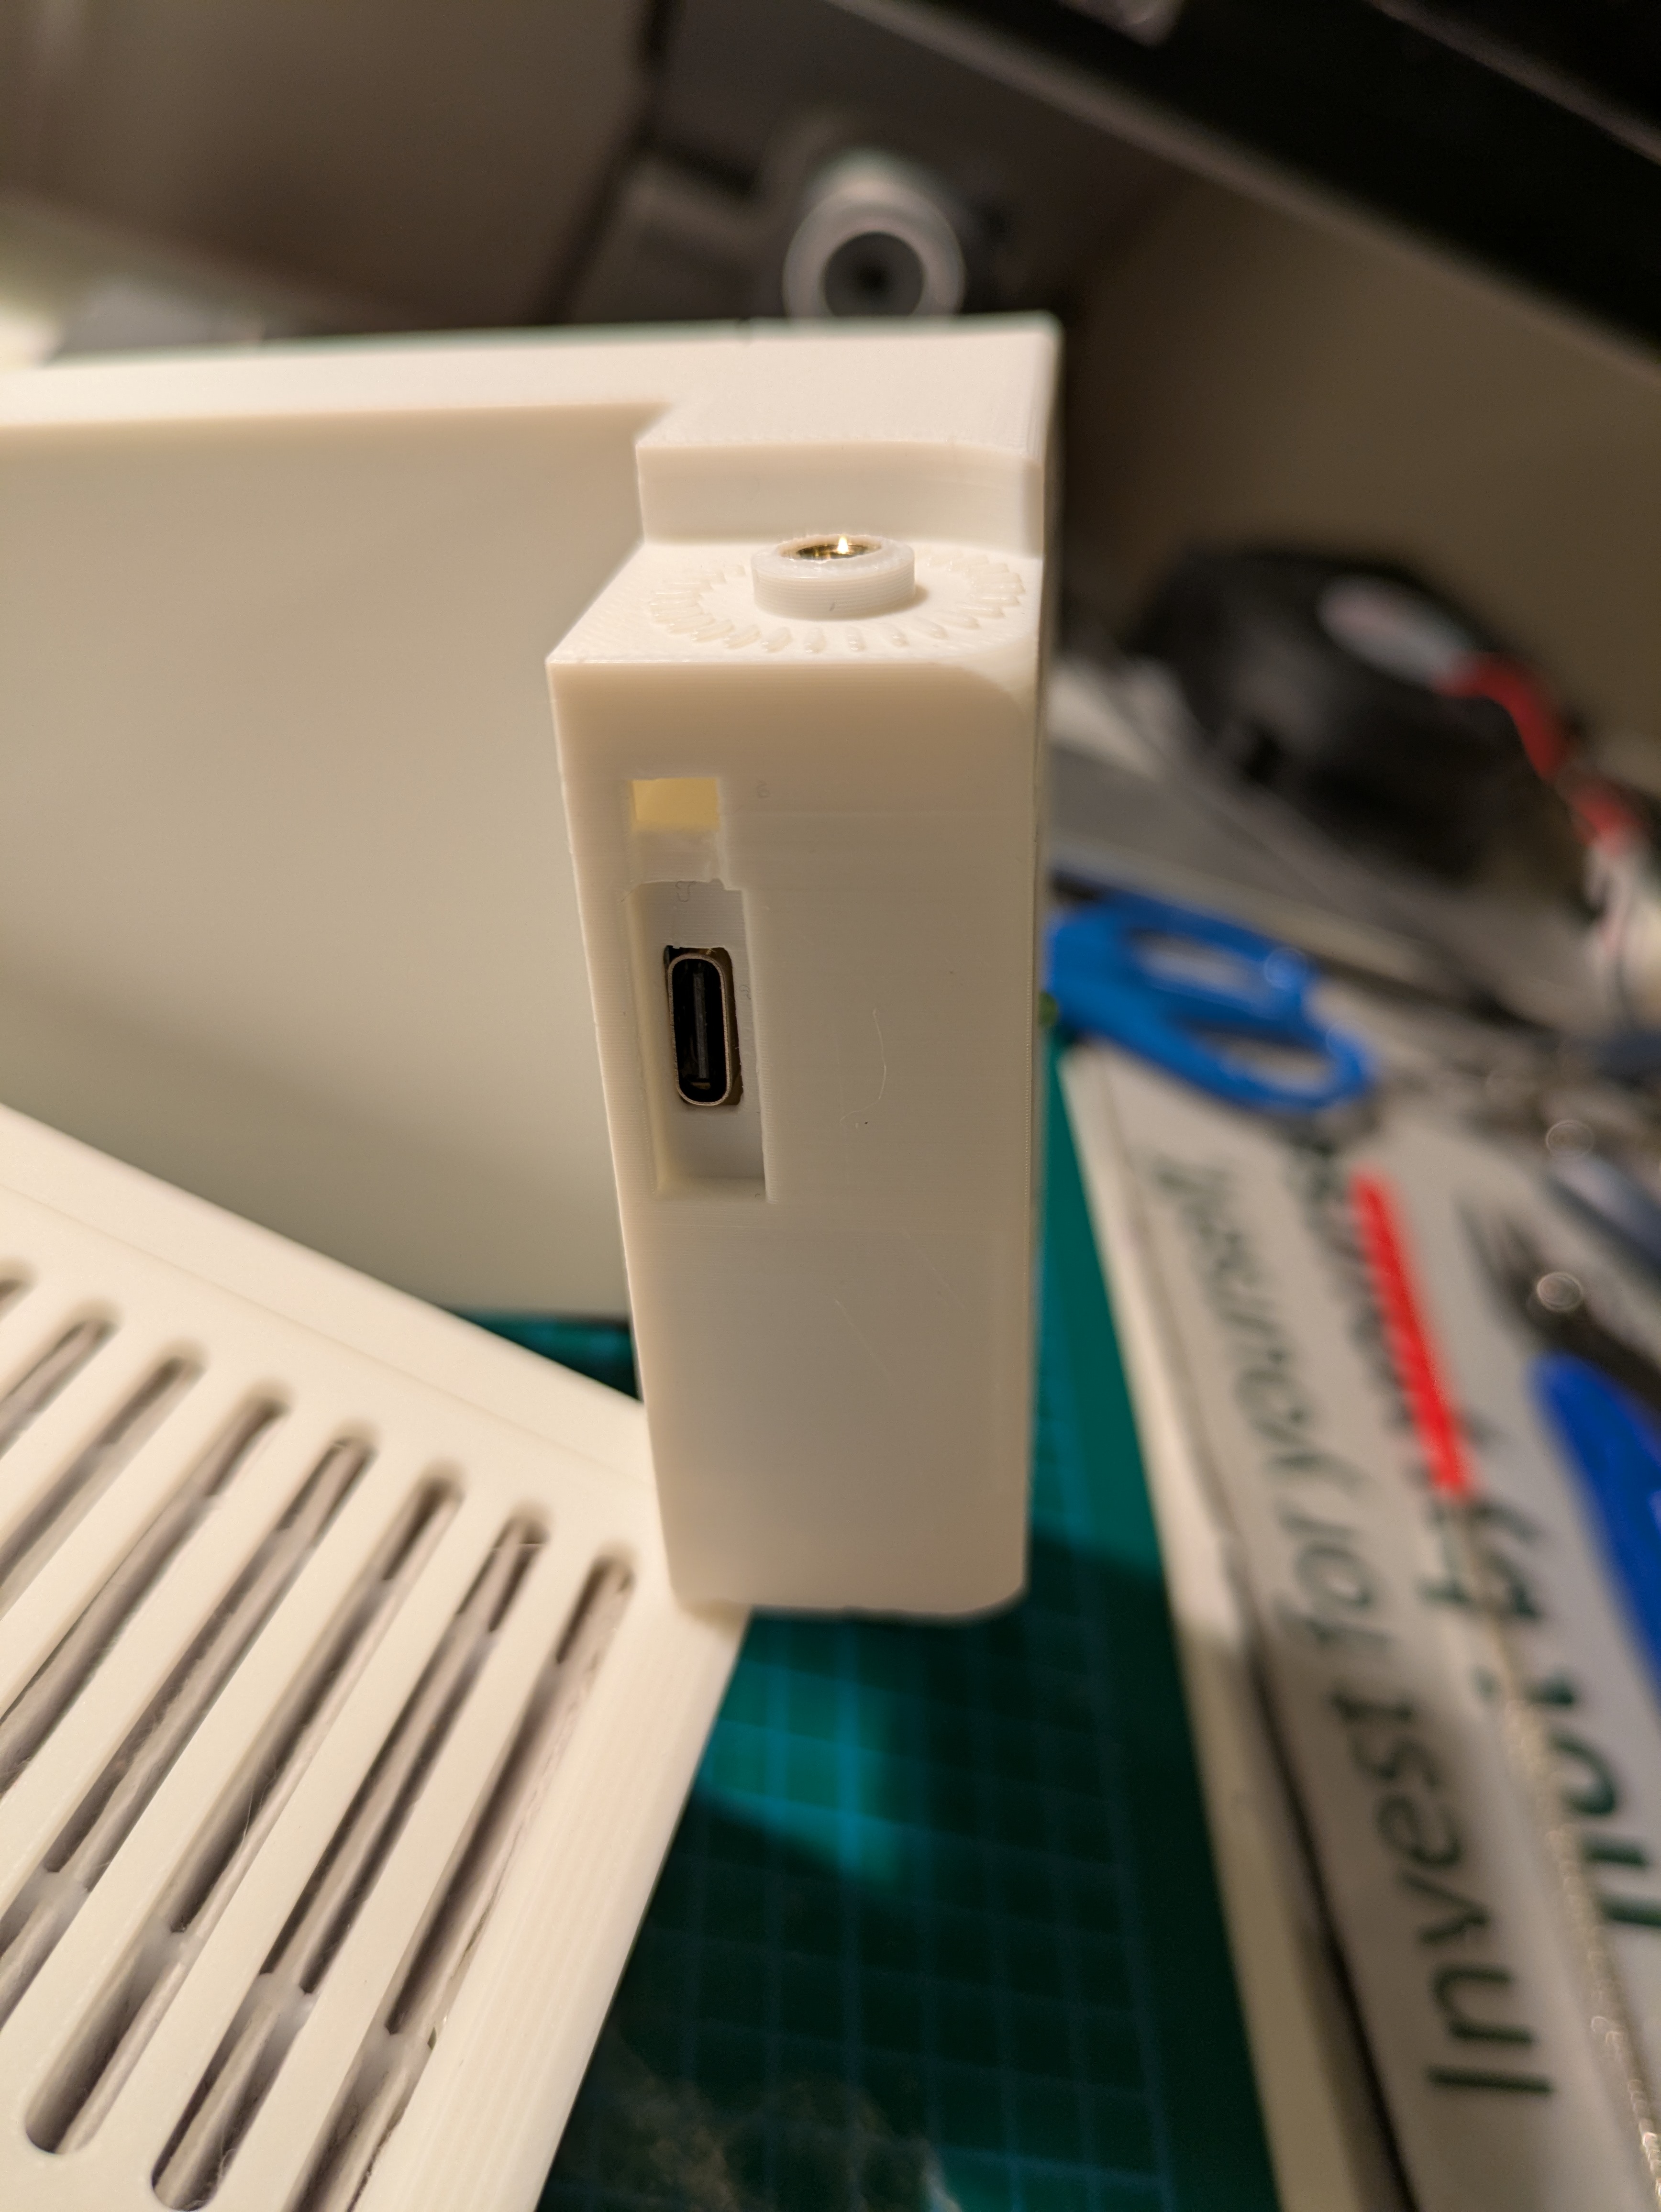
Make sure the USB port is in the slot
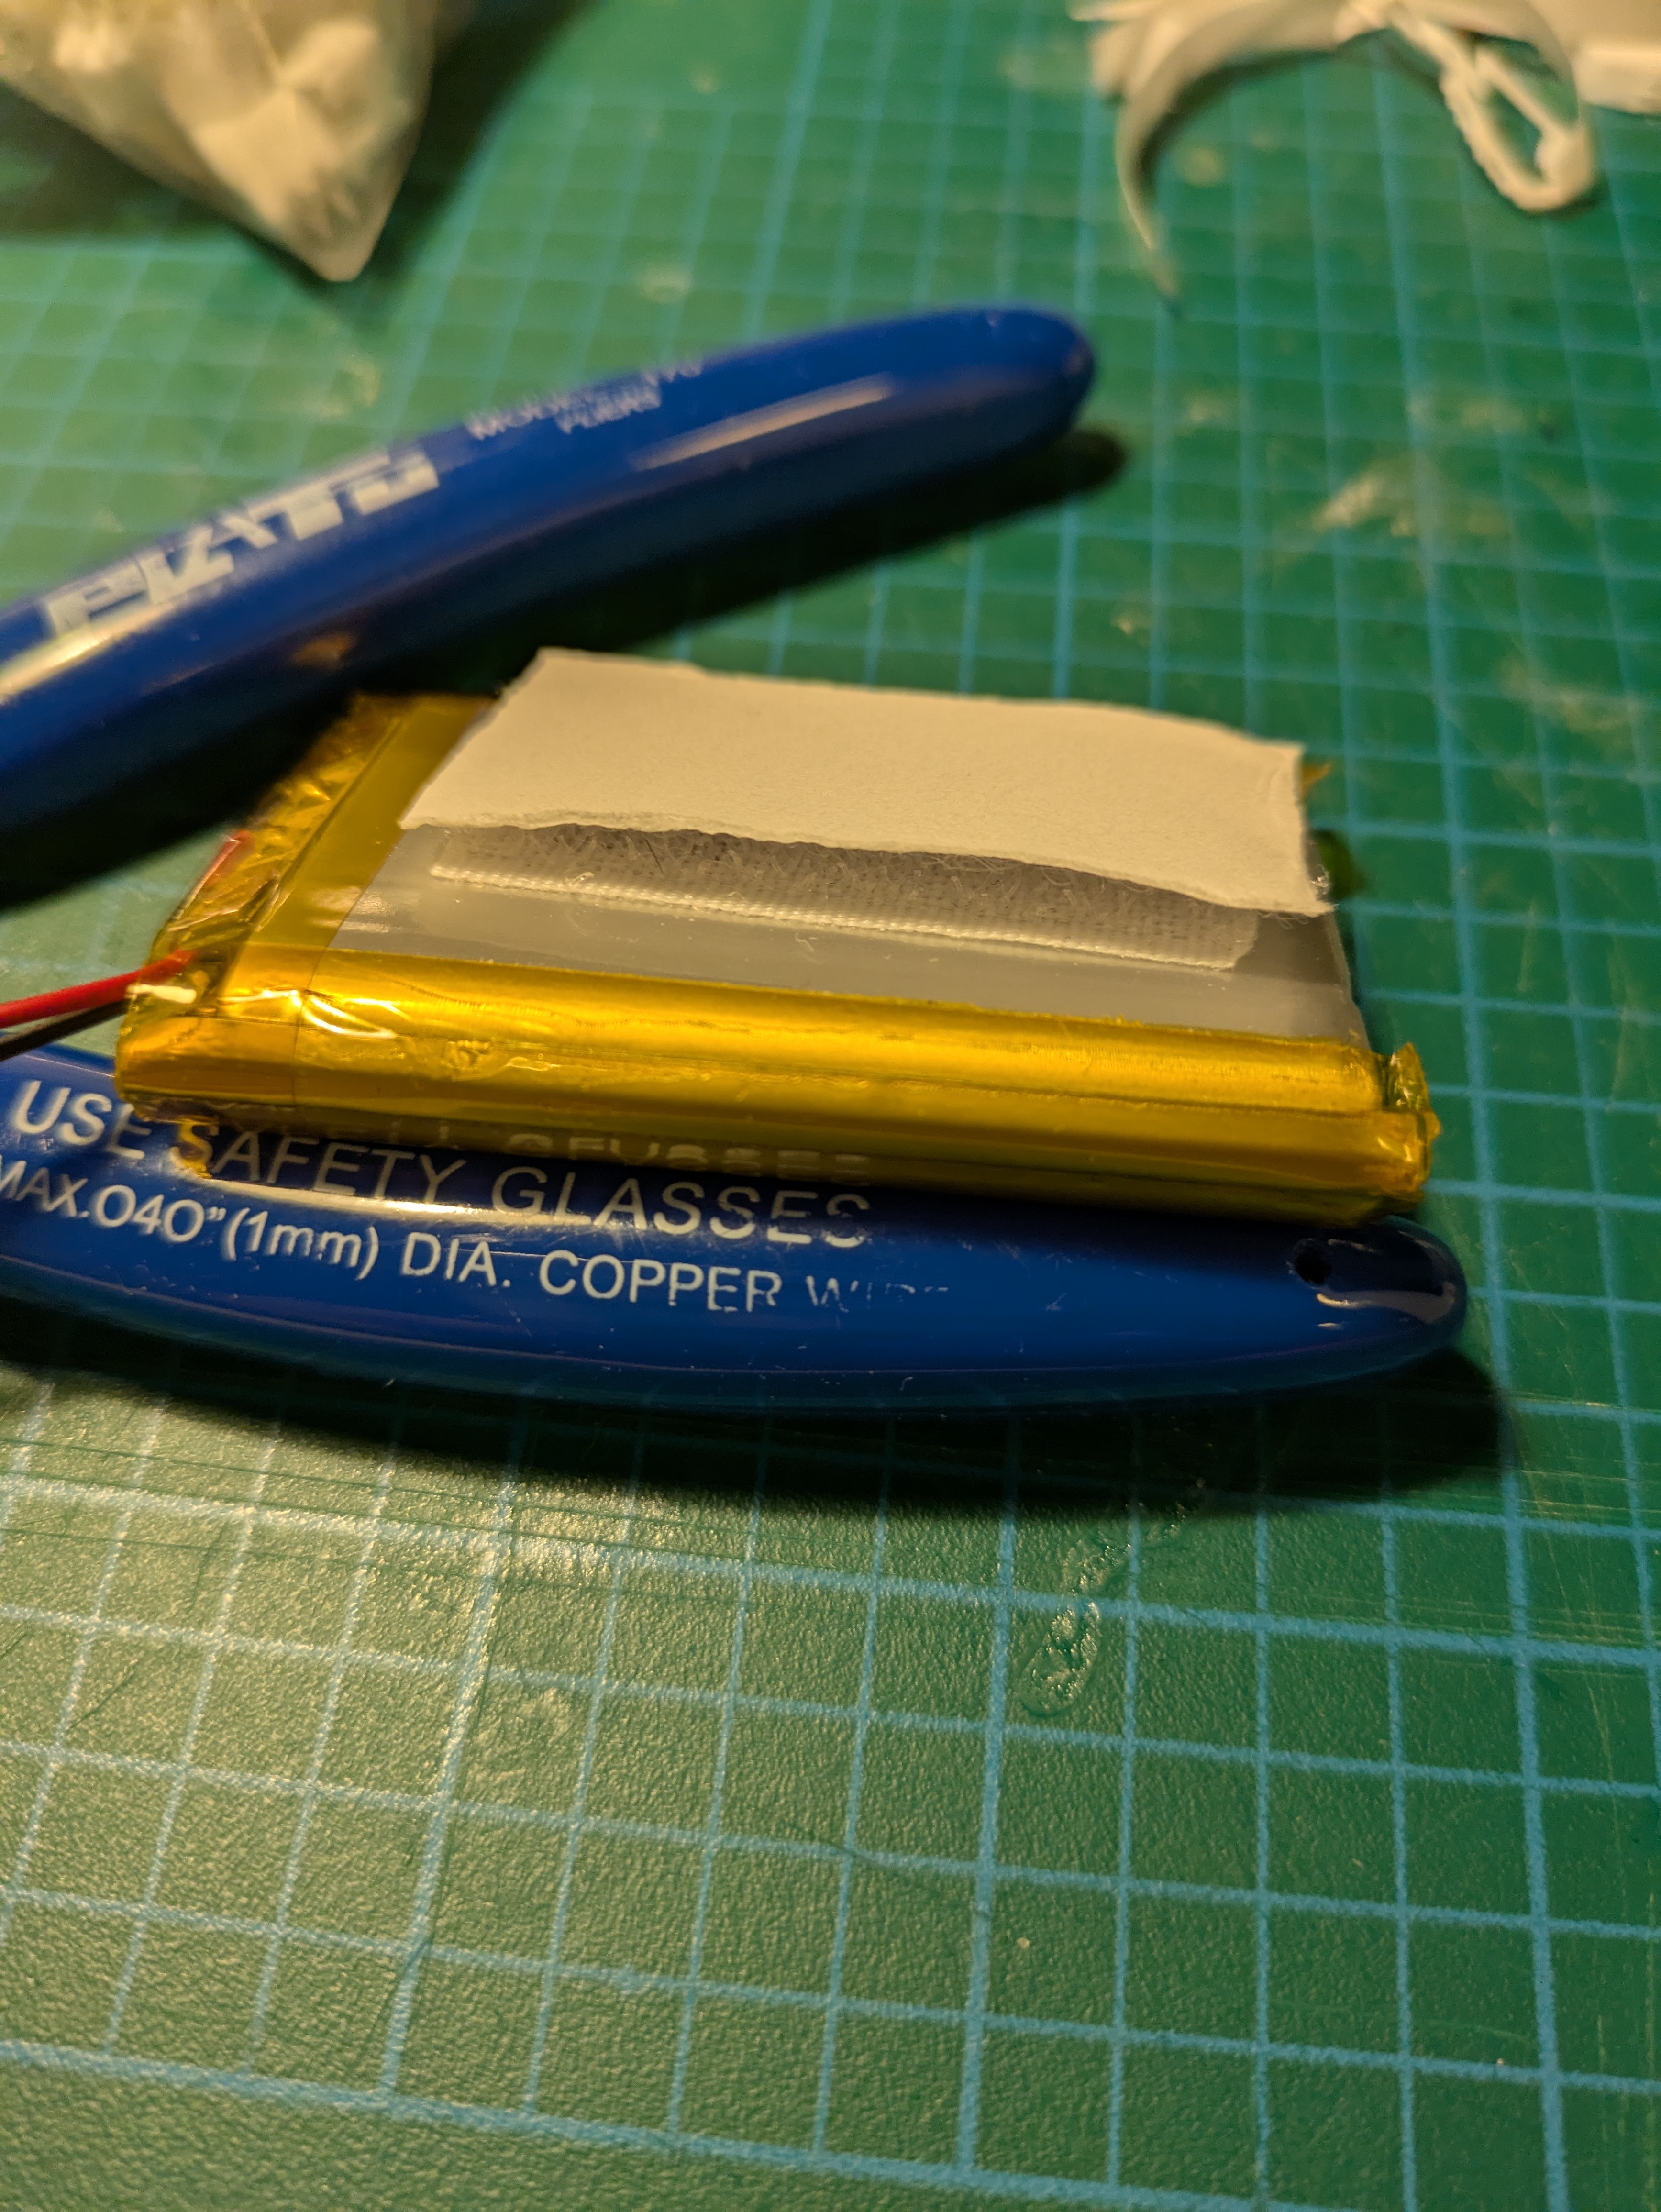
Put a velcro tape over the battery like the picture.
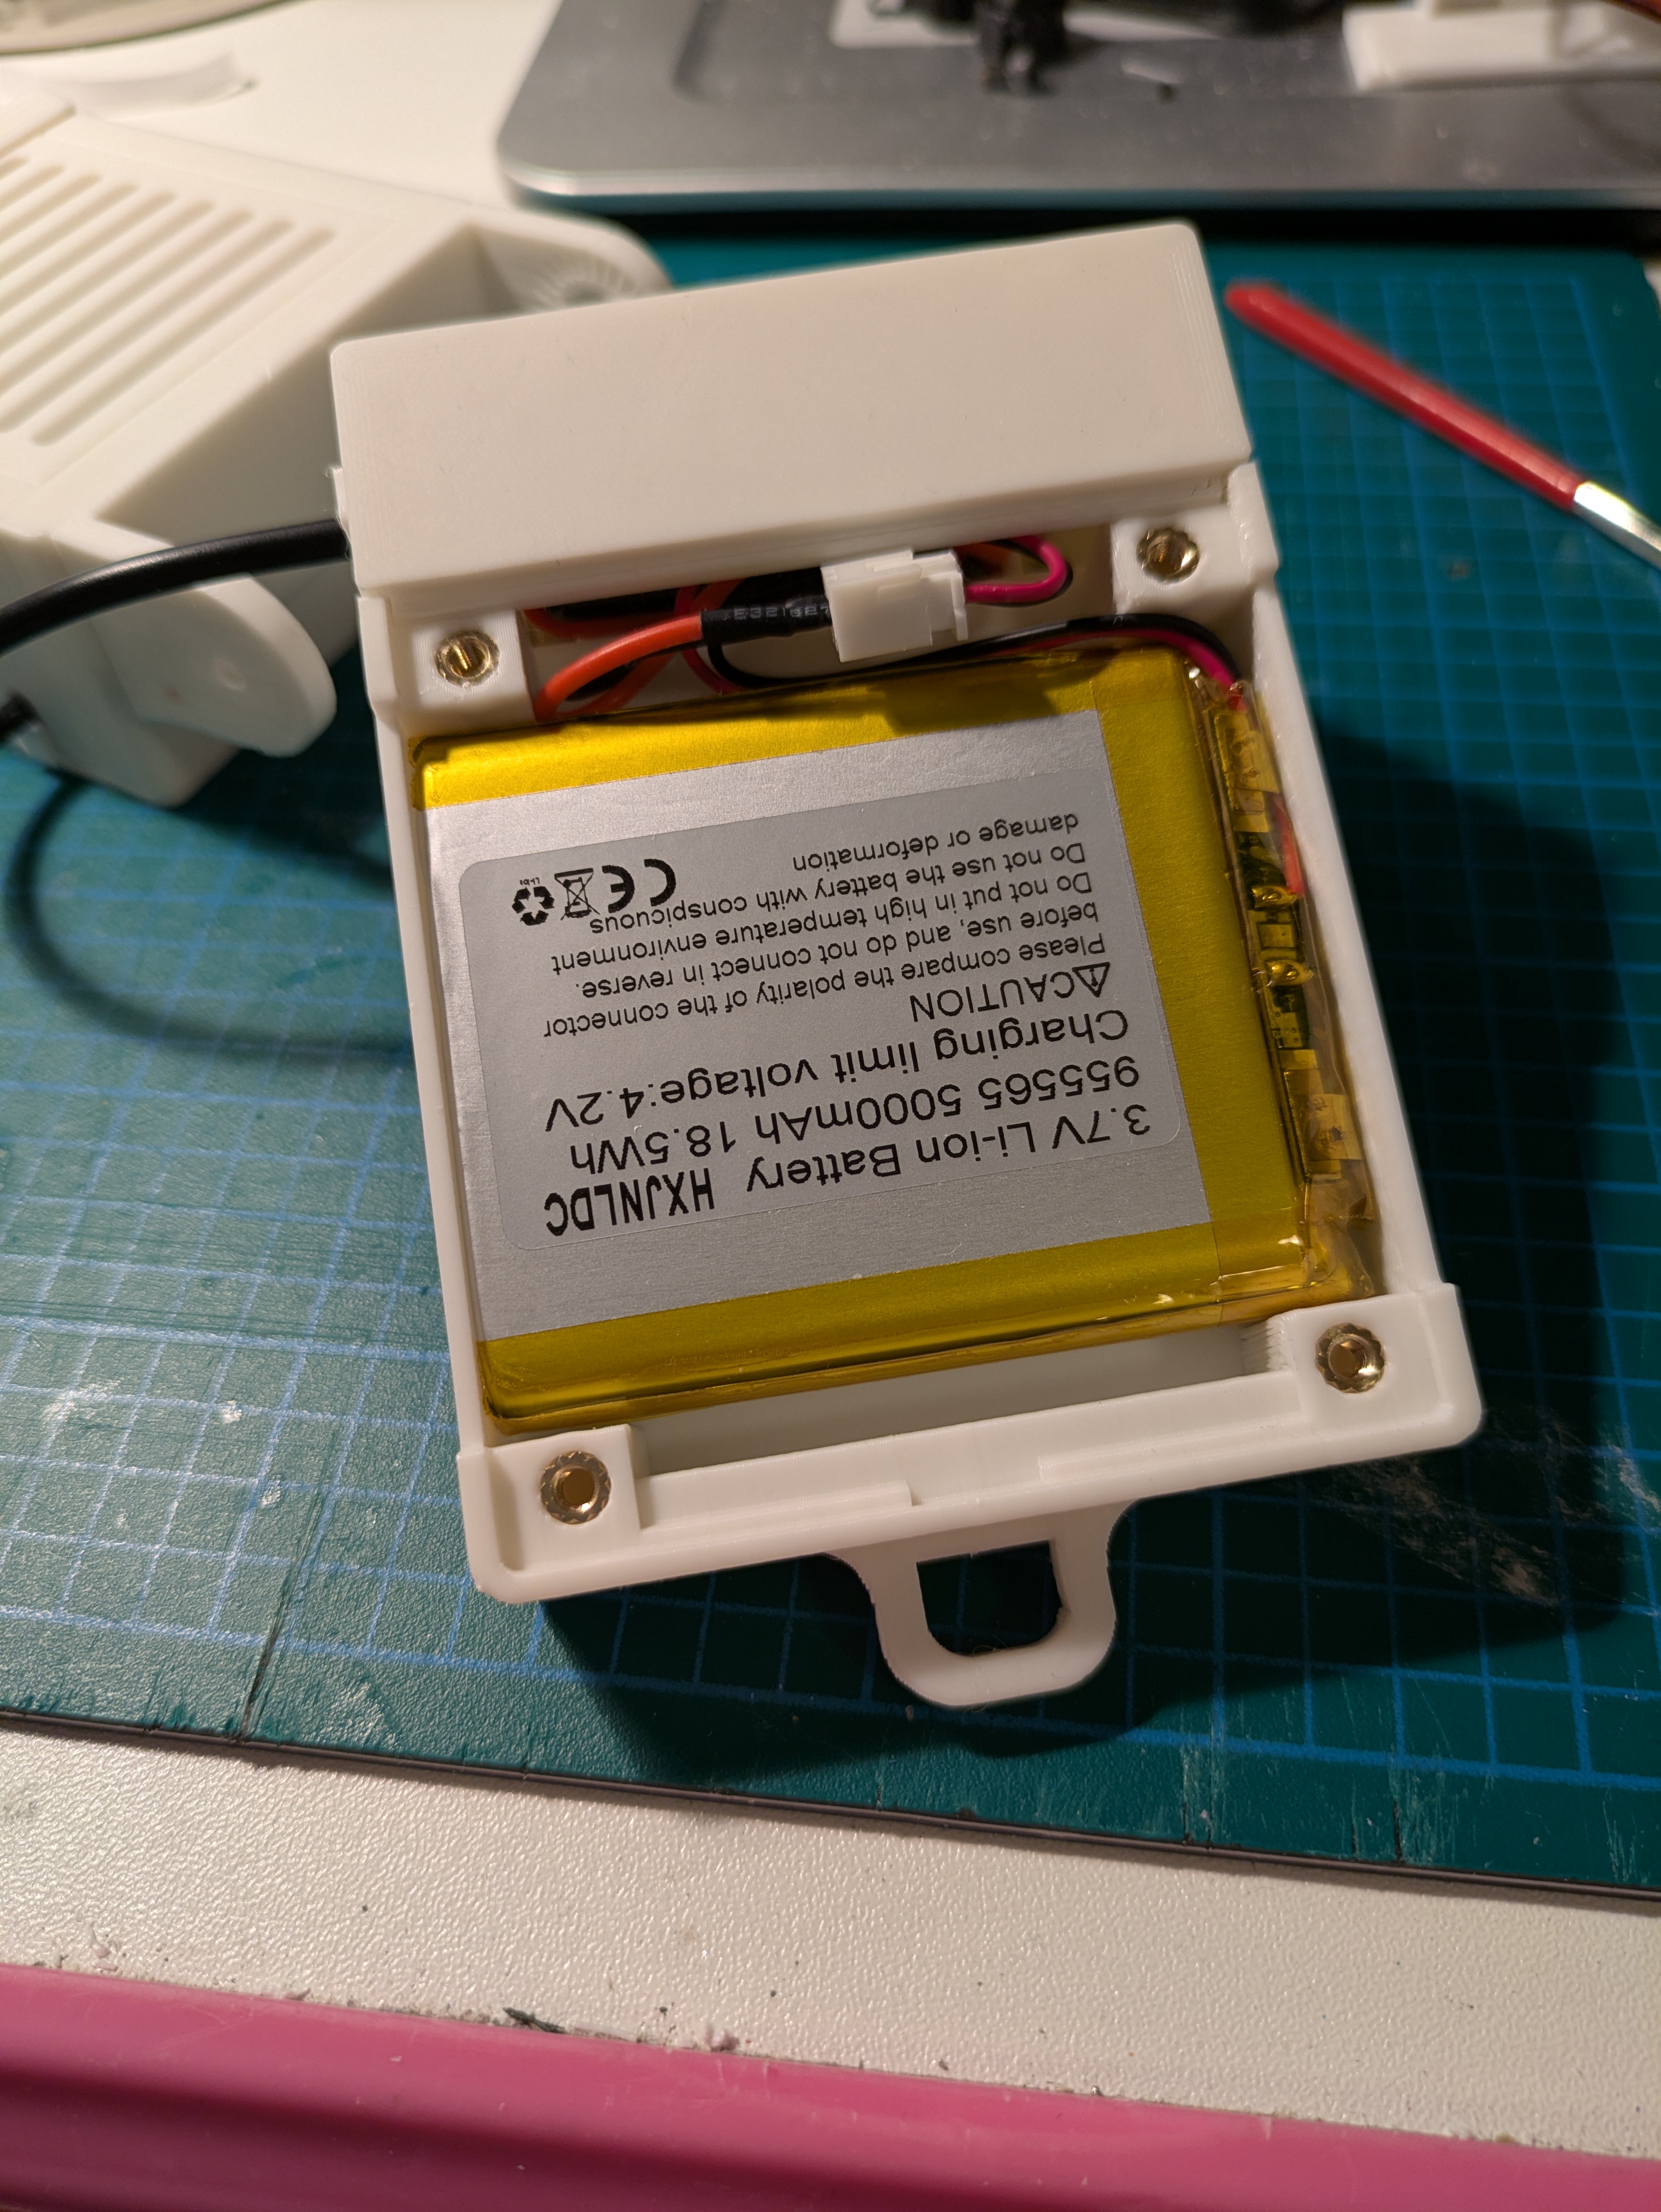
Put the battery in and connect it to the electrical unit.

Now close the battery unit and secure it with four 5mm flathead M3 screws. We're almost done!

Push the rotating arms into the position (it can be hard, so use a little more force), and then use a 6mm caphead M3 screw on one side.
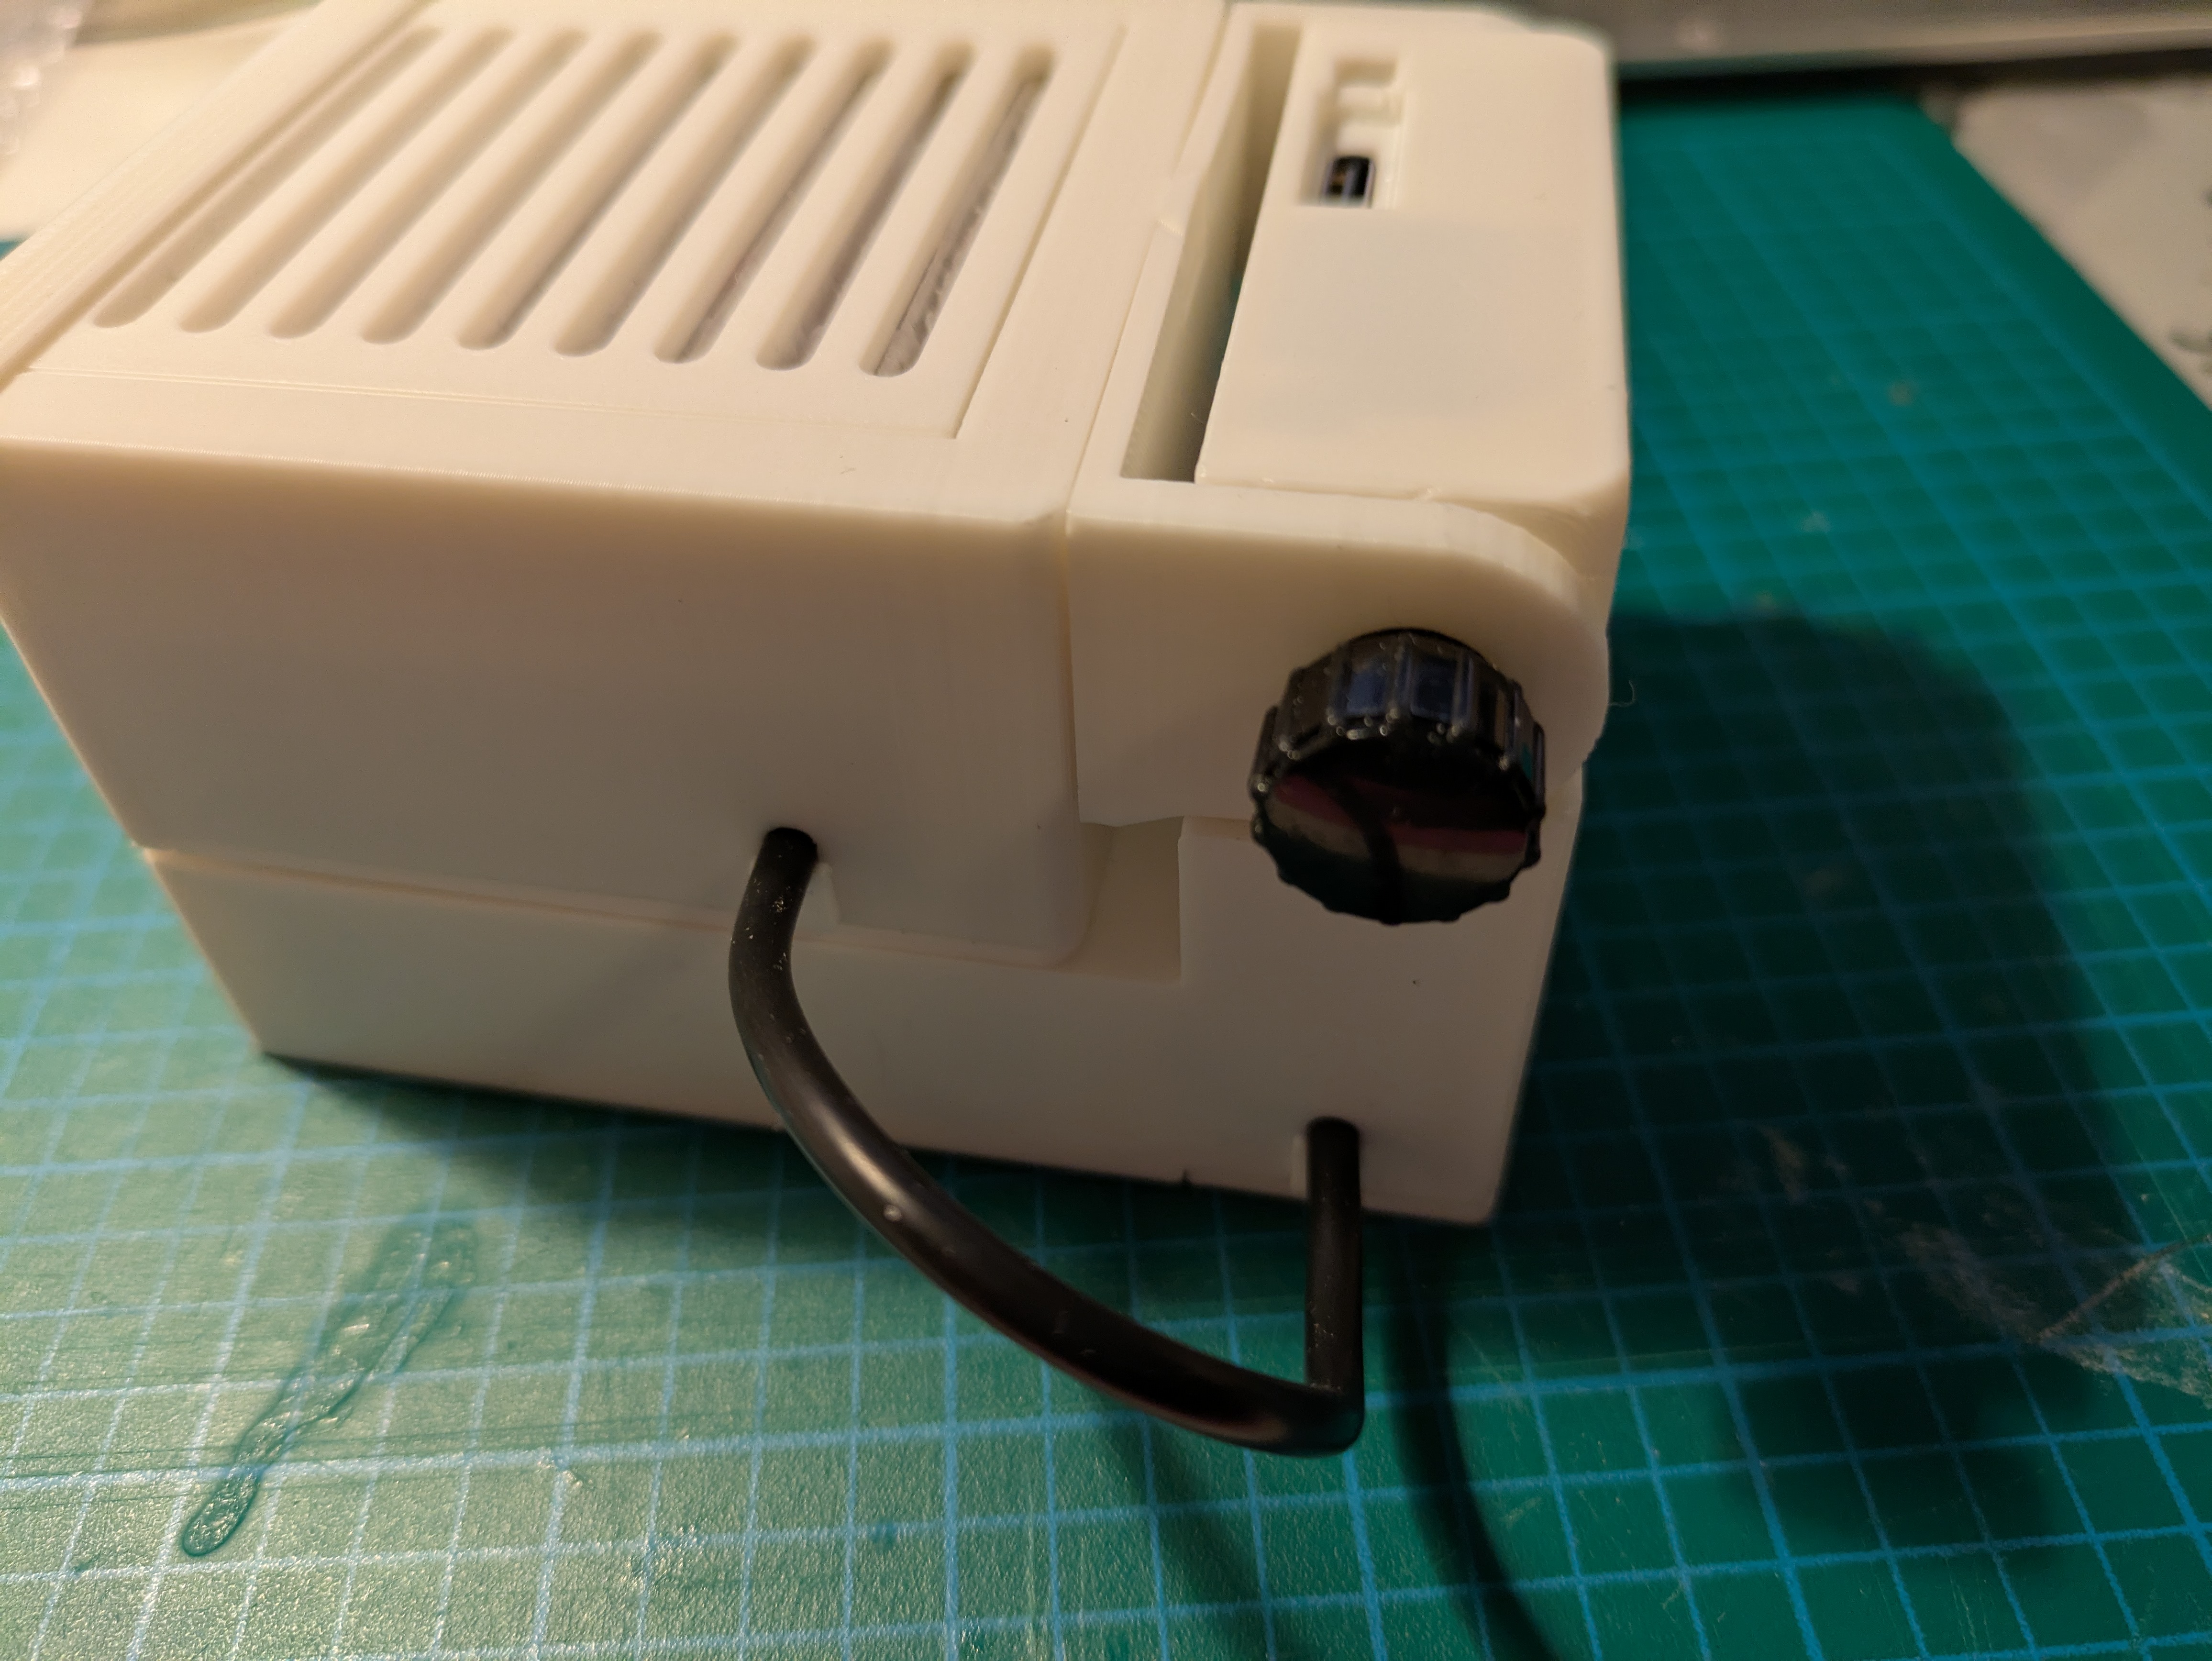
Use a M3 knurled screw on the other side.

The final touch: push the USB protecting strip in place. You can use any filing stick with a sharp end to help you finish this step. Please don't get too frustrated; I made it super tight so that water won't get into the electrical unit easily.
