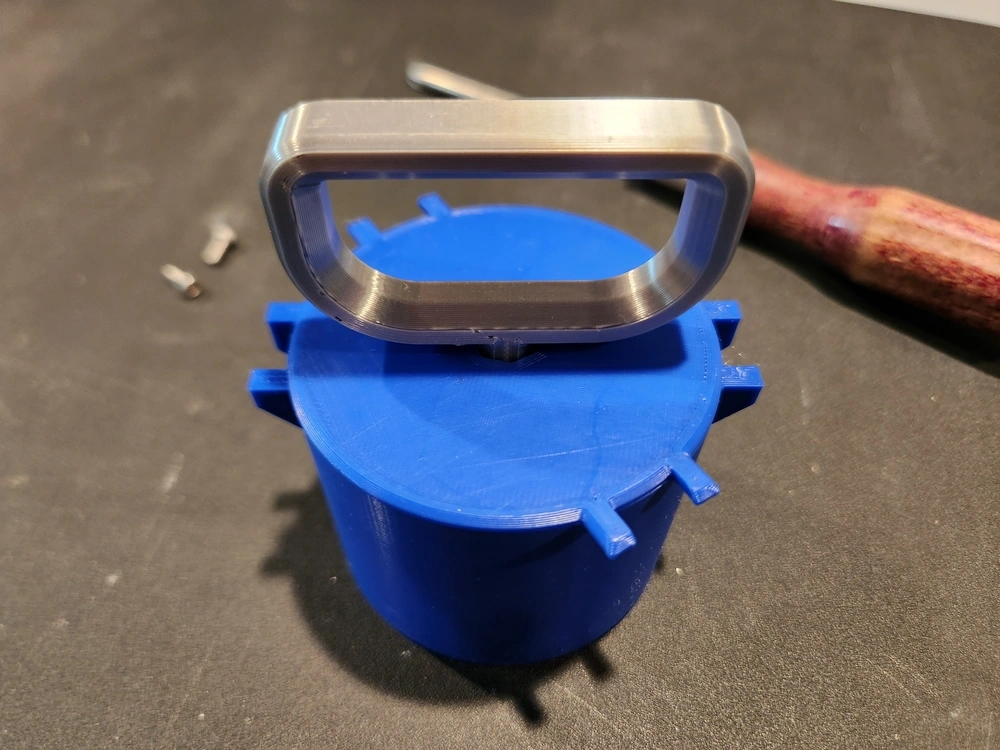
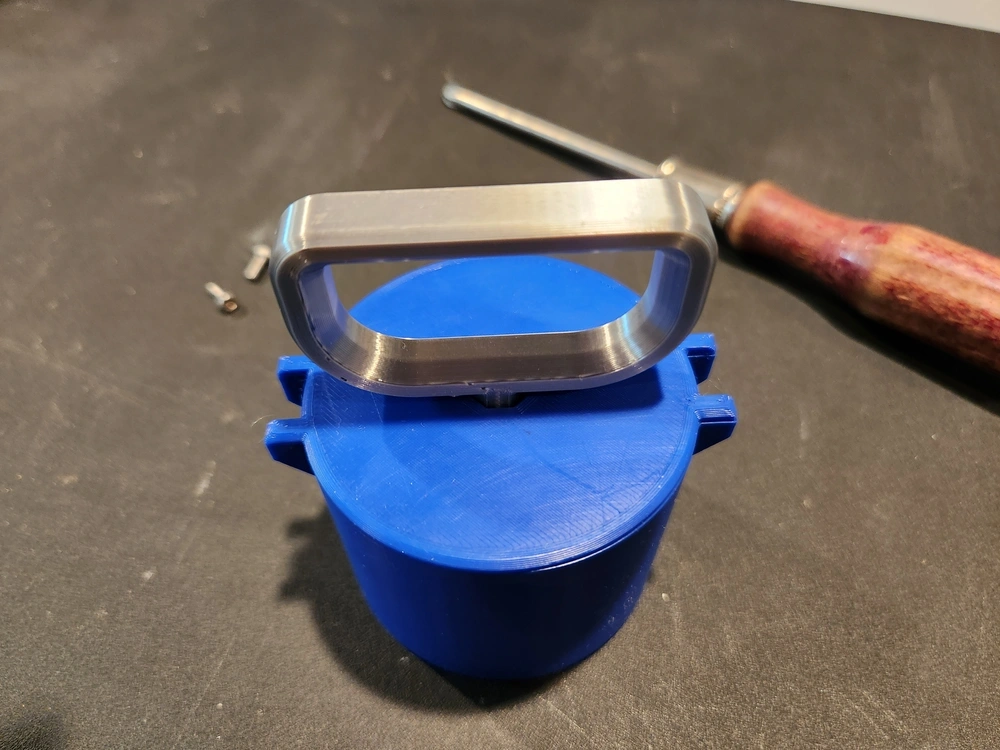
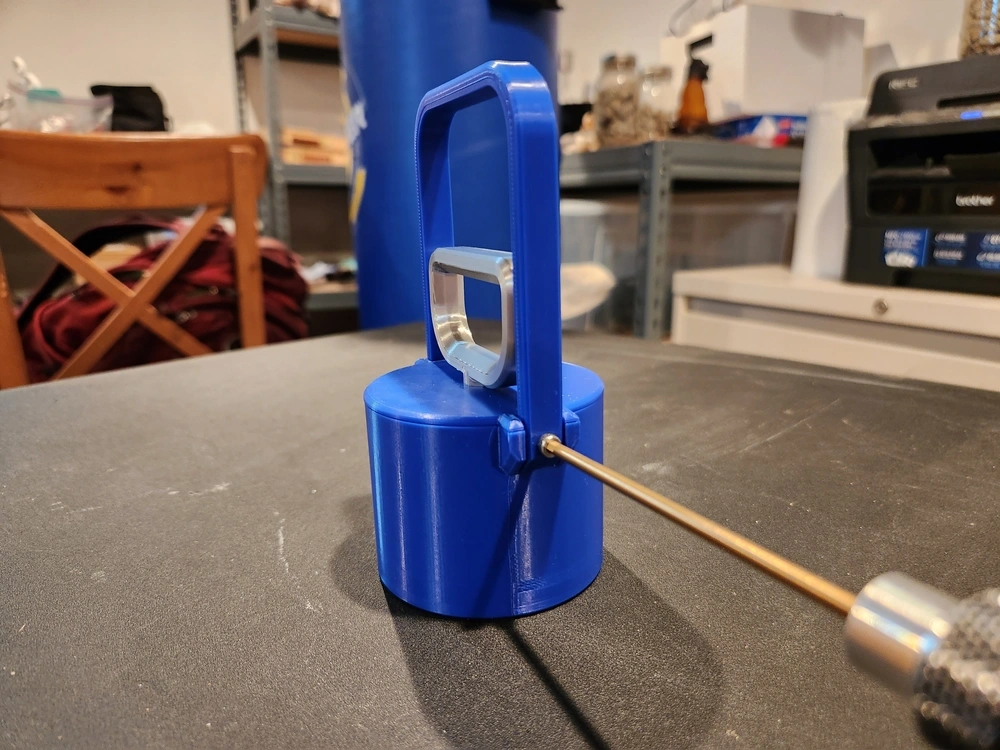
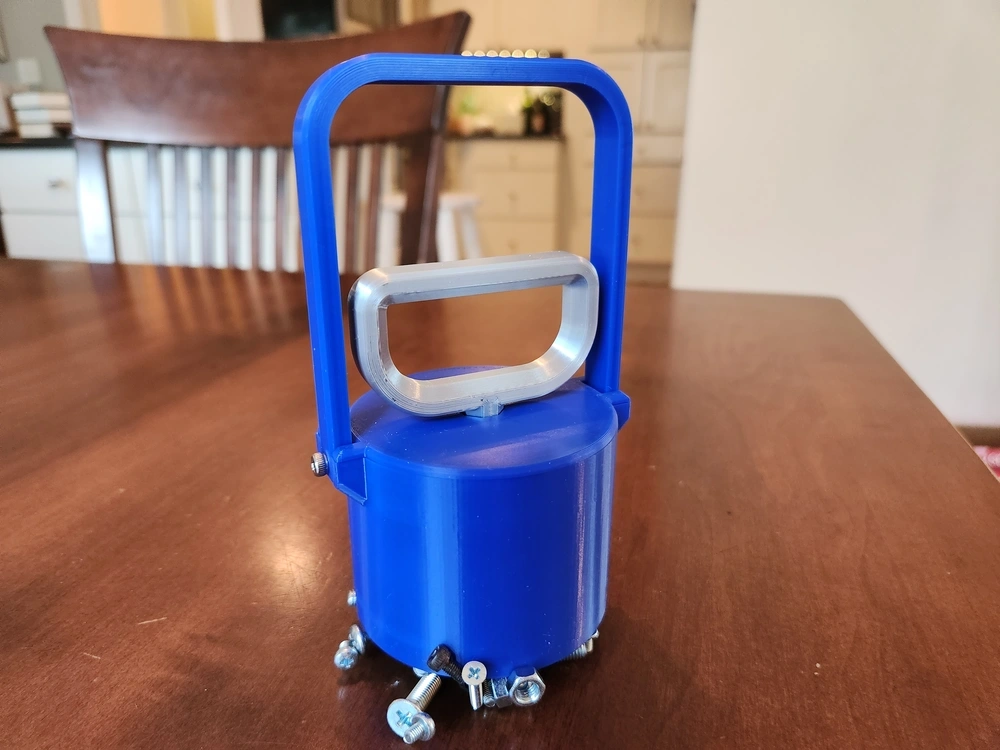
Magnetic separation and picking tools with quick-release function
Earthy Fleece

Найти похожую с ИИ


Профиль печати(0)
Файл модели(0)
 0
0 0
0 0
0
Опубликовано:2023-09-28 15:19:47
0
0
 000
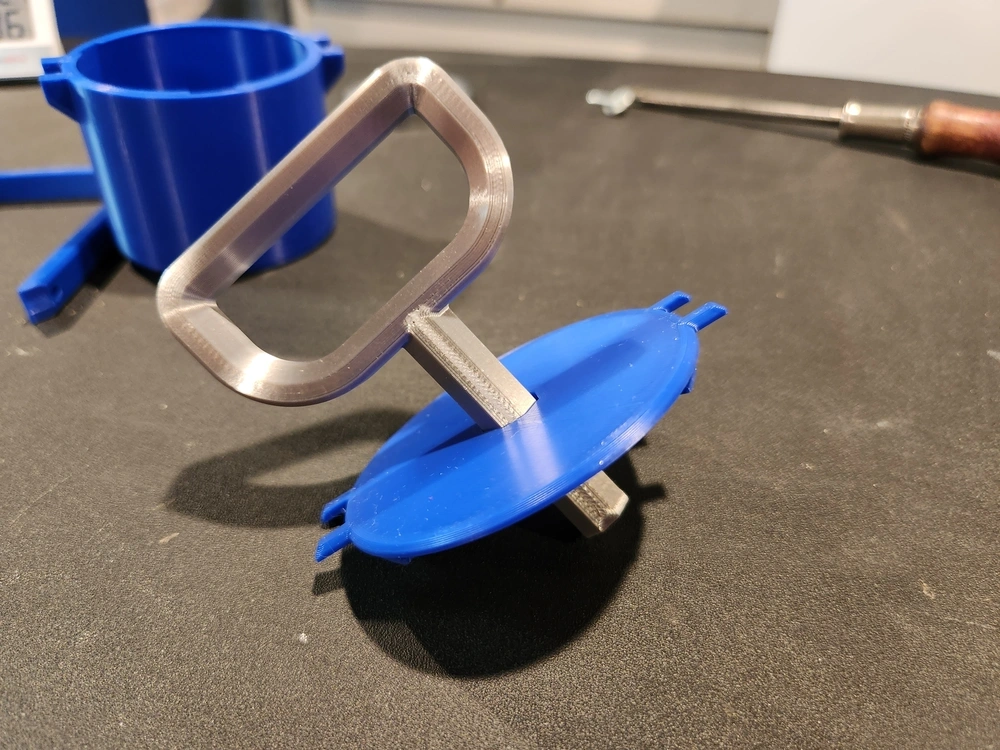
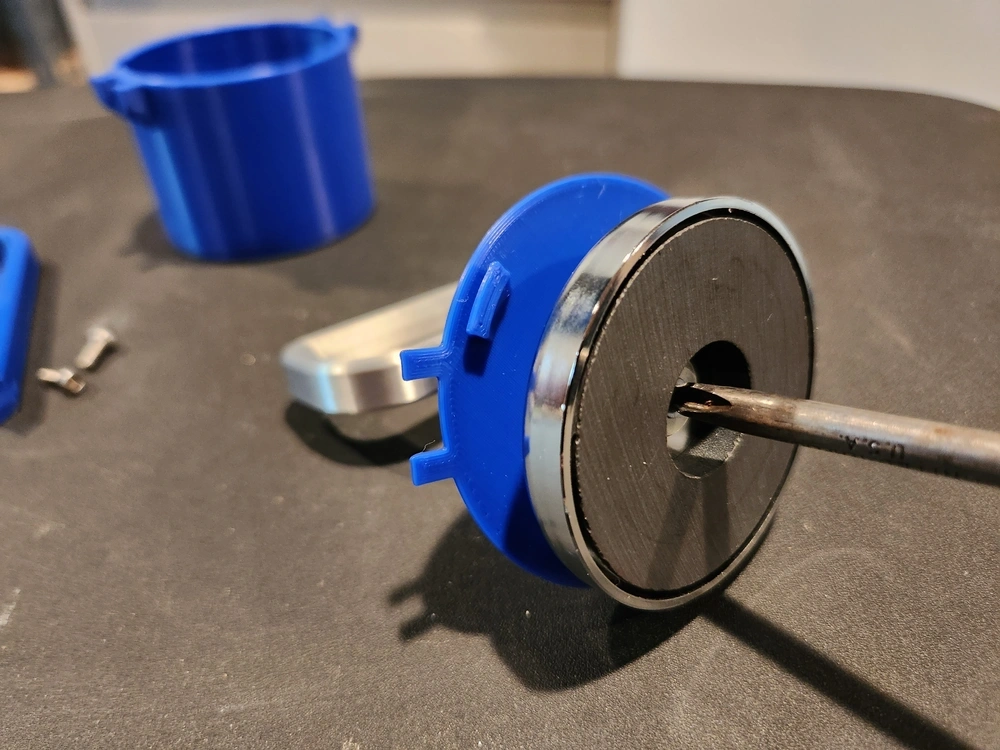
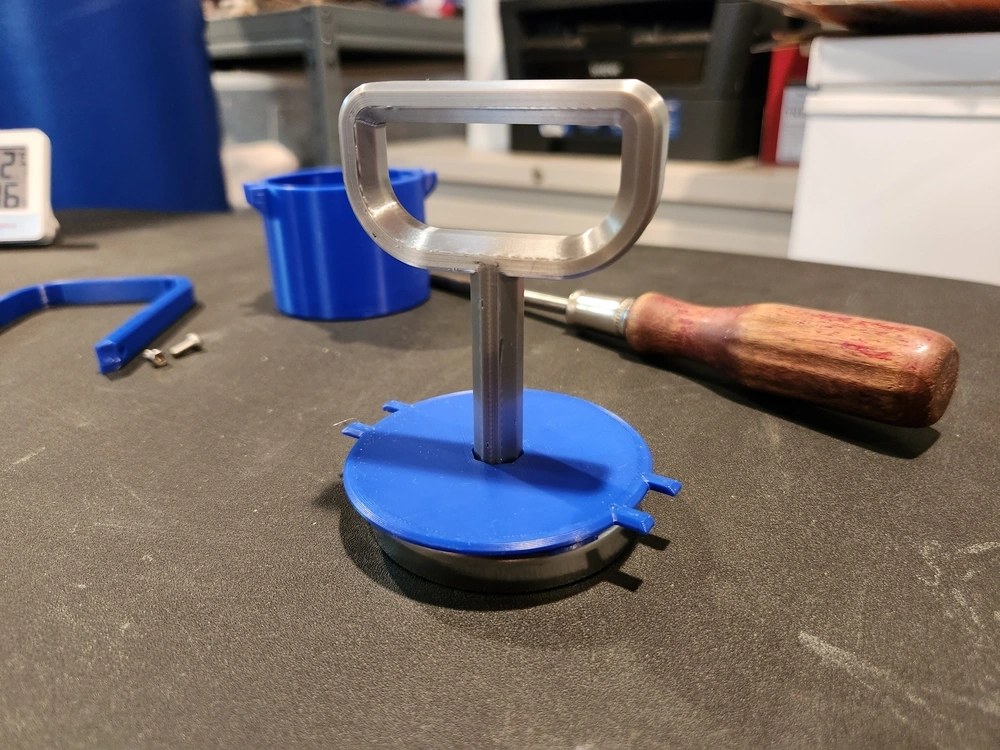
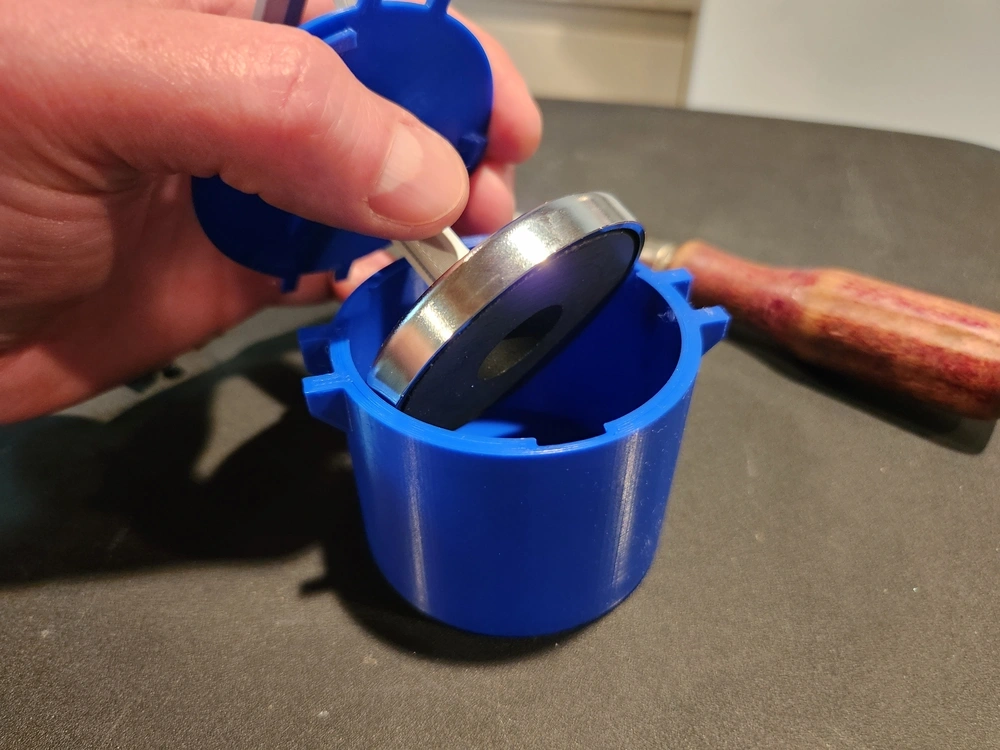
000This is an essential tool that helps you conveniently pick up various metal objects in your workspace and then easily place them in the right position by quickly releasing the handle

All parts are designed to be printable at any layer height without the need for supports. I recommend setting "Vertical Shell → Edge" to 4. Both handles are designed to be printed upside down, and the "Top" parts are designed to be printed inverted. In addition to the individual STL files, I have also attached a "3MF" file containing all parts in the correct orientation, as well as the "gcode" file I used to print the parts shown in the image on the Prusa Mini.
For standard files2.4 inchesA magnet with a centrally mounted hole, for example.This one。
I also uploaded a file of a larger size, suitable for a diameter of3.2-incha magnet, for exampleThis one
In addition, I've decided to share my parametric Fusion 360 file, which you can use to generate these STL files based on the selected magnet size. Simply open the attached "Transfer Magnet.f3d" file in Fusion 360, go to the "Modify → Change Parameters" option, and adjust the "Magnet Diameter" and "Magnet Height" parameters.