СNС 3018 Final Revisions
* Chip Suction - https://www.thingiverse.com/thing:4651936
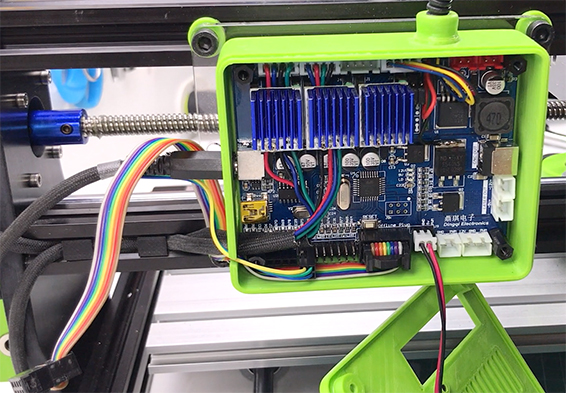
* Controller Case - https://www.thingiverse.com/thing:4640949
* Z-Probe - https://www.thingiverse.com/thing:4652028
* Clamping Block - https://www.thingiverse.com/thing:4626219
First of all, I congratulate everyone on the New Year! Well, I wish you all the best!
I managed to make the last edits just before the new year, collected and filmed the material, but postponed the editing of the video and the publications themselves for the next year, and now it came true, on the second of January...
In the final modification:
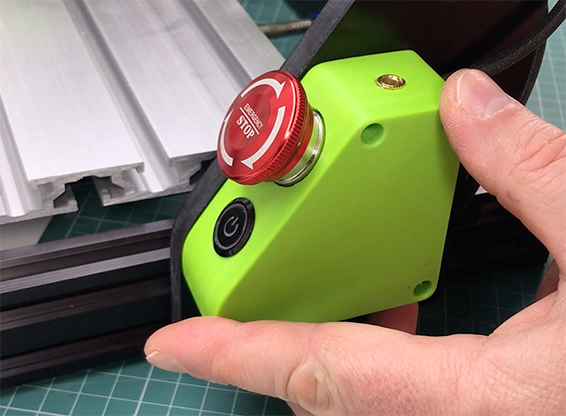
Housing for push button and emergency stop.
There is also a socket for connecting a Z-Probe. For the LED of the power button, I added a 10k resistor so that it does not shine too brightly, otherwise the extra shine interferes. And also connected the LED to a constant glow so as not to forget to disconnect the power cable when moving the machine.
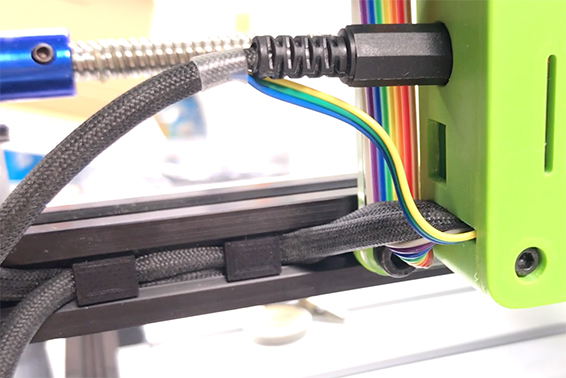
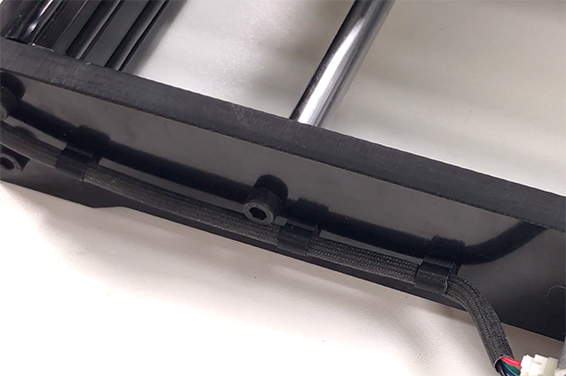
Shortened the display cable and motor cable by placing them in the profile slots, and added a few more cable clamps.
The connectors of the loop are easy to reassemble, but this procedure requires careful dismantling, they are very fragile. It's good if you have a spare. They are called 8-pin JTAG IDC connector.
I made these Cable Clip for a long time for a 3D printer, but I printed a lot of them, so they came in handy.
And these clamps were designed at the last moment of the final assembly.
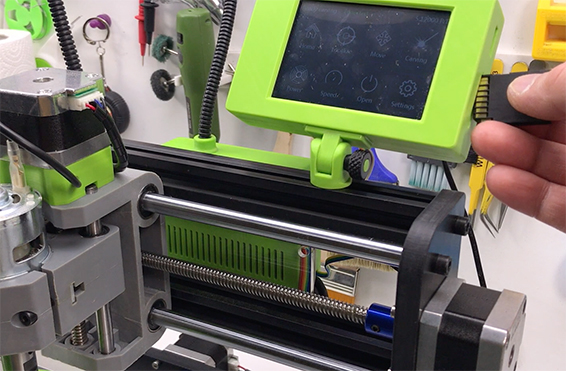
Standalone controller from MKS TFT3.5.
I put the exact same controller and the same body on the laser engraver, which you could see earlier in the previous publication. Only now is a slightly different bracket that attaches to the aluminum profile and allows you to choose a convenient working position for the display.
This display, which is a stand-alone controller, can work with almost any GRBL controller. Its purpose is to read the file and transmit the G-directives. You can also add your own buttons with the necessary G-commands. This is a matter of creativity ... and of course you can change the splash screen and button style. The documentation for the display is well described. I will only add on my own: do not write the firmware to an SD card from a Mac, something will go wrong :) ... Pictures will be torn ...
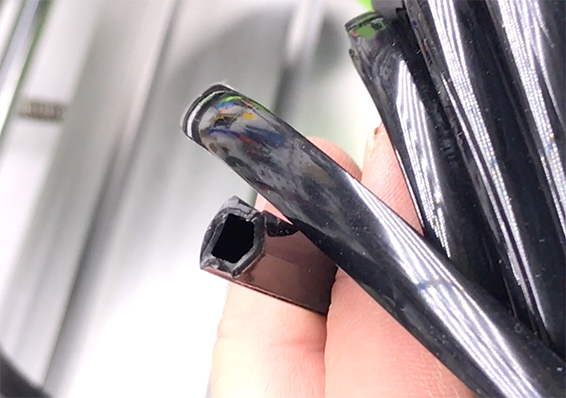
Also added a seal that covers all the slots of the profile.
Although my machine is equipped with a chip sucker, dust can get into the profile slots and it is not very convenient to clean there. Now, thanks to the seal, all slots are closed.
See the video for details:
Parts links below:
My favorites:

Thank you for every tip or donation,
it means great recognition for me and helps a lot to keep going!
My some other things:

3D Printer • Accessories













Electronics Tools • Accessories















Hand Tools















Power Tools • Accessories











Photo Video Accessories


Gadgets • Accessories

Other












 0
0 0
0 0
0