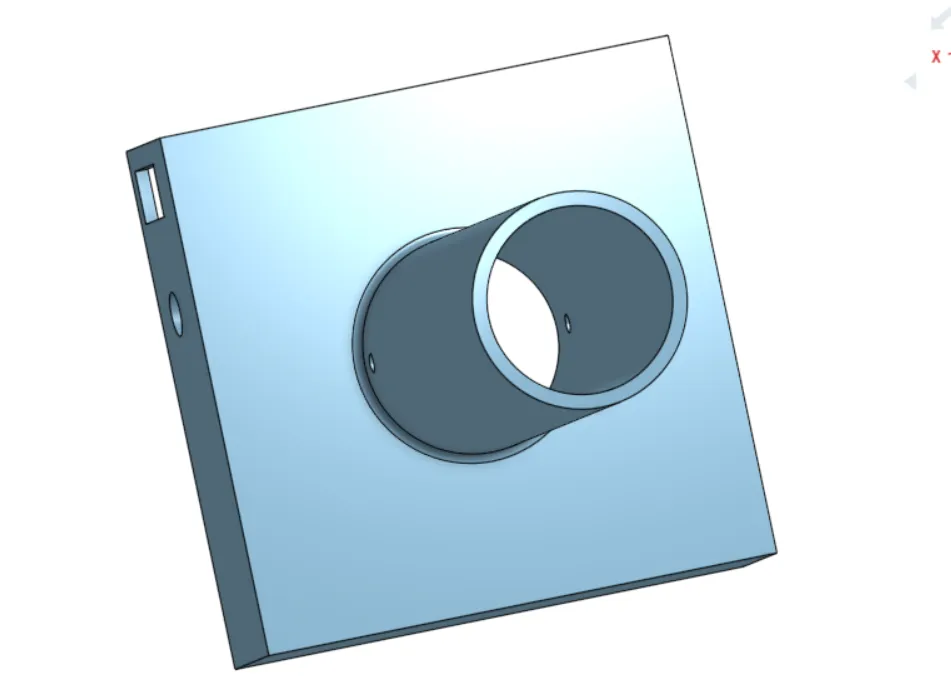
The shaft in the “Axis” part is hollow so the wires can go to the lower part in which you can make the electrical connections to the power supply and the power switch, the holes in the model for those are in the size for the ones i used so i will add the file in STEP format so you can modify the part for the ones you will use.
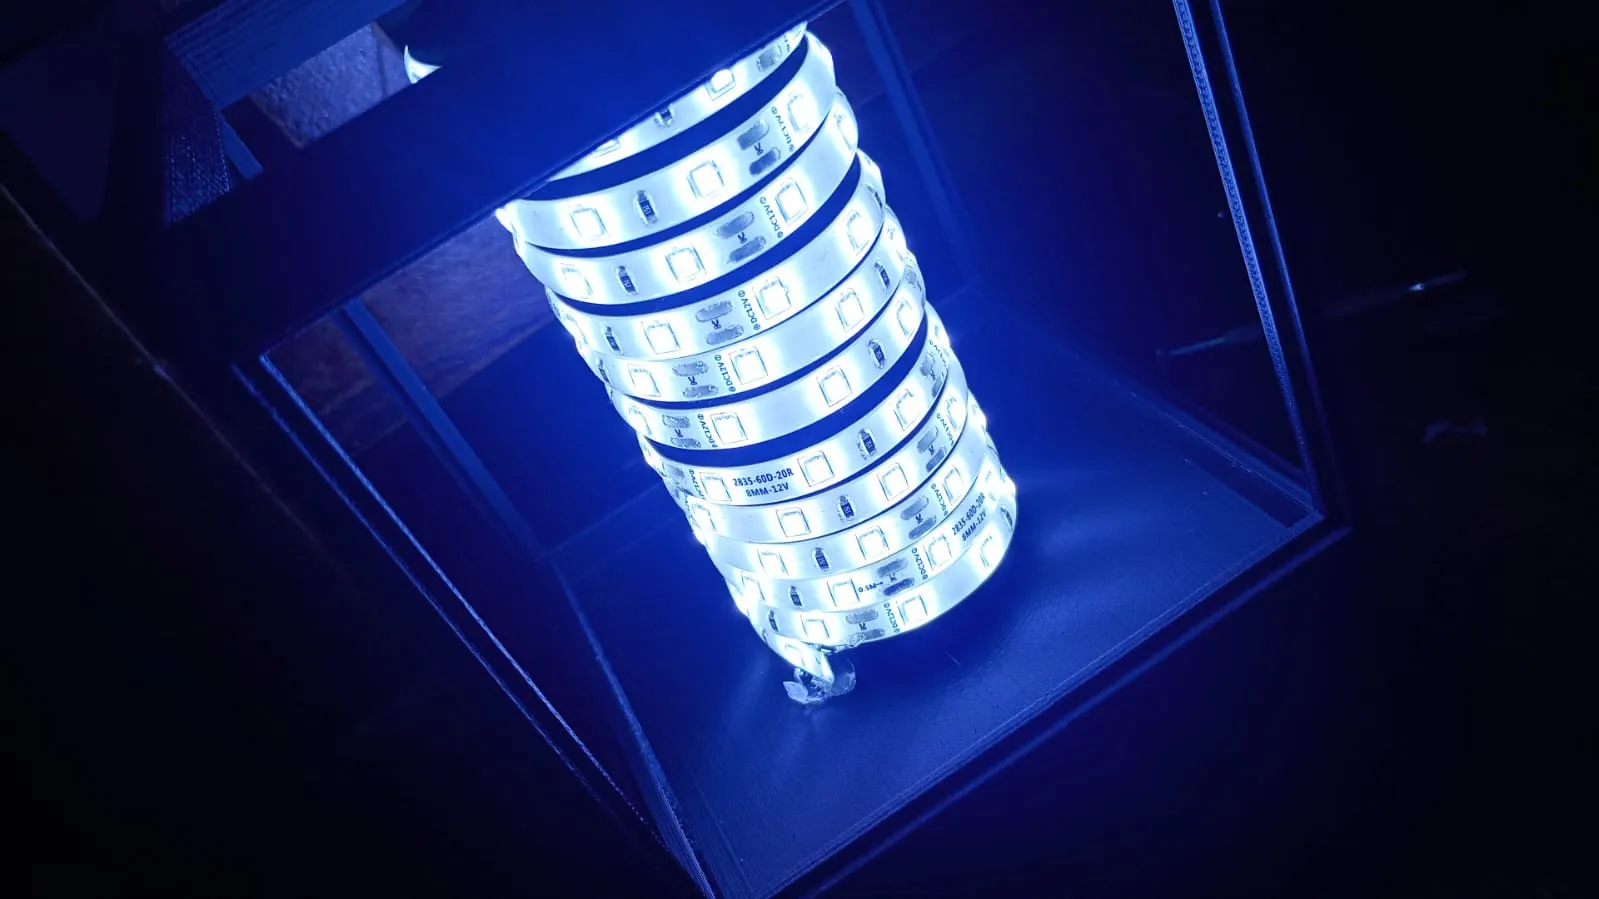
Also I added a hole in the shaft in which you could put a pin to avoid the Axis part and the Display part to separate. In my case was not necessary because the shaft insert in the big circular hole of the display part with a bit of pressure, but once fully assembled it has enough room to rotate if your move it with your hand. Once the two main parts assembled I glued a LED Strip to the shaft of the axis part just like in the picture below
Also I added a hole in the shaft in which you could put a pin to avoid the Axis part and the Display part to separate. In my case was not necessary because the shaft insert in the big circular hole of the display part with a bit of pressure, but once fully assembled it has enough room to rotate if your move it with your hand. Once the two main parts assembled I glued a LED Strip to the shaft of the axis part just like in the picture below
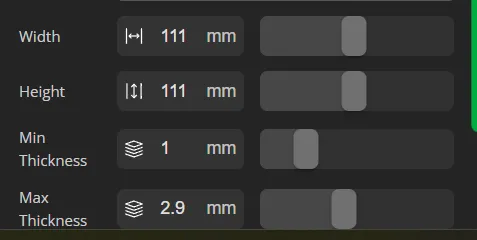
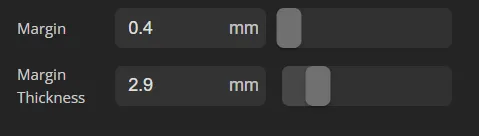
If you want to use another software to maker yours the final size of the litho's is: 111.8mm x 111.8mm x 2.9mm or at least that is the size it worked with the tolerances of my printer.
IMPORTANT NOTE: I had problems finding the proper fit with the cover part, whic i used for the upper hole of the display and for the bottom of the axis, so probably you will have to find the correct size for the covers for your own.
I hope you like this model, downloaded and publish yours prints.


 0
0 0
0 0
0