
S - TPU Lace Replacement System
Curly Rudder

AI로 유사한 모델 찾기


프로필 출력(0)
모델 파일(0)
 0
0 0
0 0
0
게시일:2026-06-04 21:55:15
0
0
 000
000I remember when I was little and my parents bought me some shoe replacers just like these. That idea lingered on my mind and when I saw the shoe related contest I knew I could make it happen for it.
Quick Nomenclature:

Its two pieces; the small one (lug) should be printed using some hard plastic, the long one (body) should be printed in tpu or some other flexible material. The lug fits into one of the eyes of the long piece, the one that doesn't have the handle. Its recommended to glue it in place. Then the whole assembly can be passed through the shoelace holes on the shoe (may be a little difficult, you can rescale the model if needed) and that'd be it!
I developed a little technique to engage and disengage them quickly, here are some gifs:


To untie them you can push on one side while pulling on the handle. In all images, the one closest to my ankle is the alternate lug design.
There are two lug designs I uploaded, the original one and the alternate one. Both seem good but the alternate one is neater, more secure but it could be more difficult to use; both are uploaded so you can check which one you prefer. The alternate one should be oriented properly with the outwards curved portion pointing towards the body, so it doesn't disengage on its own when tensioned. (like the picture)
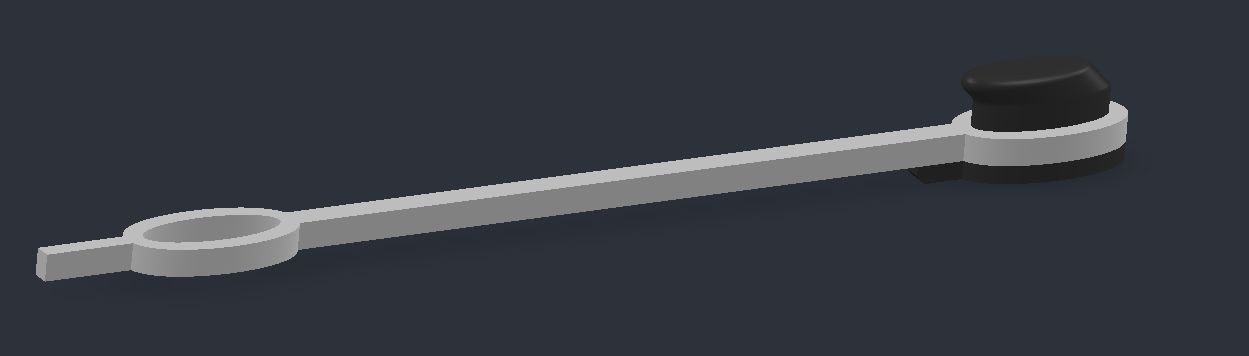
Print the body with 100% infill; since it'll flex, partial infill can generate weird stresses that end up breaking it. The lug can be 20% no problem.
The ones from the pictures are the 80mm ones, use the others if you need more or less tightness. If someone comments that they're still too short or long I'll upload a few more.
Printing time is remarkably short. A lug takes about 10 minutes and a whole set of bodies takes like 2h in my experience.
