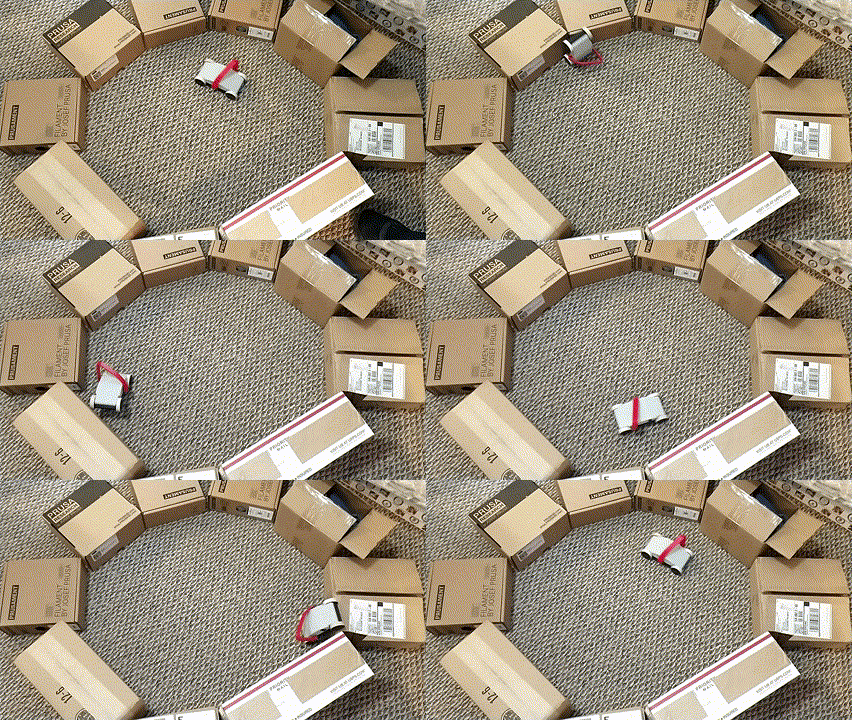
When I was 7 years old, the coolest toy I had was a car that could drive into a wall, climb up it, flip over, and then drive away unscathed in the opposite direction. Now, more than 50 years later, I have an excuse to make another one!
The parts needed to be purchased from the store:
2 HN-GH12-1324Y gear motors
1 Philmore BH363 battery case
1 NTE 54-872 switch
2 rubber bands that are 10 mm wide and 50 mm long
6 pieces of 6-32 x 3/8 inch hexagonal screws
2 pieces of 3 mm-wide nylon cable ties
Wiring cables
Note: Due to limited design time, I used the parts I had on hand, but these motors are a bit expensive for such a project. I've posted the STEP files for this car, so if anyone is interested in redesigning it using cheaper gear motors, for example,Sparkfunthe motor.
Note: This car works best on low-pile carpets. On smooth floors, if the floor or wheels are not clean, the wheels may slip. It should be enough to wipe the wheels and the floor with a wet cloth.
Update:Wheel covers! They not only look cool, but also enhance the rolling effect by preventing the front wheels from hitting the ground when the vehicle is flipped upside down. Just print them out and stick them on.
Printed parts
1 car underbody
1 car roof
4 wheels
2 axes
2 gears with 28 teeth
2 28-tooth drive shaft gears
4 wheel covers
Assembly:
Test the adapter shaft in the bottom shaft hole. Rotate it back and forth in the hole until the shaft runs quite smoothly. After running for a while, apply some light lubricant or Vaseline to the shaft hole.
Insert one end of the shaft into one of the wheels, so that the end of the shaft is flush with the side of the wheel cover. Take a small piece of a threaded rod
Slide the free end of the shaft into one of the holes at the bottom. Align the gear with the shaft so that the center of the gear faces the wheel. Continue to push the shaft into another hole at the bottom. Place the second wheel on the other end of the shaft and secure it in the same way as in Step 2.
There is a small conical hole next to the shaft, close to the center of the gear. Insert another small piece of the screw rod into the hole to fix the gear on the inner wall at the bottom.
Insert the gear into the motor shaft, and make sure the "D" shape of the hole is aligned with the flat surface on the shaft. Press the gear down completely, so that the shaft protrudes slightly from the end.
Place the motor in the semi-circular bracket, rotate and align it so that the motor gear meshes and aligns with the shaft gear. Use a nylon cable tie to fix the gear part of the motor to the bracket.
Repeat the above steps for the second axle, wheels, and motor.
Insert the switch into the side of the top. Connect the motor, battery box, and switch so that the two motors are in parallel, but with opposite polarities. The current should flow from the battery
Use two 6-32 screws to fix the top to the bottom. And insert the roller rod. If the roller rod is loose, you can add a few drops of super glue.
Finally, install the rubber band tires on the wheels. If they are not tight enough, you can fix them with a few drops of super glue.
According to the update information, use super glue to stick the wheel cover on.


 0
0 0
0 0
0