
Cloak pins
Terence Noble

AI로 유사한 모델 찾기

프로필 출력(0)
모델 파일(0)
 1
1 0
0 0
0
게시일:2026-05-09 13:36:26
0
0
 100
100A 3D-printed cloak pin will only work well with loosely woven fabric.
If you are using a crocheted article of clothing, you will likely need to scale up the model at least 150%.
The round pin takes less time to print and is easier to fasten than the flat one, but the flat one is sturdier.
Print Instructions:
Print both pins with supports in the orientation the file comes in. It doesn't really matter if the bottom looks bad, as only the top will be visible when you are wearing it.
Print at 0.2 mm layer height at most.
Wearing instructions:
lift the ring so it is above the end of the pin.
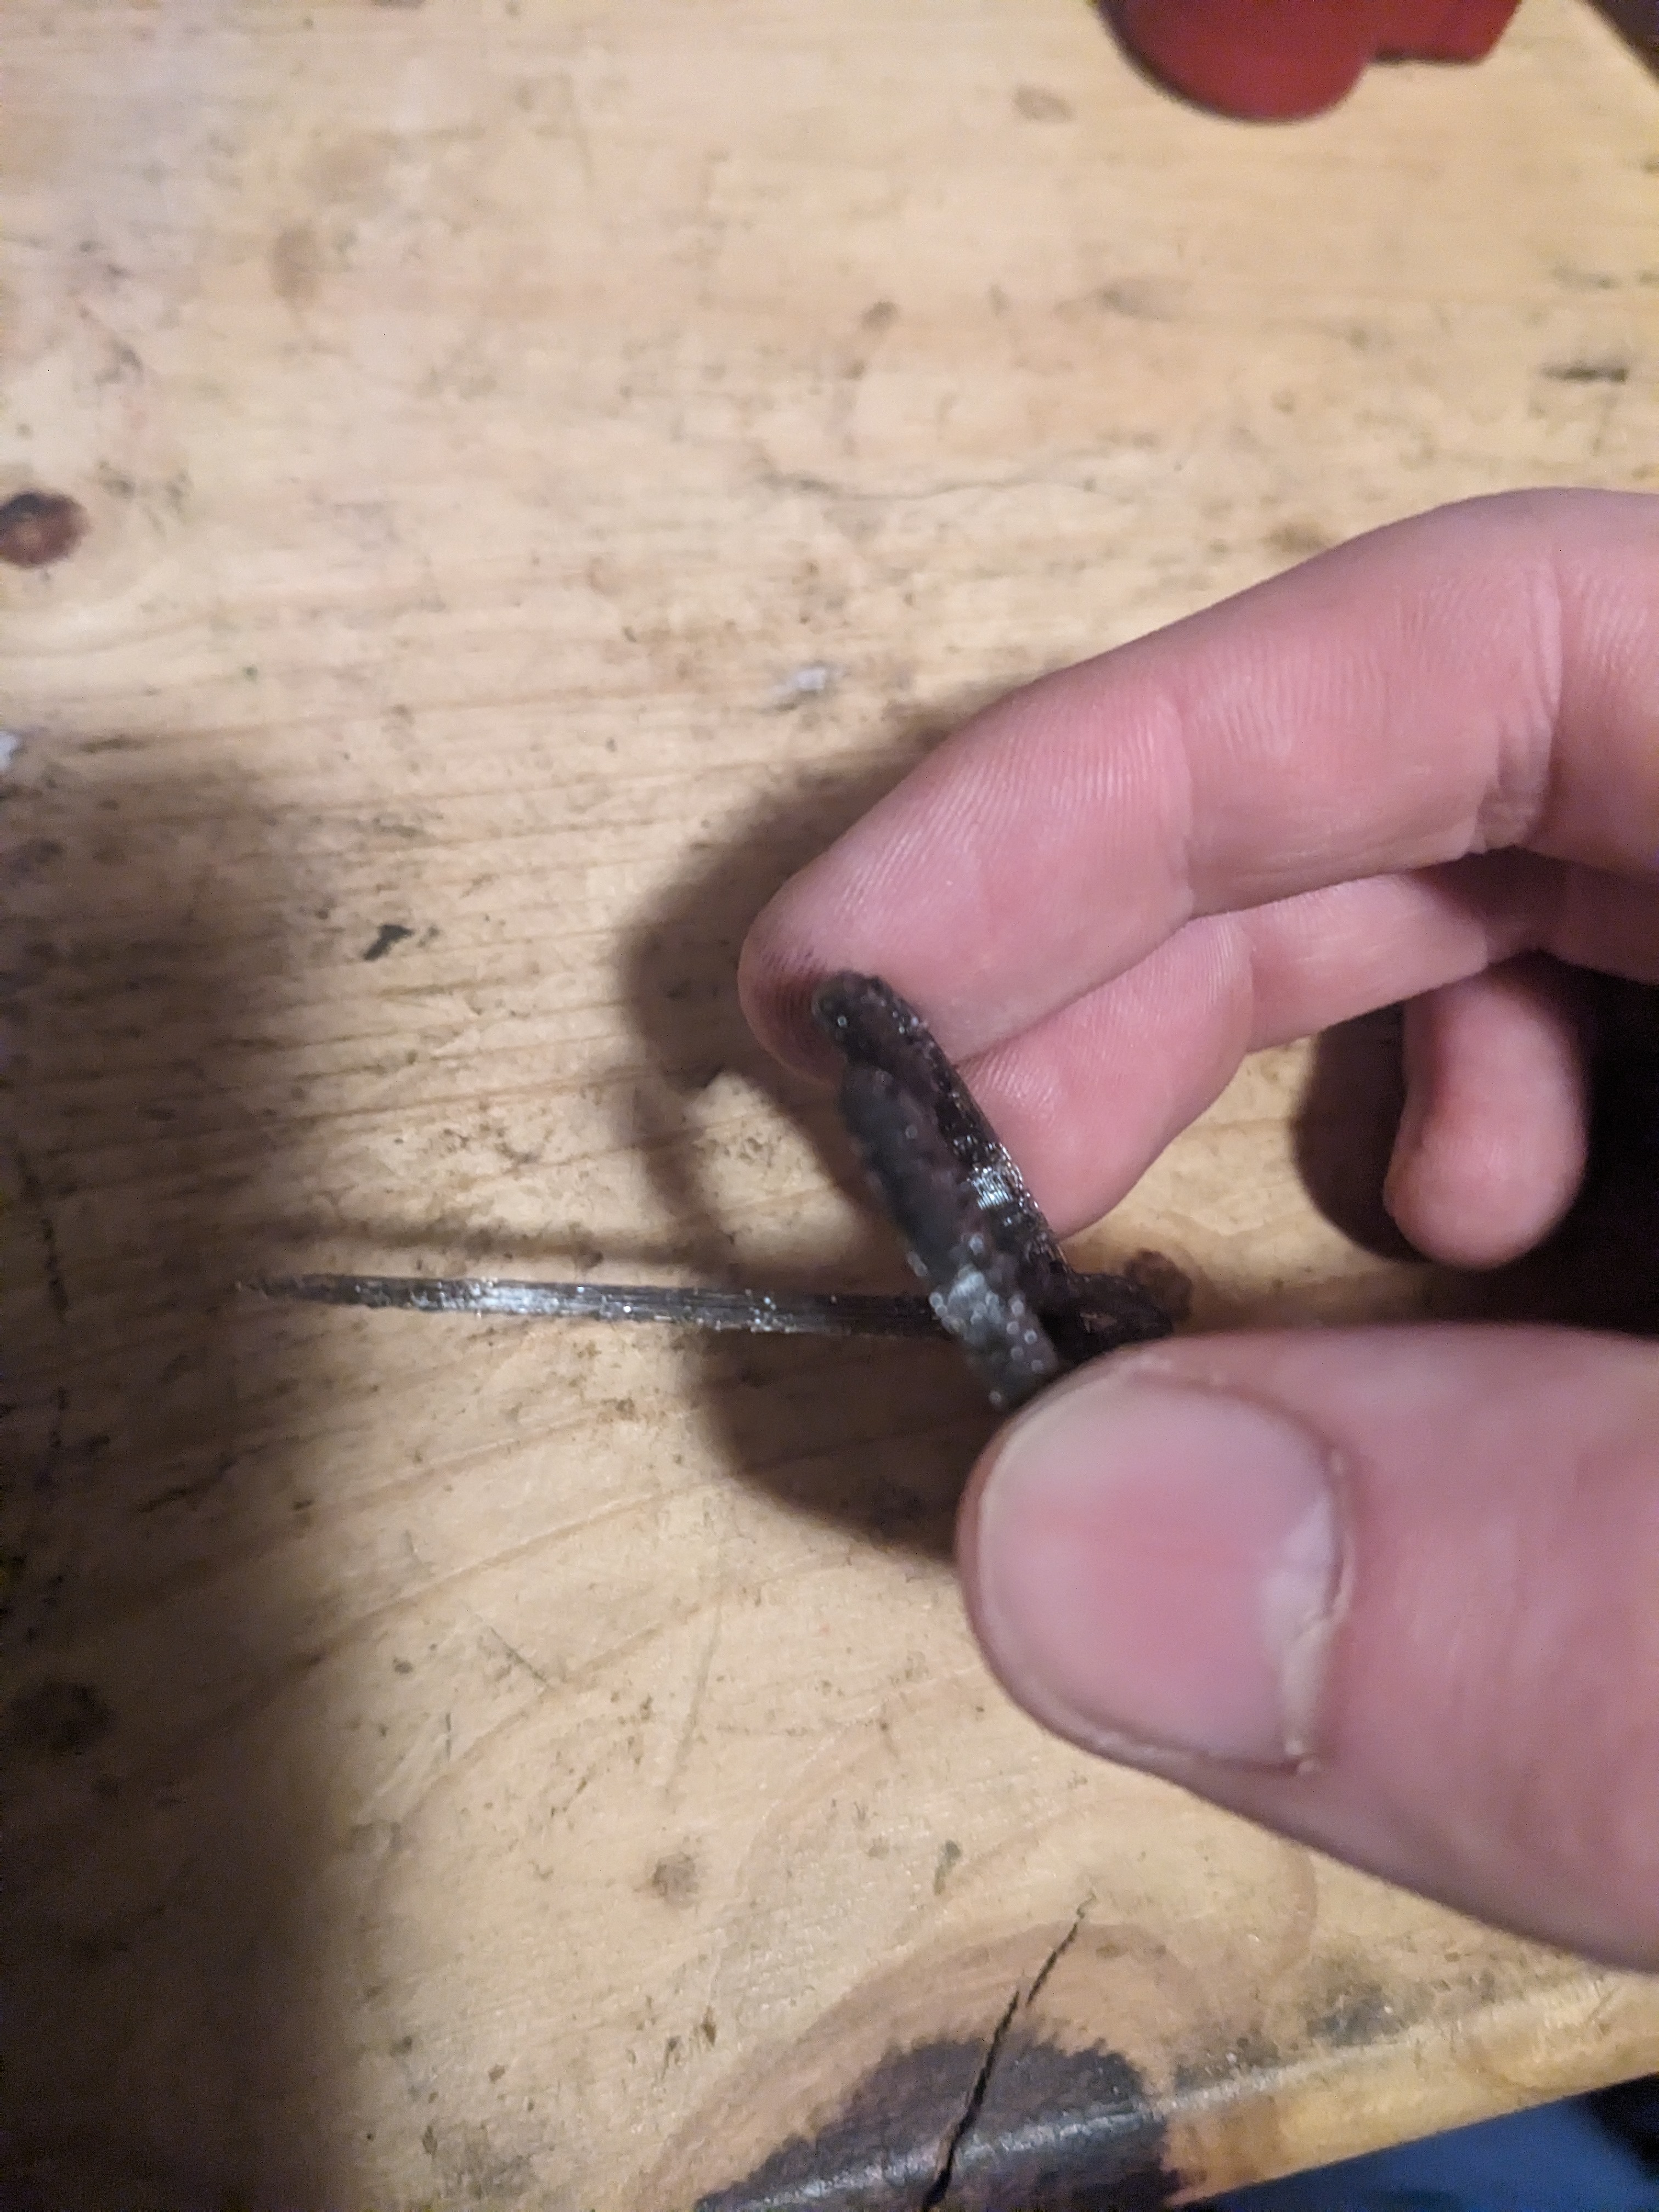
Push the pin through both pieces of fabric you want to connect.
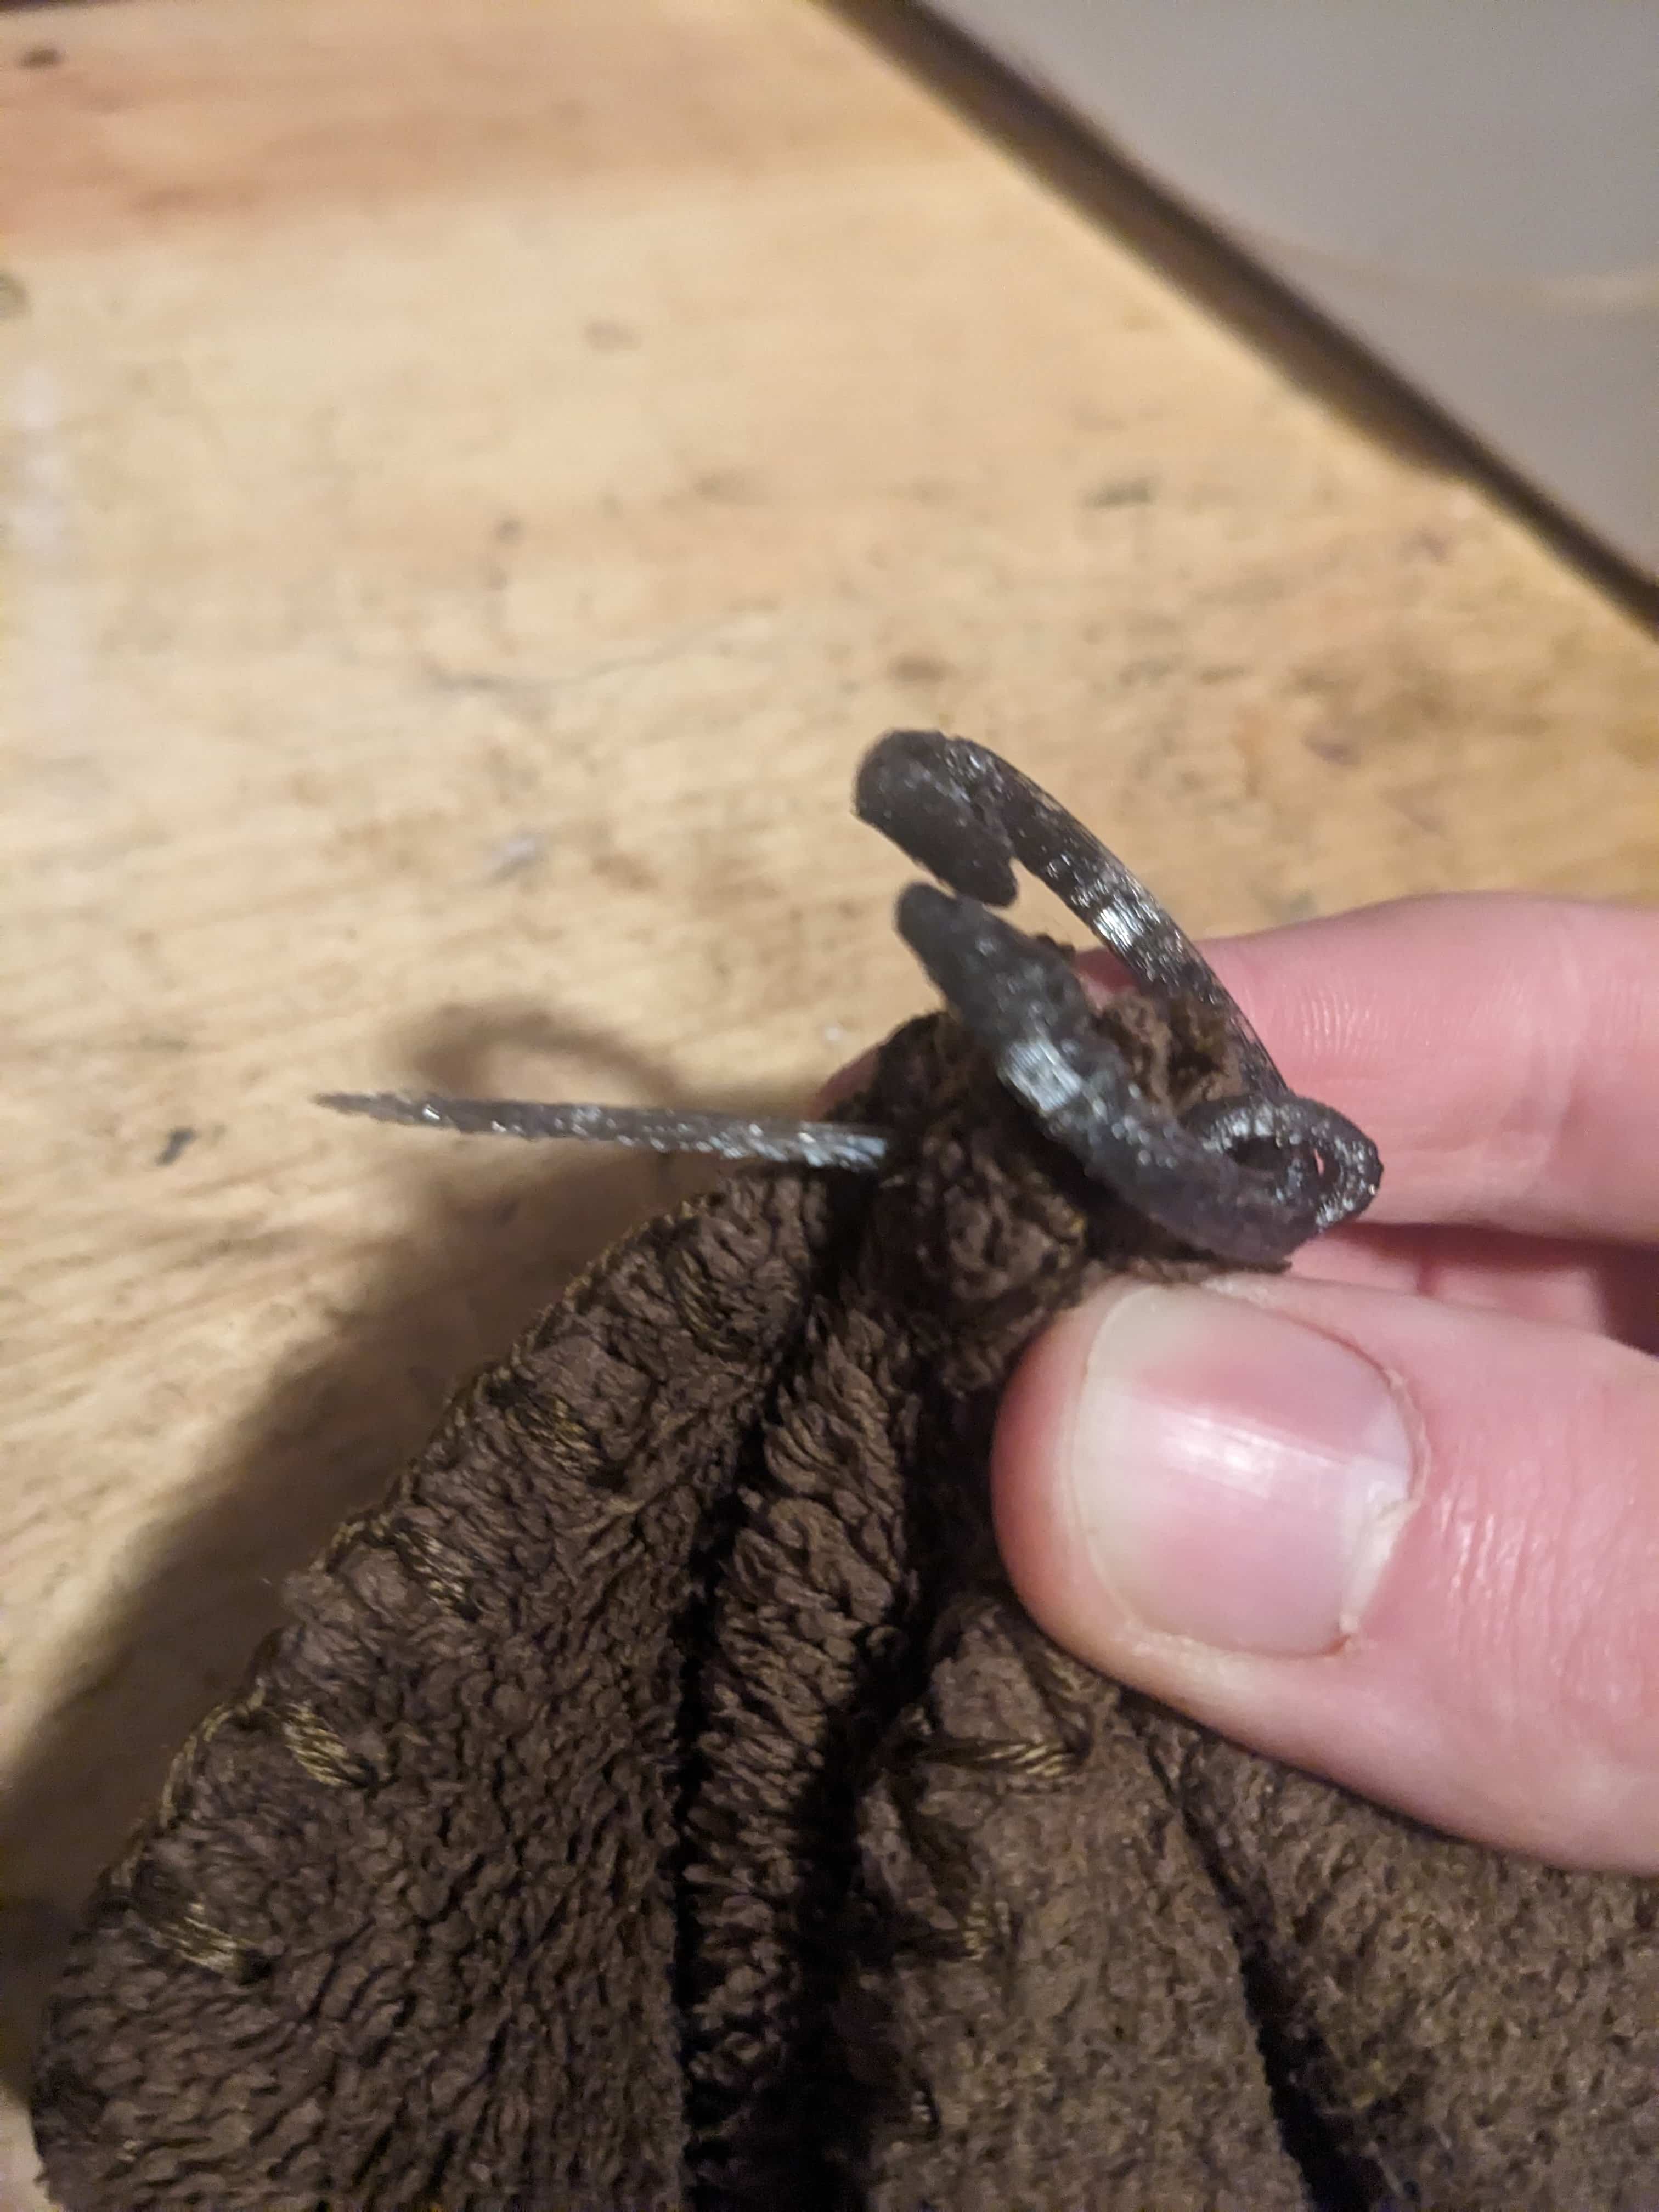
Lower the ring below the end of the pin through the slot in the ring.
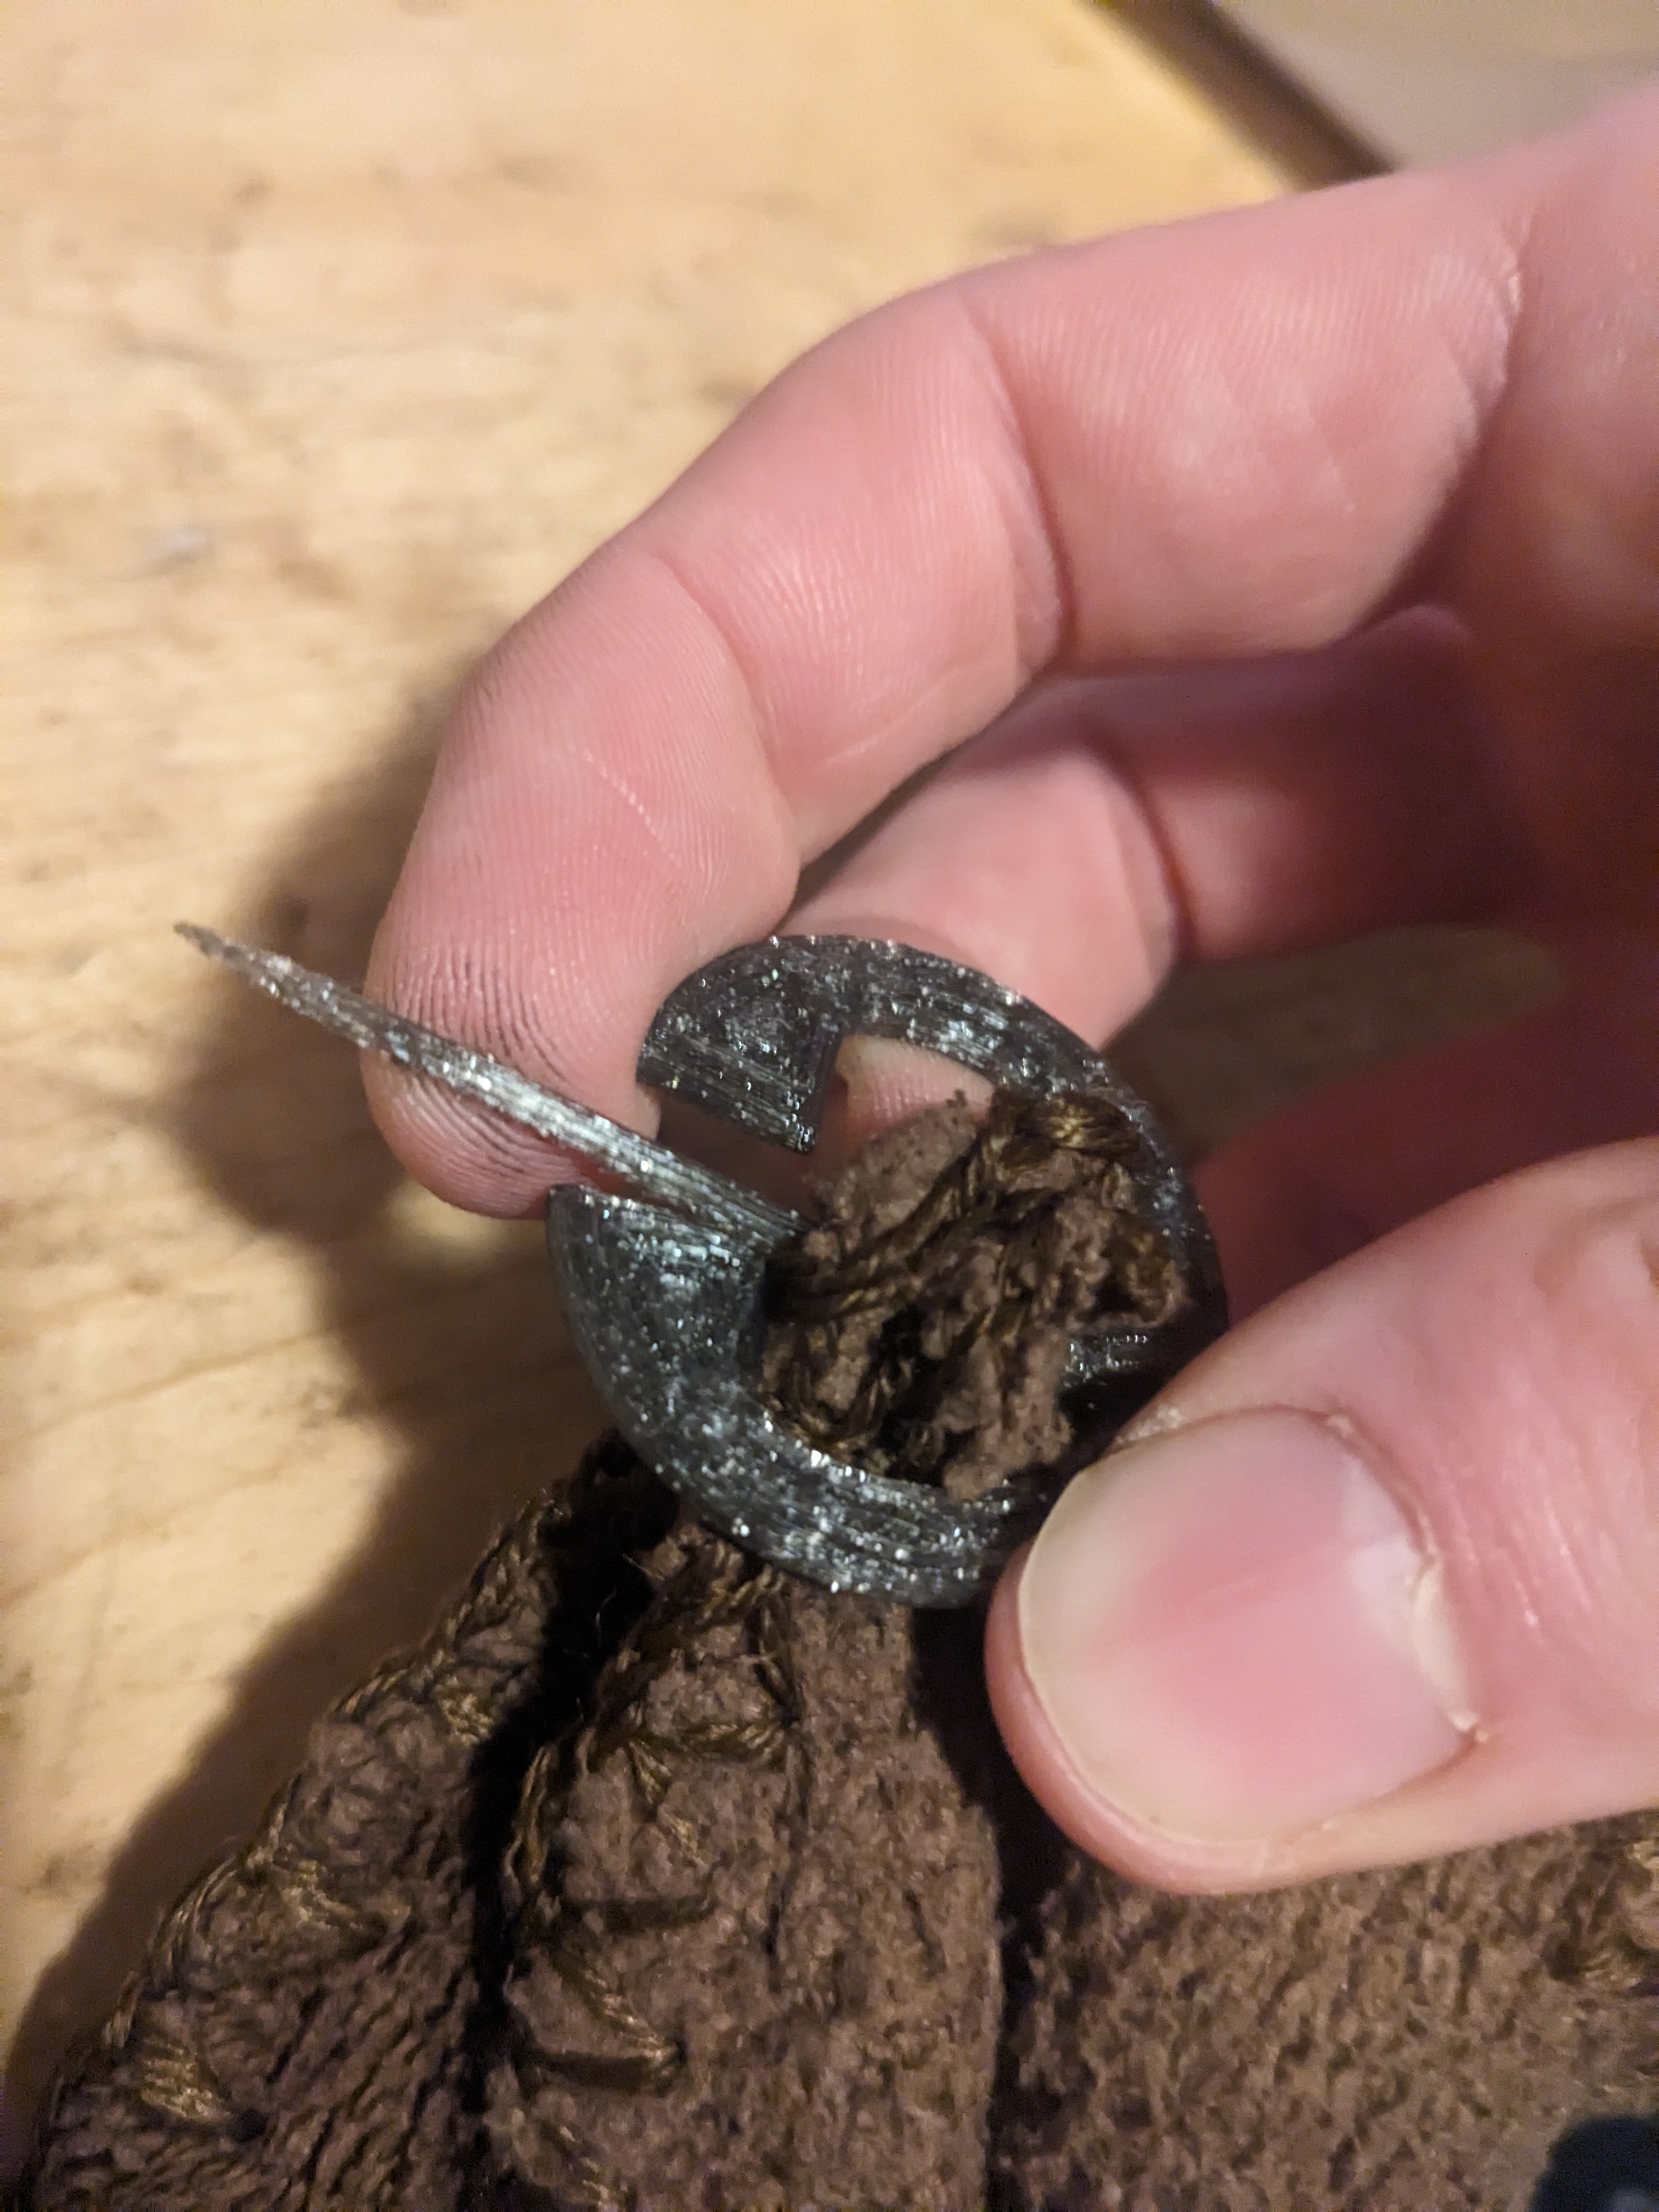
Twist the ring so that the end of the pin is resting against the top of it.

To remove, rotate the ring so the pin passes through the slot, then pull the pin out of the fabric.
