Please support meI really admire you for being such a brave man
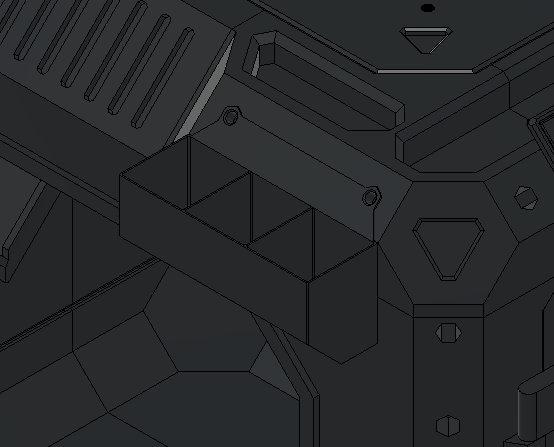
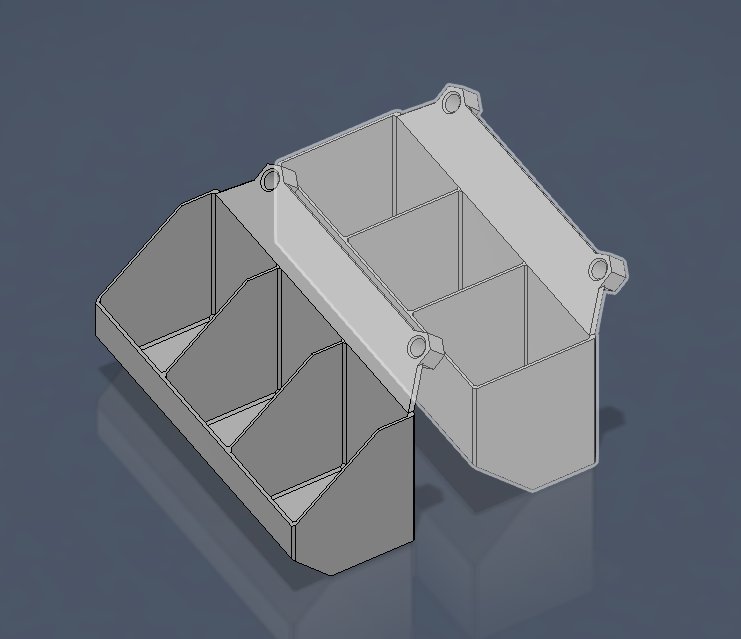
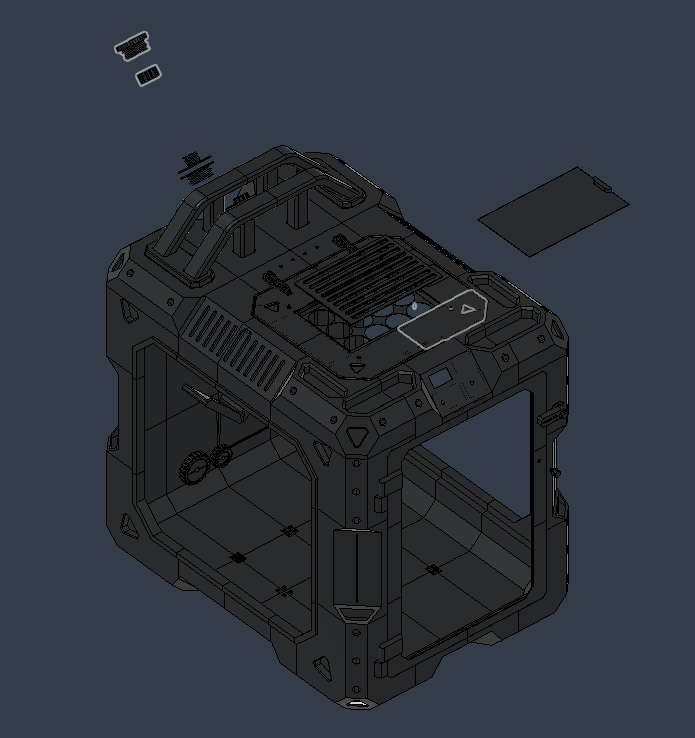
--Since I felt there were too many small accessories I bought just for printing, I simply made two storage boxes for the sides of the box, one with a flat opening and the other with a slanted opening, which can hold more small items.
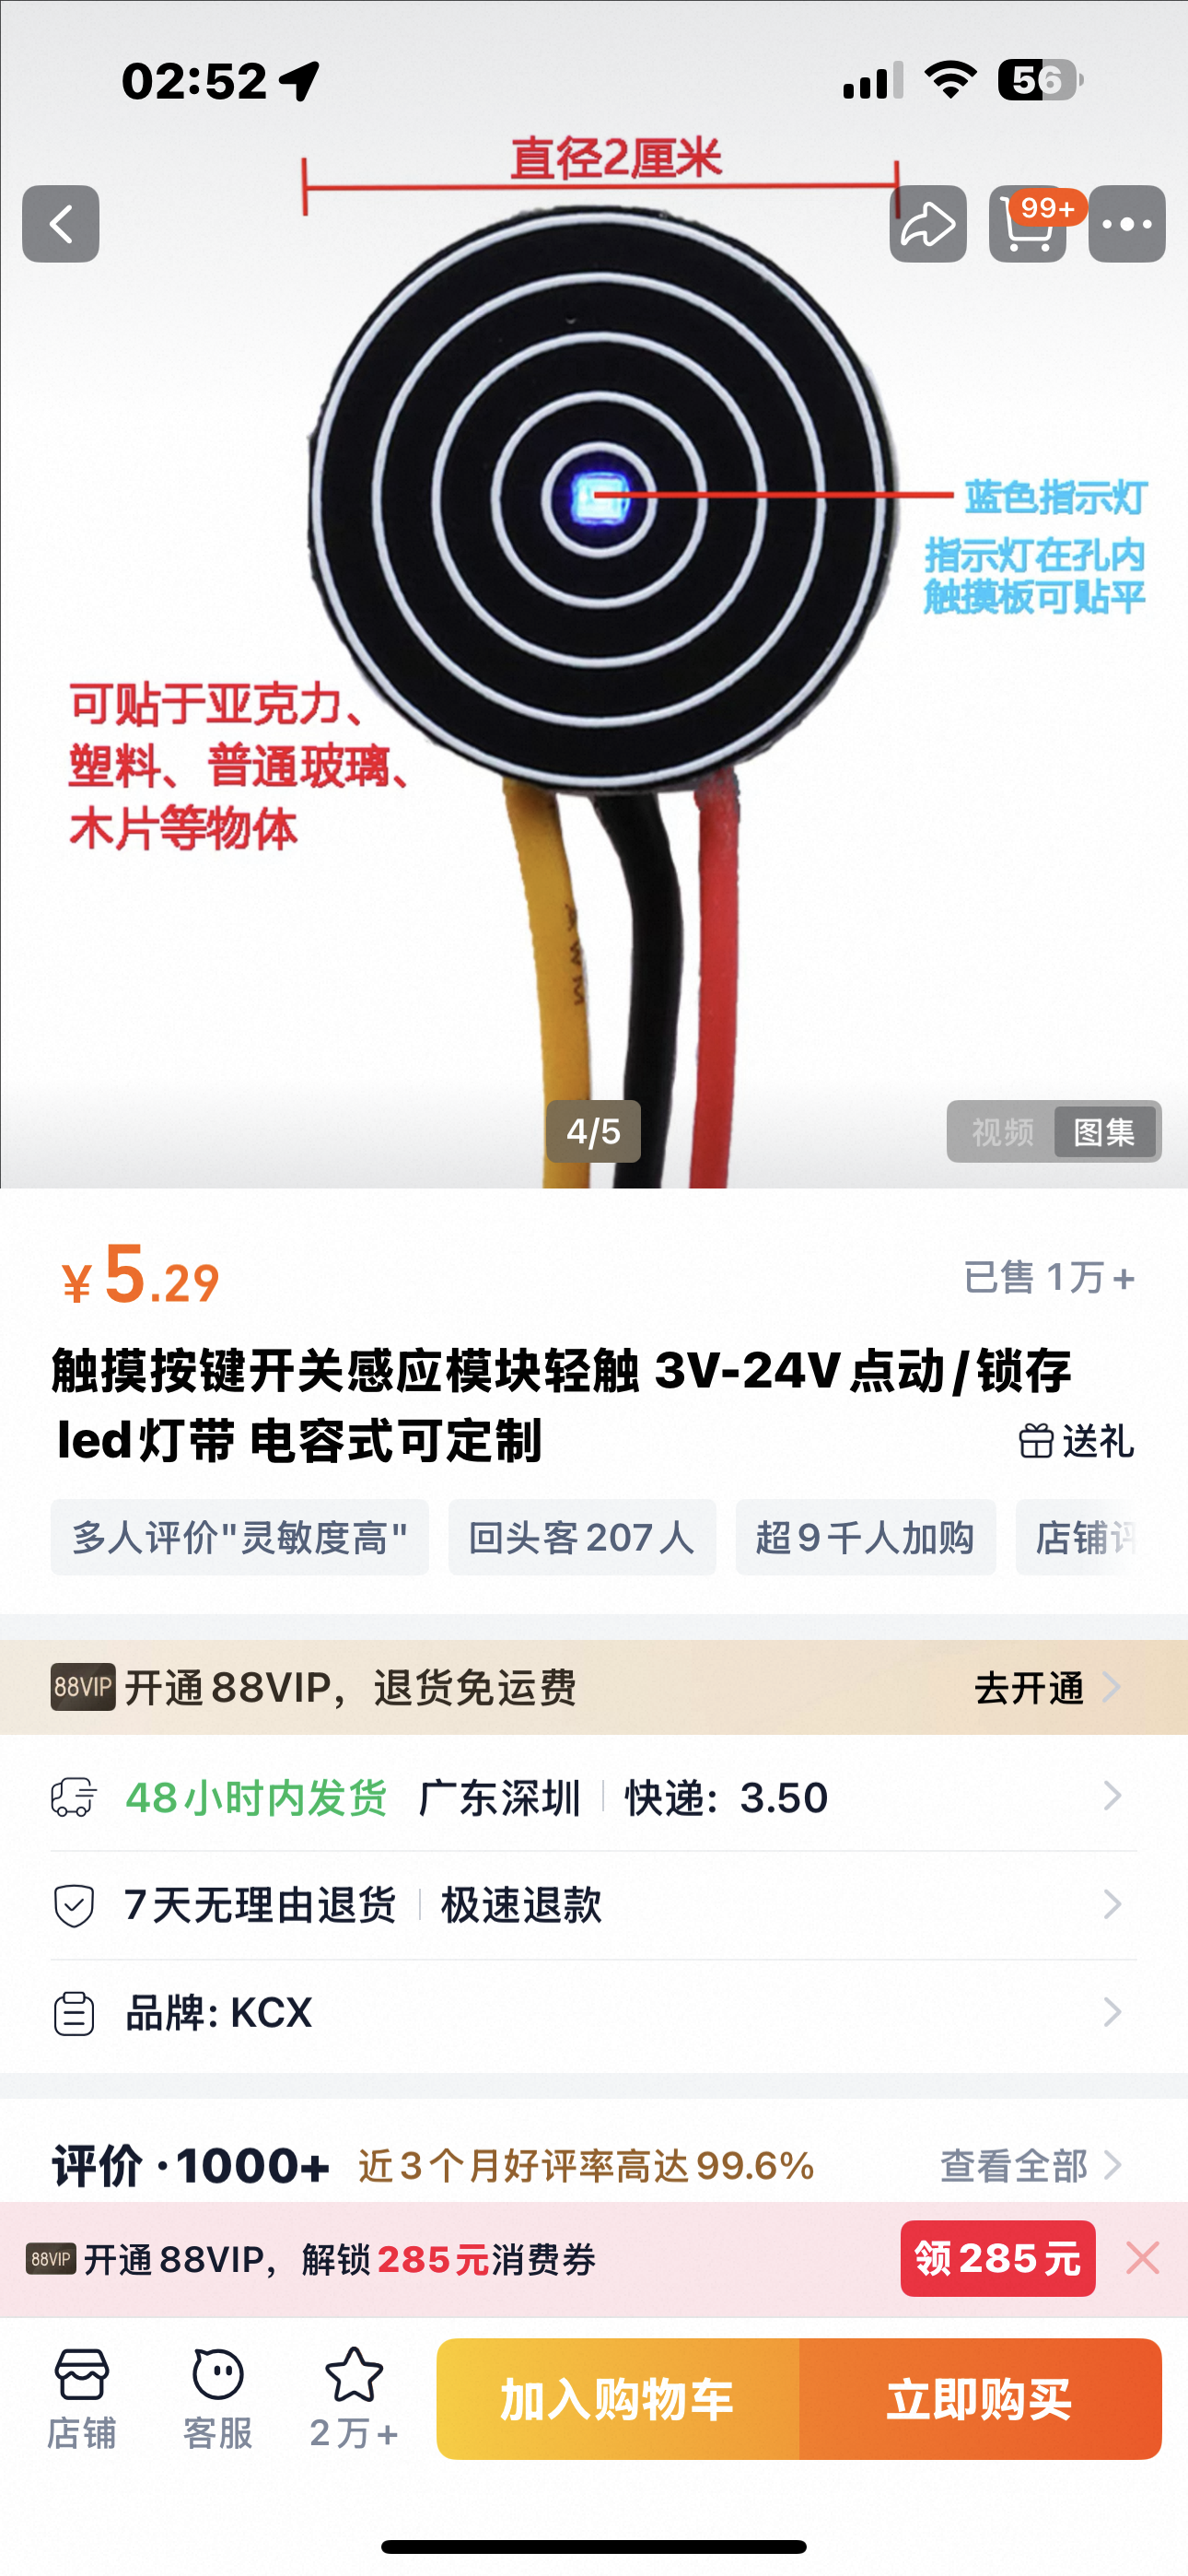
--The screen control touch switch module of other similar Tuozhu machines has been updated. The components used are as follows
The internal dimensions are 700mm in length from front to back, 500mm in width, and 650mm in height.
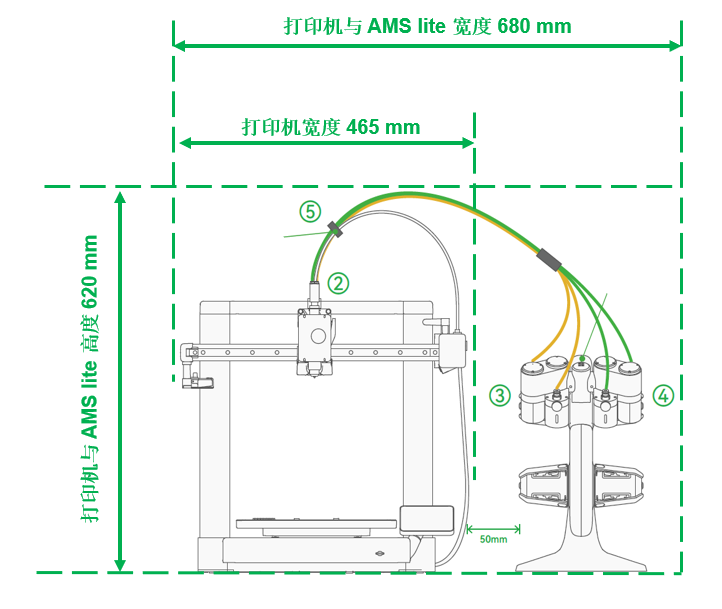
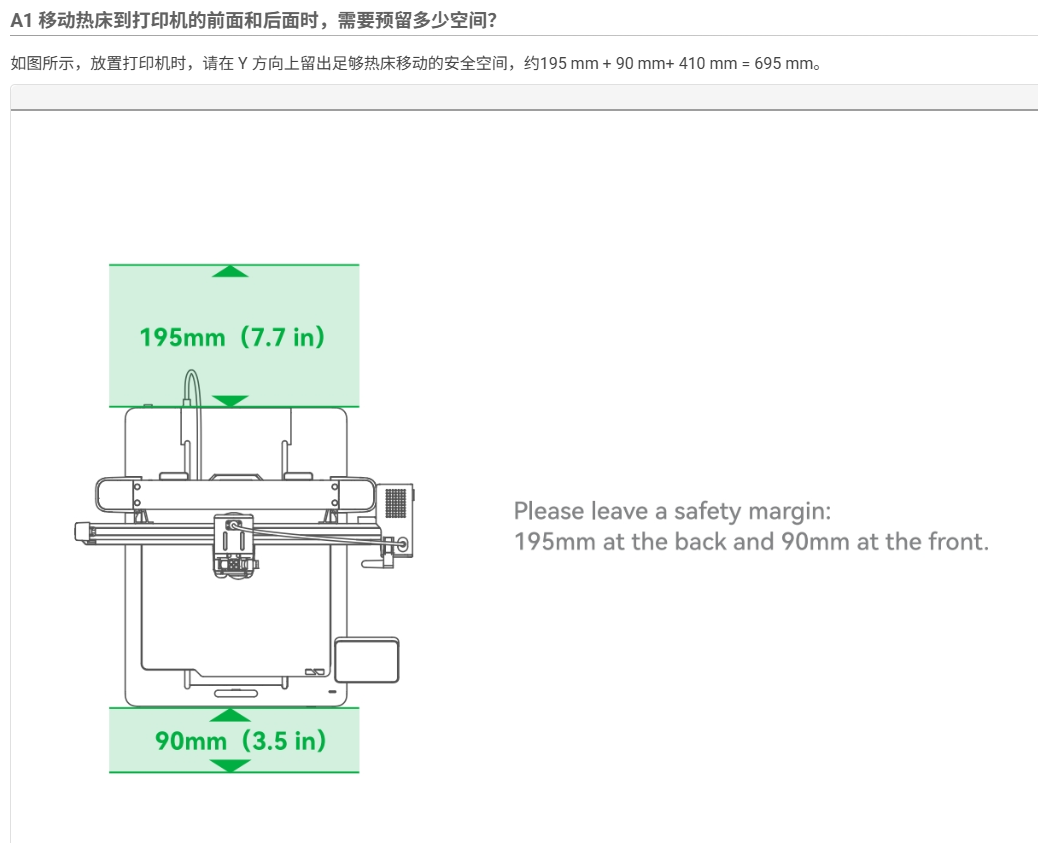
The official recommended front and rear activity space of A1 is 695mm. The width of A1 is 465mm, and the height is 620mm when it is mounted on the side of AMS lite
First, let me talk about the advantages
1: With its oversized dimensions, all three XYZ axes can move freely without hitting the head or damaging the wires.
2: 12 fans, super-fast air exchange, and equipped with a filter cartridge compartment, adding an extra layer of protection for your health.
3: It is equipped with a PTC heating fan, which can balance the humidity and temperature inside the enclosure and create better conditions for printing materials such as ABS and ASA in the future.
4: There is an external exhaust port at the rear, which can be converted into an exhaust gas discharge solution at any time.
5: There are many external expansion interfaces on the chassis, which can increase the possibilities for future storage
6: Overcoming addiction
The printing configuration for the A1 model has been set to slow down as the height decreases. For other models, this setting can be disabled. It is recommended to use polyurethane boards for printing, or to apply glue to the printing plates to avoid the occurrence of "stuck paper" issues.
Okay, the rest is just torture
After installing the corresponding snap-fit connectors and applying glue, I used transparent AB glue, which turned out to be quite stable and could also play a certain sealing role. This is because when printing large-scale models, there are still issues such as shrinkage, which can lead to some gaps.
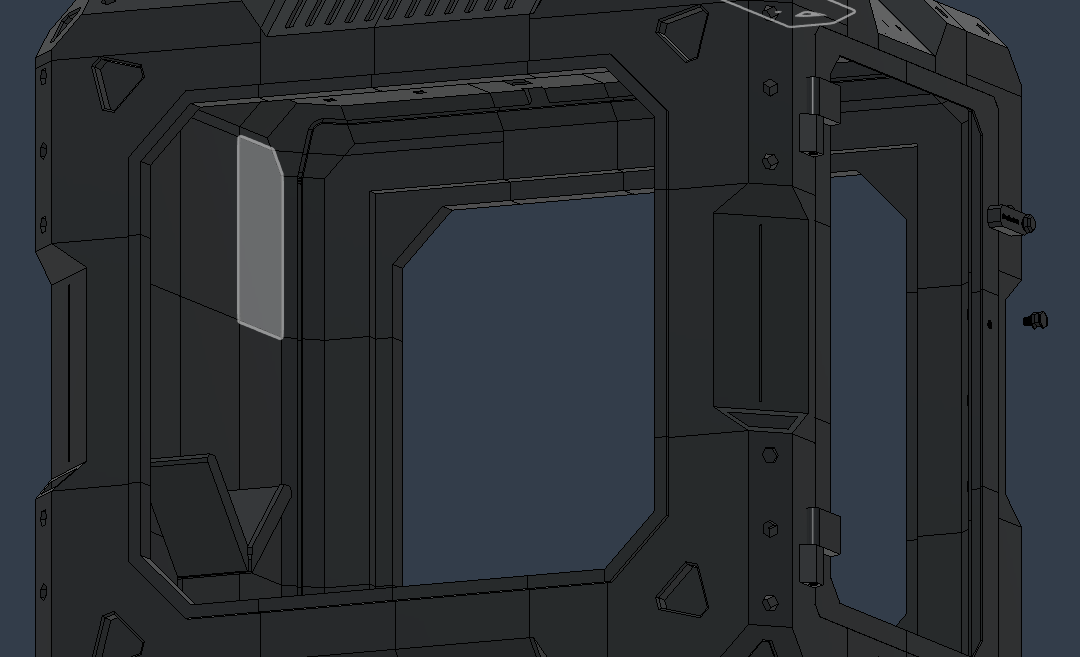
I used transparent panels on both sides0.8mmThe PC sunshine version, with dimensions of 550mmX500mm. You can make it slightly smaller by 5mm for easier installation. The size of the transparent panel on the front door is 350mm*525mm.
Buying three copies is enough, but the 0.8mm one is quite thin. If you want it to be stronger, you can buy a thicker one yourself. I found it quite easy to cut the 0.8mm one with a craft knife, but I'm not sure about other thicknesses. You can try it yourself.
Here is a comparison of the airflow between the one with a filter and the one without a filter. The filter I used is...HEPA filter elementAndActivated carbon filter cottonI won't recommend this one. You can choose it by yourself.
I installed a heating fan below
You can take a look at the comparison of indoor temperature and humidity when the heating fan in the box is turned on. It's obviously much lower. Although the official specification says that the A1 can be used at a humidity below 85%, since I started using 3D printing, I don't know why I've become more sensitive to humidity. When the humidity is high, I just feel uneasy... It doesn't really matter whether to install it or not. It's up to you to decide.
There are also ventilation holes on the side.
An external exhaust port is reserved at the rear. A 50-sized fan can be installed between the two clamps to prevent exhaust gas from not being discharged.
AMSlite users need to buy an extension cable
By the way, you need to remove the casing of the speed control switch before installing it, otherwise, it won't fit in.
Two speed-regulated power supplies that convert 220V to 12V, controlling the fan and power supply. Since I'm not an expert in electrical matters, my only solution was to buy two controllers... If you have a better idea, you can DIY it yourself. After all, the model can be downloaded for free.
For the 1-meter long LED strip, I cut it in half from the middle, and then placed one half on the left and the other on the right.
Then for the connecting wires, it's recommended to use 0.5 square millimeter ones, which can be placed in the cable tray inside the enclosure.
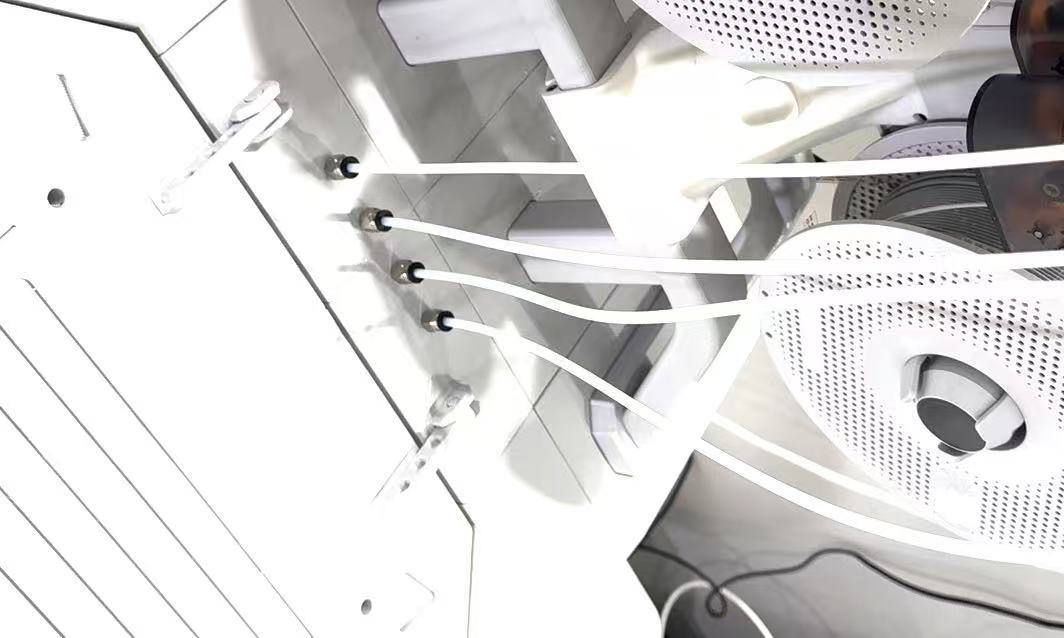
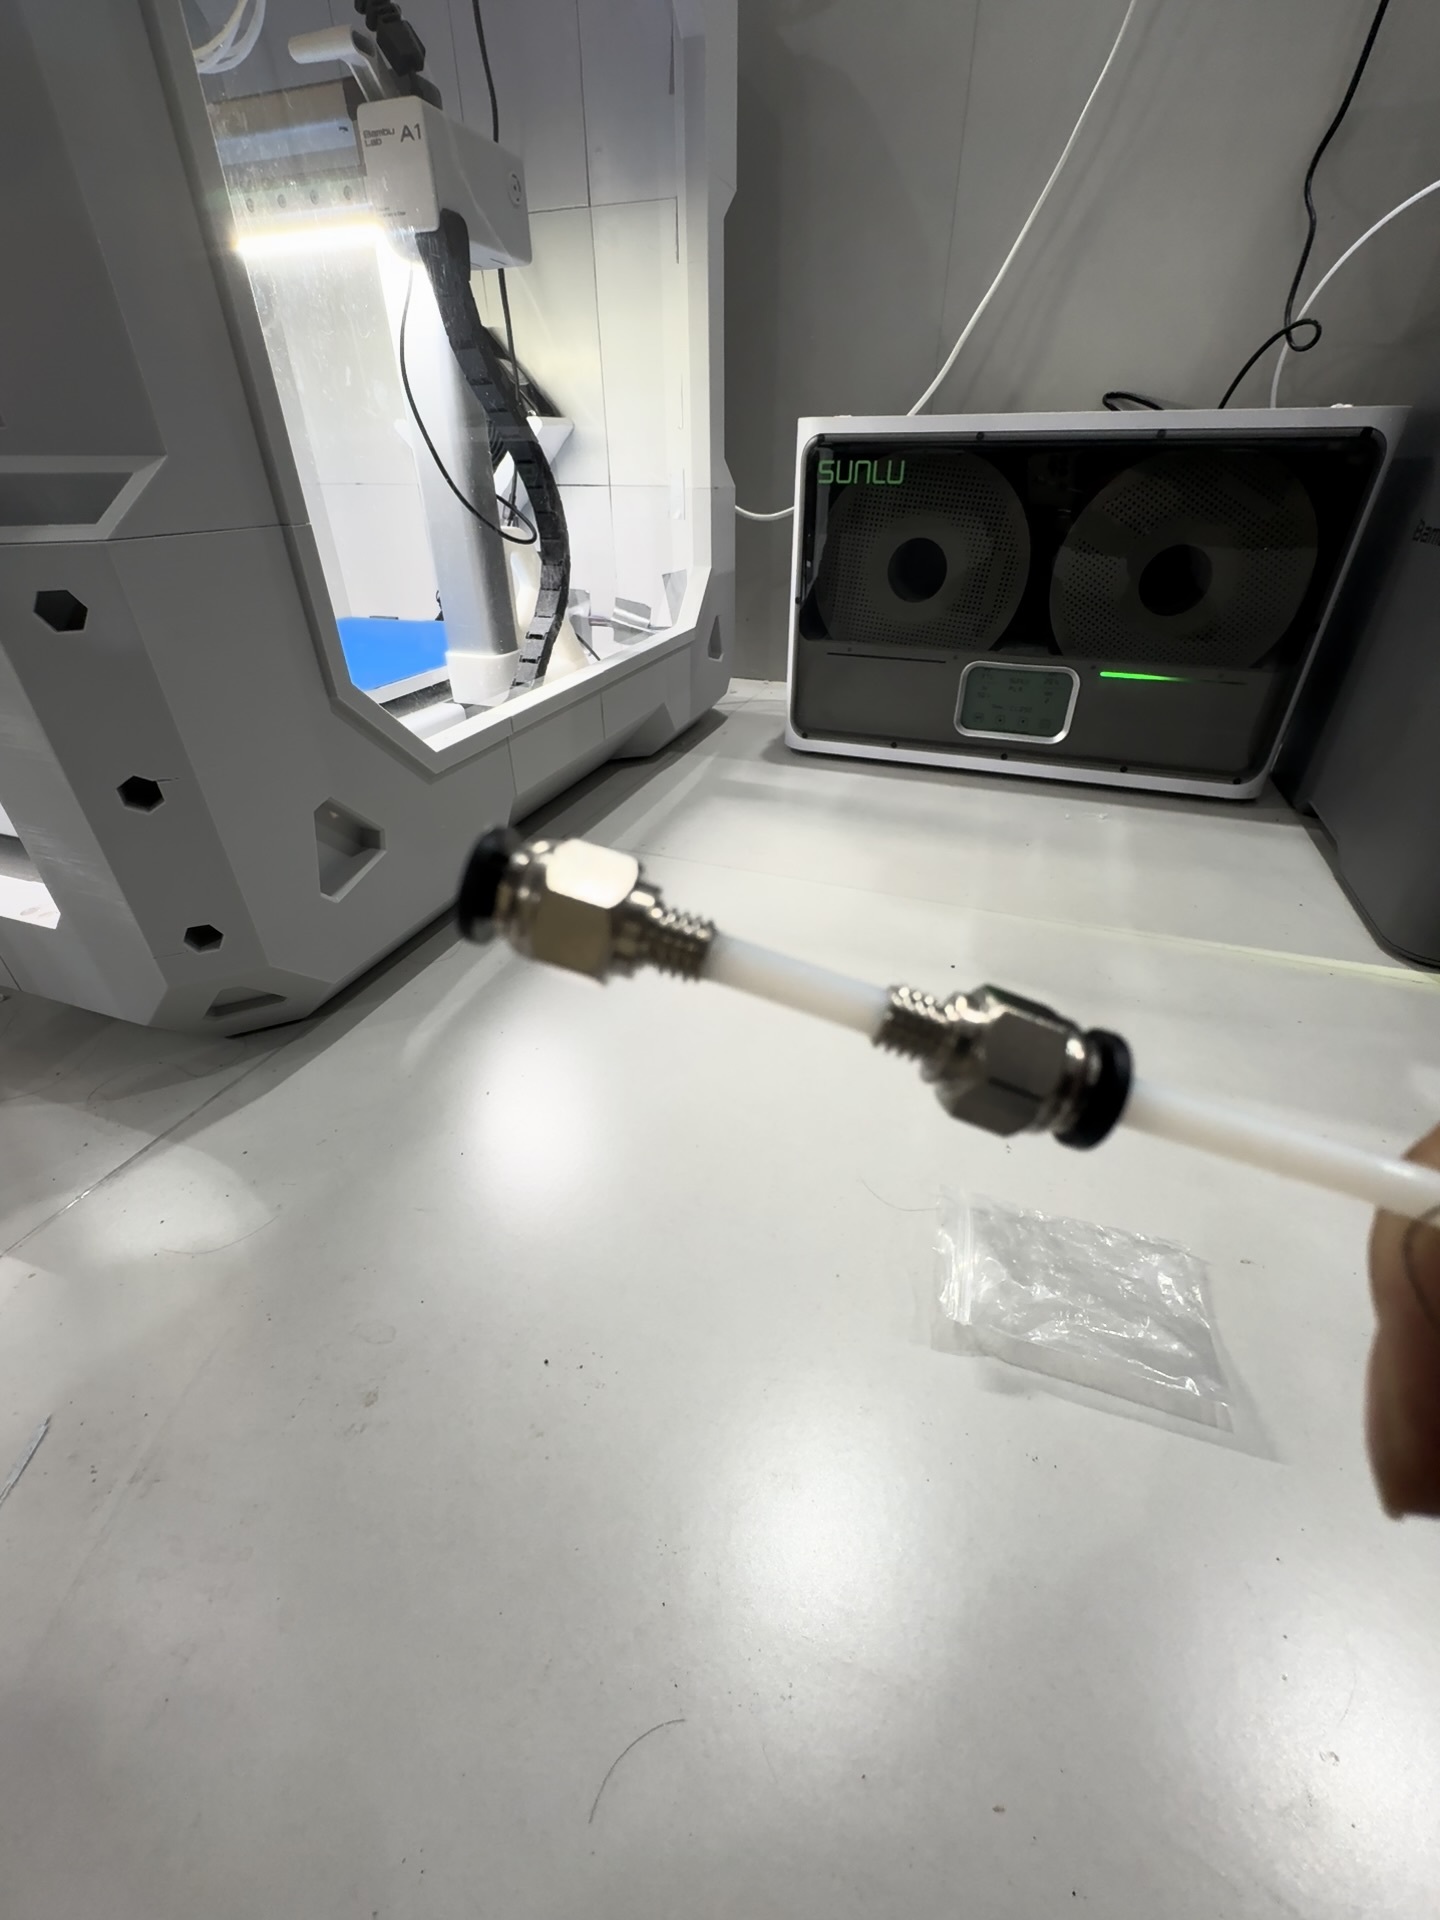
And then eight Teflon pipe fittings
Because I don't know much about electricity, the above is basically just a reference for you. Those at a similar level to me can use my reference to save themselves the trouble of searching elsewhere. Experts, I hope you'll find a better solution after reading this.
Additional note: The distance between the top of the machine and the point where it moves to its maximum height
Known problems and solutions:
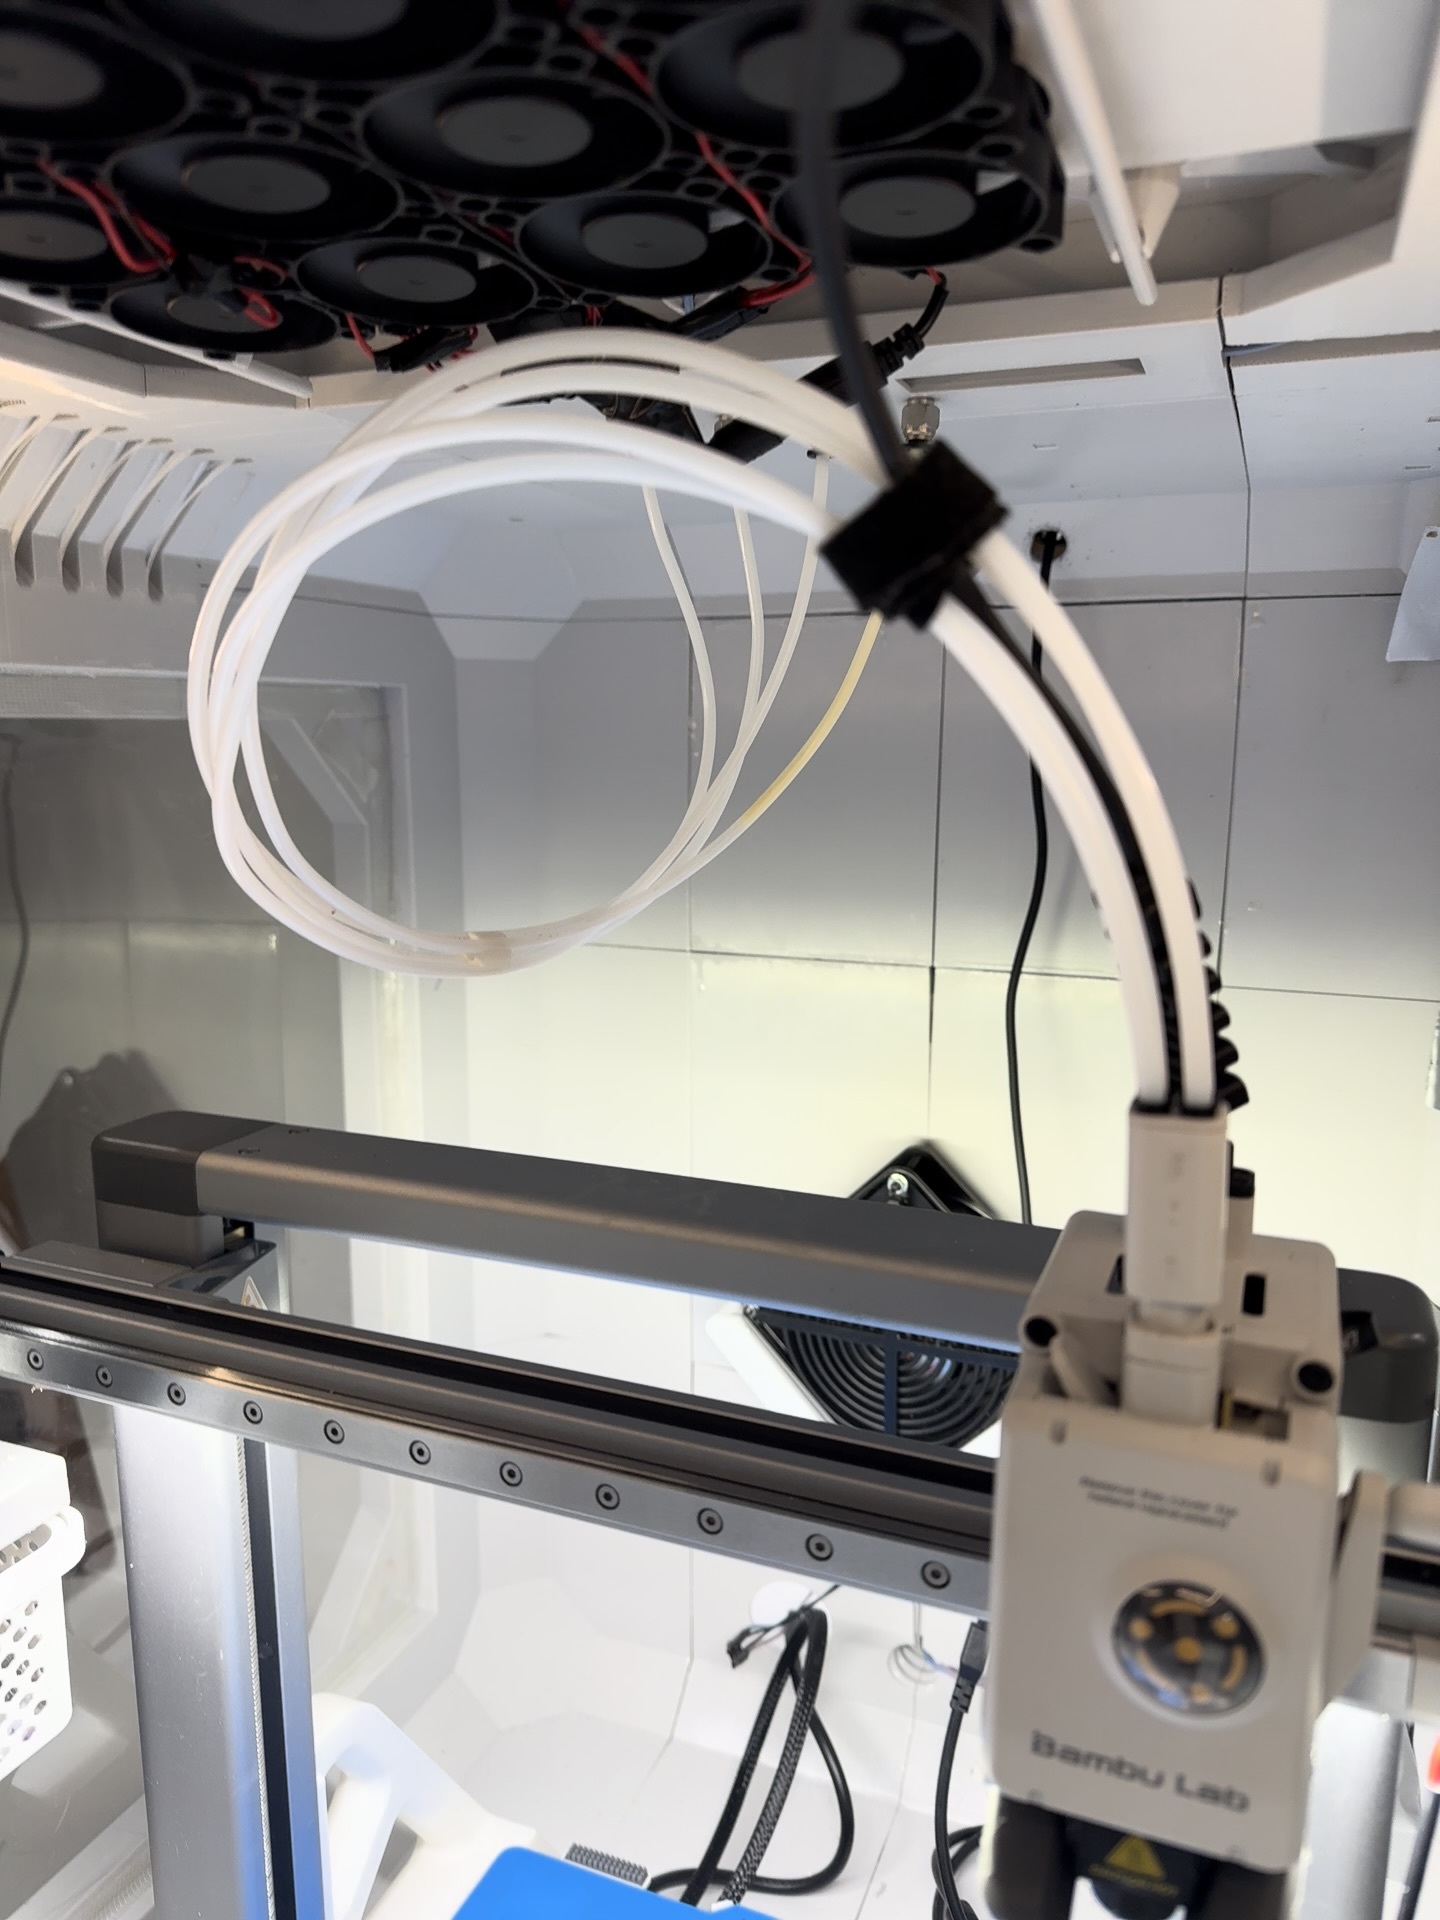
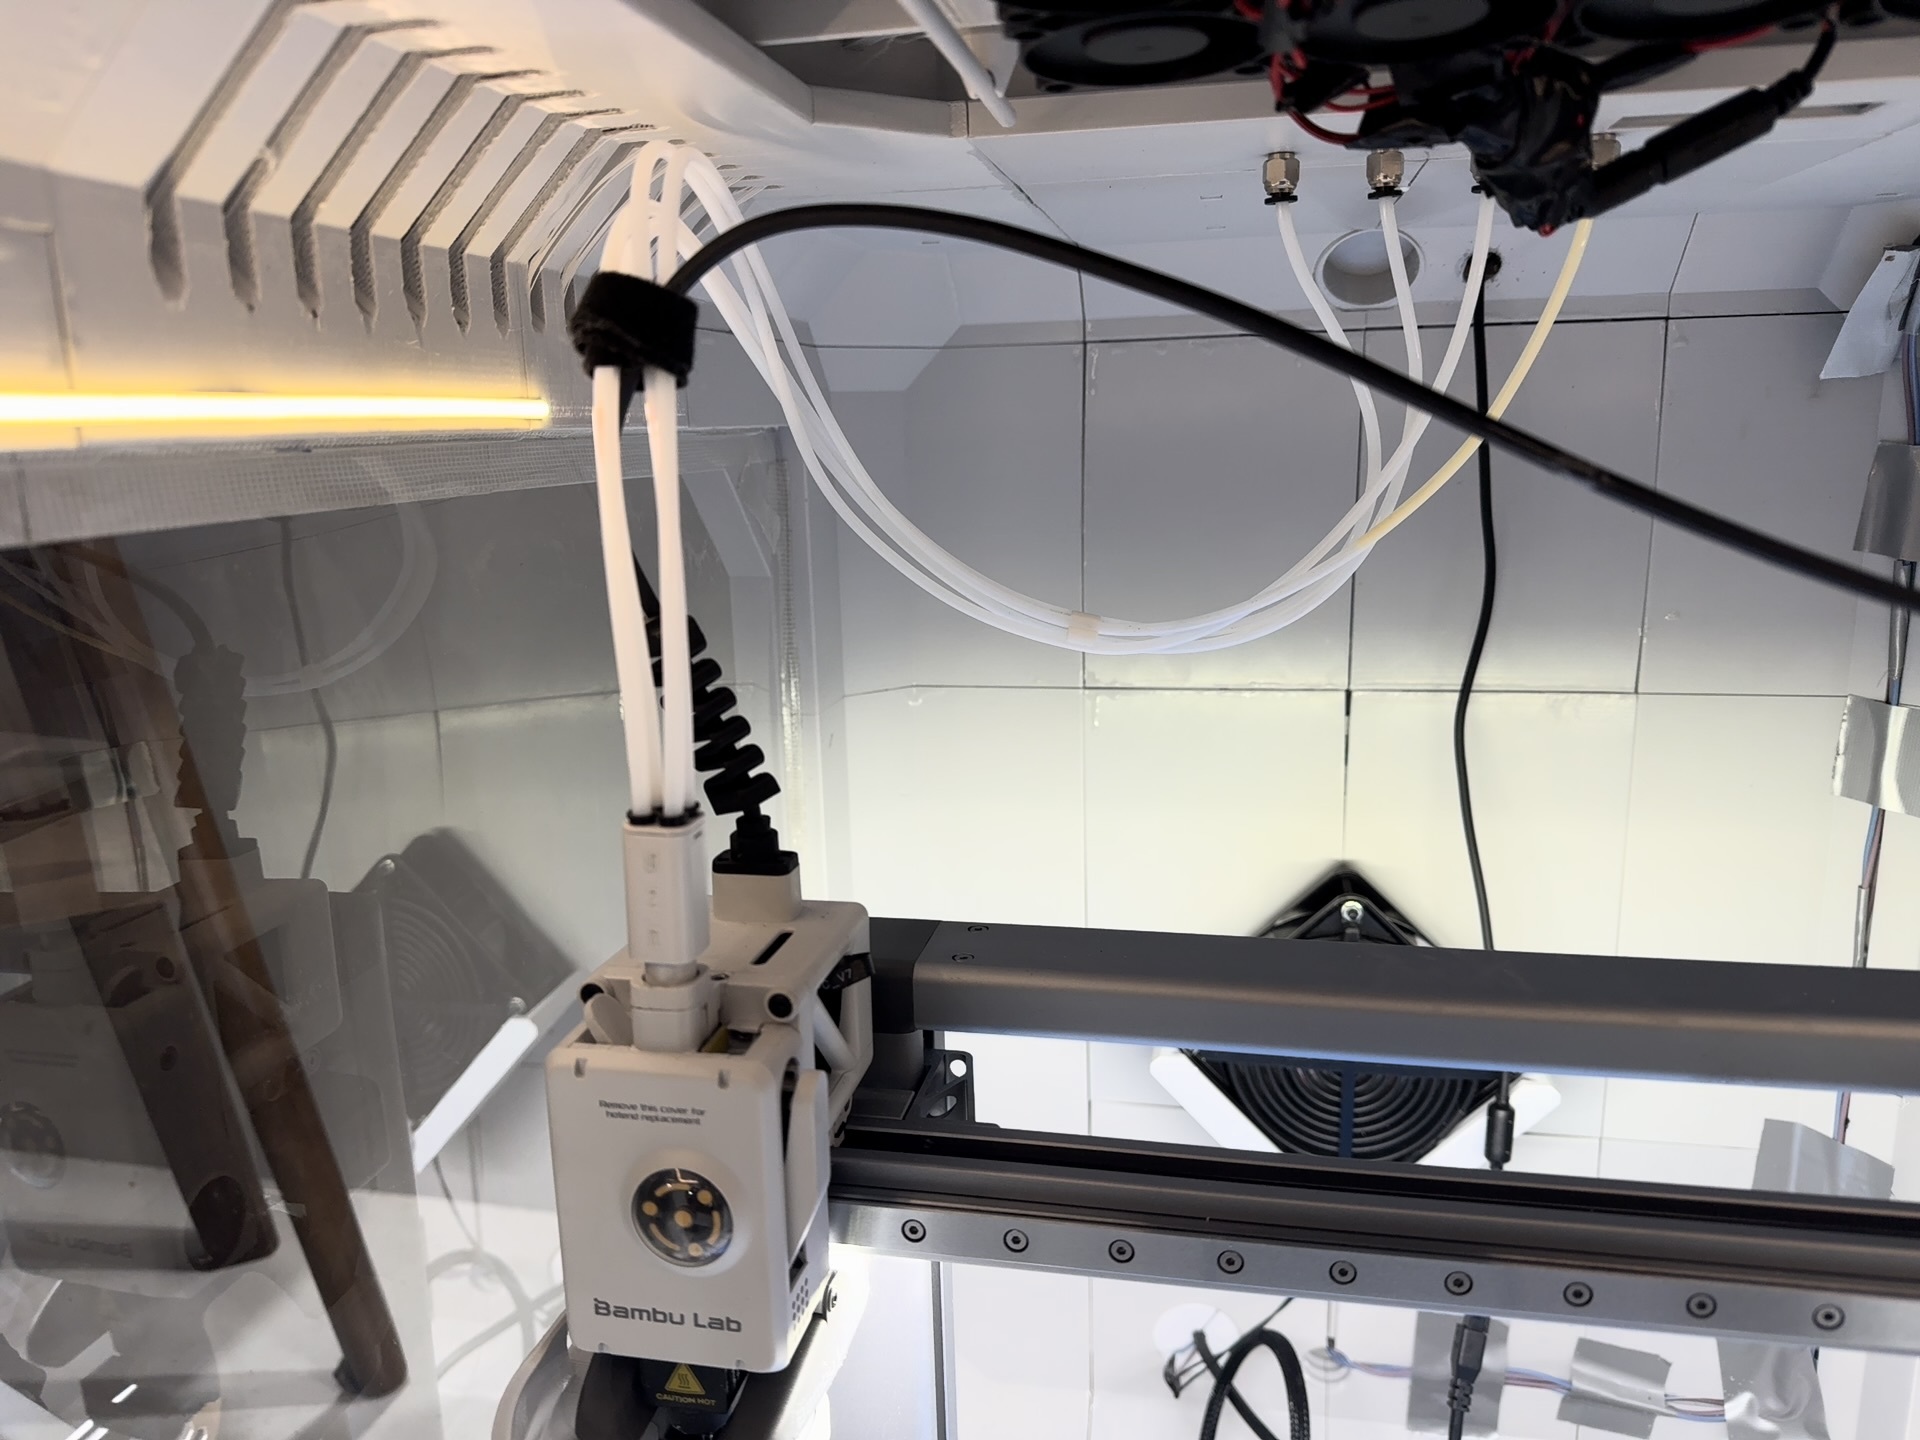
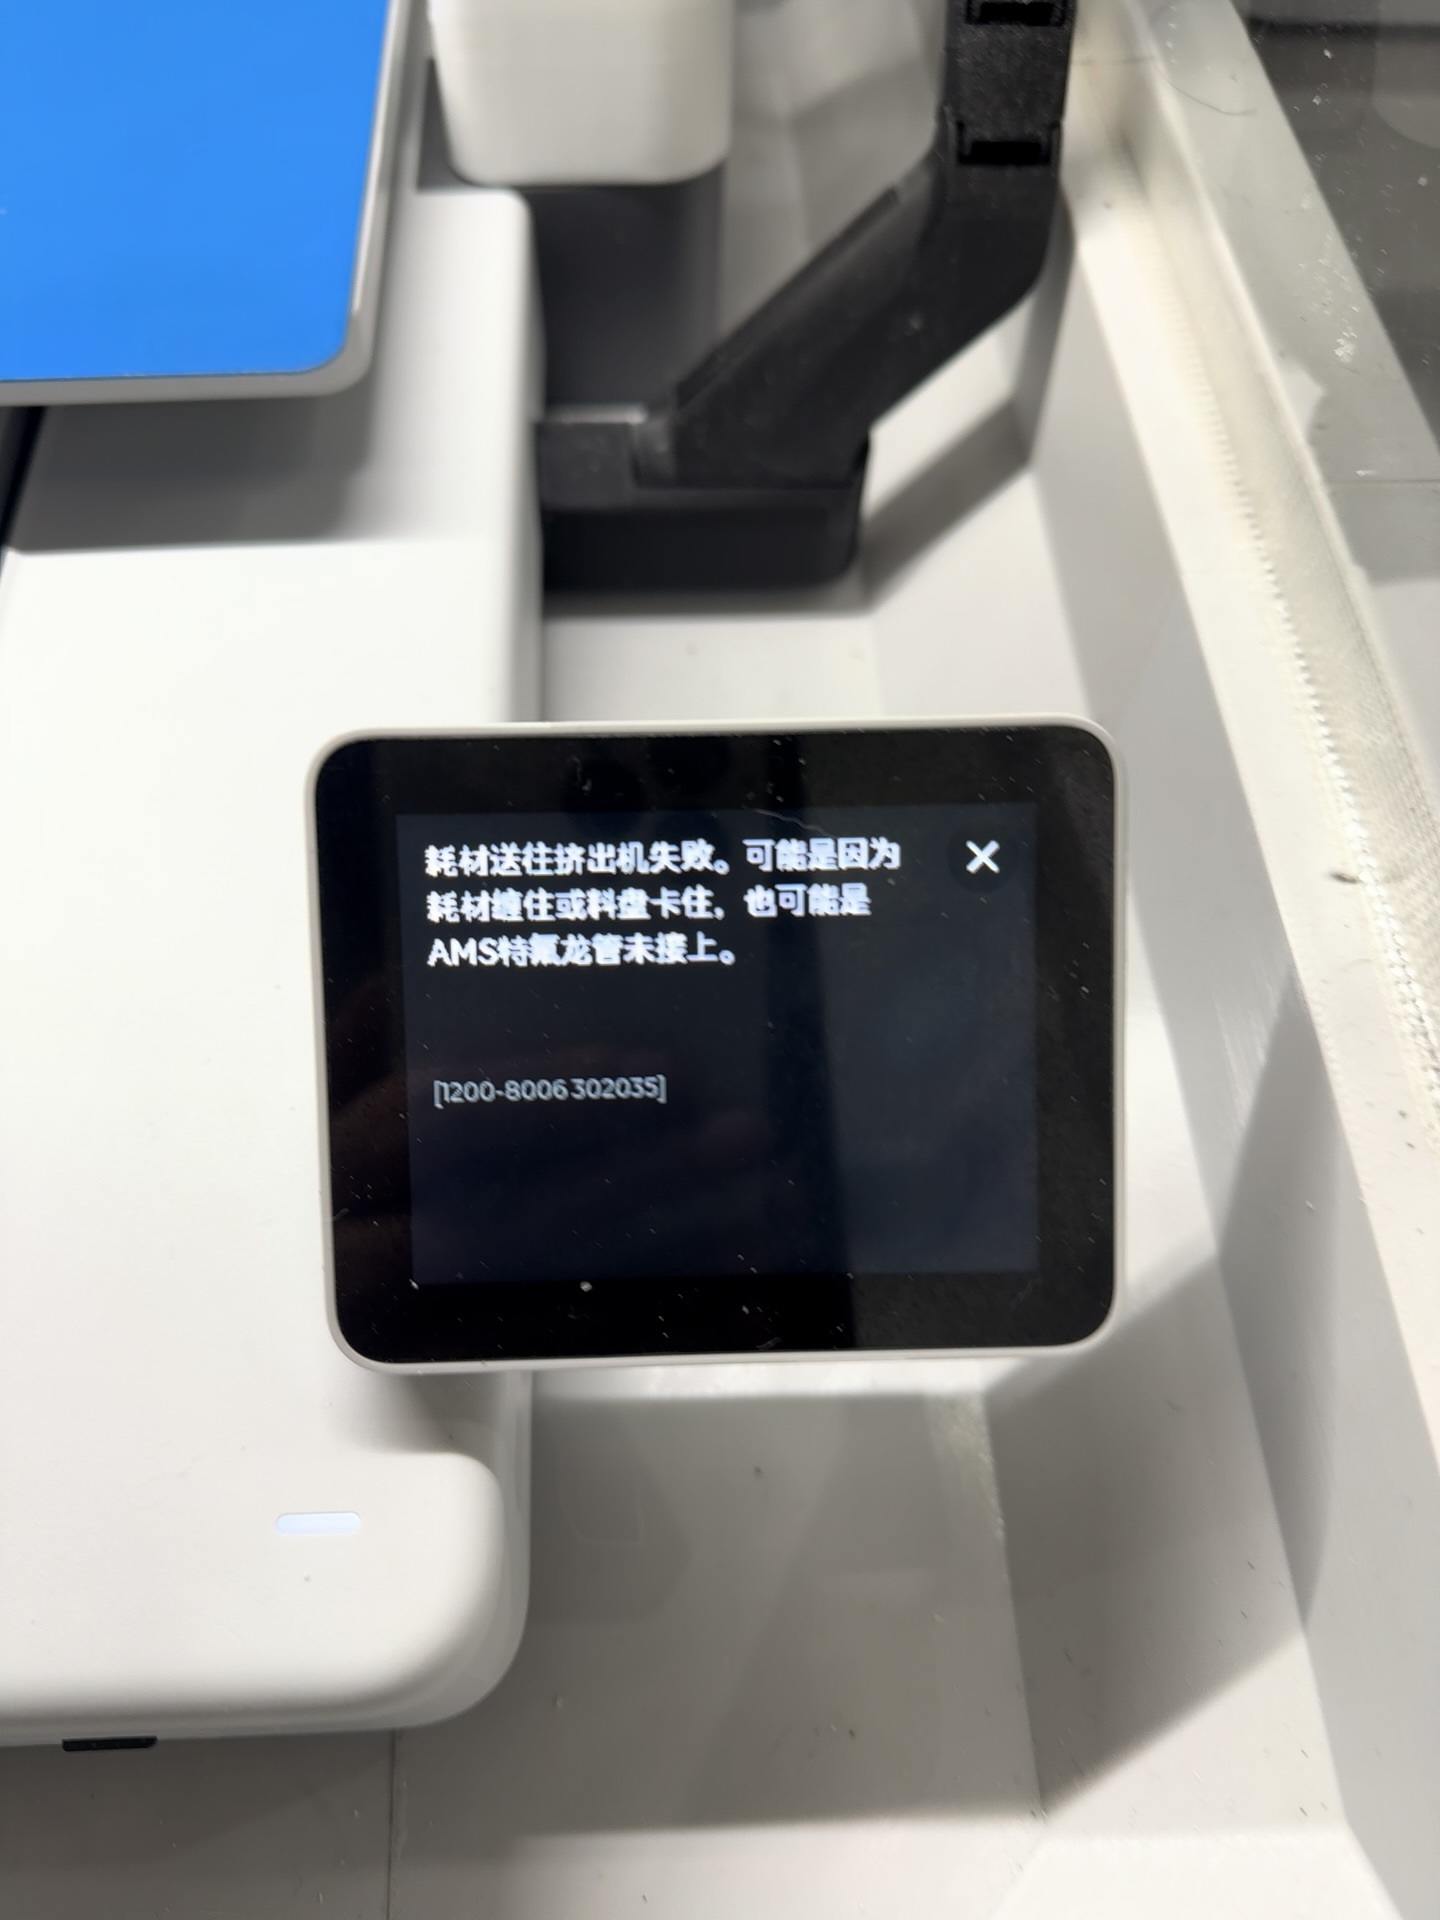
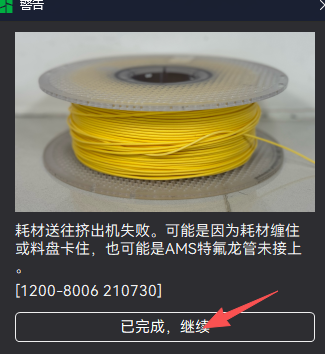
Due to the fact that the single feeding length of AMSlite is limited to 1.2 meters, the failure of consumables being sent to the extruder as shown in the above figure is caused by the elongation of the material tube. The solution is to manually feed a little more during loading, or simply click "Retry". If any experts know how to modify the settings of AMSlite, please share it with us. I've searched the entire internet, but I haven't found any instructions on how to modify AMSlite... Thank you very much.
Or just click on 'Continue' and let AMSlite provide the materials one more time.
Then, it's essential to ensure that the material tube aligns with the Teflon tube joint. Otherwise, it will lead to problems with the material delivery.
Because this connector allows the material tube to pass through completely, it's no problem to have it like this. It's very smooth. If you've just bought a new material tube, you don't need to cut it in the middle at all. It's best to use a whole one. I had to piece together the material tube because I didn't have a whole one, haha, there's nothing I can do about it.
So far, the only issues I've encountered while using it are related to AMSlite and the filament, but they're all easily resolved. You can use it without any worries.
--Regarding wanting to increase printing speed and save consumables, you can first check the maximum printing range of your machine, and then proceed with printing. I'll list some parameters that have a significant impact on printing speed and consumable usage.
1. Floor heightGenerally, a reasonable layer height range should be 20% to 70% of the nozzle diameter. That is, for a nozzle with a diameter of 0.4mm, the appropriate printing layer height should be between 0.08mm and 0.28mm, and for a 0.6mm nozzle, it should be between 0.12mm and 0.42mm.
2. Line width: 0.75*nozzle diameter~1.5*nozzle diameter. For a 0.6 nozzle, a line width of 0.9mm can be set. It is not recommended to use a 0.8 nozzle, as there is no significant improvement in printing time, but the amount of consumables used will actually increase.
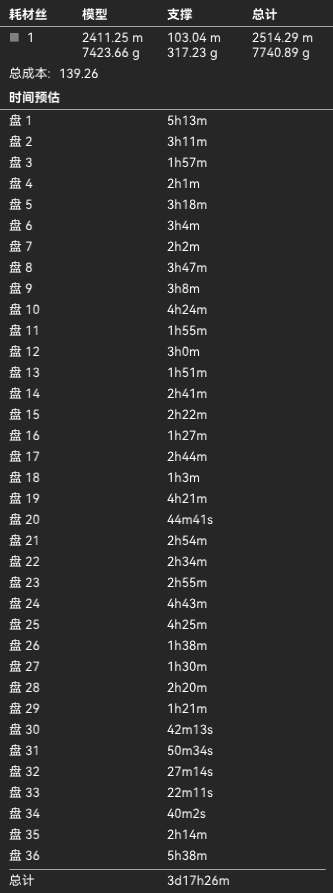
4. Due to the increased line width and layer height, and the use of a 0.6 nozzle, the wall layer number can be set to 1. Support 1, pattern lightning, and speed A1 must be turned on to reduce the speed with height, otherwise the Y-axis will easily cause wobbling during printing. After setting it this way, the printing time and material consumption are as follows. However, I still recommend using my parameters. As long as your printing board and materials are fine, the probability of problems with my default settings is extremely low


 0
0 0
0 0
0


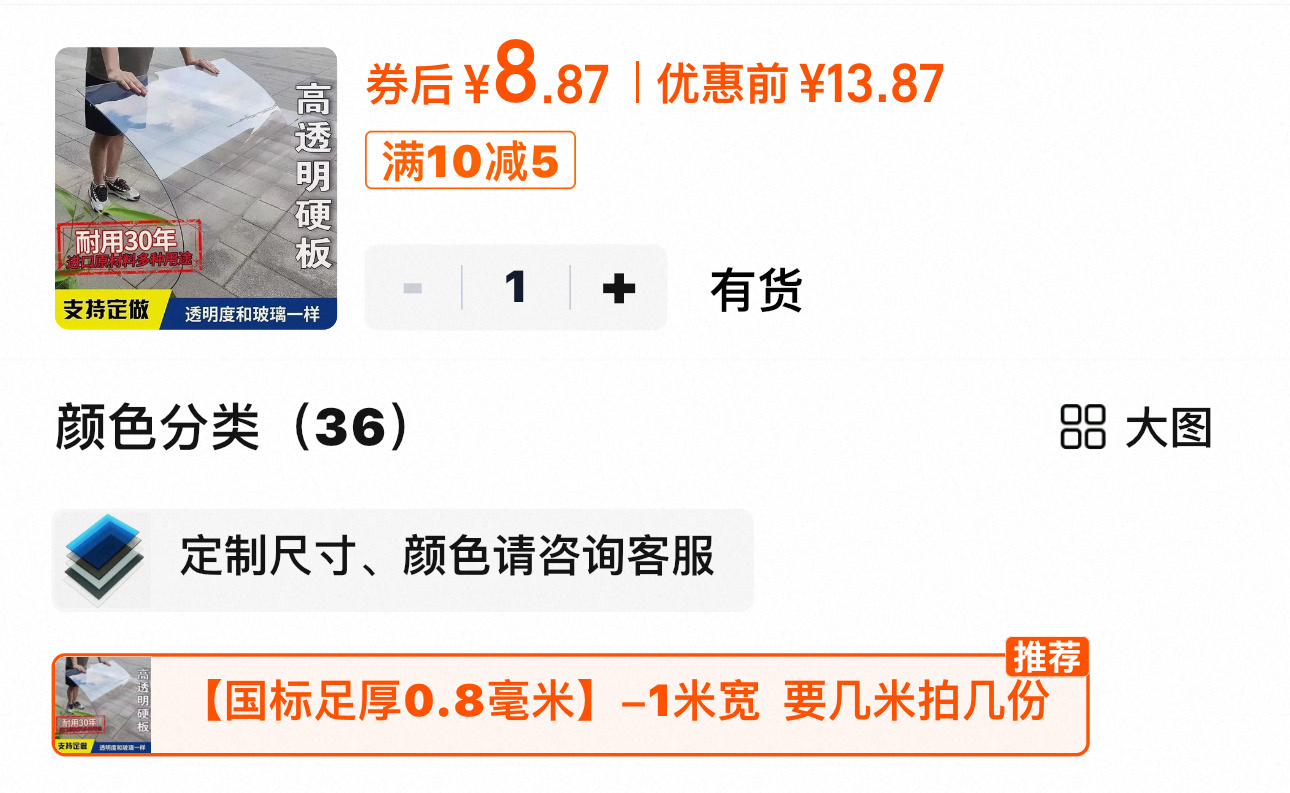 Buying three copies is enough, but the 0.8mm one is quite thin. If you want it to be stronger, you can buy a thicker one yourself. I found it quite easy to cut the 0.8mm one with a craft knife, but I'm not sure about other thicknesses. You can try it yourself.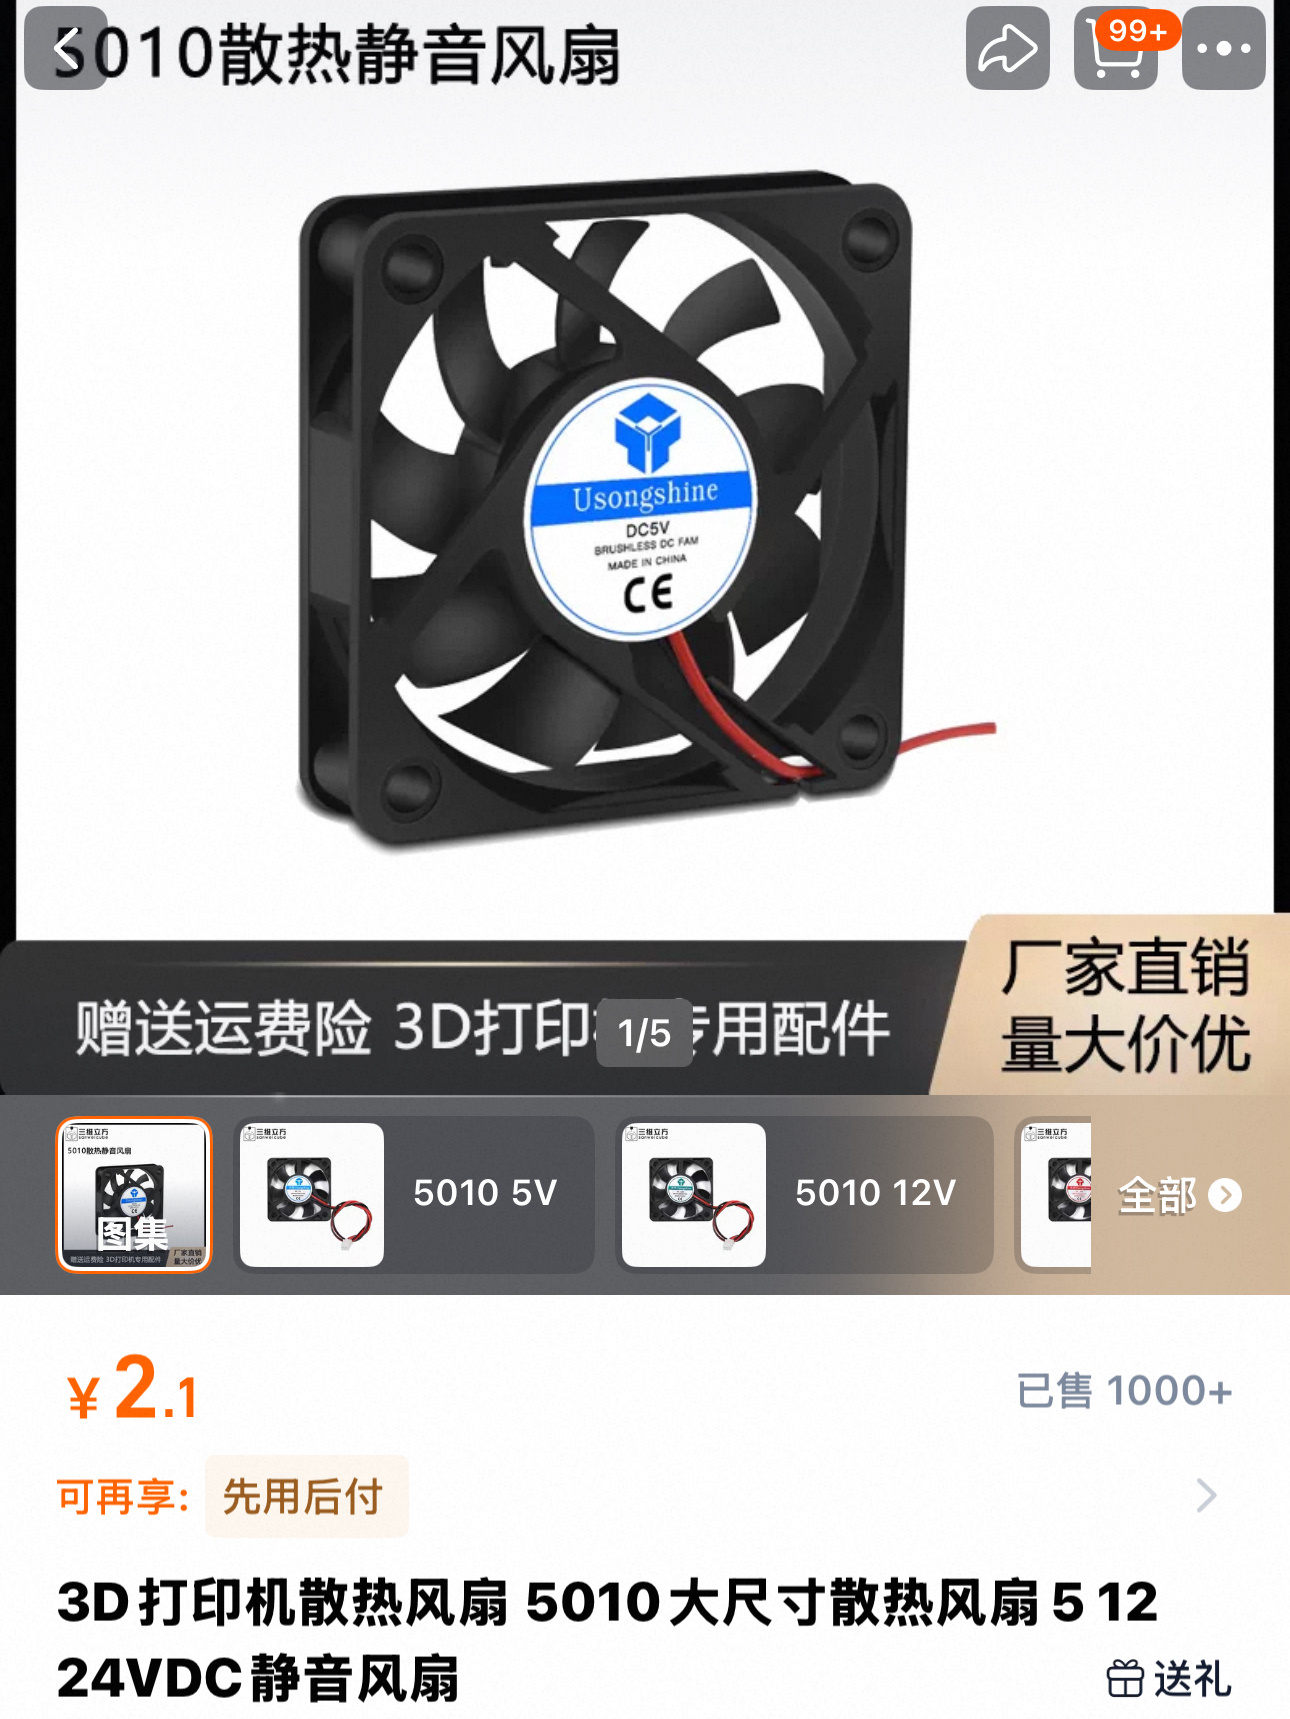
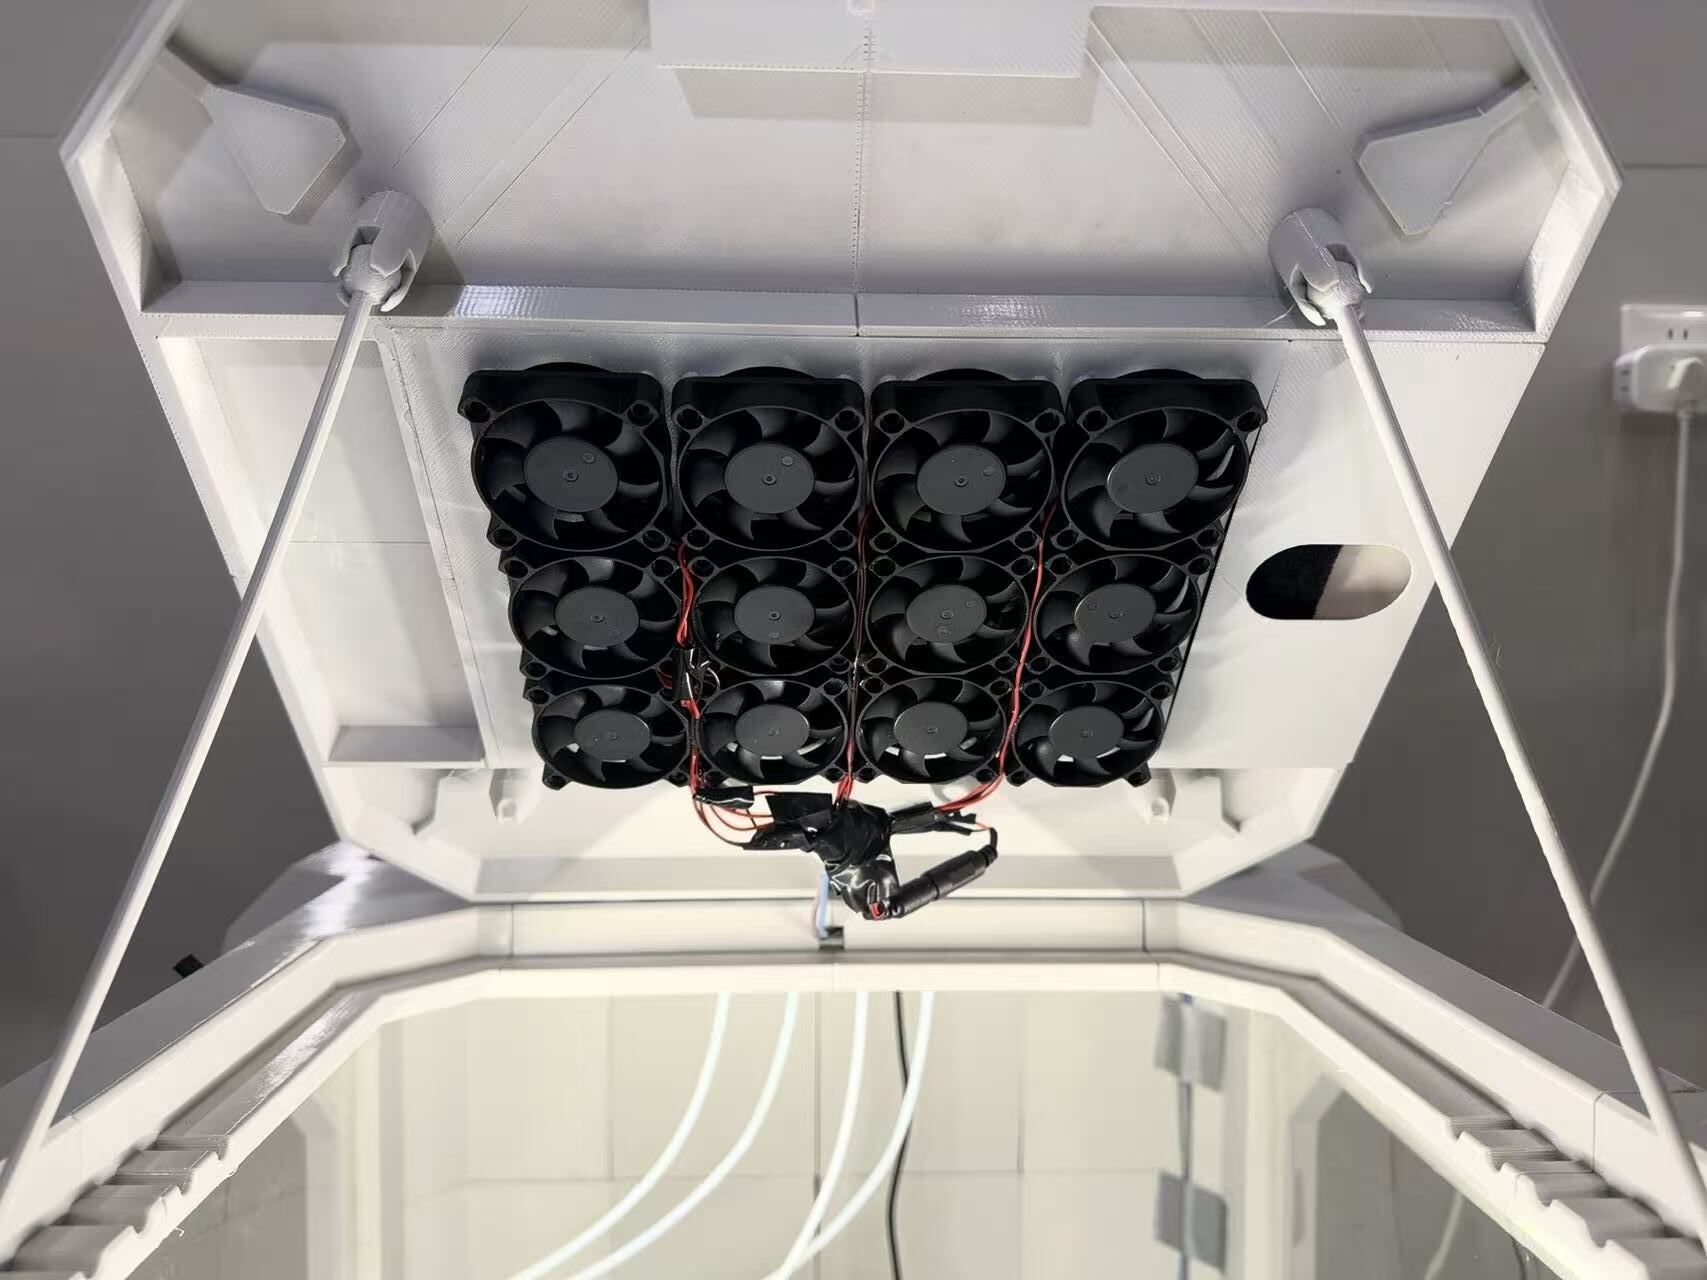
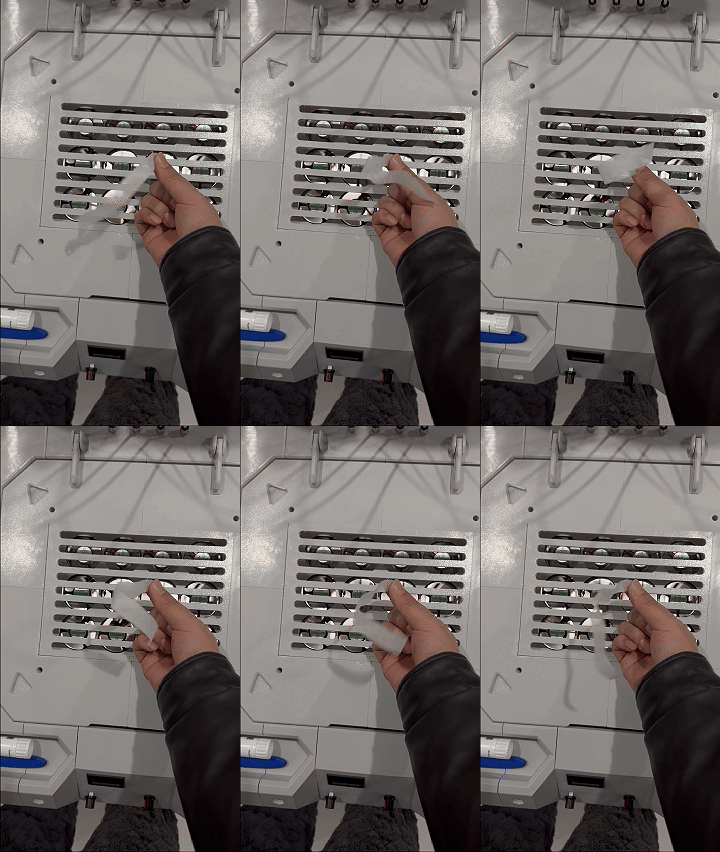
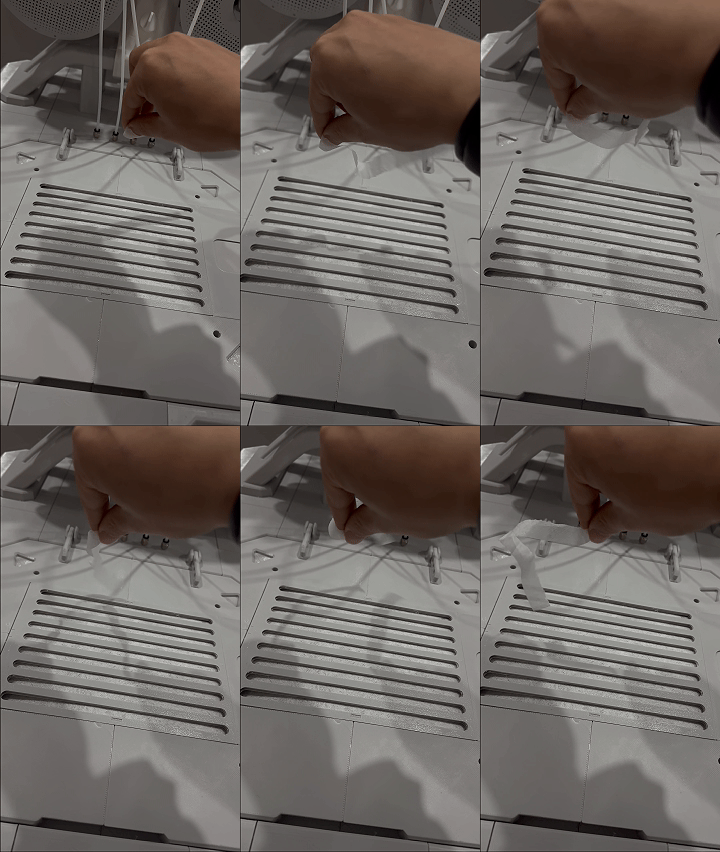 Here is a comparison of the airflow between the one with a filter and the one without a filter. The filter I used is...HEPA filter elementAndActivated carbon filter cottonI won't recommend this one. You can choose it by yourself.
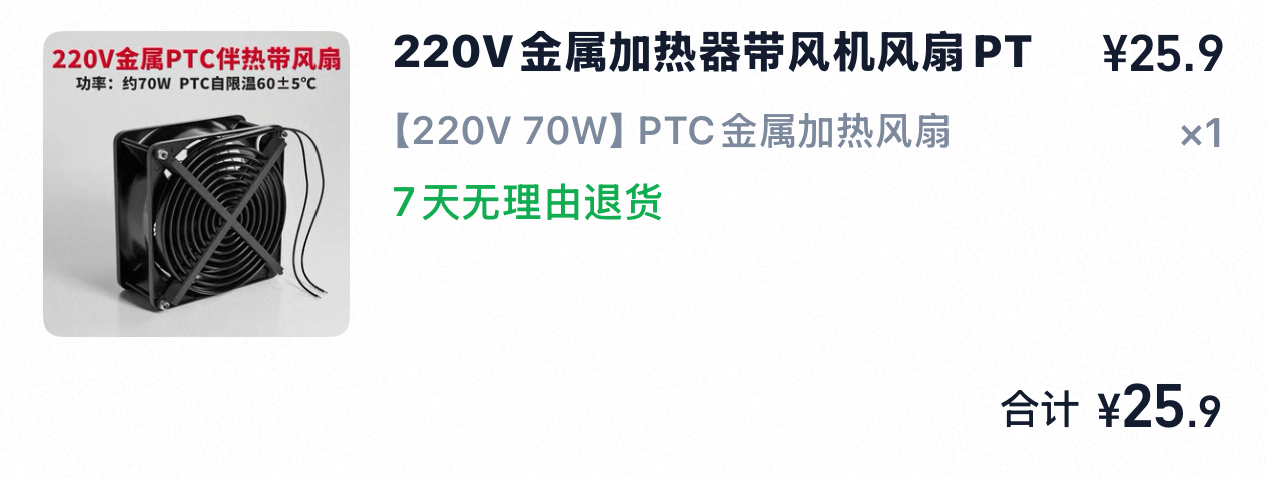 I installed a heating fan below
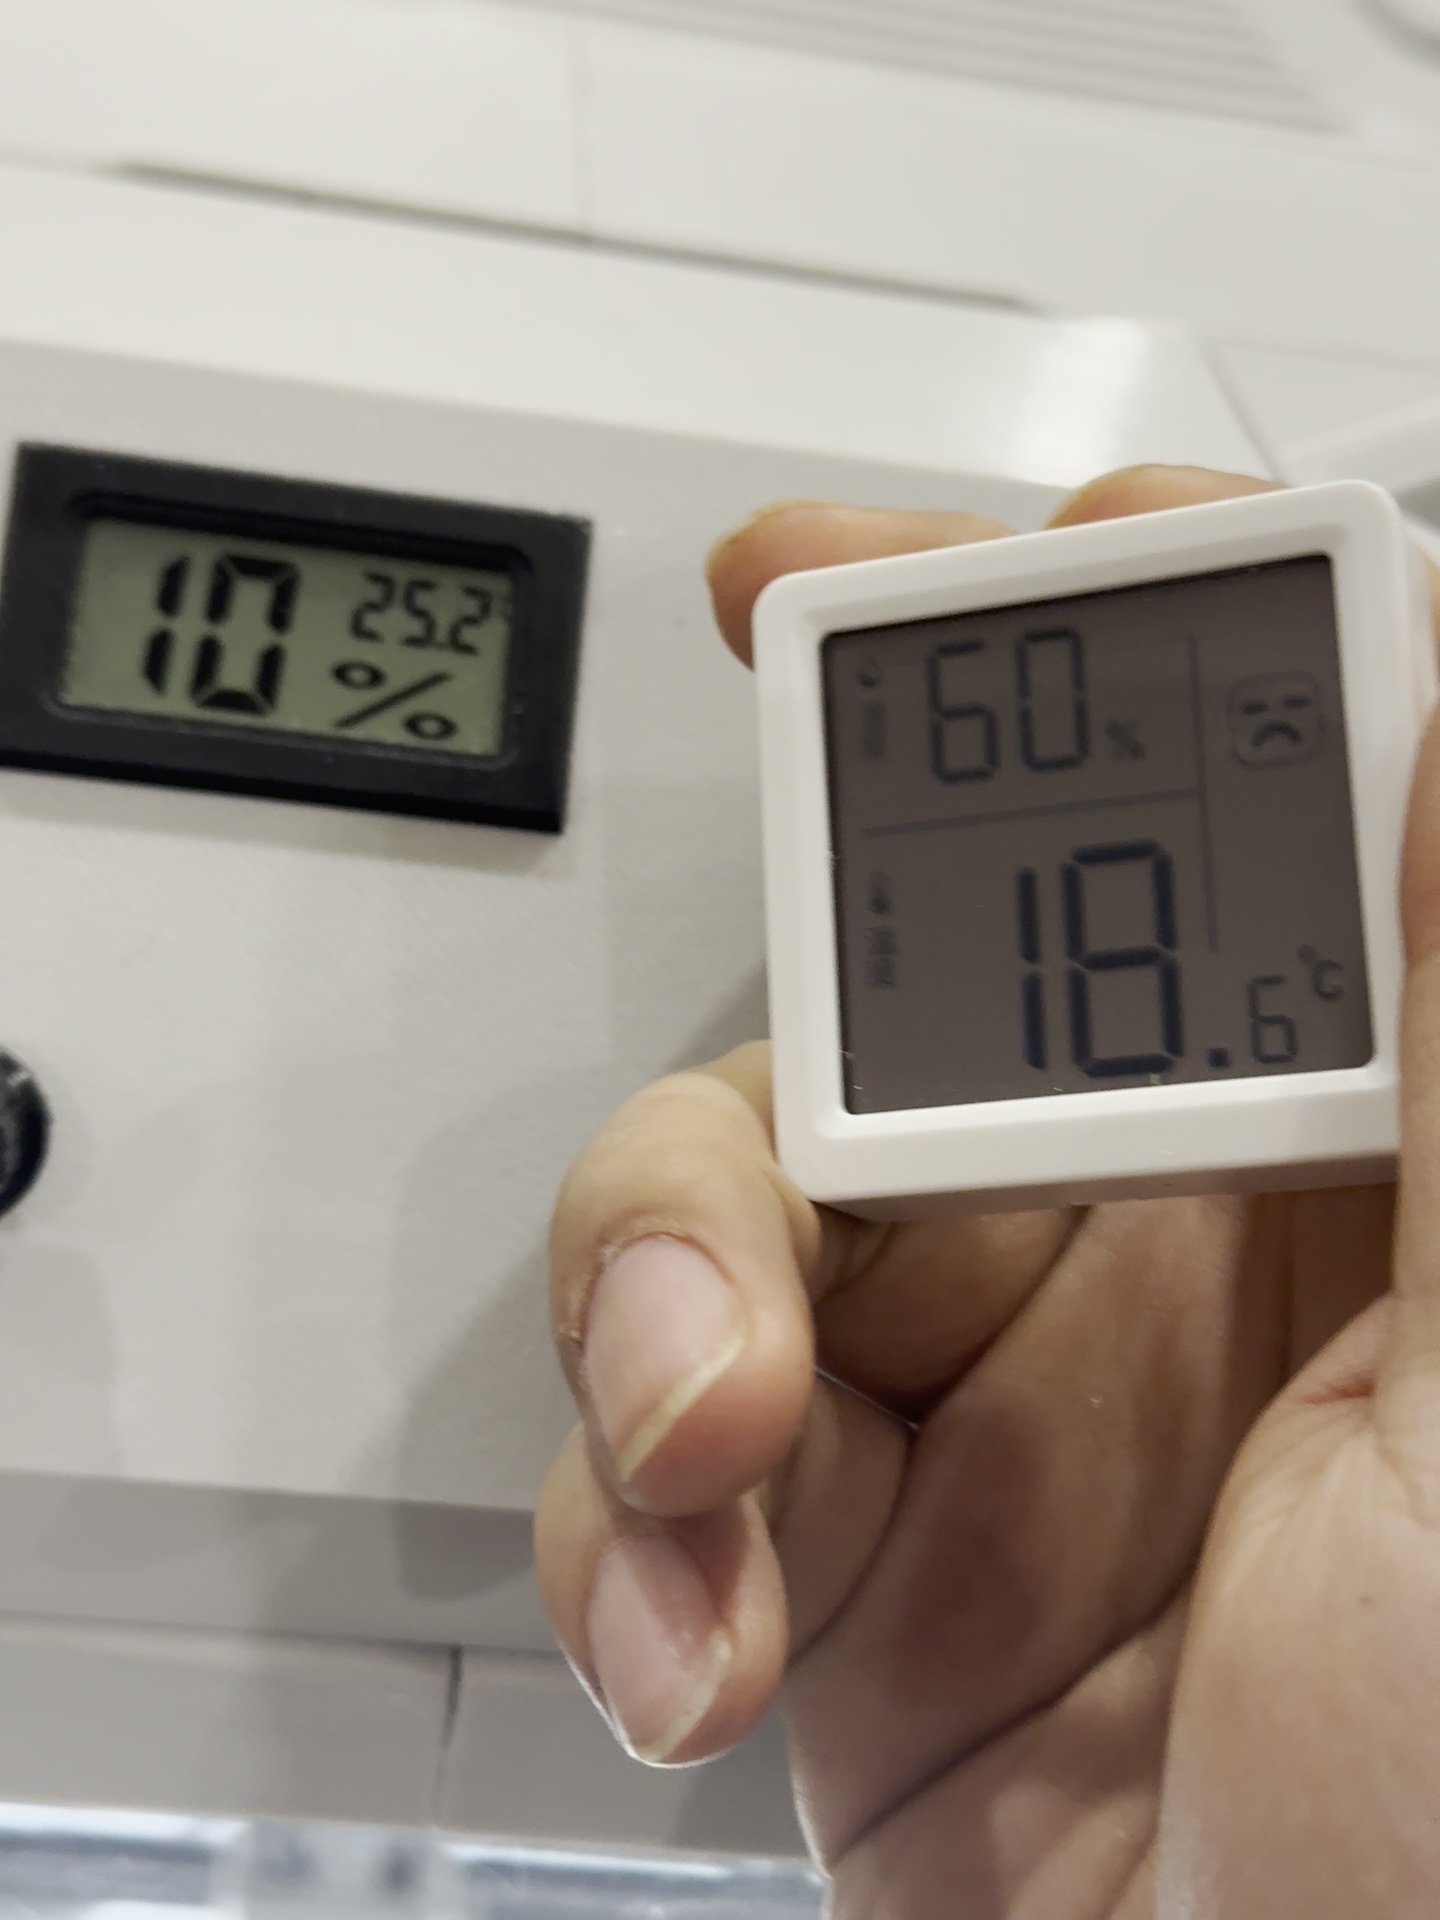 You can take a look at the comparison of indoor temperature and humidity when the heating fan in the box is turned on. It's obviously much lower. Although the official specification says that the A1 can be used at a humidity below 85%, since I started using 3D printing, I don't know why I've become more sensitive to humidity. When the humidity is high, I just feel uneasy... It doesn't really matter whether to install it or not. It's up to you to decide.
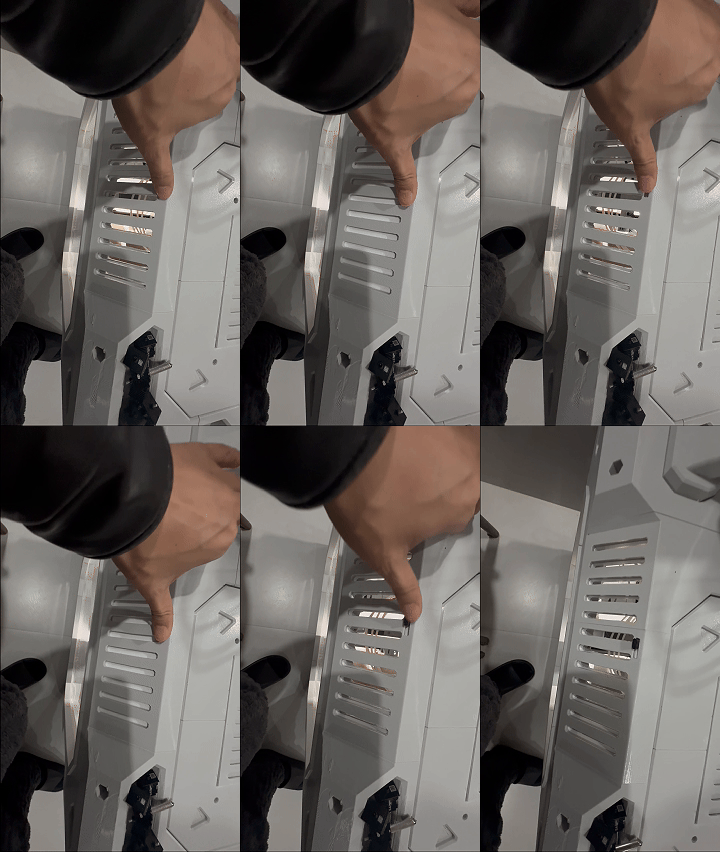 There are also ventilation holes on the side.
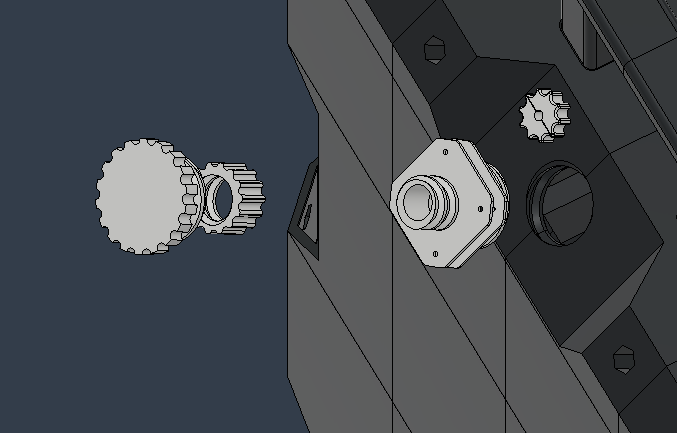 An external exhaust port is reserved at the rear. A 50-sized fan can be installed between the two clamps to prevent exhaust gas from not being discharged.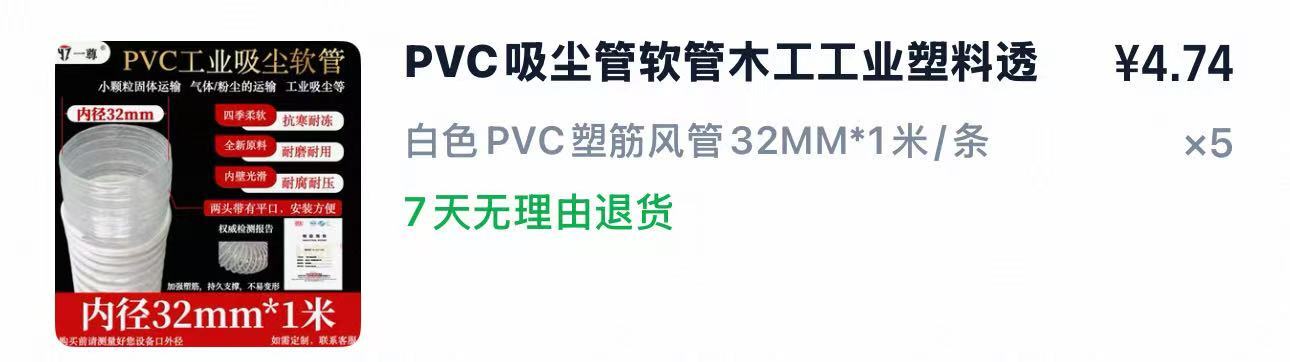
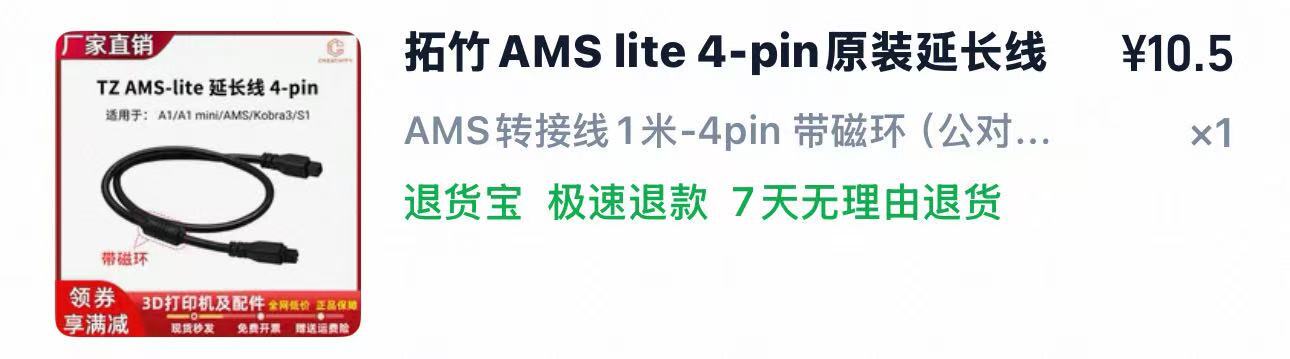 AMSlite users need to buy an extension cable
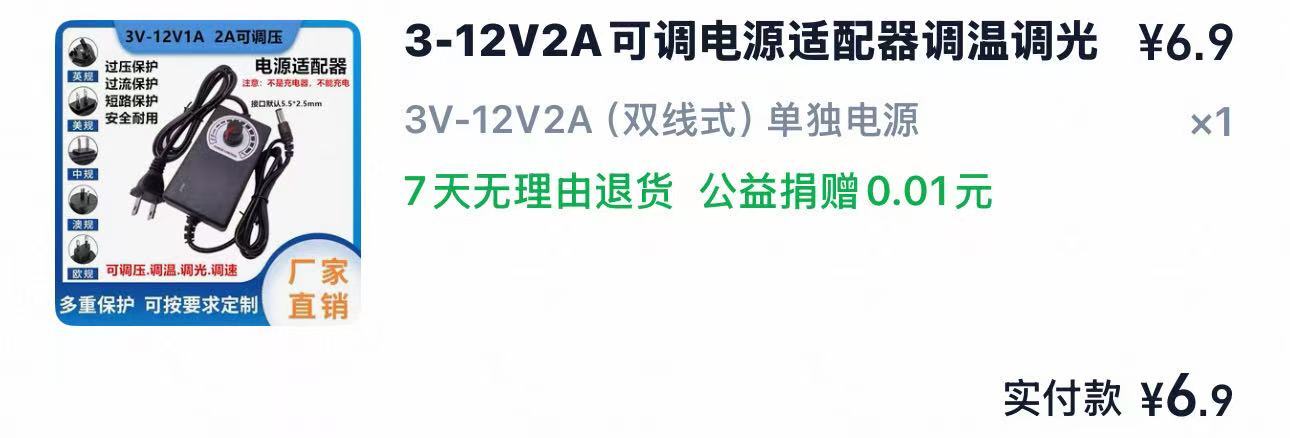 By the way, you need to remove the casing of the speed control switch before installing it, otherwise, it won't fit in.
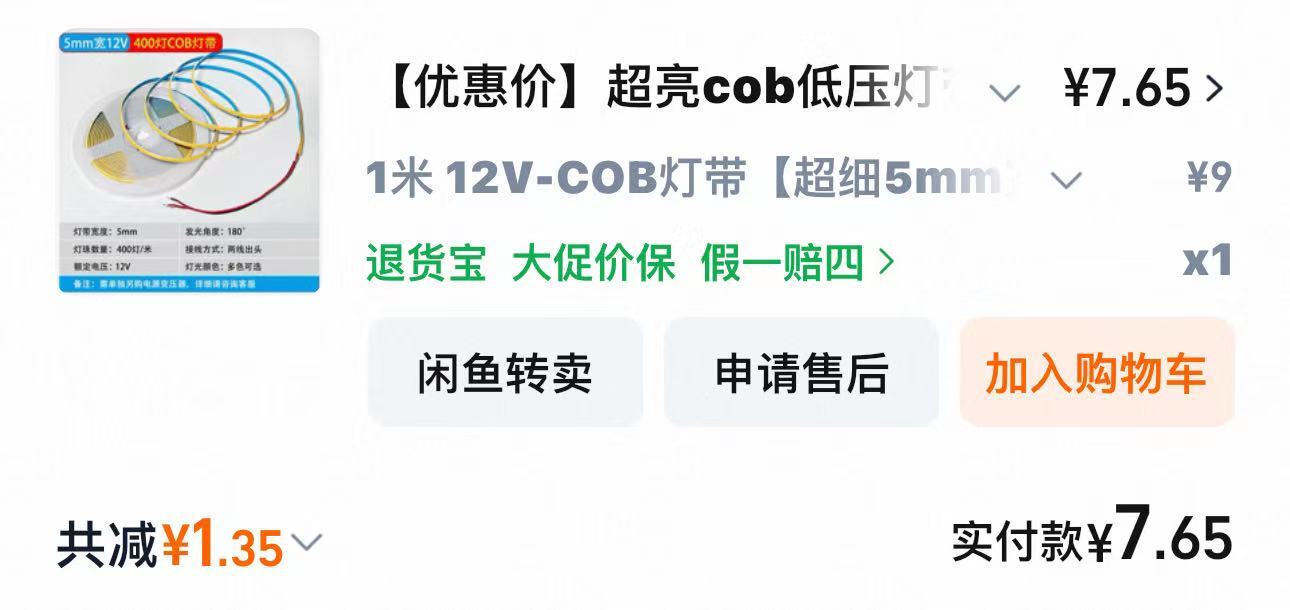 For the 1-meter long LED strip, I cut it in half from the middle, and then placed one half on the left and the other on the right.
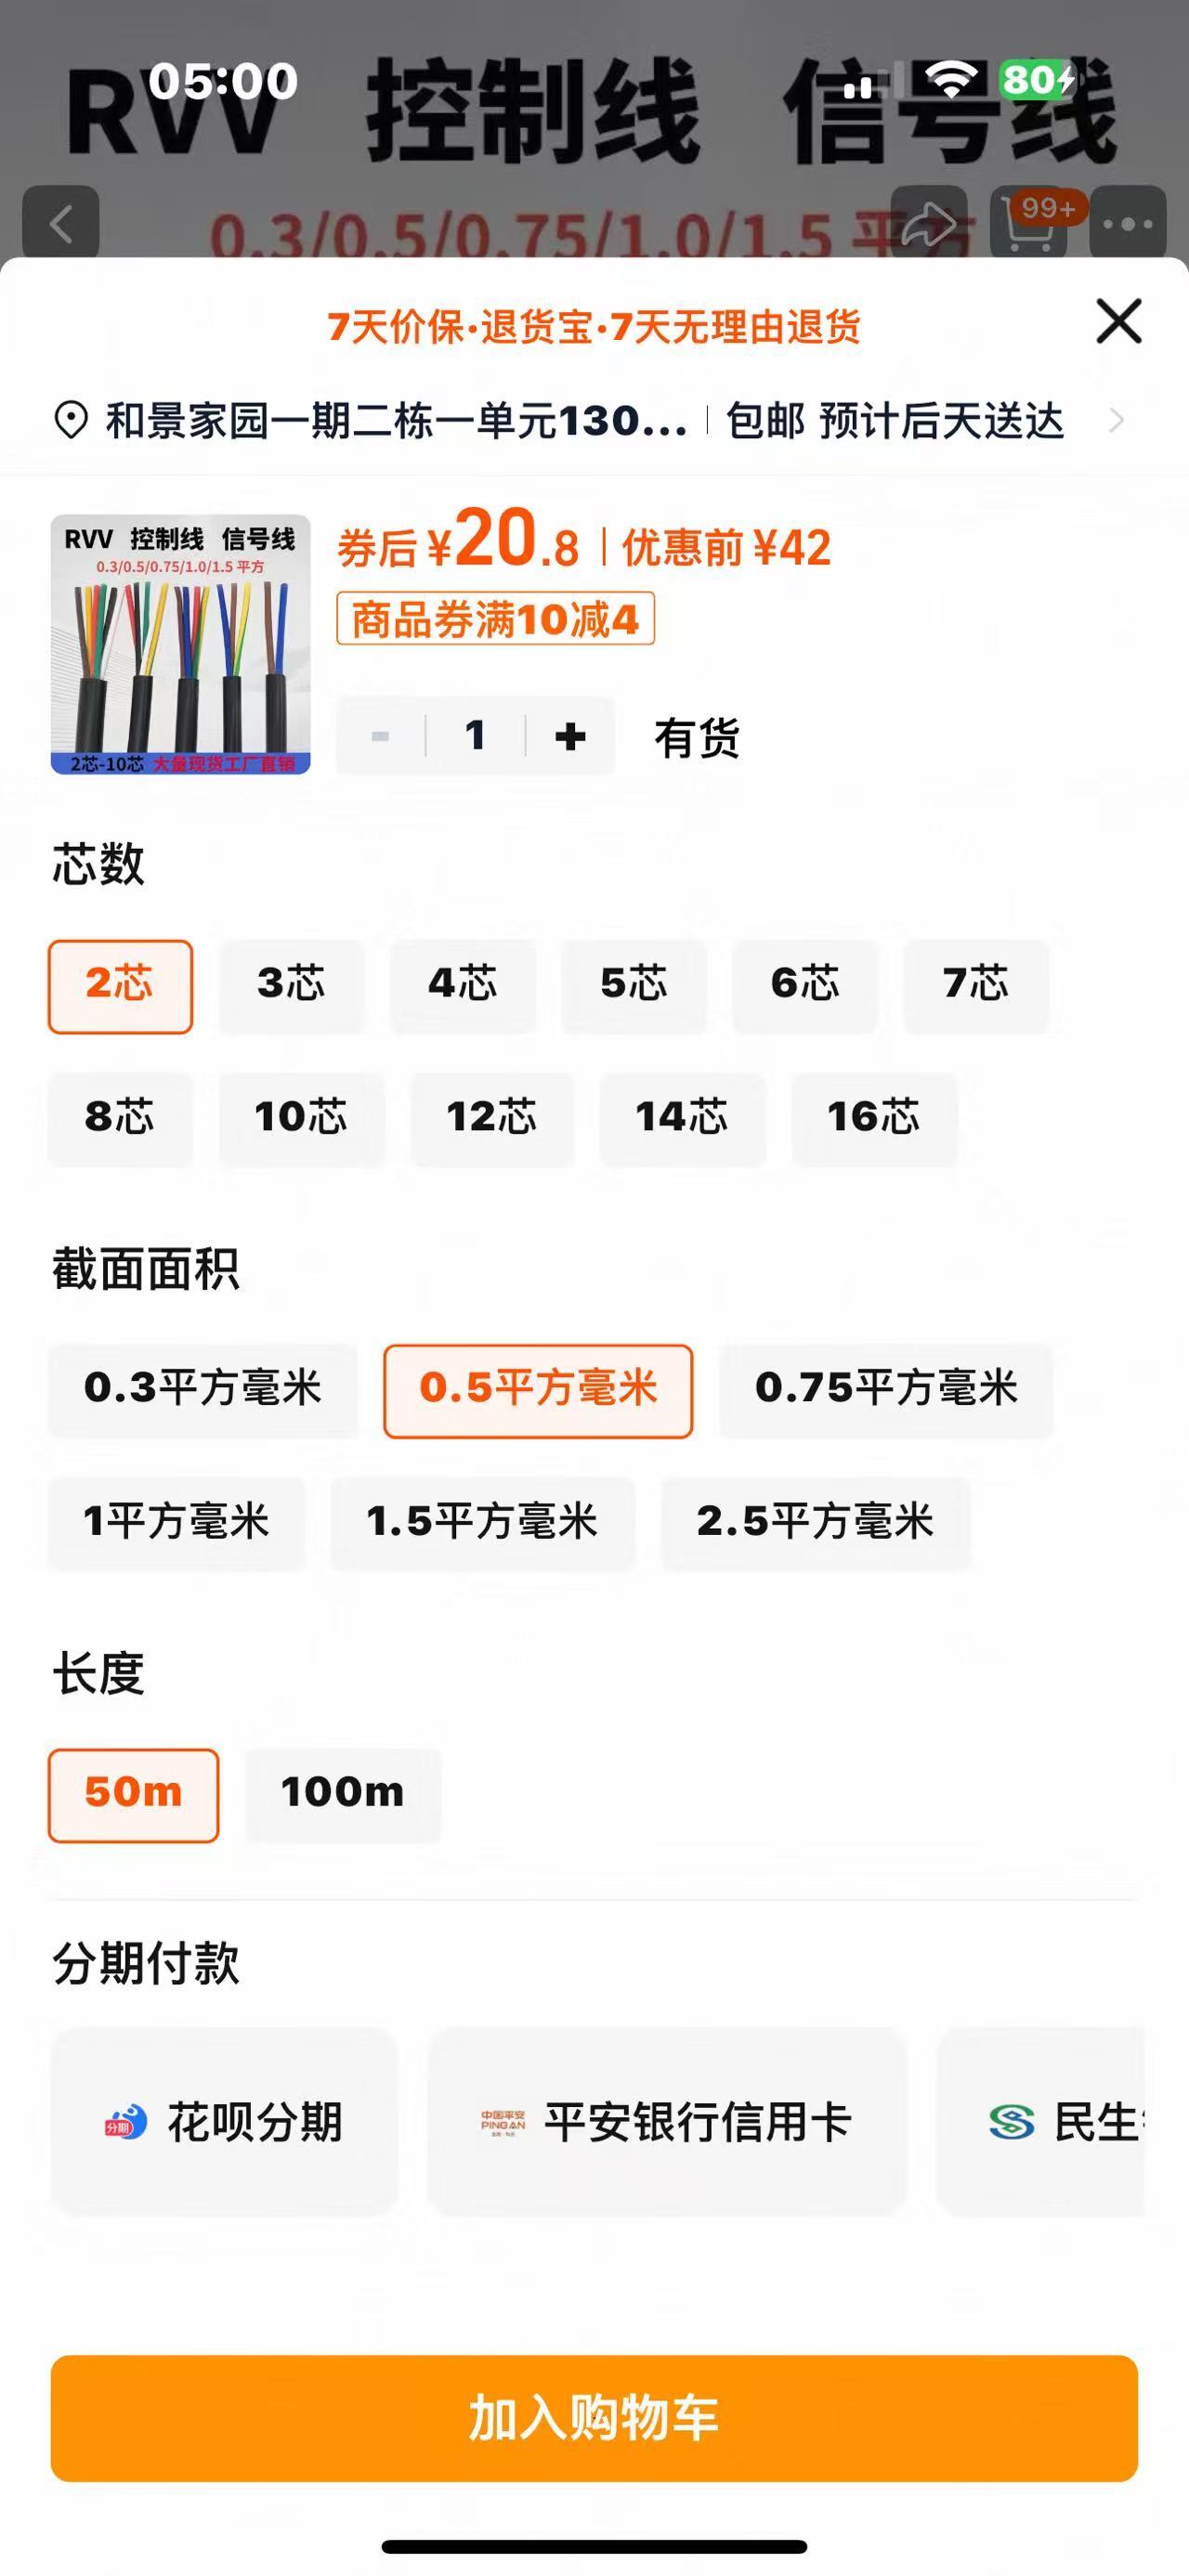 Then for the connecting wires, it's recommended to use 0.5 square millimeter ones, which can be placed in the cable tray inside the enclosure.
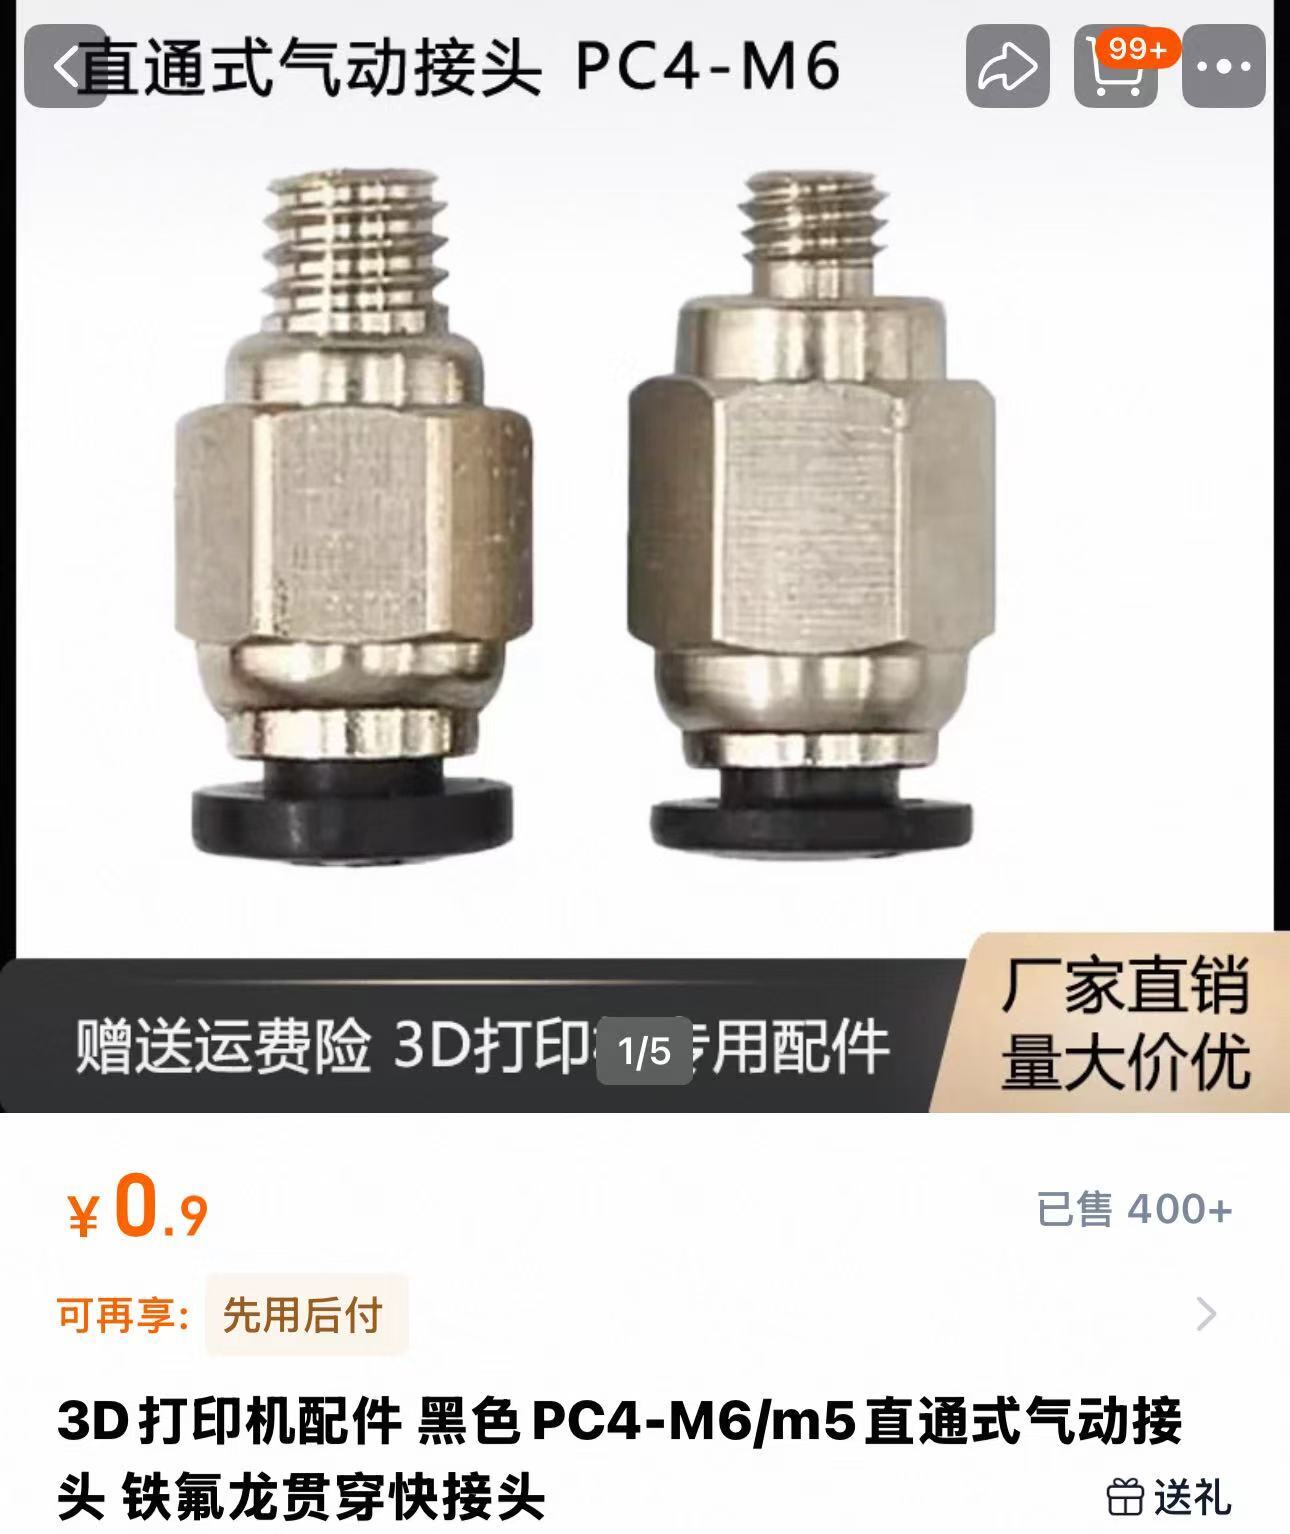 And then eight Teflon pipe fittings