iCharge v2
edward_baker

AI로 유사한 모델 찾기


프로필 출력(0)
모델 파일(0)
 0
0 0
0 0
0
게시일:2025-09-26 06:09:30
0
0
 000
000When I use the SW3518 module to create a modular assembly caseThe first versionAt the time, I thought five modules would be enough. Each of them had two ports - USB Type-A and USB Type-C. Ten ports should be enough to complete all tasks. But practice has shown that there are never enough ports. I often had to rearrange them, unplug them, or figure out where to plug in another cable. So, I decided to expand this project and build a more spacious unit. This is how the second version - iCharge V2 - was born.
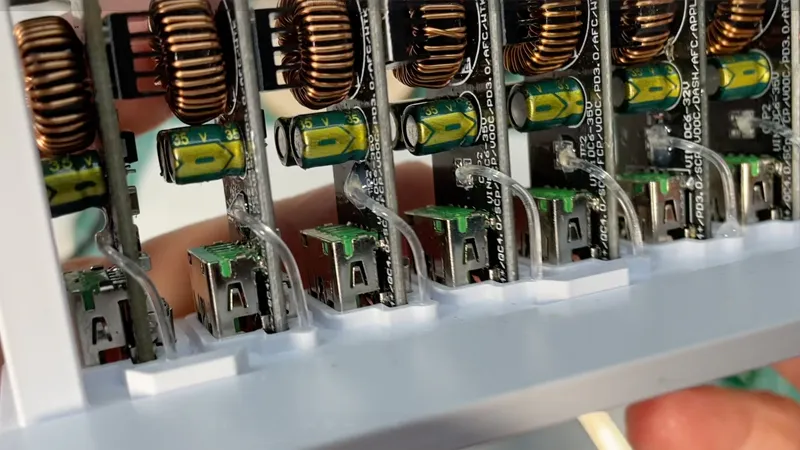
In the new situation, I changed the orientation of the modules. Previously, the USB Type-C was located at the top, and the Type-A was at the bottom. Now, it's just the opposite. In the first version, putting the USB-C at the top seemed more logical. But real-world use has proven that having the Type-A at the top and the Type-C at the bottom is more convenient. It's a small detail, but it's the kind of subtle difference that makes the device truly practical.
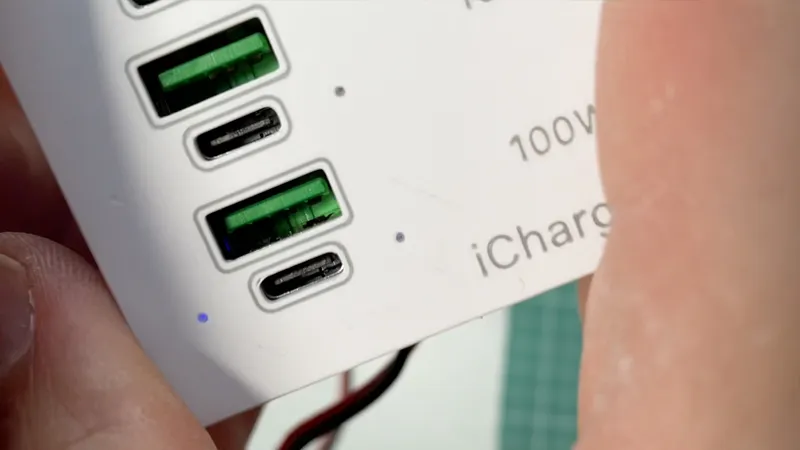
In the first version, I made the light guide using fishing line: I drilled a through hole from the LED to the outside, inserted a piece of line, and then carefully trimmed it to be flush after assembly. It worked, but it didn't look very good. Now it's different: I directly print the light guide from transparent PLA. The casing has a blind mounting hole above the printed light guide - no additional steps are needed.
Important note: To obtain clean results, please use a 0.2 mm nozzle. Both the font and the light guide require high precision. You can try using a 0.4 mm nozzle, but I can't achieve decent quality with it.
The module now includes more 100-watt modules. Yes, if you add up the rated power of all ports, this number will far exceed the power of the power supply I'm using. But this is just theoretical math. In practice, it will never happen that all ports operate at their maximum capacity simultaneously. At most, I drew about 100 W for the soldering station - even then, it wasn't using this unit, but another setup of the same module.
Nevertheless, the principle is clear: if you plan to carry a heavy load, the power supply must be matched. Otherwise, the unit can easily handle real-world scenarios: smartphones, tablets, laptops, and some small gadgets can all be charged in parallel without any issues.
The shell design remains the same - it's still a clip. You can install it on the edge of a table, a wall, or a furniture frame. For example, mine is hanging on a shelf, which is the most convenient option.
The modules are connected via a parallel copper bus. I'm using solid 1.5 square millimeter copper wires. This solution serves two purposes at the same time: it ensures reliable current conduction and increases the rigidity of the entire assembly.
Inside, everything is assembled just like in the first version. When the fast charging protocol (PD, QC, etc.) is activated, the red LED lights up, while a single blue LED indicates the power supply. With the printed light guide, the indicators now look cleaner and clearer.
I also made a video of the assembly process. It shows every step, so even if you're not an expert, you won't have any problems. It's not complicated at all.
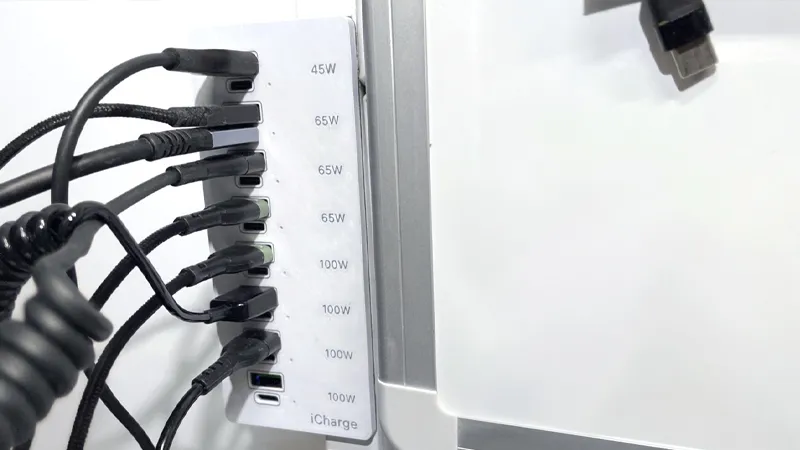
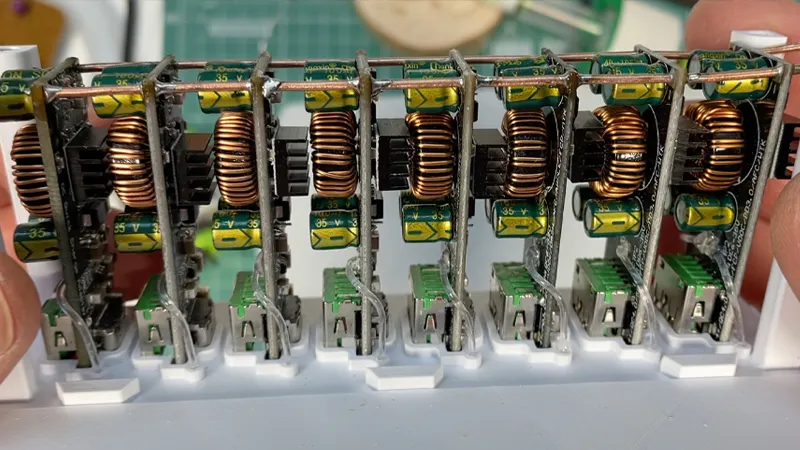
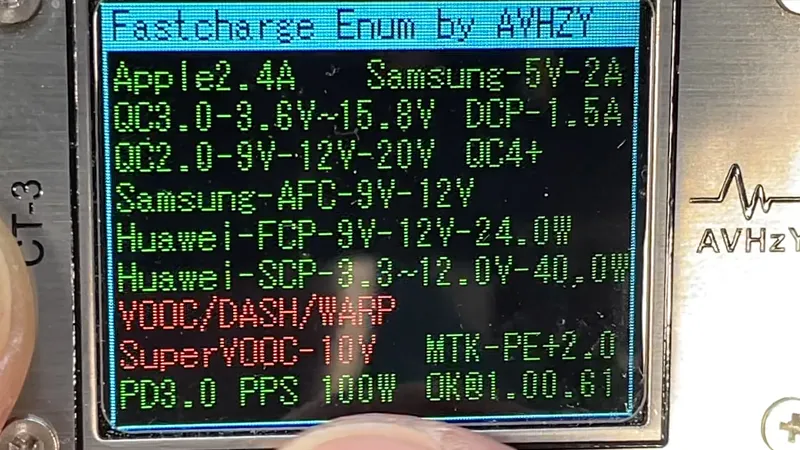
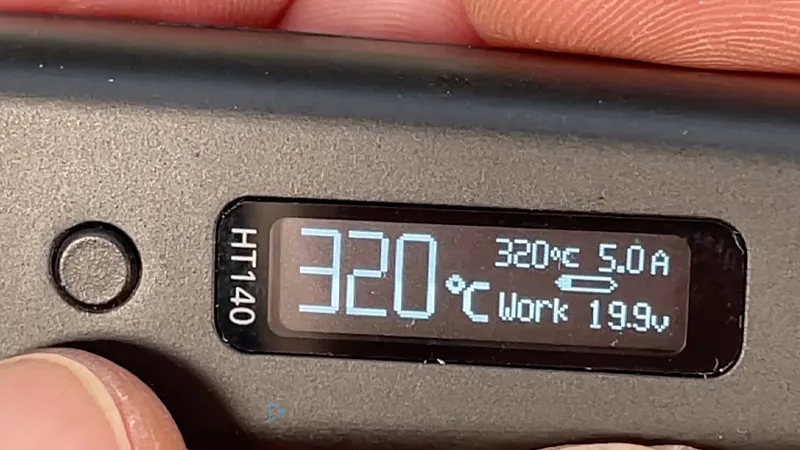
iCharge V2 is an evolution of the first version. It retains the same concept as the independent SW3518 module, but features an improved layout, cleaner indicators, and an increased number of ports. This solution is simple, repairable, and highly adaptable. You can build your own version using three, five, eight, or more modules. It all depends on your tasks and the power source you're connected to.
Improve myself (for free)
If you like it, give it a thumbs-up or a like. I'd really appreciate it. I hope you enjoy the device I've created.
For me, this device has become a comprehensive alternative to ready-made charging stations. Only here, I know exactly what works and how it works.
If you like this item, let me know by clicking the 'Like' button!
Thank you for every tip or donation you've made.For me, this means great recognition and helps me to keep moving forward!

BTC:bc1qplpzq36ghw84hty4nn2zzu4ps4sdh4th0v93j8
ETH:0xc766ebbeAa76aaf629788c8F99C33A8d80d48977