
iCharge——a powerful modular charging base
Pamela James

AI로 유사한 모델 찾기


프로필 출력(0)
모델 파일(0)
 0
0 0
0 0
0
게시일:2025-06-19 04:21:01
0
0



 000
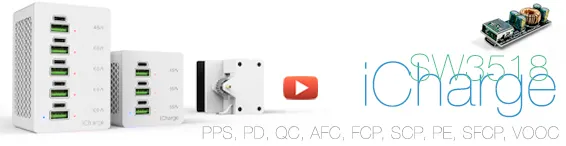
000A few years ago, I purchased the SW3518 module. It caught my attention because it's a buck converter that supports various charging protocols. It's stable, reliable, and most importantly - reasonably priced. Even now, it's still very popular and has many positive reviews. I personally recommend it - especially the S version with a rated power of 65 watts. If you want more power, choose the P version, which can provide up to 100 watts. But keep in mind: any of these will heat up under full load. That's why it makes sense to operate them at no
As time went by, I decided not to just use the module, but to build my own charging station based on the SW3518. The idea was simple: each module is independent and all connected to a common power rail. This enhances reliability - if one fails (which hasn't happened in years), you just need to pull it out and replace it with a new one.
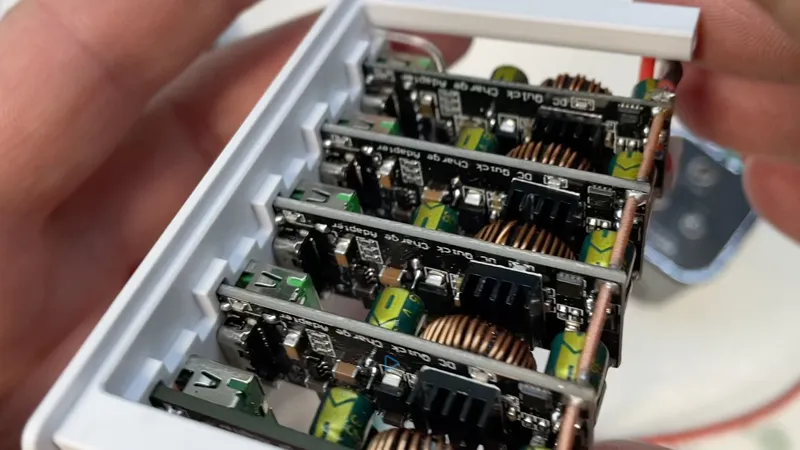
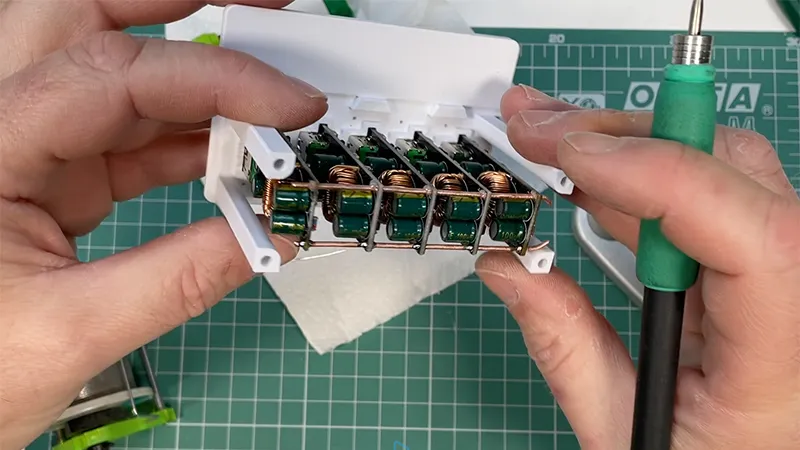
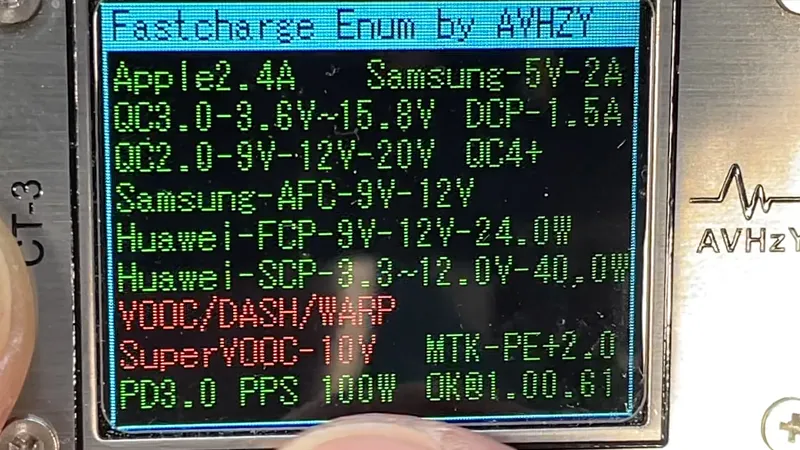
Initially, I planned to use three modules, but that soon seemed insufficient. In the end, I ended up with five. The result? A total of 10 ports - half Type-A and half Type-C. Type-C handles power delivery and other fast charging protocols.
In all SW3518 modules, whether S or P, both ports are controlled by the same internal chip. This means that only one port can provide PD or other fast charging protocols at a time. Once two devices are connected, the controller reduces the output of both ports to standard 5V, disabling PD and QC. The main differences between the S and P versions are power capacity (65W vs 100W) and rated current - not protocol logic. Simultaneous PD on both ports is not supported.
My current setup has five modules. You can expand it to 10 or even 20 to create a serious power hub - provided you have a suitable PSU. But in practice, even a 200W unit from Meanwell can handle it well. Why? Because it's rare to fully load all ports simultaneously. Devices operate in turns, consume less power when charging, and some ports remain idle.
One significant drawback of the SW3518 is the lack of proper cooling. I recommend adding at least a small heat sink to the controller. The sensors also get hot - larger sensors would be better, but they cut corners as usual. Despite this, under a 70% load, its temperature is around 55 °C, and passive cooling can manage it.
Another problem - there are no installation holes. It's just a bare wooden board. I spent time finding a clean solution: precise dimensions in 3D modeling. The modules slide into the front panel like plugs, and the rear panel locks them in place. I connected everything with 1.2mm copper busbars, which increased conductivity and rigidity.
The light guide is made of standard 1.2mm fishing line. A blue LED is used as a sharing indicator - I removed the rest. When fast charging starts, the red LED lights up. If the device requests PD or QC, a red light will appear above the active port. It's clear and informative.
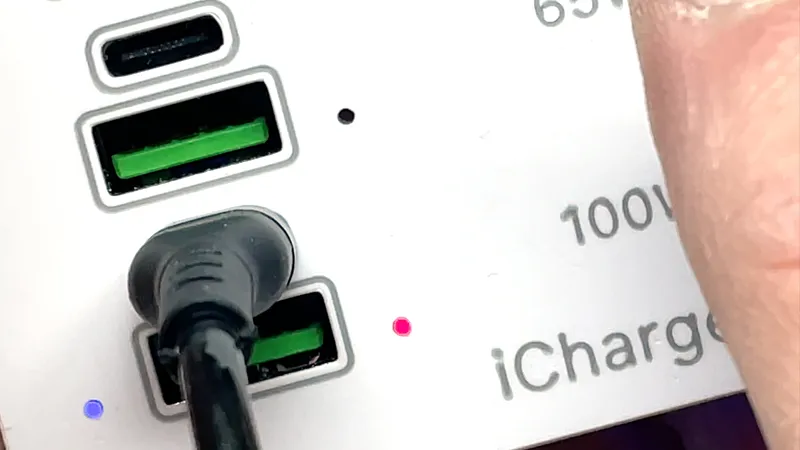
The shape of the shell is like a clip. It is installed on a table or stand, doesn't take up space, and maintains its original shape. For grip, I used 0.5 mm self-adhesive silicone rubber, which has excellent grip and is easy to find.
The shell was printed by eSUN in PLA+, in cool white and silver. The STL file includes an unpainted label on the front panel - the object is manually split in the slicer and assigned colors. The 3MF version is already ready for two-color printing.
You can edit the labels in modern slicers (such as Bambu Studio, OrcaSlicer, or PrusaSlicer). Just don't overwrite mine - put your own ones on top with the values or titles you prefer. This is a manual edit - not automatic. I call my version iCharge. This name is overused, of course, but I like it and it works well.
The entire construction process is shown in the video. Nothing has been cut - the repetitive steps have just been sped up. The key steps are shown in full or at a slower pace. If you've watched my previous videos, you'll recognize many of the steps. This one continues in the same spirit.
iCharge is not just a customized build - it's a practical response to the shortcomings of commercial charging stations: powerful, repairable, and scalable.
For more details, please refer to the video:
If you like this item, let me know by clicking the 'Like' button!
Thank you for every tip or donation you've made.
This means a great deal of recognition to me and will help me move forward!

BTC:bc1qplpzq36ghw84hty4nn2zzu4ps4sdh4th0v93j8
ETH:0xc766ebbeAa76aaf629788c8F99C33A8d80d48977

