
Improved X-ACTO X3311-Compatible Knife Cap
Lena Santos

AIで類似品を検索

印刷プロファイル(0)
モデルファイル(0)
 0
0 0
0 0
0
公開日時:2026-04-12 10:39:04
0
0



 000
000I purchased an X-ACTO X3311 because... well... I needed a knife. When I got it, I was very, very disappointed with the sheath/cover that's provided. It's very thin and very loose. Me being as clumsy as I am, it seems inevitable that I'd end up doing a goof and the cover wouldn't do me any favors, so I decided to make this. An additional small/subtle (but beneficial) feature of this cap is a pair of flat edges that help prevent the knife from rolling off a surface that's not perfectly flat.
This cap may or may not work for other X-ACTO models or similar knives, but it most certainly should work for the X3311.
Knives are sharp. I made this model in the hope that this will help protect people from being hurt by using flimsy sheaths that come with some blades on the market. I'm providing this with the hope that this will help protect you as well. As always, be careful with any kind of sharp object and always be mindful of where it is, its proximity to you, the state of the blade, how you handle the knife and the cap, and how much force you apply when sheathing and unsheathing.
I don't want to hear that someone got hurt as a result of the use of my model. Please be safe!
I printed this at 0.2 mm layer height using Prusament clear PETG and Hatchbox green PETG, but any other firm material should work fine. Print in the orientation provided. No supports should be needed. I recommend the use of clear/transparent filaments as they will allow you to see the blade inside the cap and know its state at all times.
This model has very little infill, so I had no issues with just doing a 5% grid infill.
This prints in about 30 minutes at 0.2 layer height on a Prusa Mini with input shaping.
BE VERY, VERY CAREFUL WHEN FIRST INSTALLING AND REMOVING THE CAP ON YOUR KNIFE.
This model is designed such that the blade "seats" itself into the slots, which means it'll lightly cut away some of the slots in order to get a snug fit. The amount of material removed in this process is minimal and shouldn't be a cause for concern.
To prepare the cap for "permanent" use, using both hands, align the blade with the slots inside the cap. Use one hand on the upper filleted ledges of the cap to gently press the cap down onto the blade and use your other hand to control the force using the ridge at the opening of the cap. Press the cap down until it stops.
After that, use your thumb to gently push the cap away from the knife body and repeat this a couple of times until the cover feels "just right" with its grip on the knife. Once that feels right, flip the cap over and repeat the process for the slot on the other side of the cap.

I use my fingers on one hand to hold the cap near the top where the fillets are and use my other hand to carefully insert the knife into the cap. When I remove the cap, I use one hand on the fillets at the top to control the force of the cap being removed and gently apply force on the ridge at the opening of the cap until it freely slides off the knife body/blade.
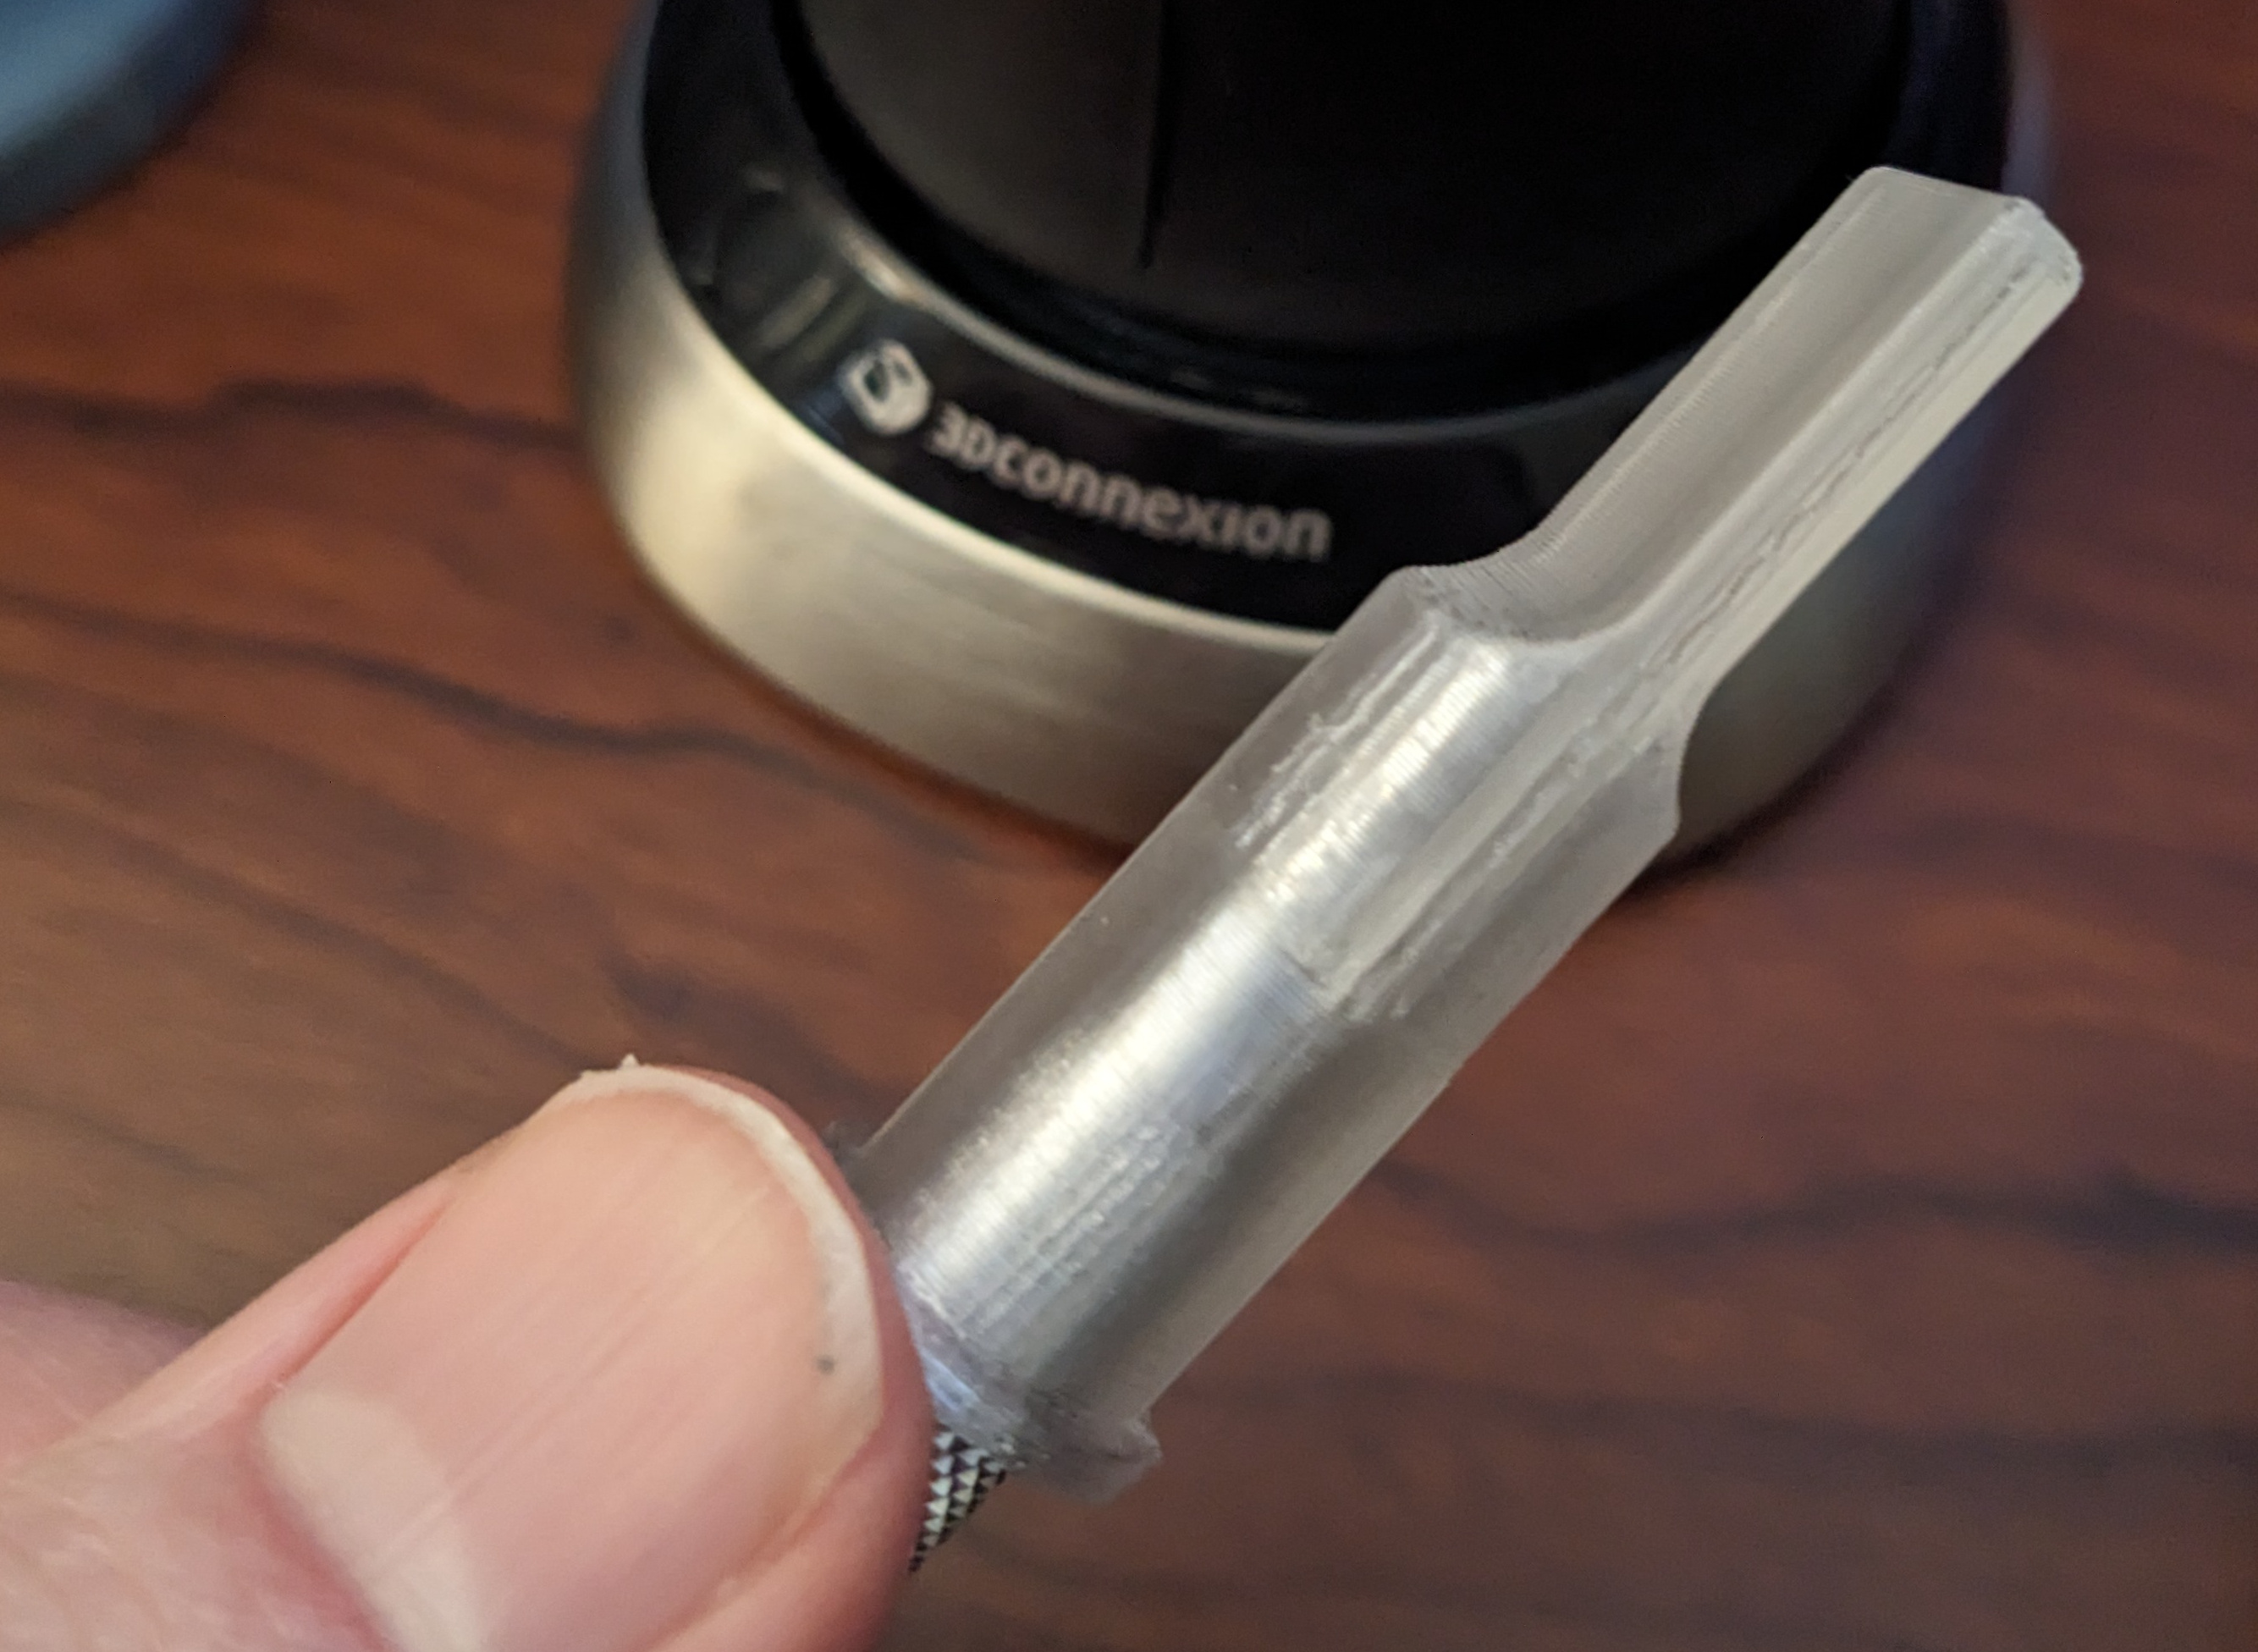
When applying or removing the cap, take care not to twist the body of the knife or the cap too much. Doing so will loosen the blade and cause it to "stick" in the cap. If this happens, reattaching the blade is easy thanks to the length of the cap itself being short enough to allow you to loosen and tighten the blade-holding mechanism. Simply loosen the blade-holding mechanism and orient it so that the blade slides into the handle, then tighten the mechanism and very carefully apply force to pull the blade out of the cap along with the rest of the handle.
This was designed entirely in FreeCAD 1.1.0. A STEP file is made available for modifications/remixes.
