Wall-mounted screwdriver holder
RapidSl3d

AIで類似品を検索


印刷プロファイル(0)
モデルファイル(0)
 1
1 1
1 0
0
公開日時:2025-07-02 07:29:39
0
0
 110
110For me, it's essential to organize my workspace and tools so I don't have to search for anything. Not in drawers, not in small boxes, not in another box. If a tool needs to be pulled out, unboxed, and searched for - it might not get used. In creative work, you need to be in the flow. That moment. If you get distracted looking for tools - that moment disappears. Everything should be within reach. Always.
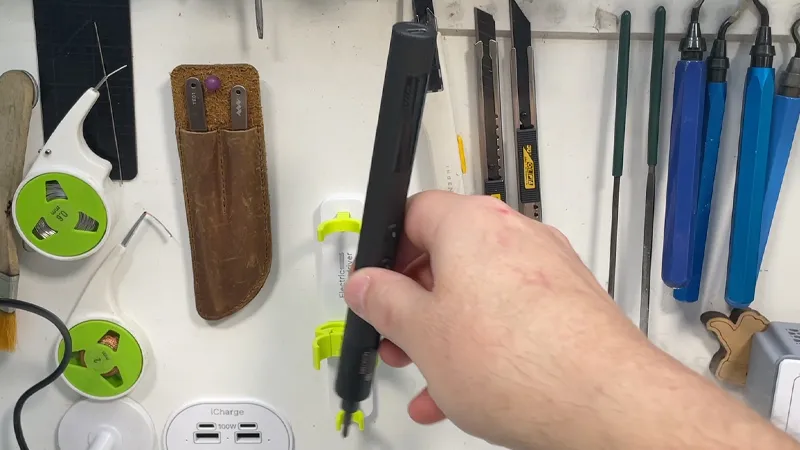
This is what happened with my electric screwdriver. It's a great, convenient tool, but it never found its place on the desk. Sometimes it was in a box, sometimes on a shelf, and sometimes just lying around - every time I had to stop to look for it. In the end, it sat idle for months. This is a really useful tool. This isn't the first time I've done this, but no one before really suited my workspace. Now, I've finally solved this problem.
My work is made of metal, and most of my mounts are magnetic. Therefore, it makes a lot of sense to use magnets for this stand. Of course, if you prefer, you can screw it in - the base can easily accommodate this. It perfectly suits your setup and creativity.
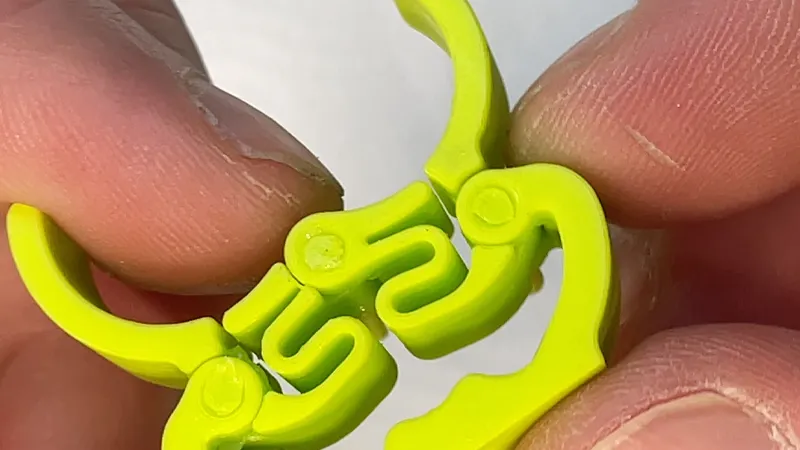
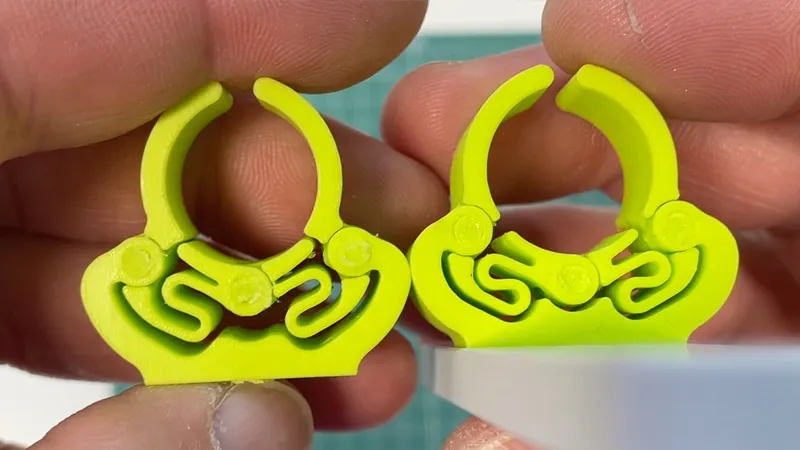
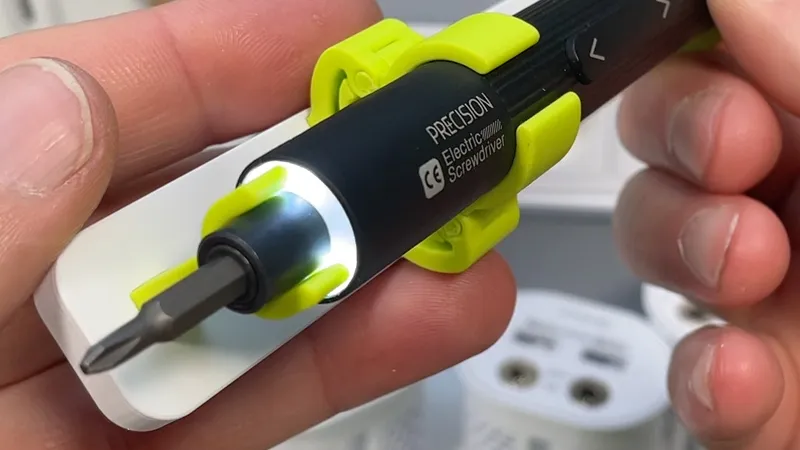
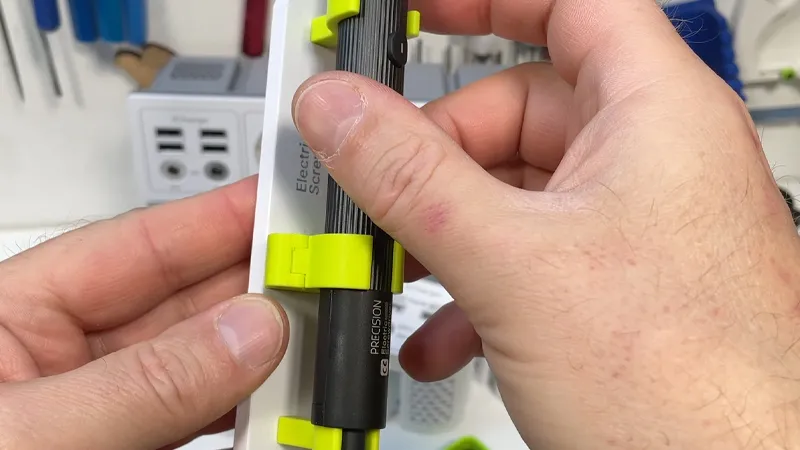
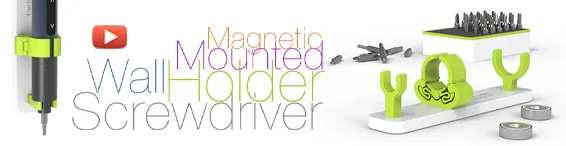
The bracket is built on a basic white base with magnets. Two Y-shaped positioning brackets fix the screwdriver at the top, ensuring it stays aligned. The actual locking mechanism is located at the bottom, where there is an automatic clip. It works in a trigger-style manner: pull to open, push to close. All of this can be done with one hand, effortlessly.
The editing wasn't perfect. The first version worked, but I wasn't satisfied with it. Visually, it looked almost the same as the last one, but the differences were real. The final version sits lower, grips tighter, and is more stable overall. I did some work on it, but I'm very happy with the result.
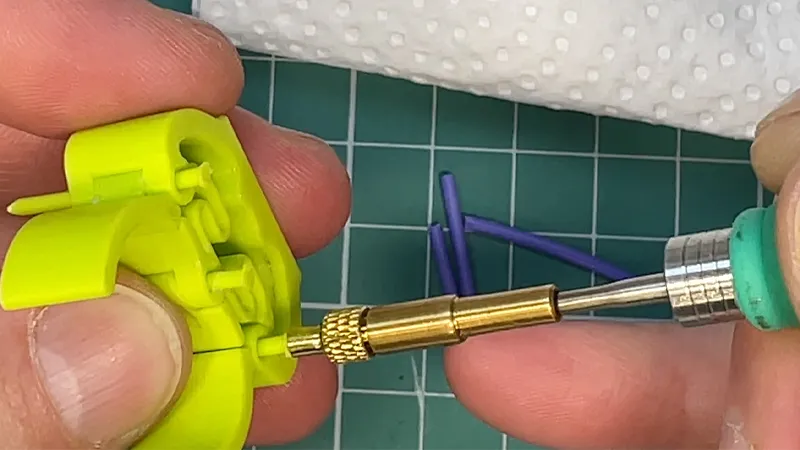
You might ask: Why not print all three parts as a single unit? The answer is simple - accuracy. Even with a good printer and a 0.2mm nozzle, PLA tends to melt into tight gaps, especially with small parts. The fragments merge together. So I use separate prints, use a support structure, and then clean everything before assembly. This is the only correct method for me.
The pins are made from the same filament and are hot-pressed like rivets. I've used this technique before - it's reliable and proven. Just don't forget to lubricate the trigger mechanism. Use plastic safety grease; I'll include a link.
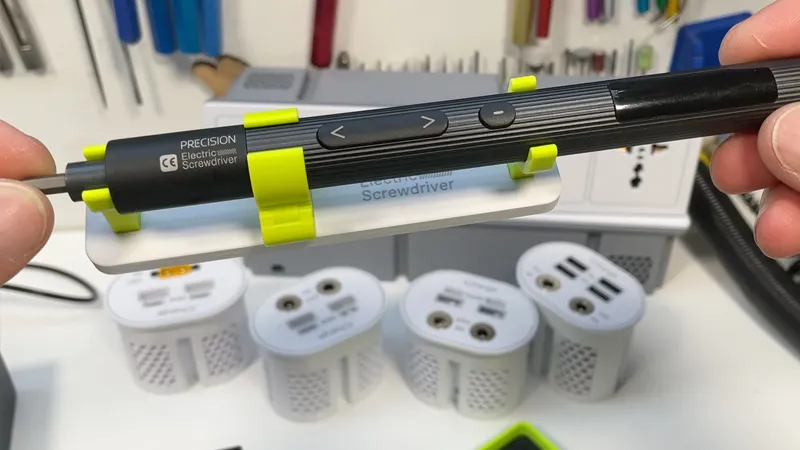
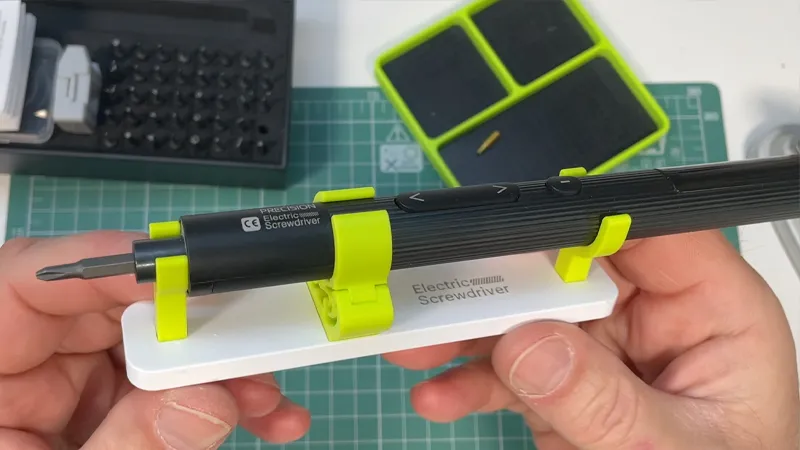
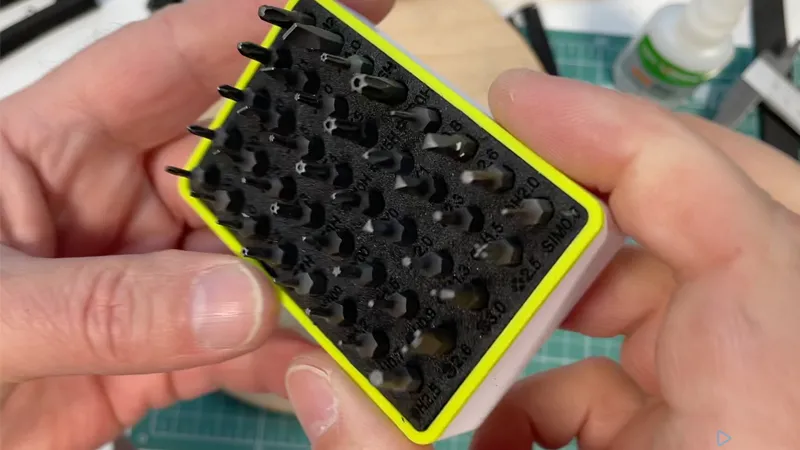
Individual storage for themes. I have about 150 themes, and this small set is particularly good. So I also made a dedicated holder for it. Magnetic, simple, and compact. It's also included in the package.
To be honest, I originally bought this screwdriver not for myself, but for my cat Felix. He brings ticks almost every day. The built-in light turned out to be perfect - for illuminating, locating, and removing them. I even adapted a custom tick removal attachment. Press the button - buzz - and it's done. Quick and easy.
But in the end, this tool turned out to be surprisingly good. It has three power modes, built-in lighting, USB-C charging, and a solid build quality. It's not some high-end, premium equipment, but it's sturdy, budget-friendly, and well-made. Now it's on the wall, and I use it often. This is a real deal.
Take a look at the video - you'll see how it works. I'm really happy that I've finally found a permanent home for this screwdriver. Now, I'm even considering making similar holders for other tools - maybe rotary tools or something else.
Now, these are the holders. Simple, practical, and reliable. What about the clips? They're also suitable for regular screwdrivers. They provide a firm grip and can be easily released.
Give it a try -- maybe it will also become part of your setup.
I also suggest thatThe file is in 3MF format.Download it. Everything is ready for printing. If you want to print it with the tags I've added, for example - it's all set up. Designed for two-color printing and more. Just a reminder: I recommend using a 0.2 mm nozzle for the best quality. In this case, it's better to wait a little longer and get a clean result than to rush. But if you don't mind faster printing - I won't argue. Print it however you like.
If you like this item, let me know by clicking the 'Like' button!

Thank you for every tip or donation you've made.
This means a great deal of recognition to me and will help me move forward!

BTC:bc1qplpzq36ghw84hty4nn2zzu4ps4sdh4th0v93j8
ETH:0xc766ebbeAa76aaf629788c8F99C33A8d80d48977