
Time Lapse Camera
cozy_shop

AIで類似品を検索

印刷プロファイル(0)
モデルファイル(0)
 0
0 0
0 0
0
公開日時:2026-03-02 05:54:09
0
0
 000
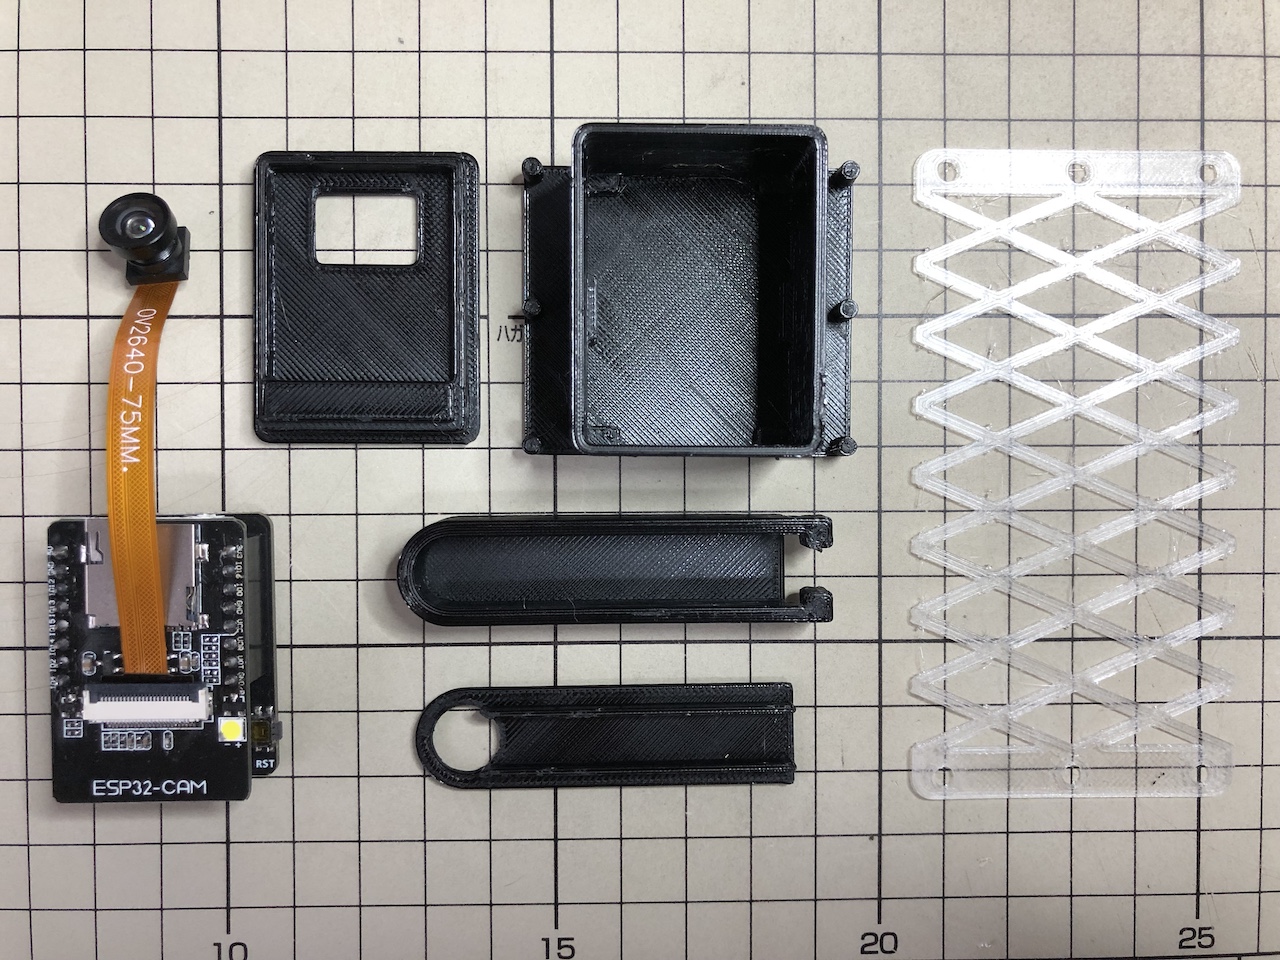
000This time-lapse camera was built using the ESP32-CAM. The following components are required.
ESP32-CAMを使って作ったタイムラプスカメラです。以下の部品が必要です。
To assemble the time-lapse camera, use the components pictured below and a mobile battery.
タイムラプスカメラの組み立てには以下の写真の部品とモバイルバッテリーを使います。
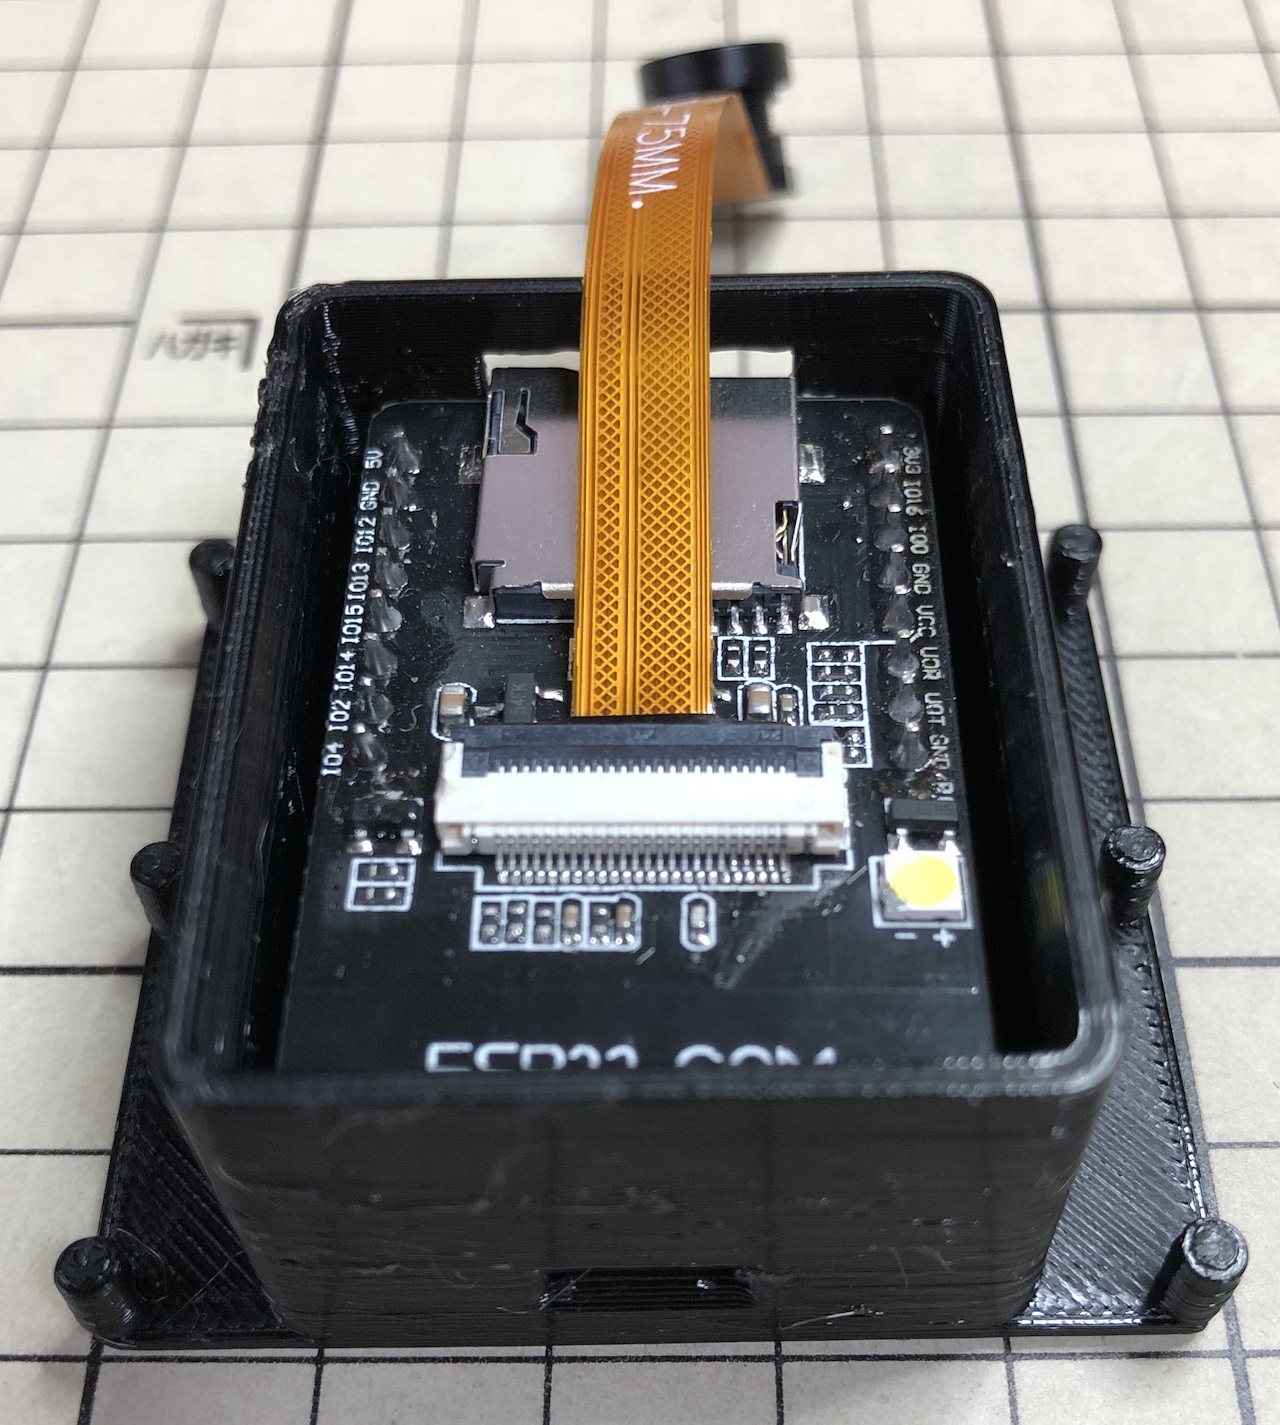
Place the ESP32-CAM with motherboard in the case - note the orientation of the USB connector and the micro SD card hole.
ケースにマザーボード付きのESP32-CAMを入れてください。USBコネクタとマイクロSDカードの穴があるので向きに注意してください。
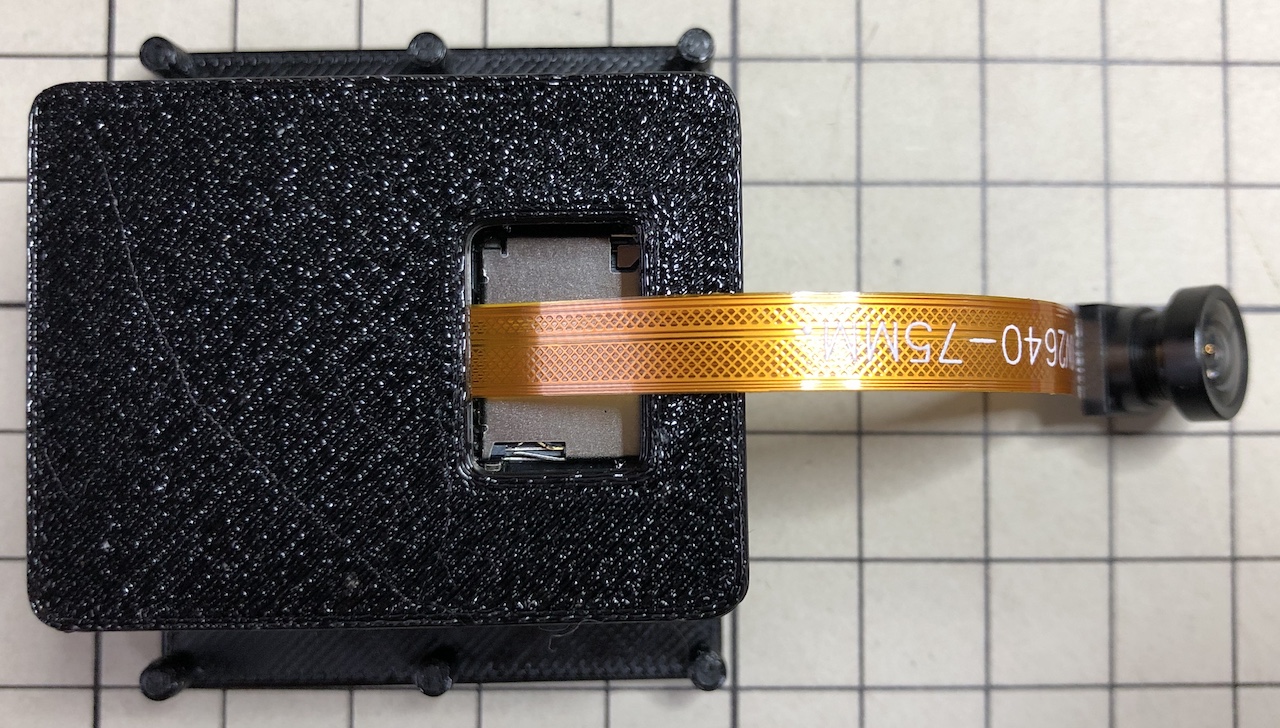
Fit the lid into the case while pulling the camera out through the hole.
穴からカメラを外に出しながら蓋をケースに嵌め込みます。
Hook the camera_holder onto the lid and secure it.
camera_holderを蓋に引っ掛けて固定します。
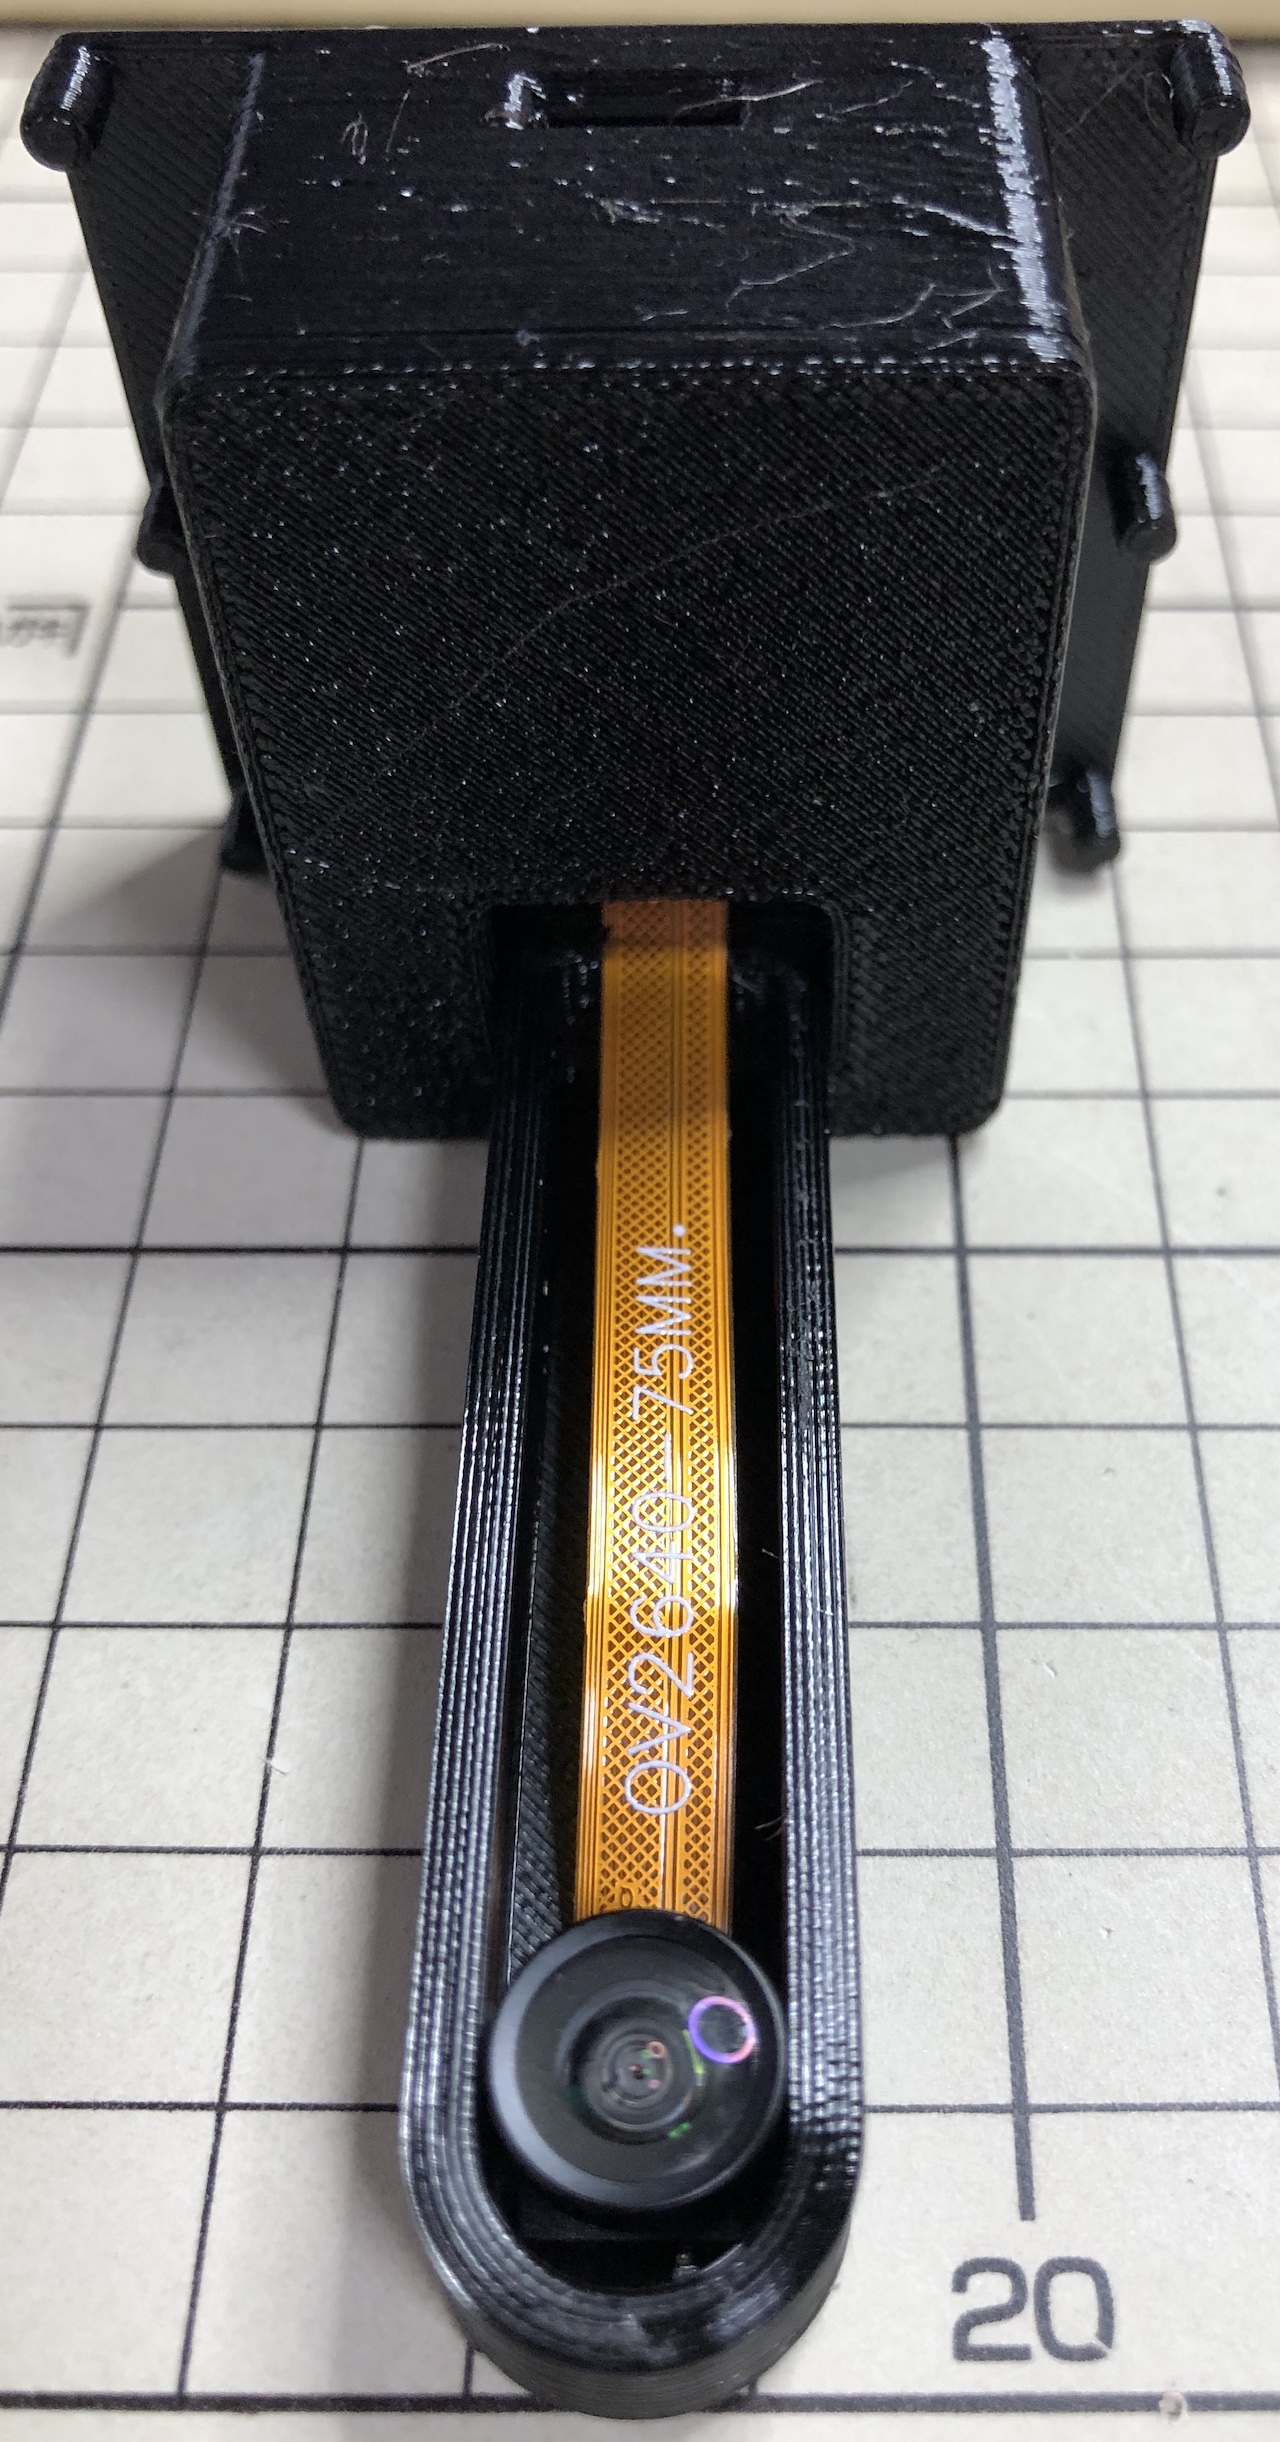
Put the camera module in the hole in the holder_lid and fit it into the camera_holder.
holder_lidの穴にカメラモジュールを入れてcamera_holderに嵌め込みます。

Fit the TPU_band into the case.
ケースにTPU_bandを嵌め込みます。

Secure the TPU_band to the case by pulling it slightly and turning it the other way. The TPU_band now serves both as a case fixation and as a non-slip device.
TPU_bandを少し引っ張りながら反対側に回してケースに固定します。これでケースがモバイルバッテリーに固定されます。TPU_bandはケース固定の役割と滑り止めの役割を兼ねています。

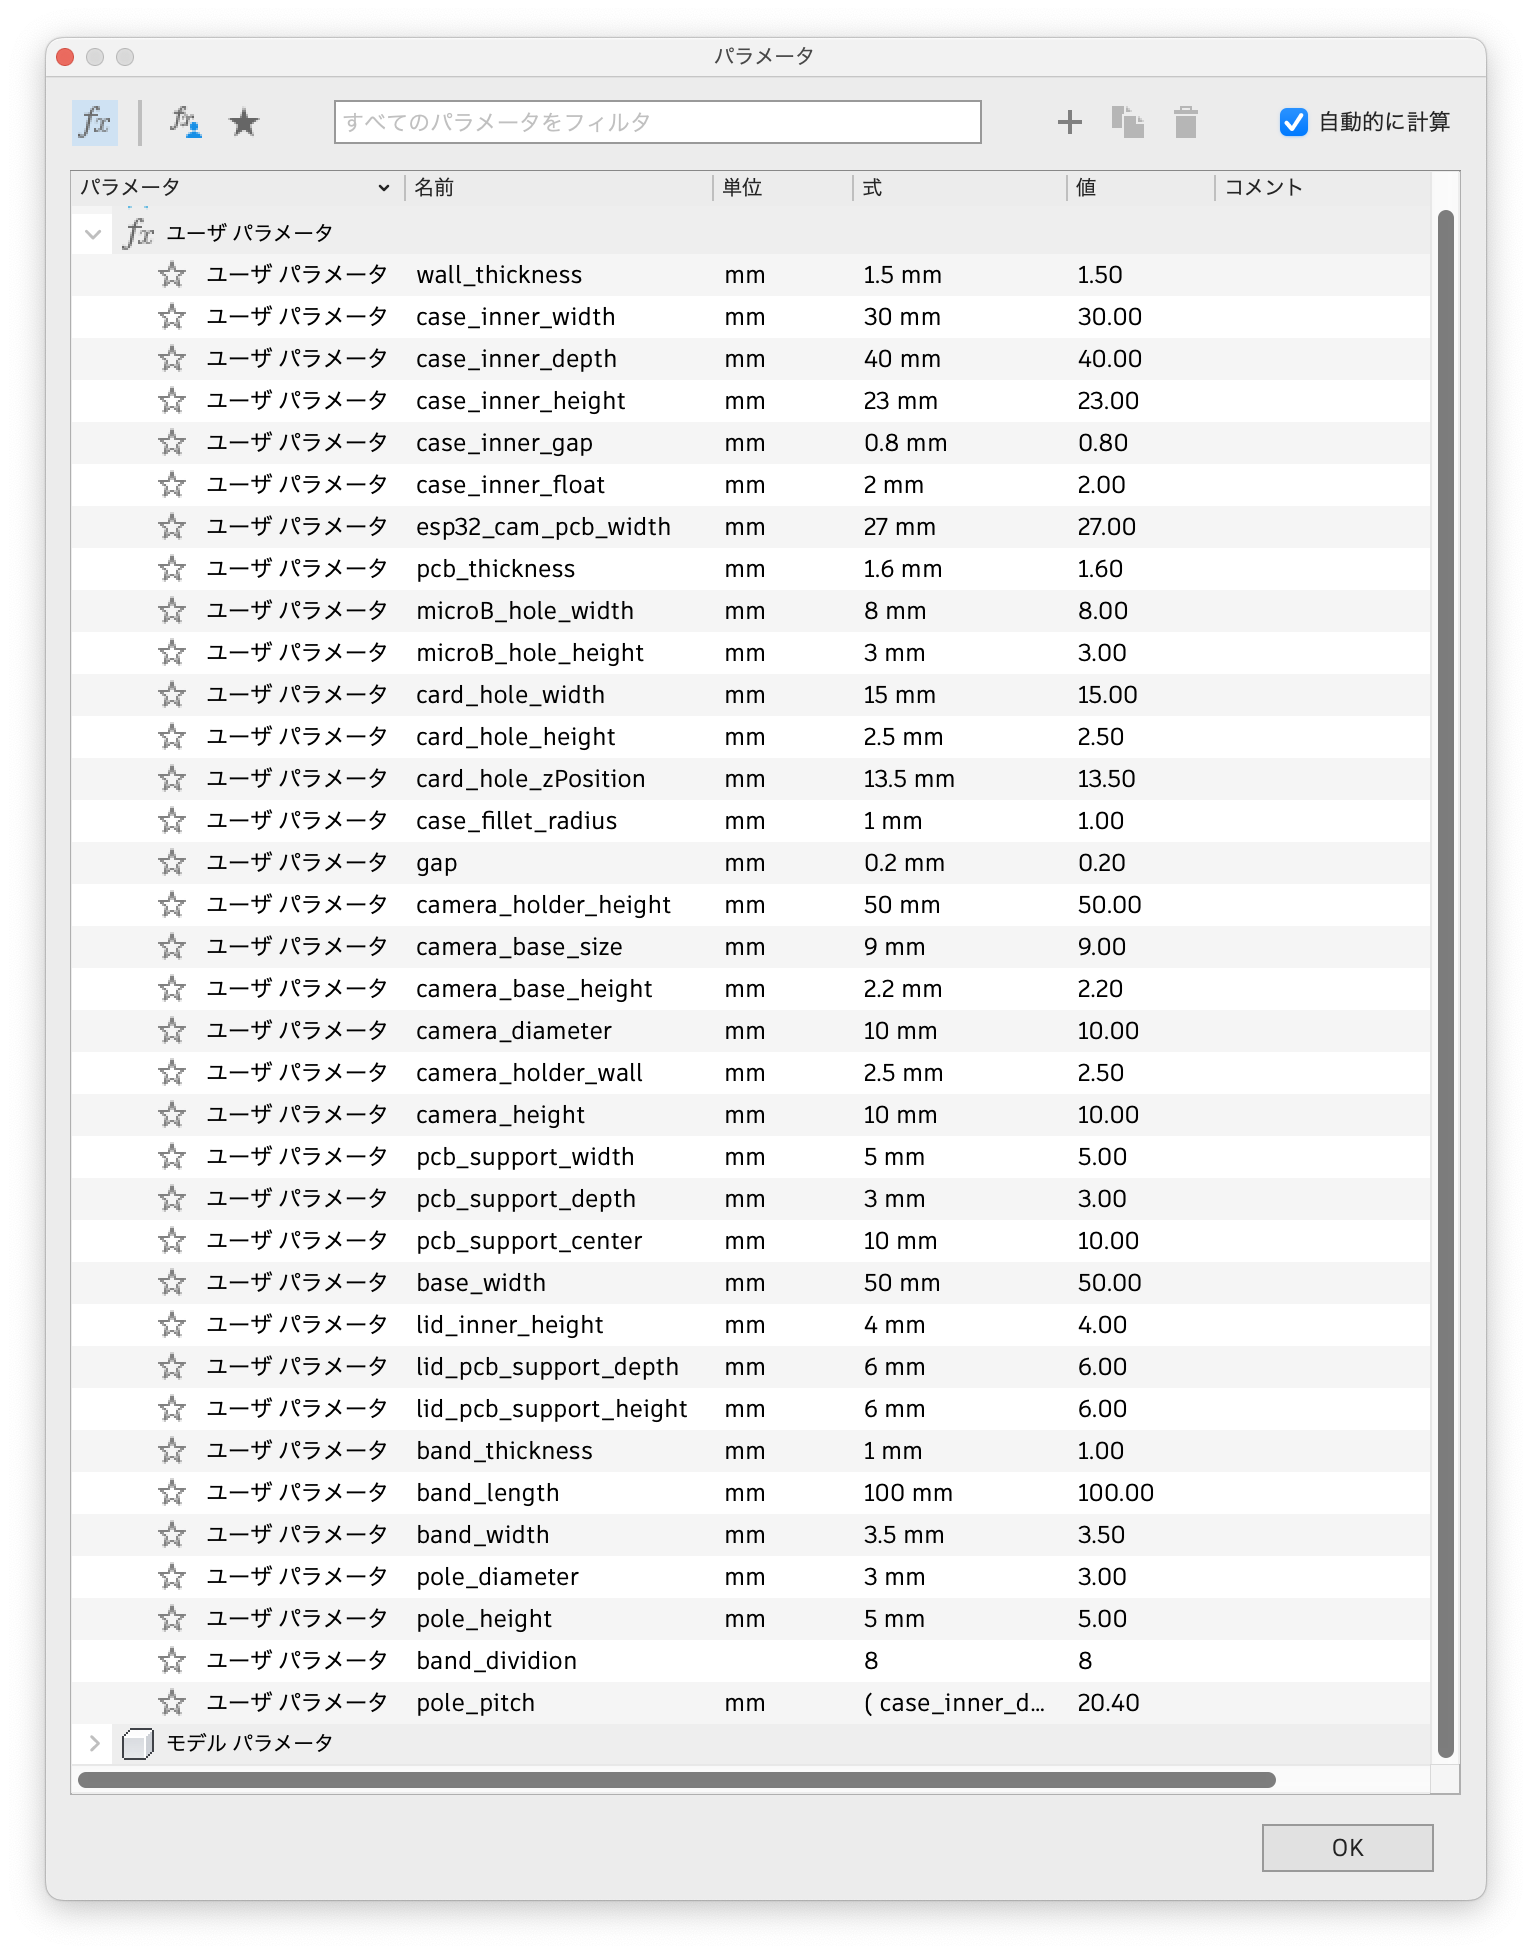
An archive file created in Autodesk Fusion is attached. On my 3D printer, the lid fits perfectly when the gap is set to 0.2 mm, but if this does not work, try changing the gap value in Fusion.
Autodesk Fusionで作成したアーカイブファイルを添付します。私の3Dプリンタではgapを0.2mmにすると蓋がピッタリとはまったのですが、うまくいかない場合はFusionでgapの値を変えてみてください。
The software was created on an Arduino. It uses EloquentEsp32cam as a library, which can be installed using the library manager.
Arduinoでソフトウェアを作成しました。ライブラリとしてEloquentEsp32camを使っているので、ライブラリマネージャーでインストールしてください。

Select “AI Thinker ESP32-CAM” as board
ボードはAI Thinker ESP32-CAMを選択してください

The time interval between shots is set to 60 seconds. If you want to change this, change the value of CAPTURE_INTERVAL_SEC.
撮影間隔は60秒になっています。変更したい場合はCAPTURE_INTERVAL_SECの値を変更してください。

