
Handheld electric grinder
Anastasia Richter

Trouver des similitudes avec l'IA


Profil d’impression(0)
Fichier modèle(0)
 0
0 0
0 0
0
Publié:2026-05-23 12:23:12
0
0
 000
000Hello everyone, I am a 3D printing enthusiast. I'm usually busy with work and don't have much continuous time for creation. But whenever I come across some practical small tools or interesting gadgets, I use my spare time to teach myself drafting and design them.
Now, I'm sharing these 3D models I've designed with the community, hoping to communicate and improve together with everyone. These models are all designed by me, and while not perfect, each one has undergone actual print testing to ensure print success rate and practicality.
If you encounter any problems during use or have better suggestions for improvement, please leave a comment, and we can discuss them together. I also look forward to seeing derivative works based on these models, so that more interesting designs can be created in the community!
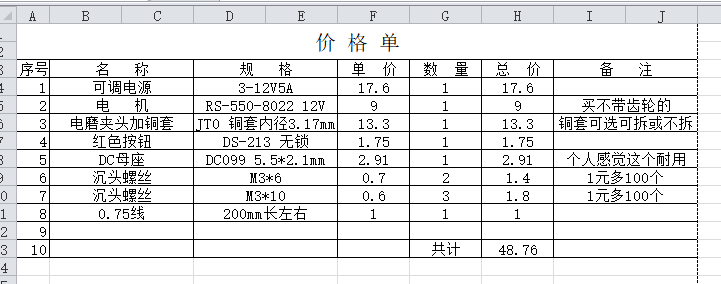
This price is what I casually searched for on Taobao. Many people have this type of motor at home; children's electric ride-on cars that are no longer used usually have this motor. You don't need to buy other parts if you can find unused ones to disassemble at home.
Assembly instructions:
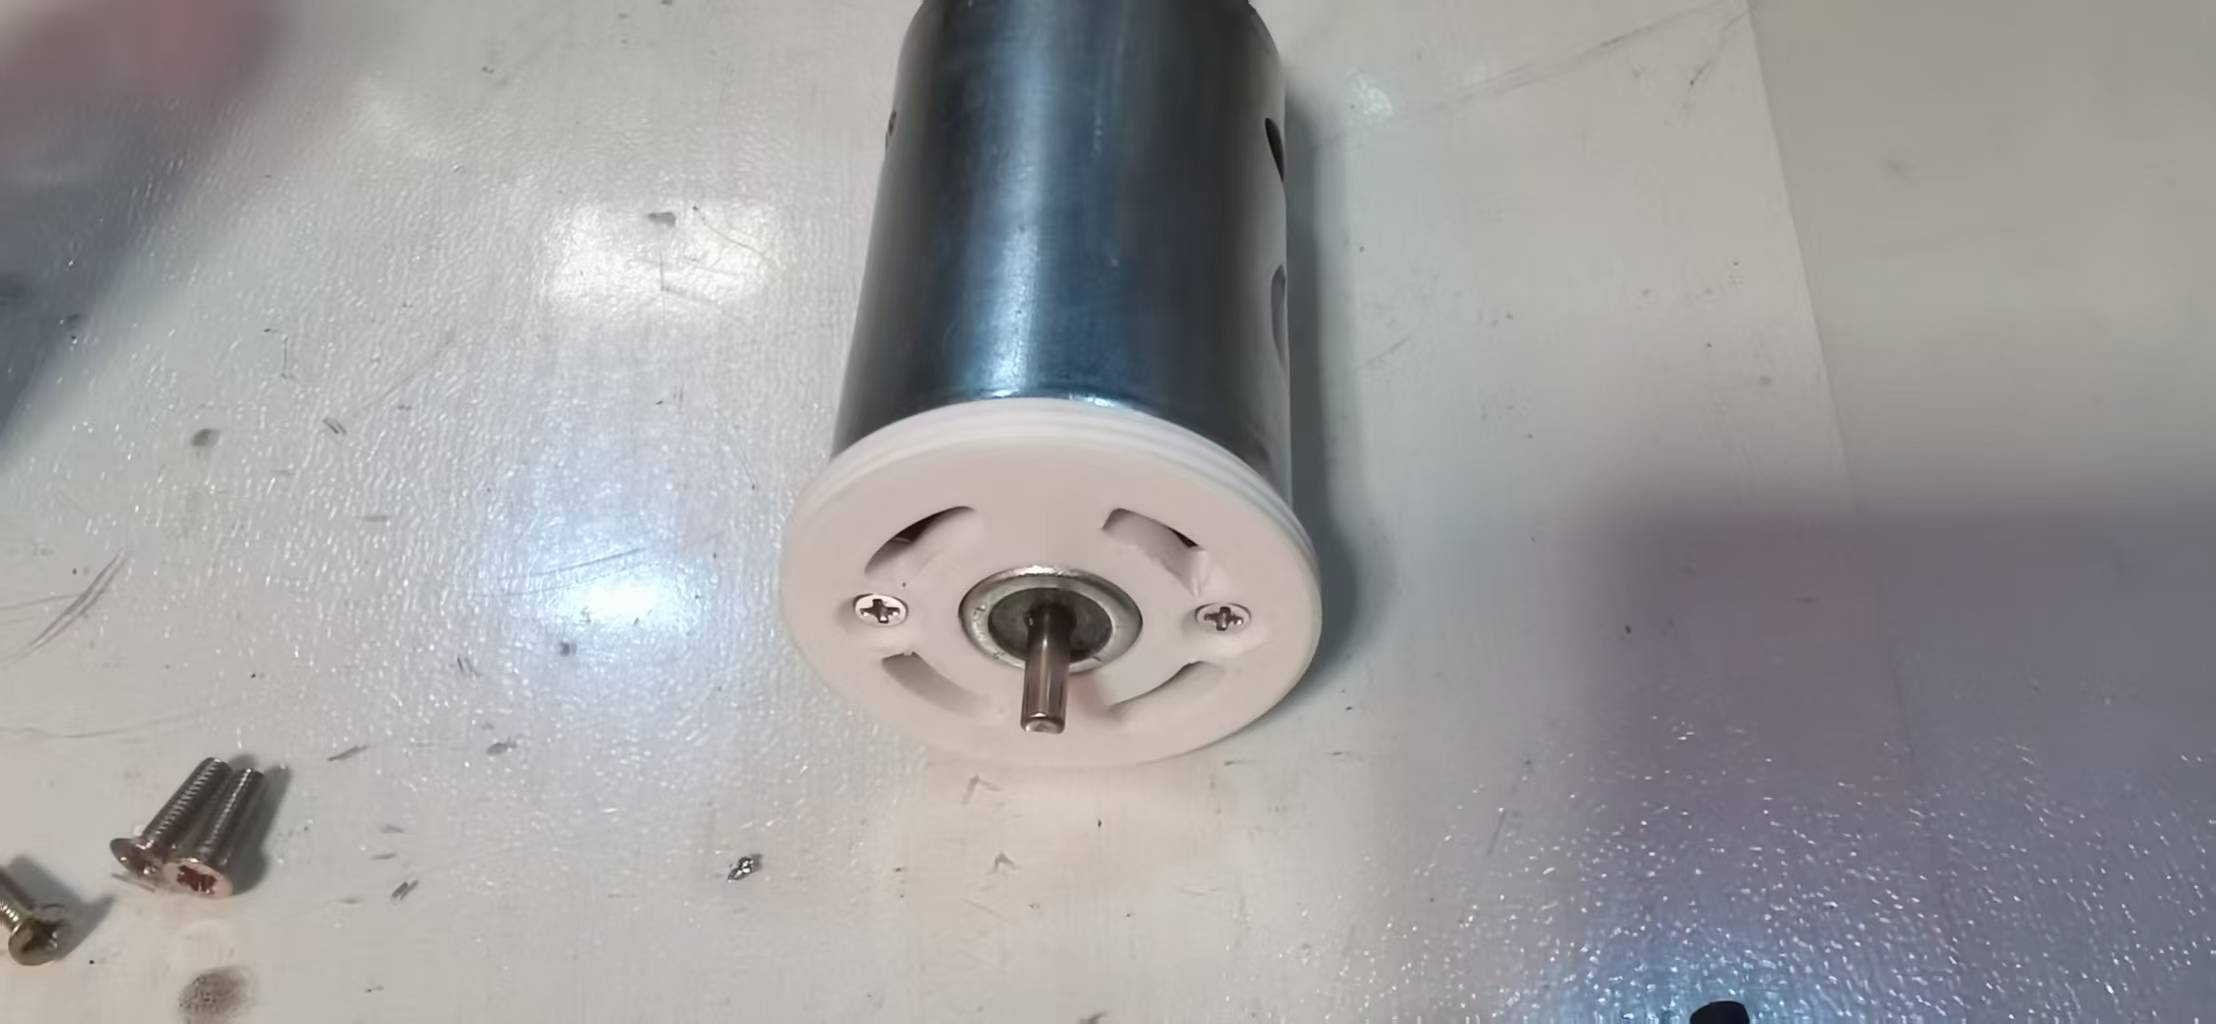
Some motors come with an iron cover that can be removed. Connect the wires to the rear of the motor.
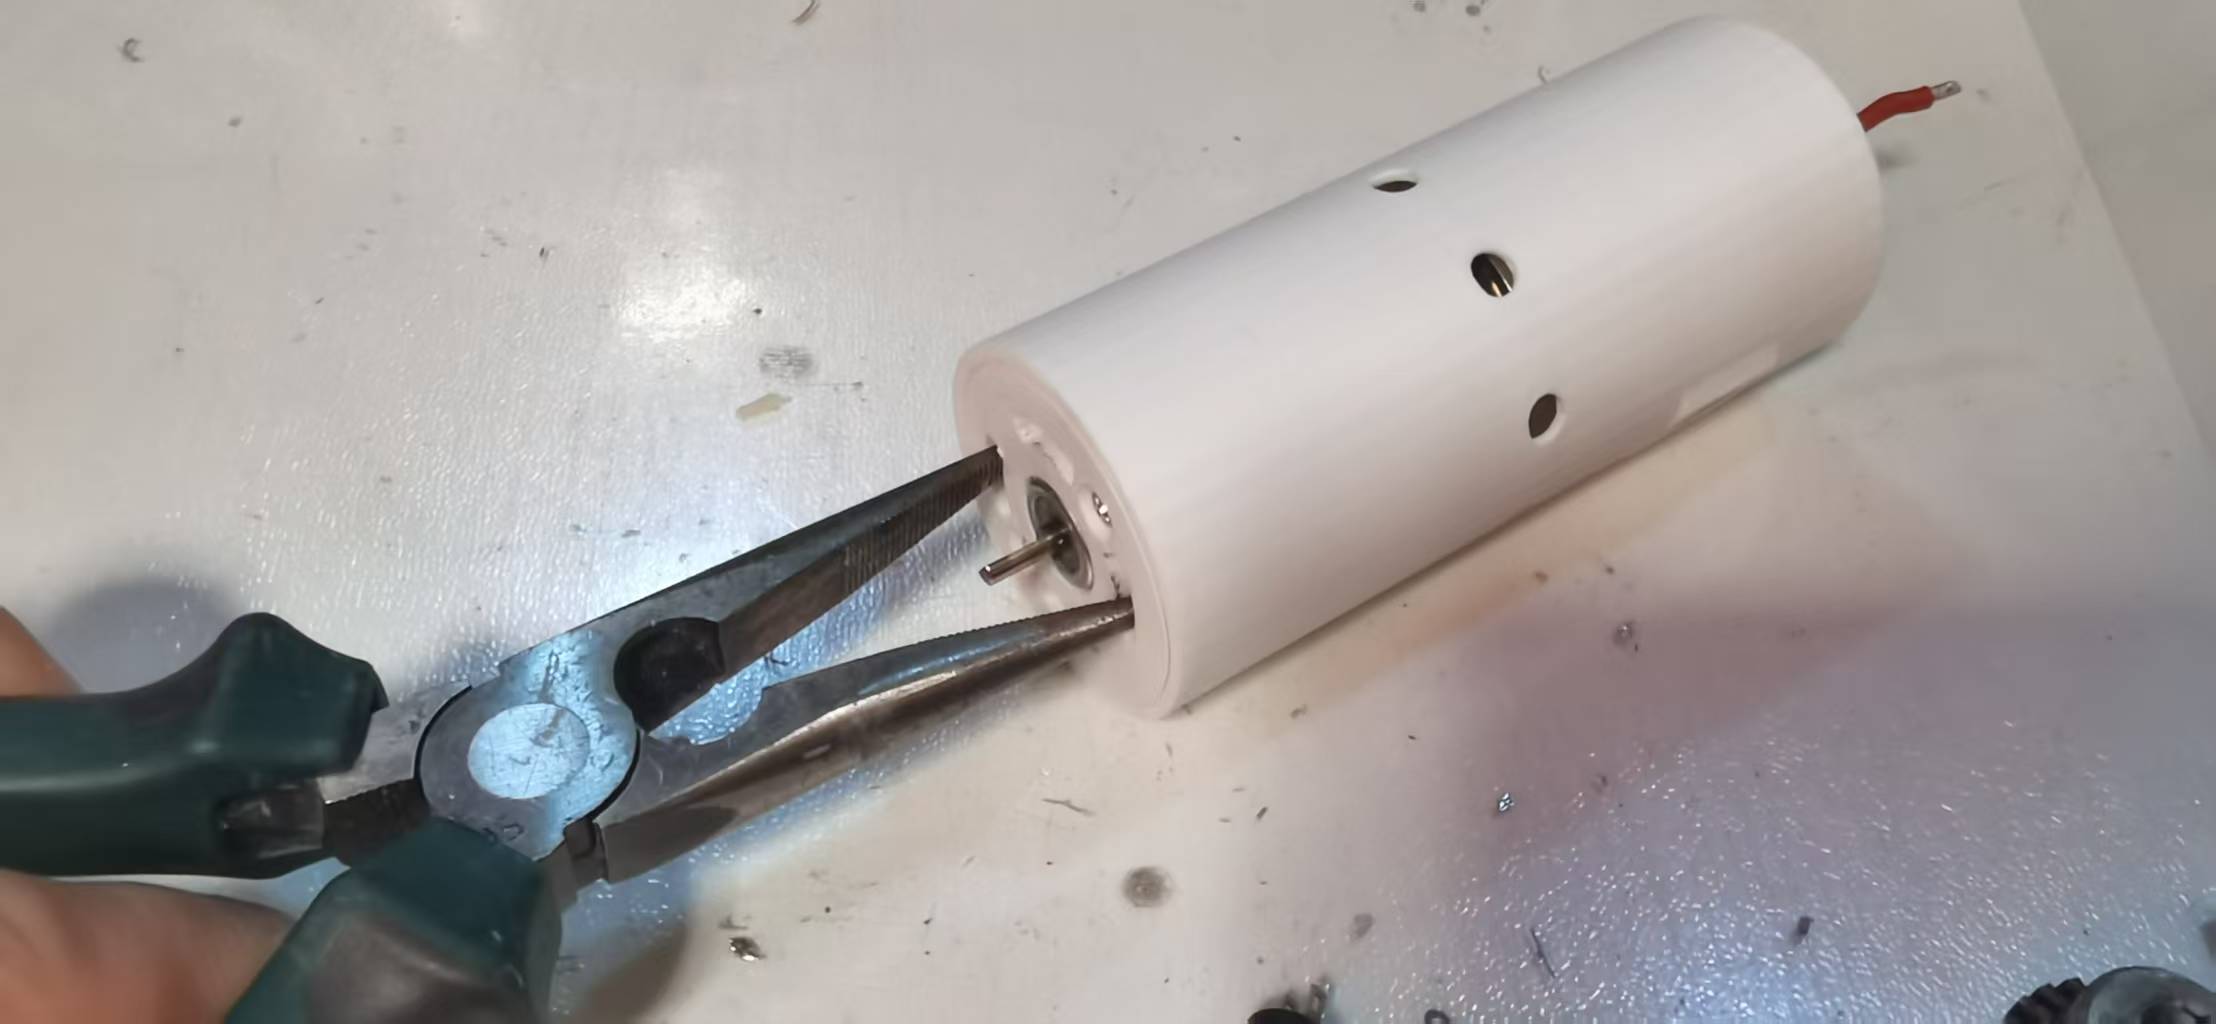
Tighten with needle-nose pliers
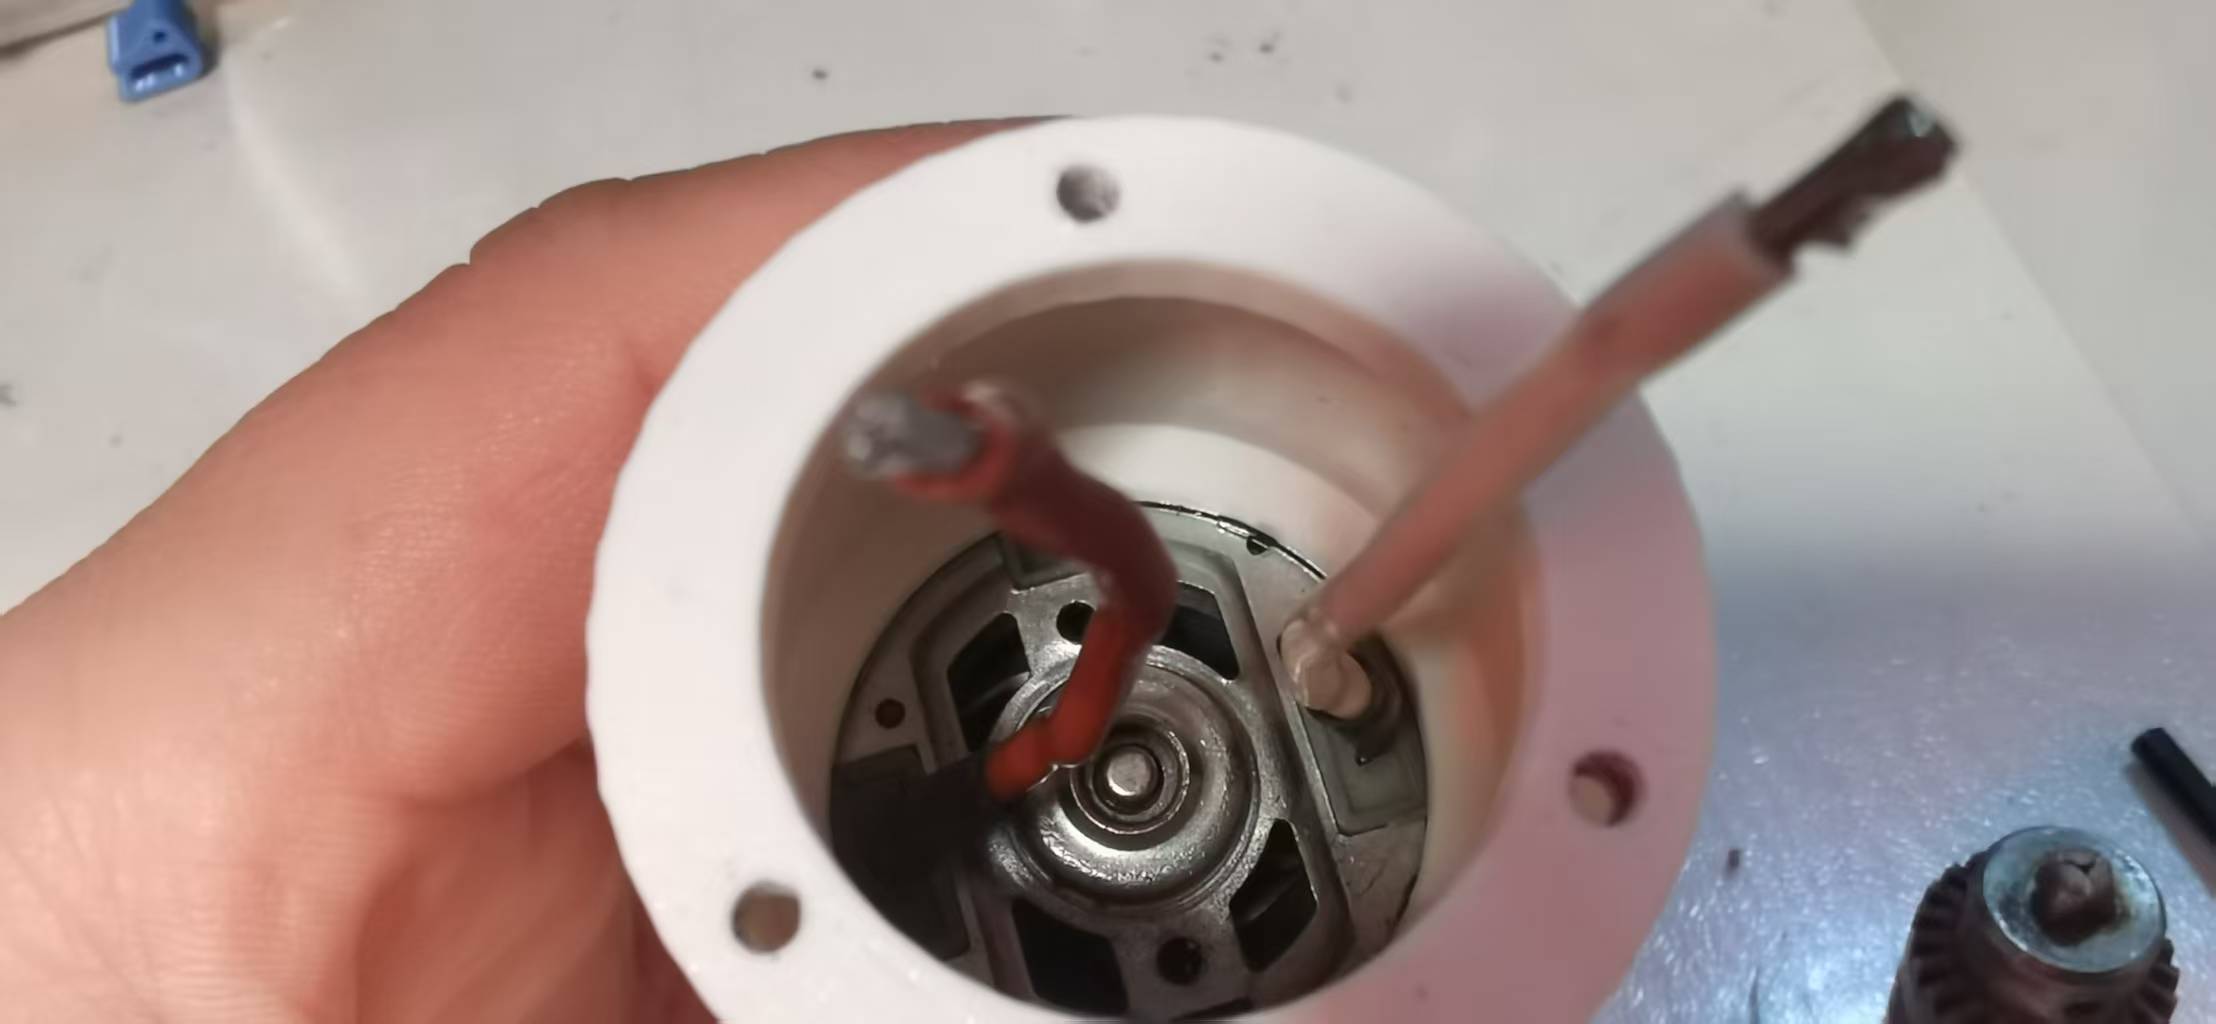
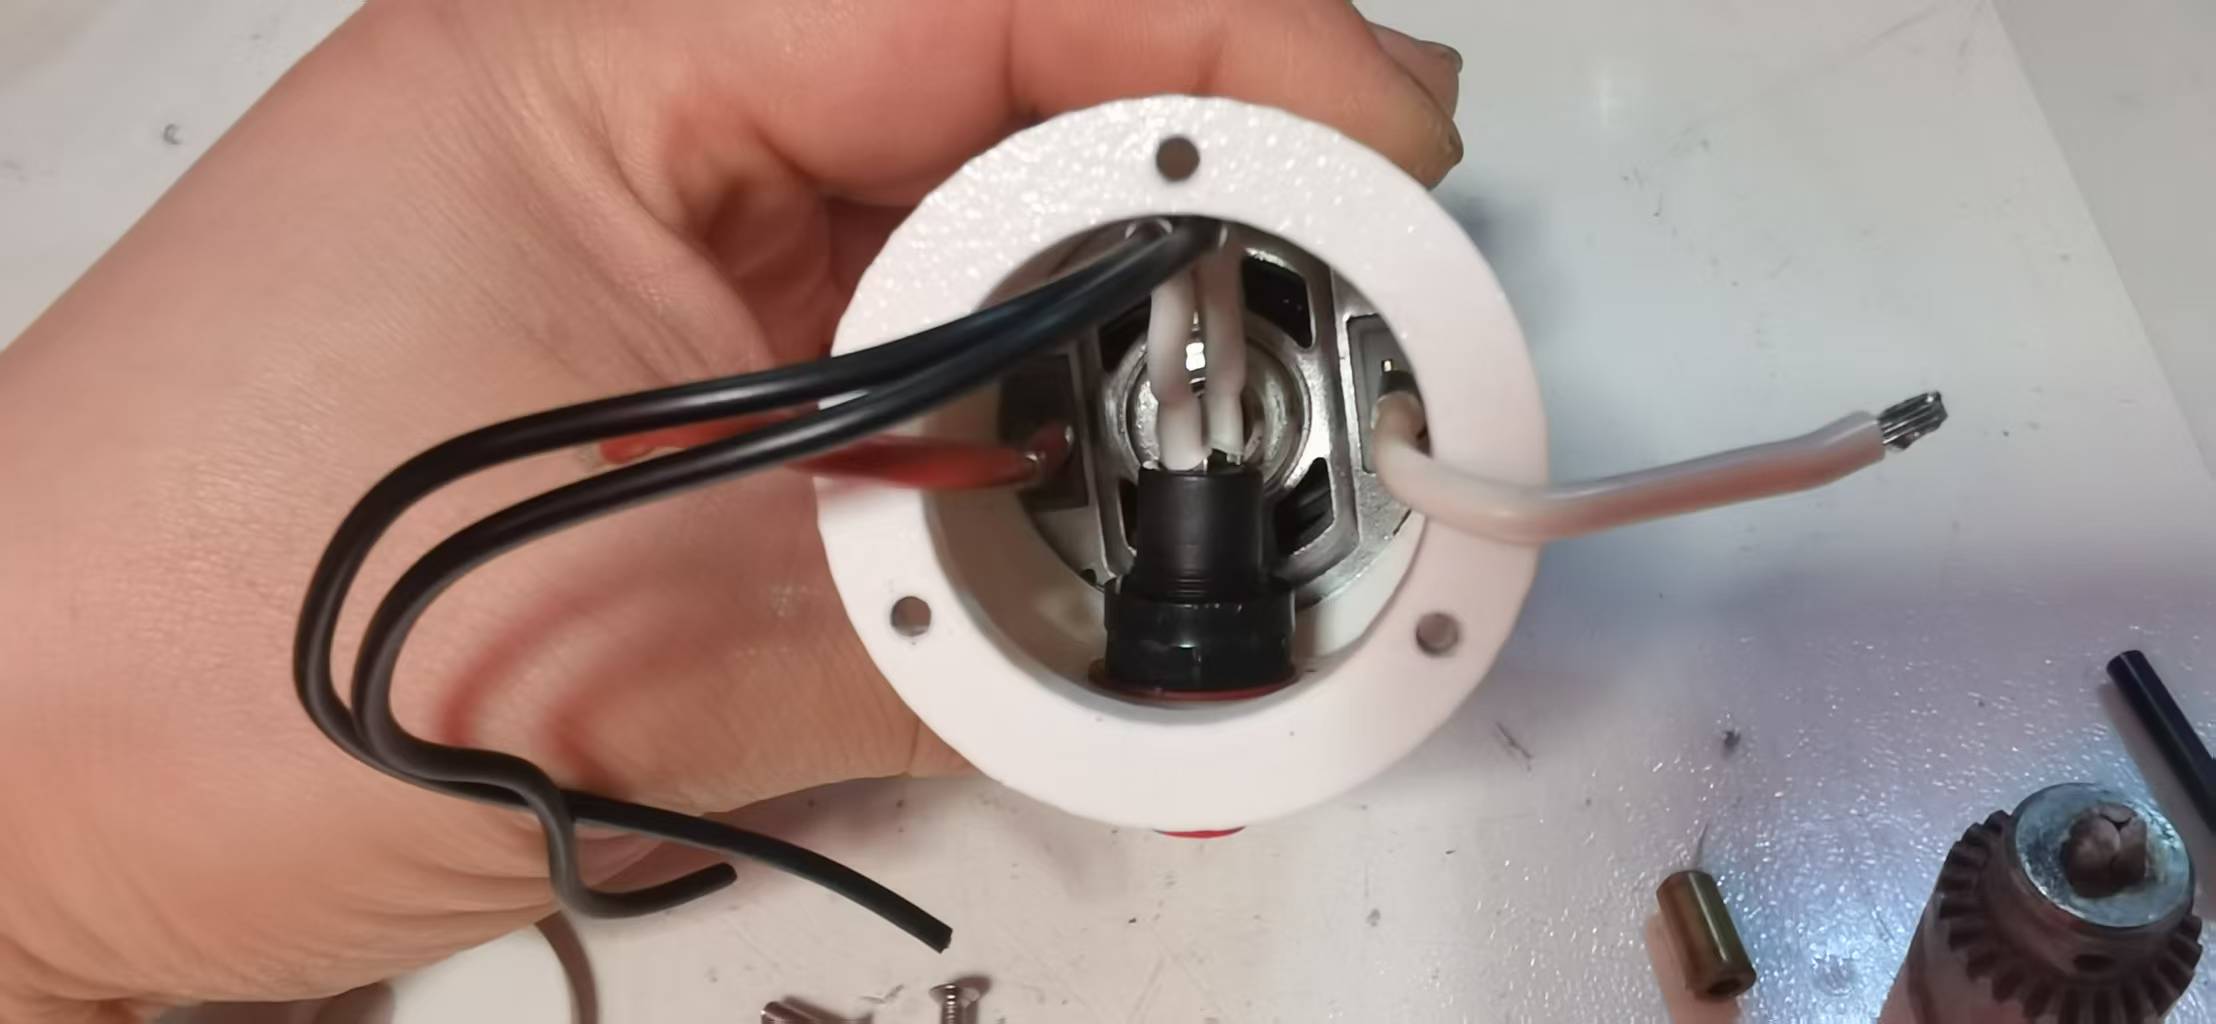
Connect the wires to the button before installation
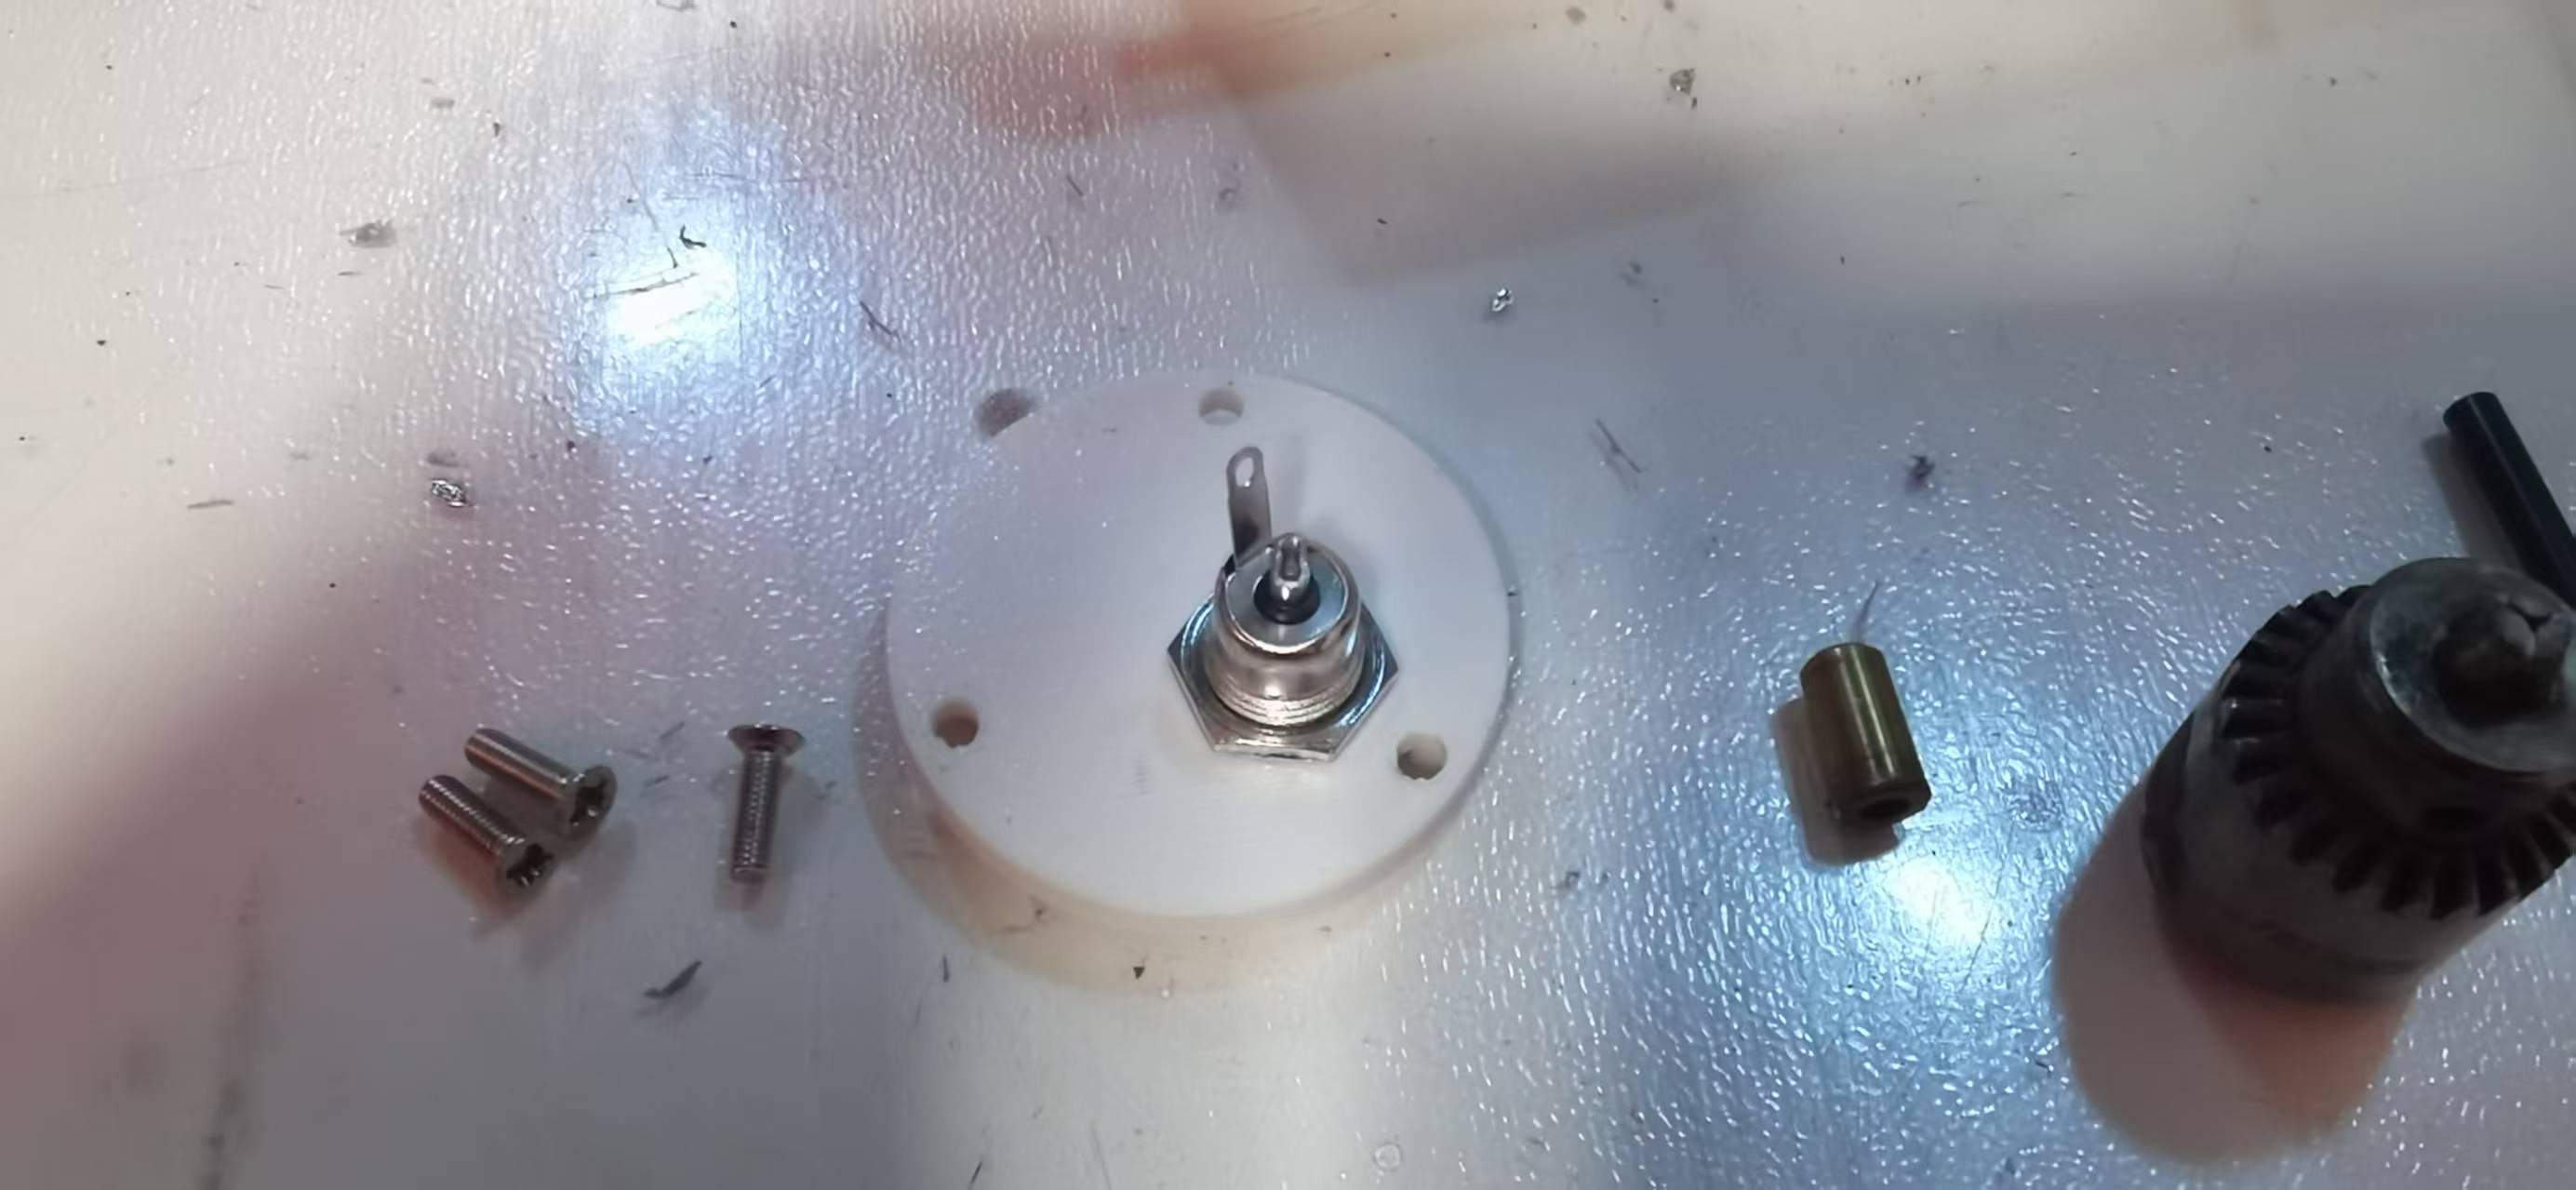
Bend the long pin for easier installation
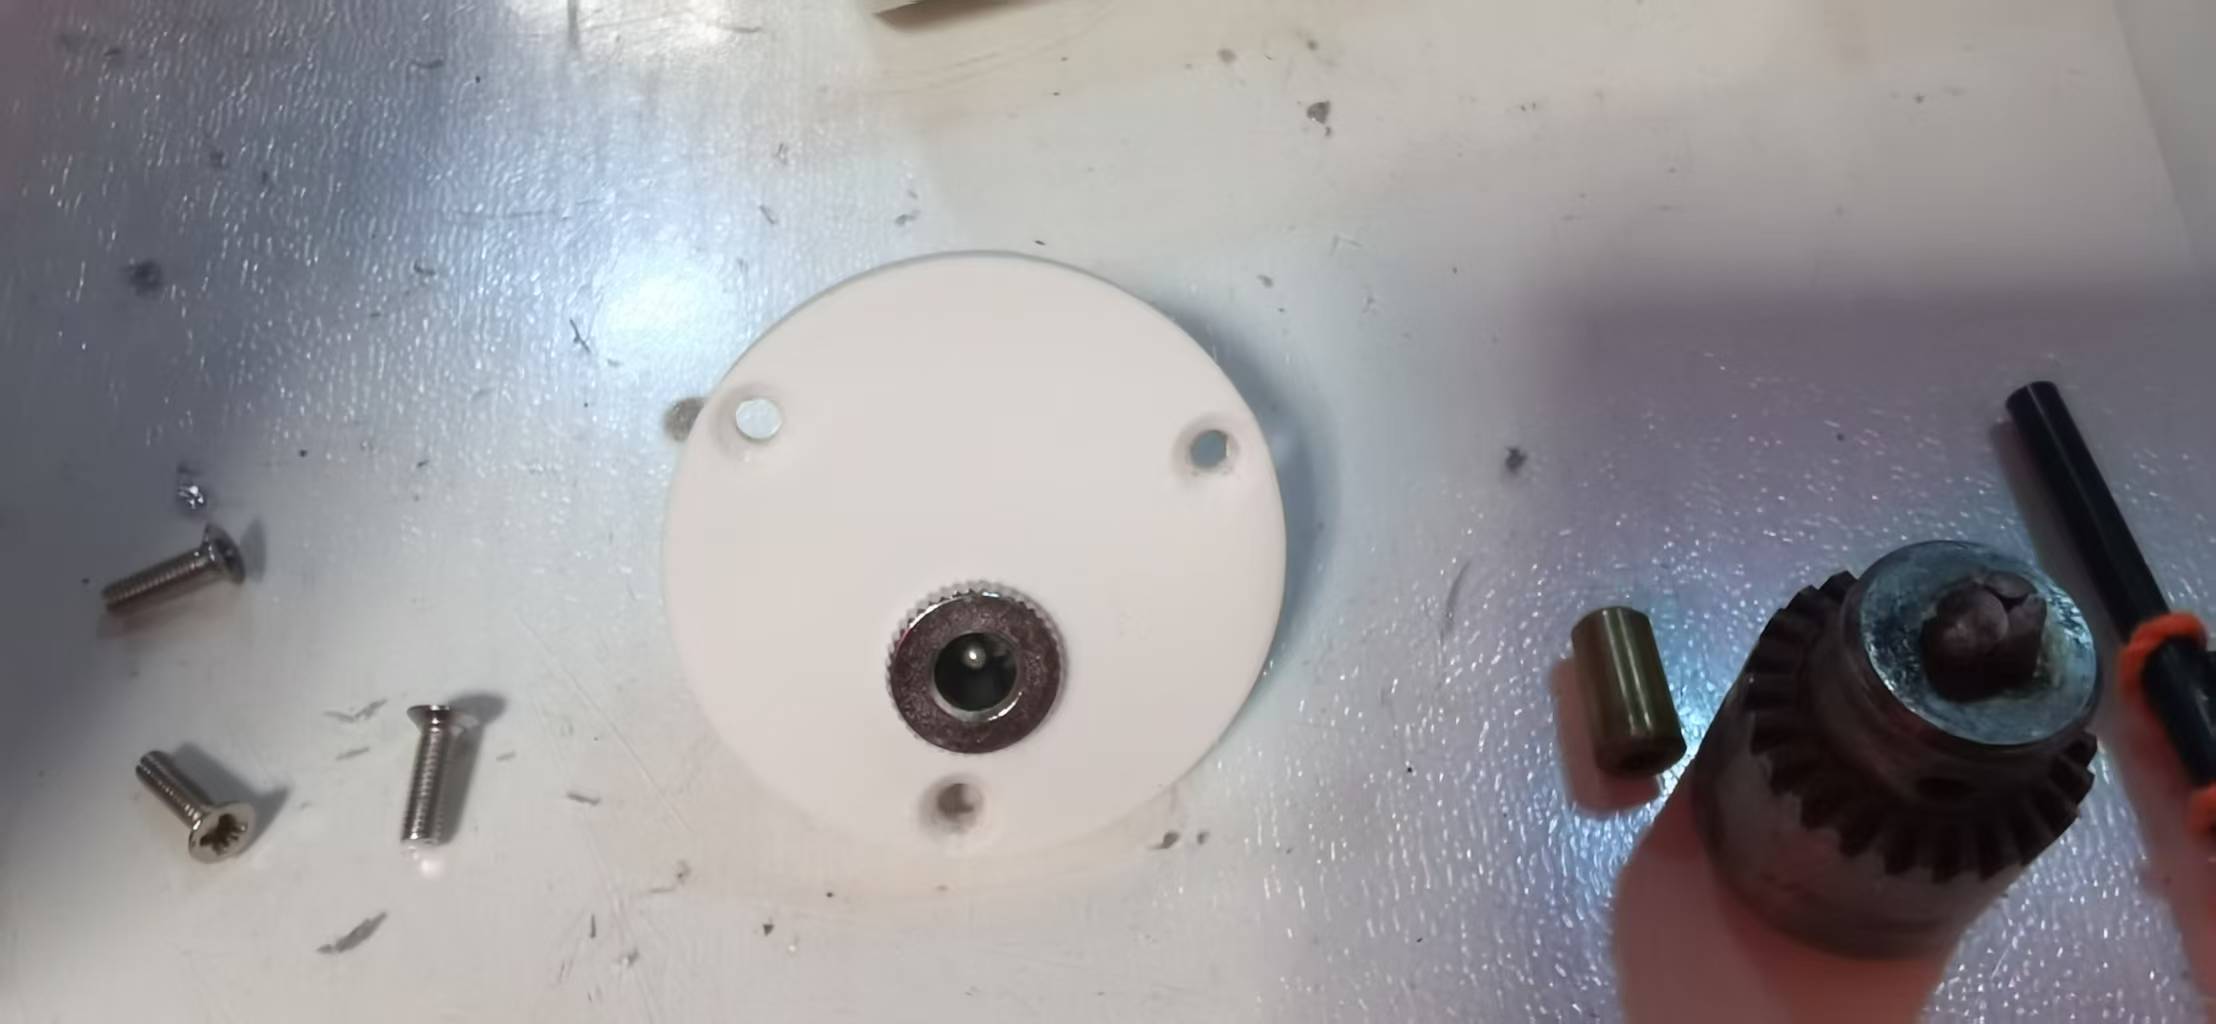
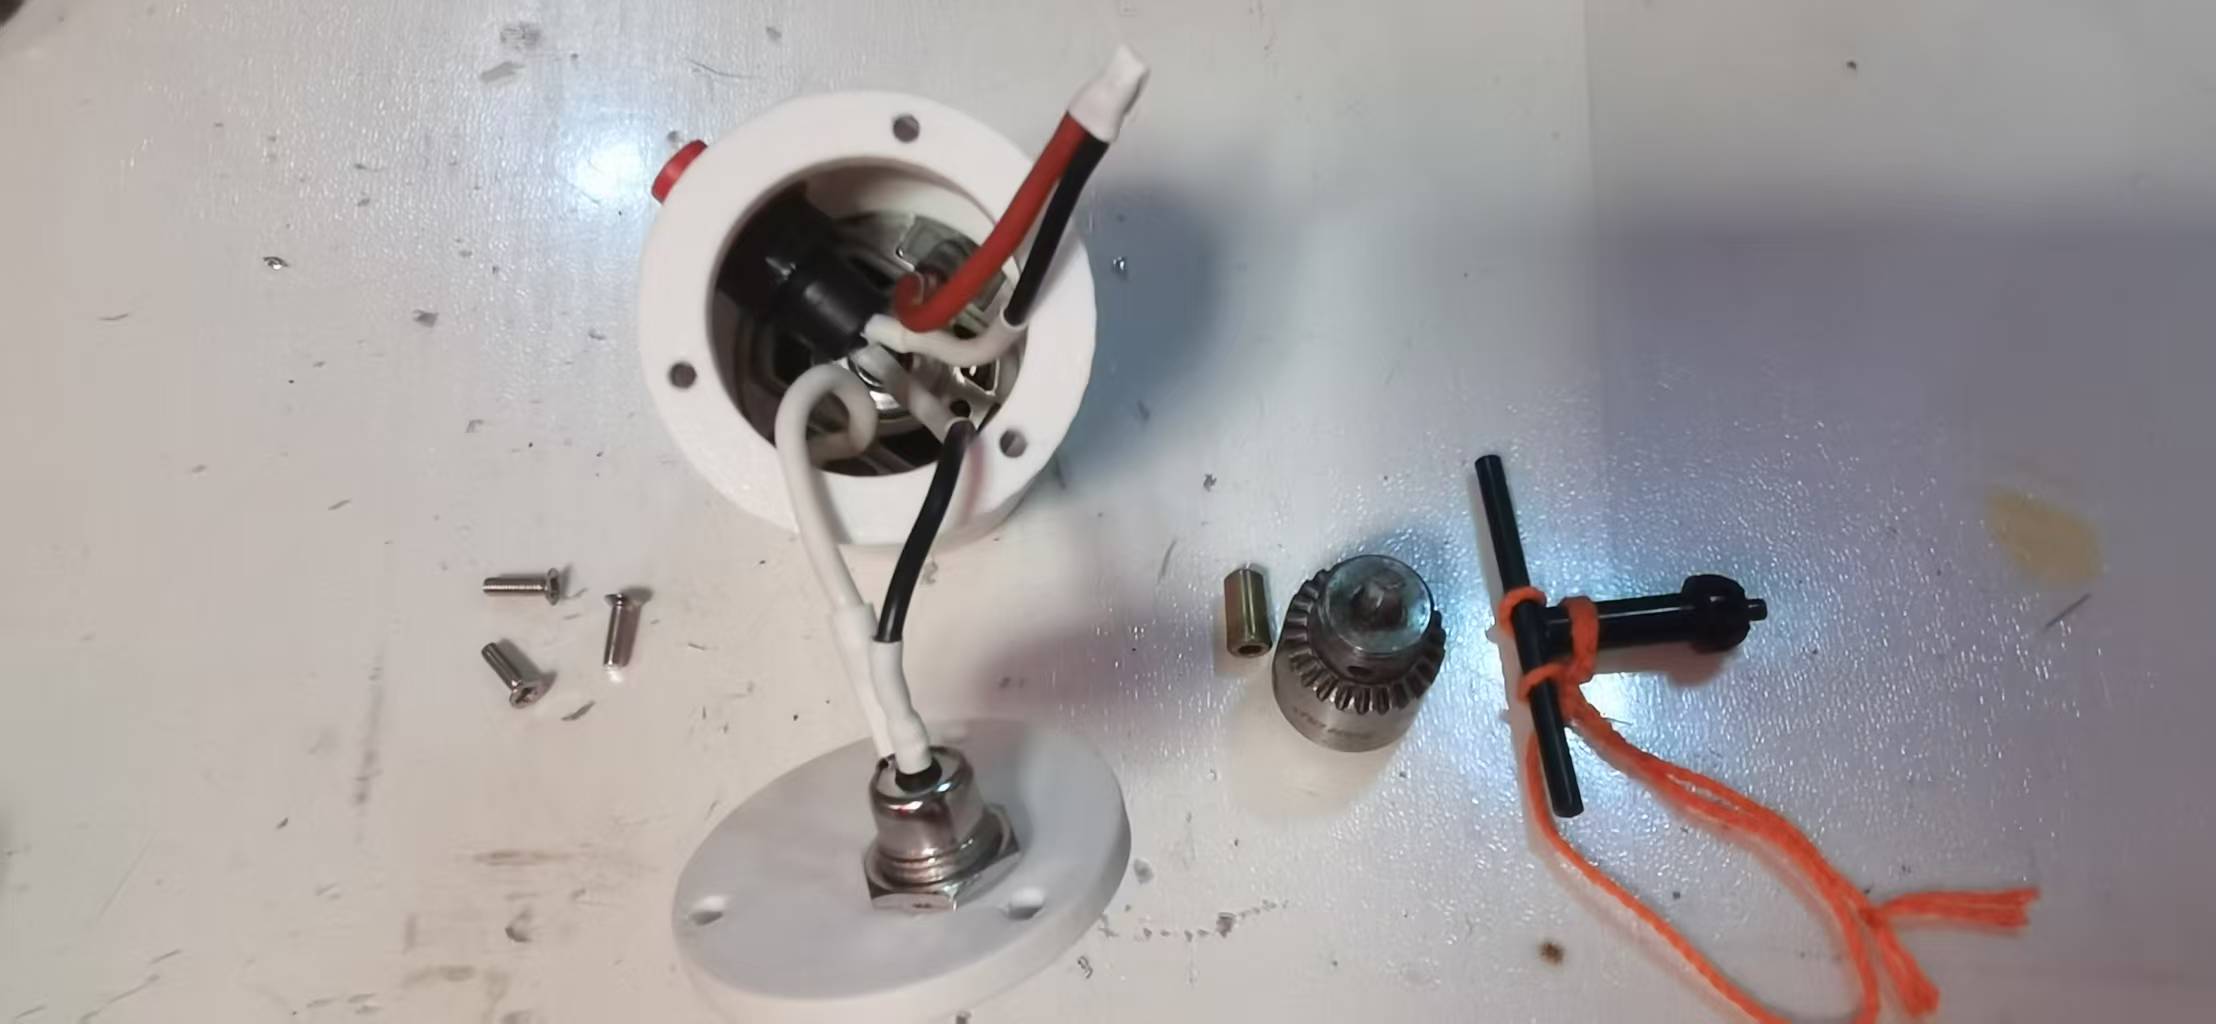
Connect the motor's positive terminal to one end of the button. Connect the other end of the button to the positive terminal (center) of the socket. Connect the motor's negative terminal to the negative terminal (long pin) of the socket.
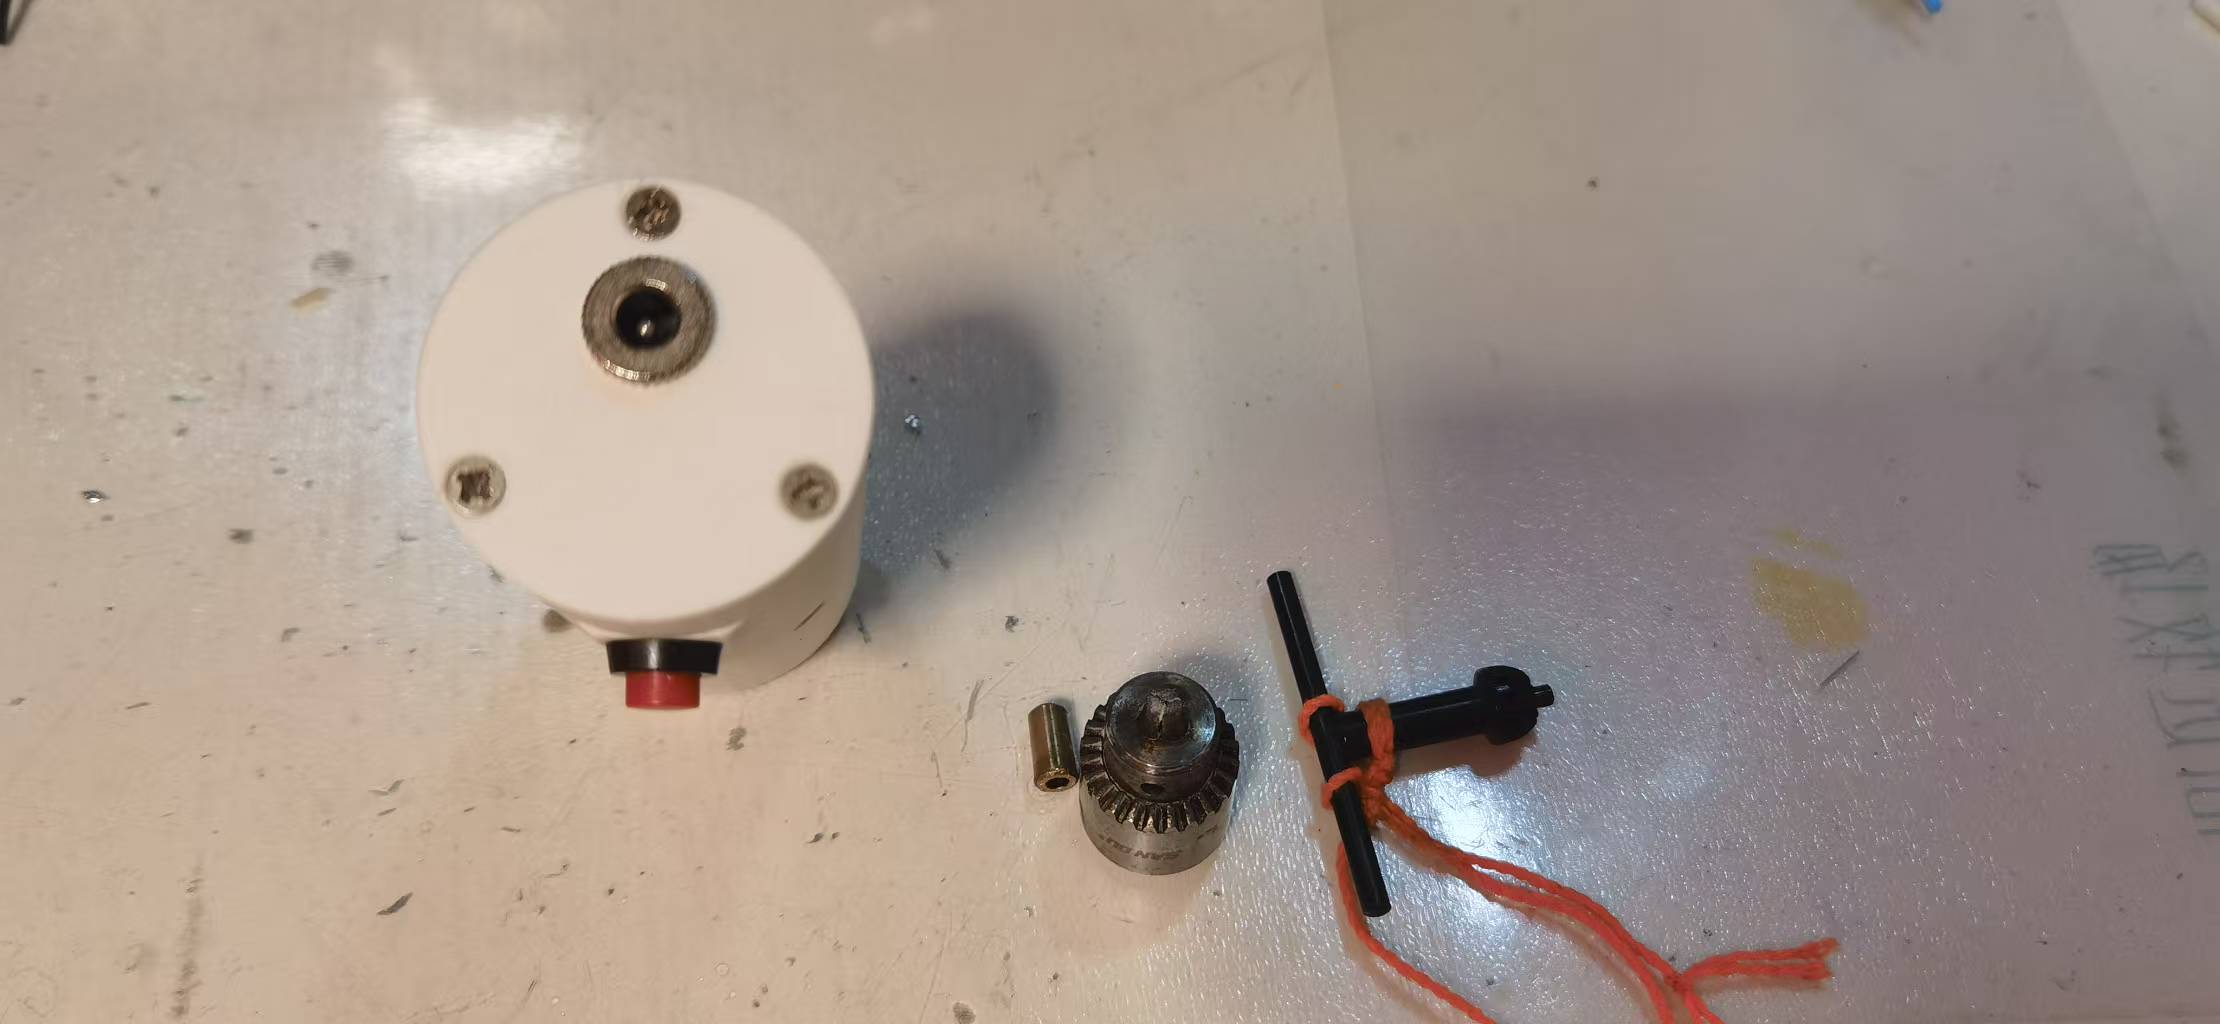
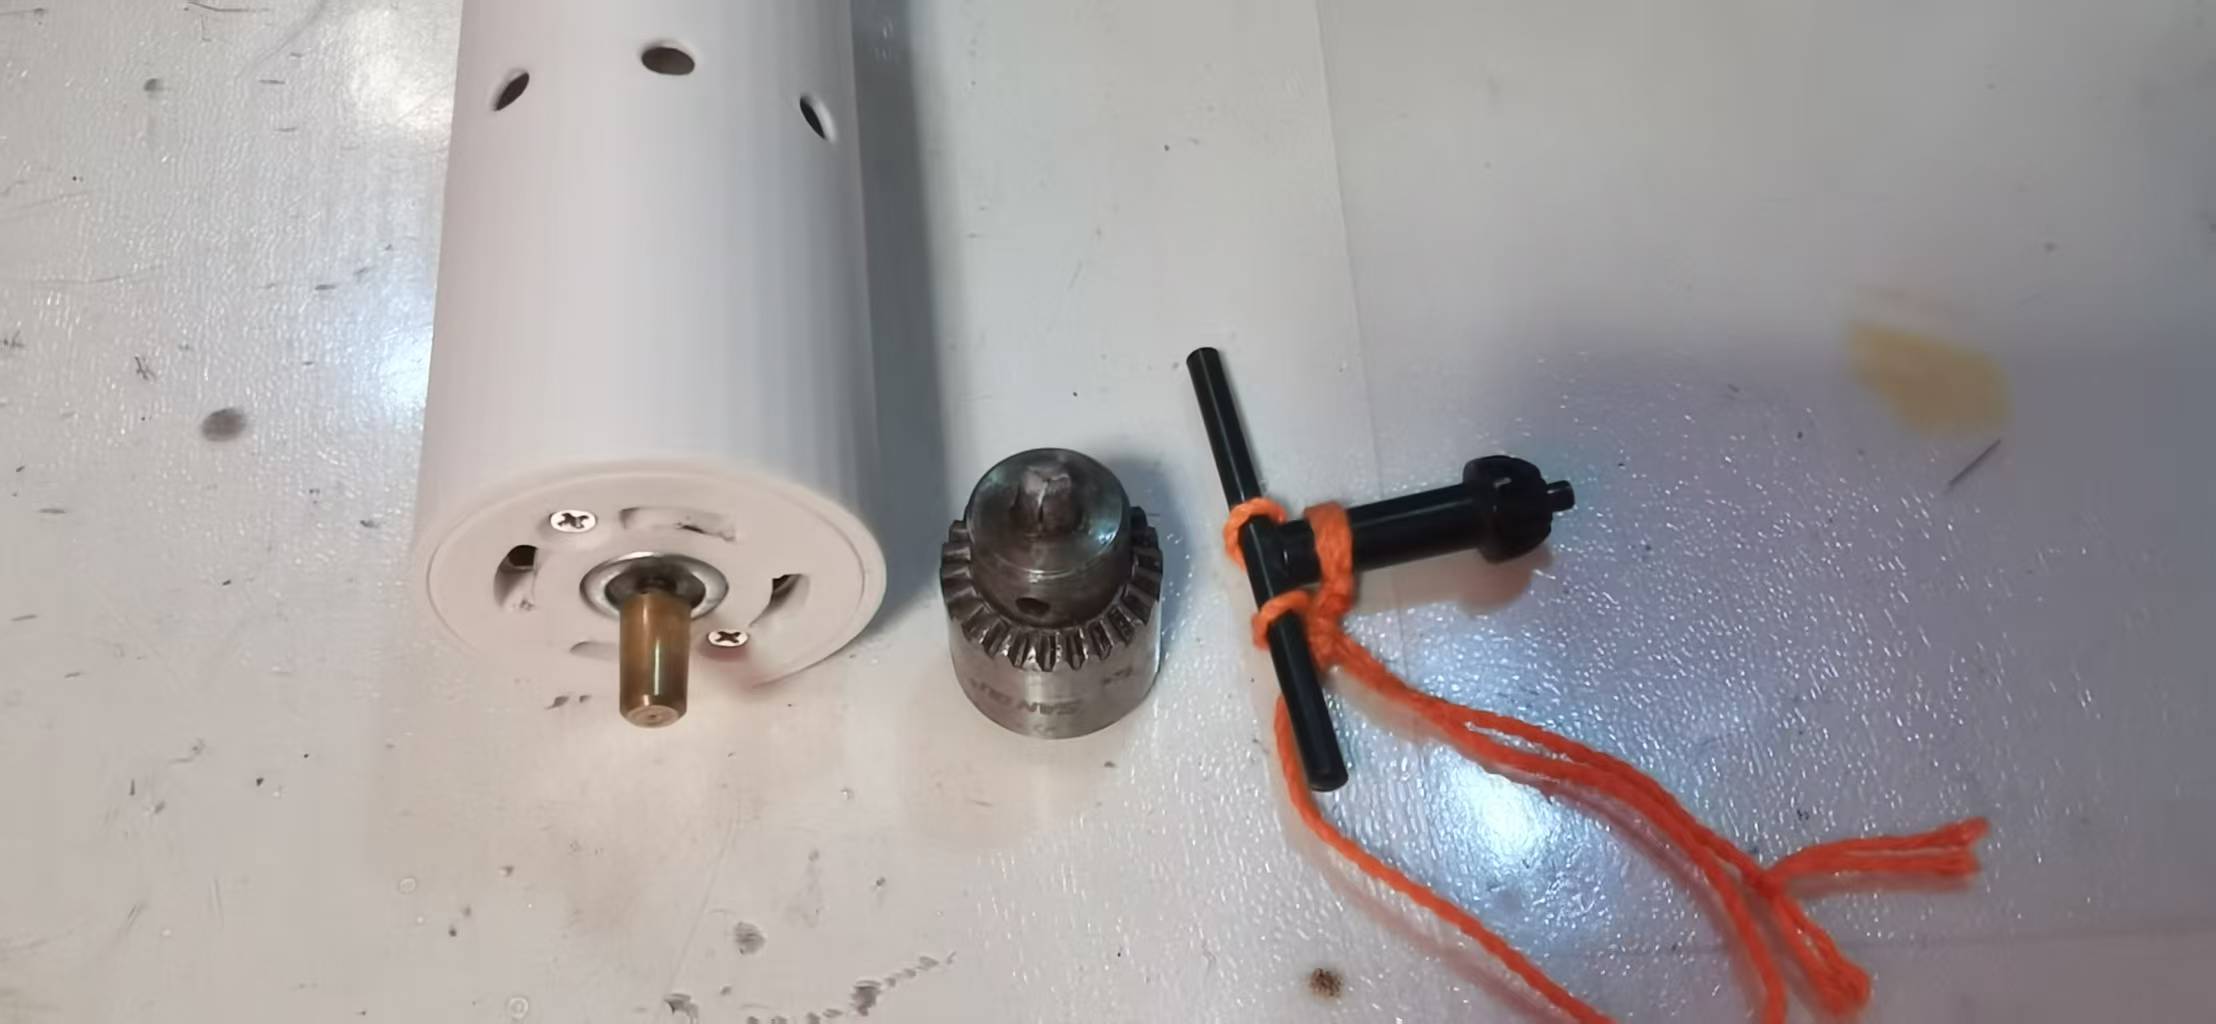
I used a non-removable copper sleeve. You can also buy a removable copper sleeve with screws.

After installing the chuck, remember to gently tap it a few times with the front of the pliers. The copper sleeve is tapered, ensuring a more secure installation.
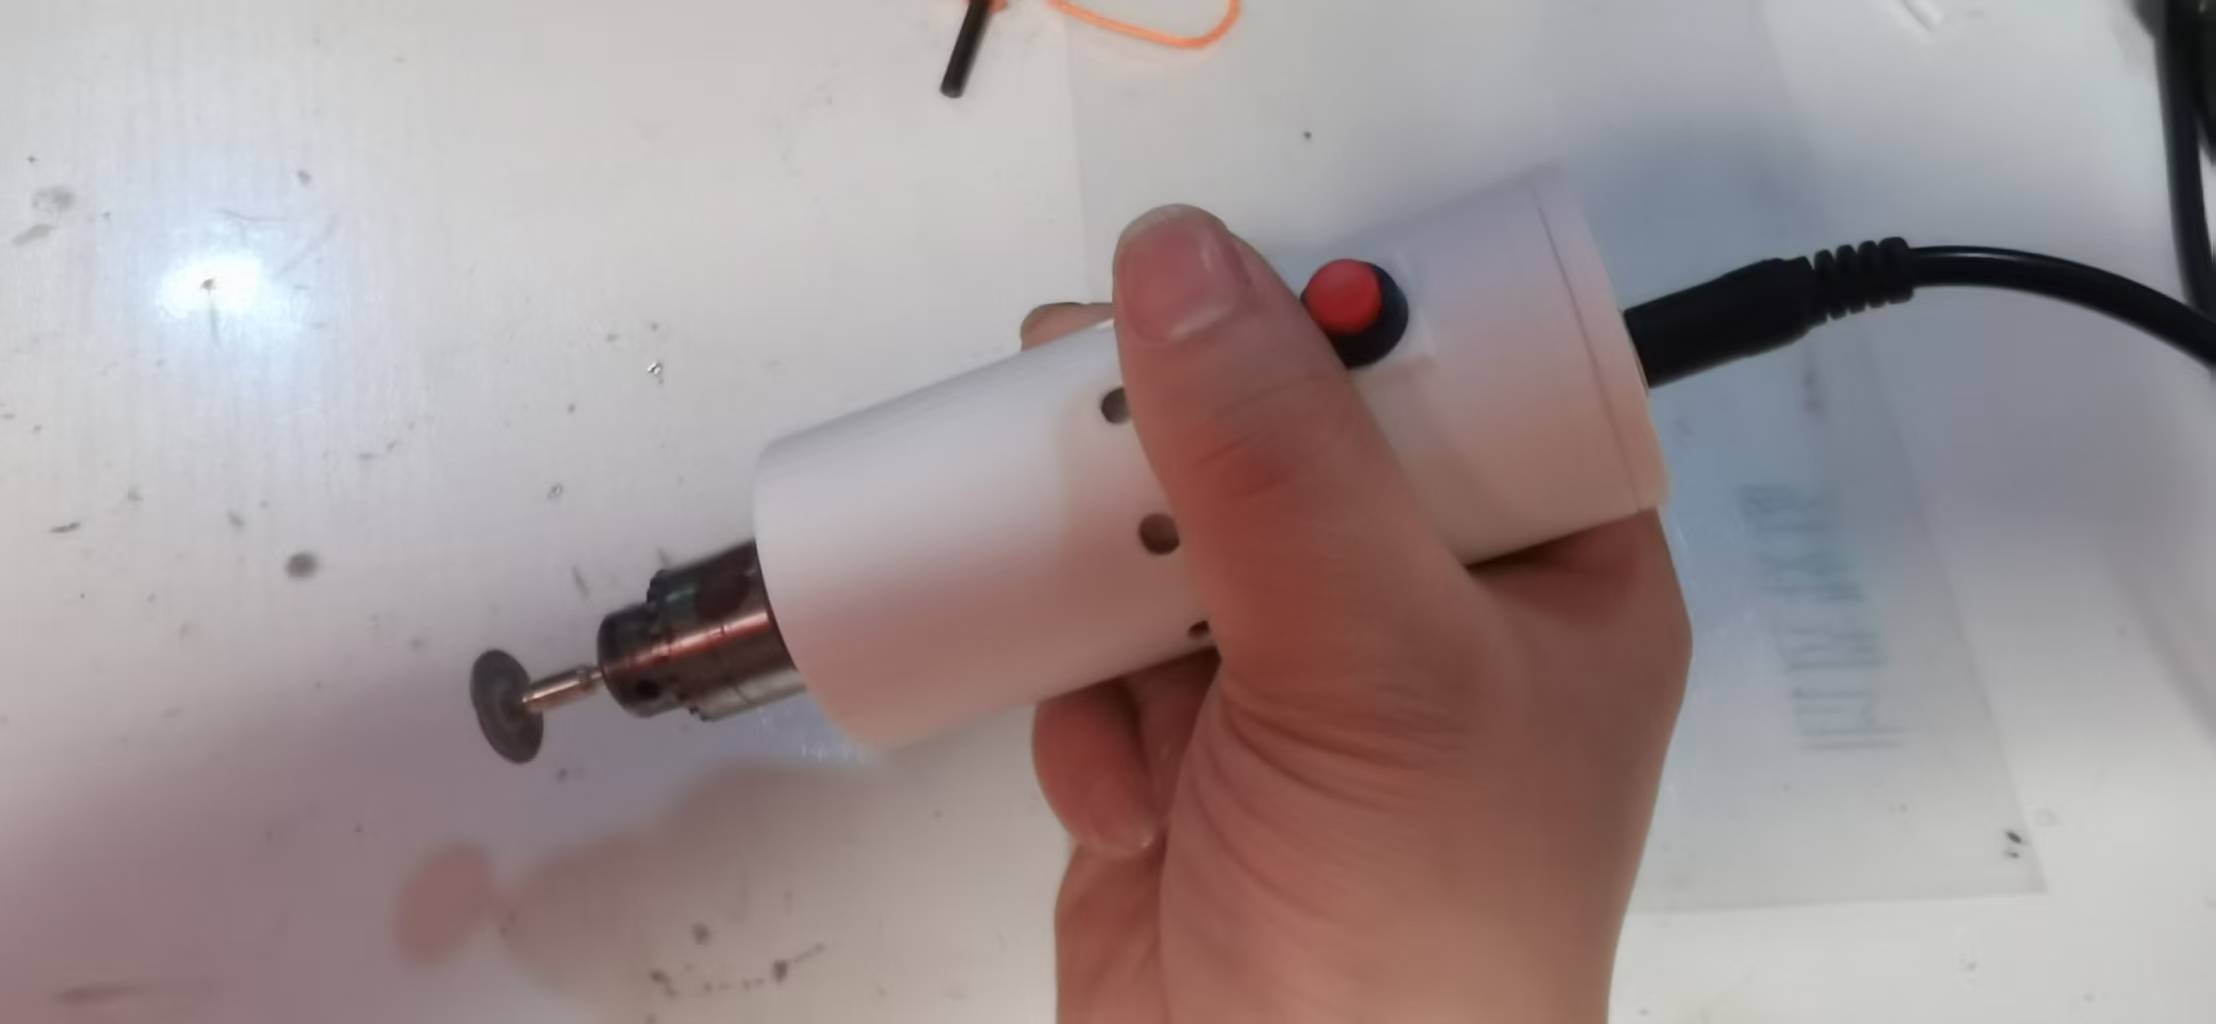
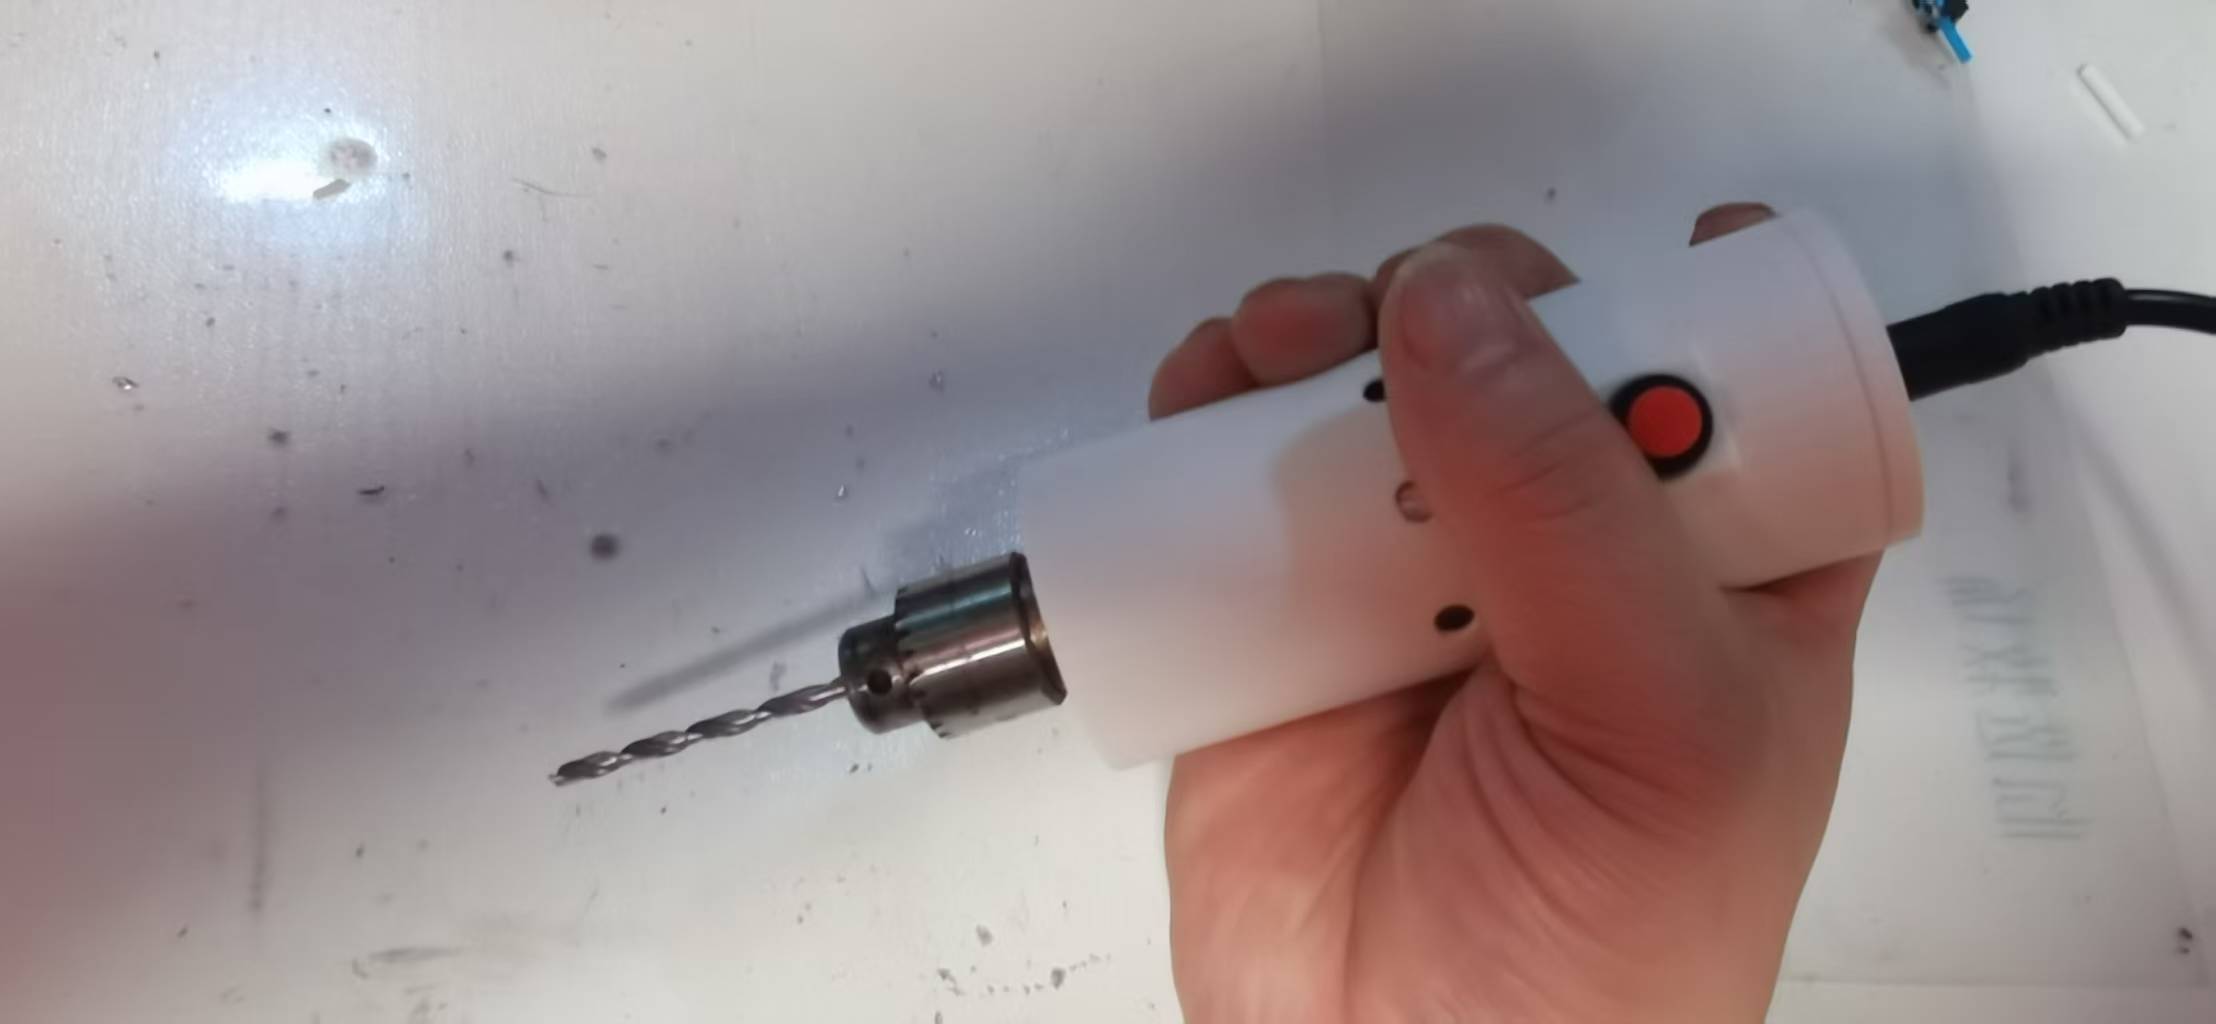
Mission accomplished, haha, haha, ha.
