
Compact multi-purpose knife/box cutter
NYXONUNA6

Trouver des similitudes avec l'IA


Profil d’impression(0)
Fichier modèle(0)
 0
0 0
0 0
0
Publié:2025-05-27 00:06:01
0
0
 000
000Materials list
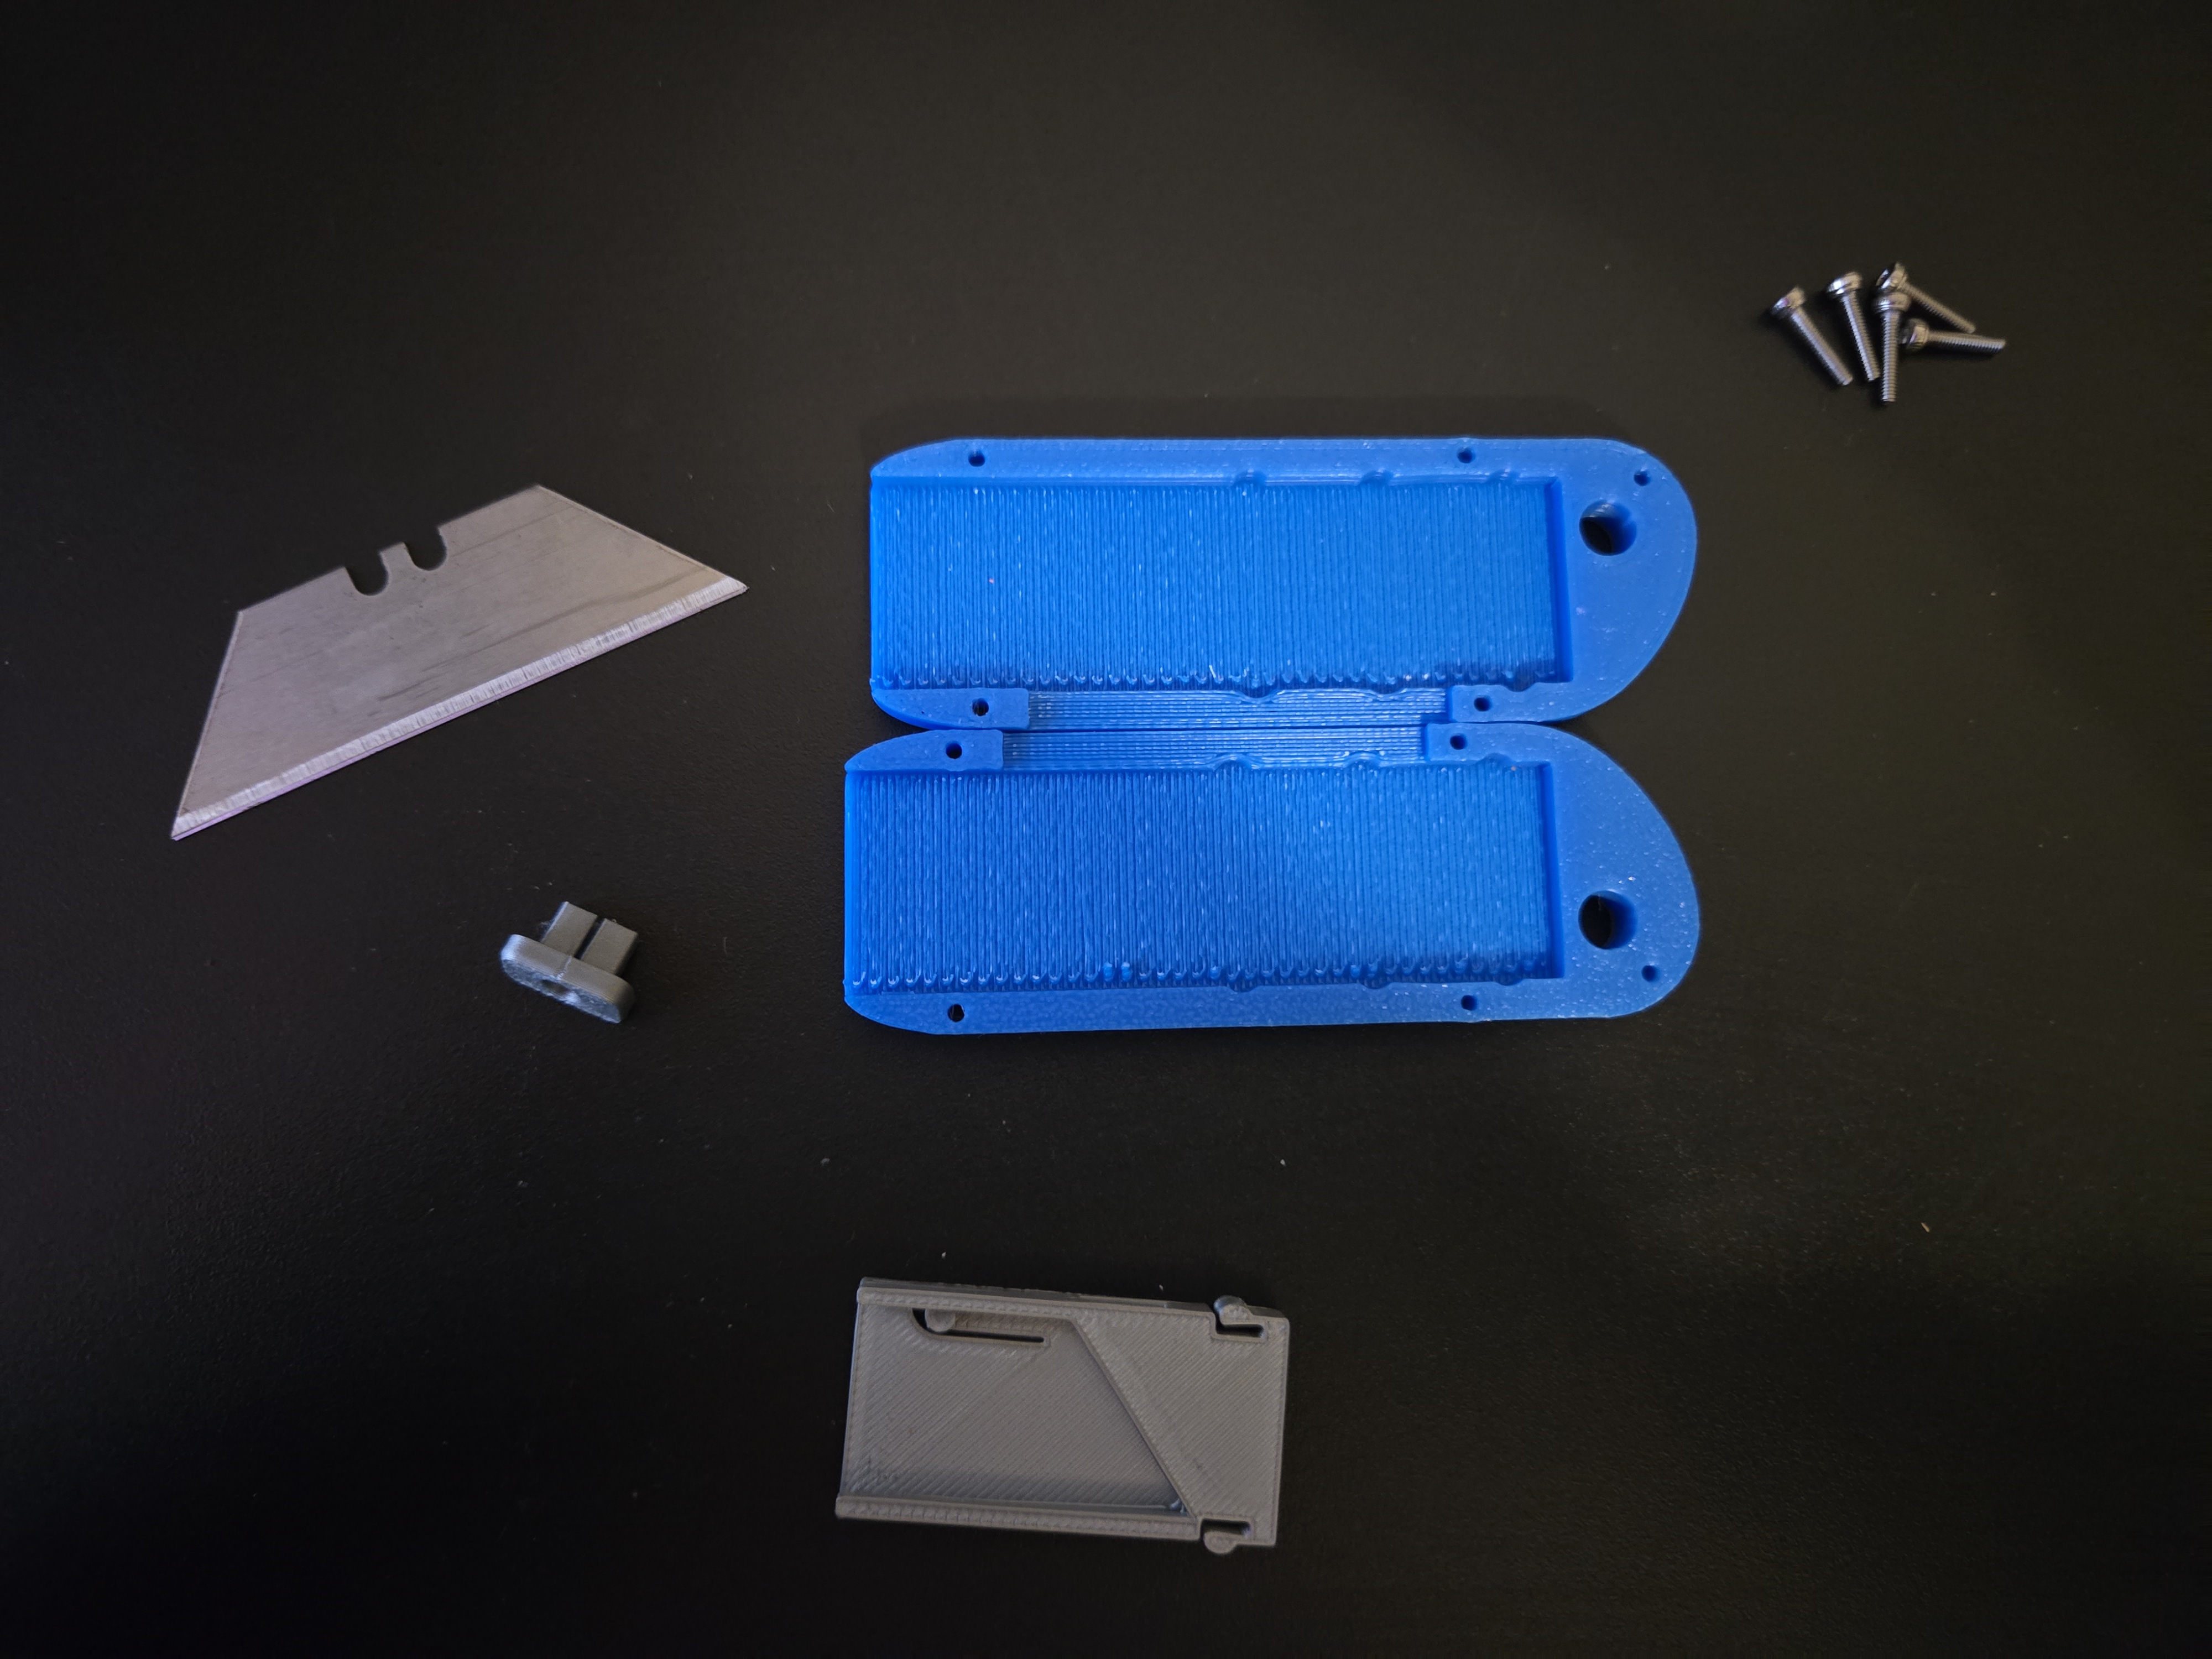
Assembly instructions
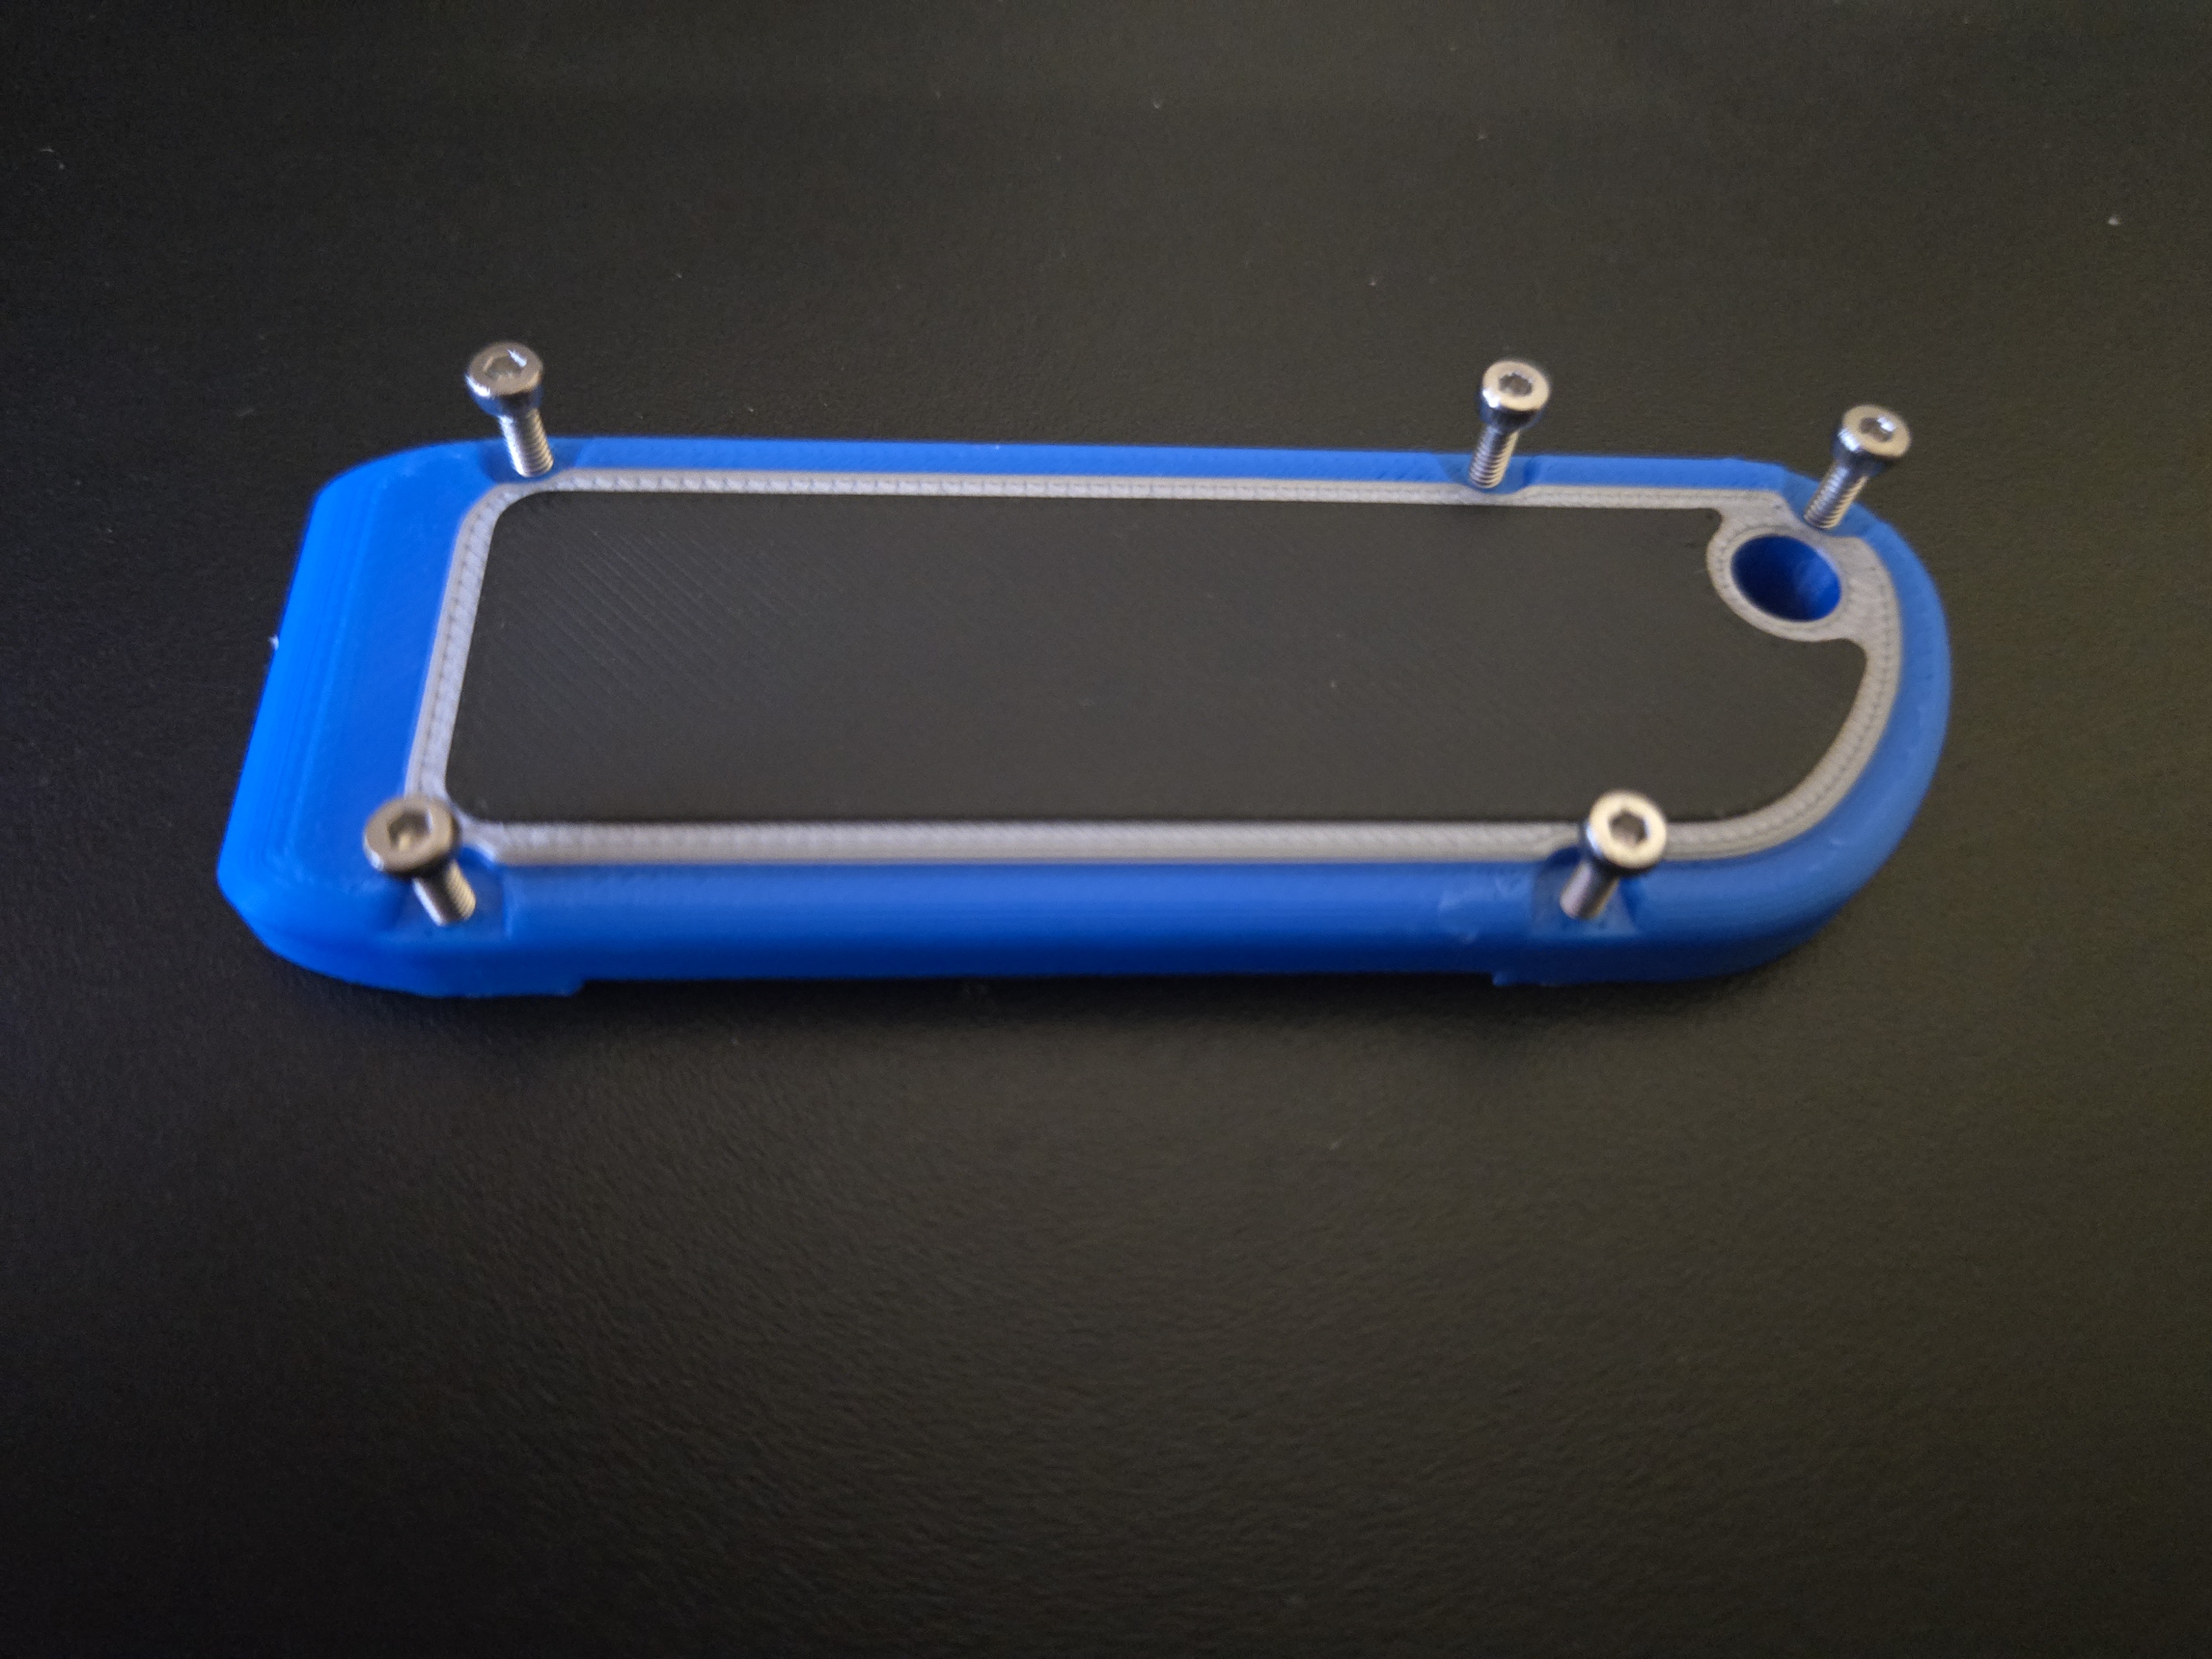
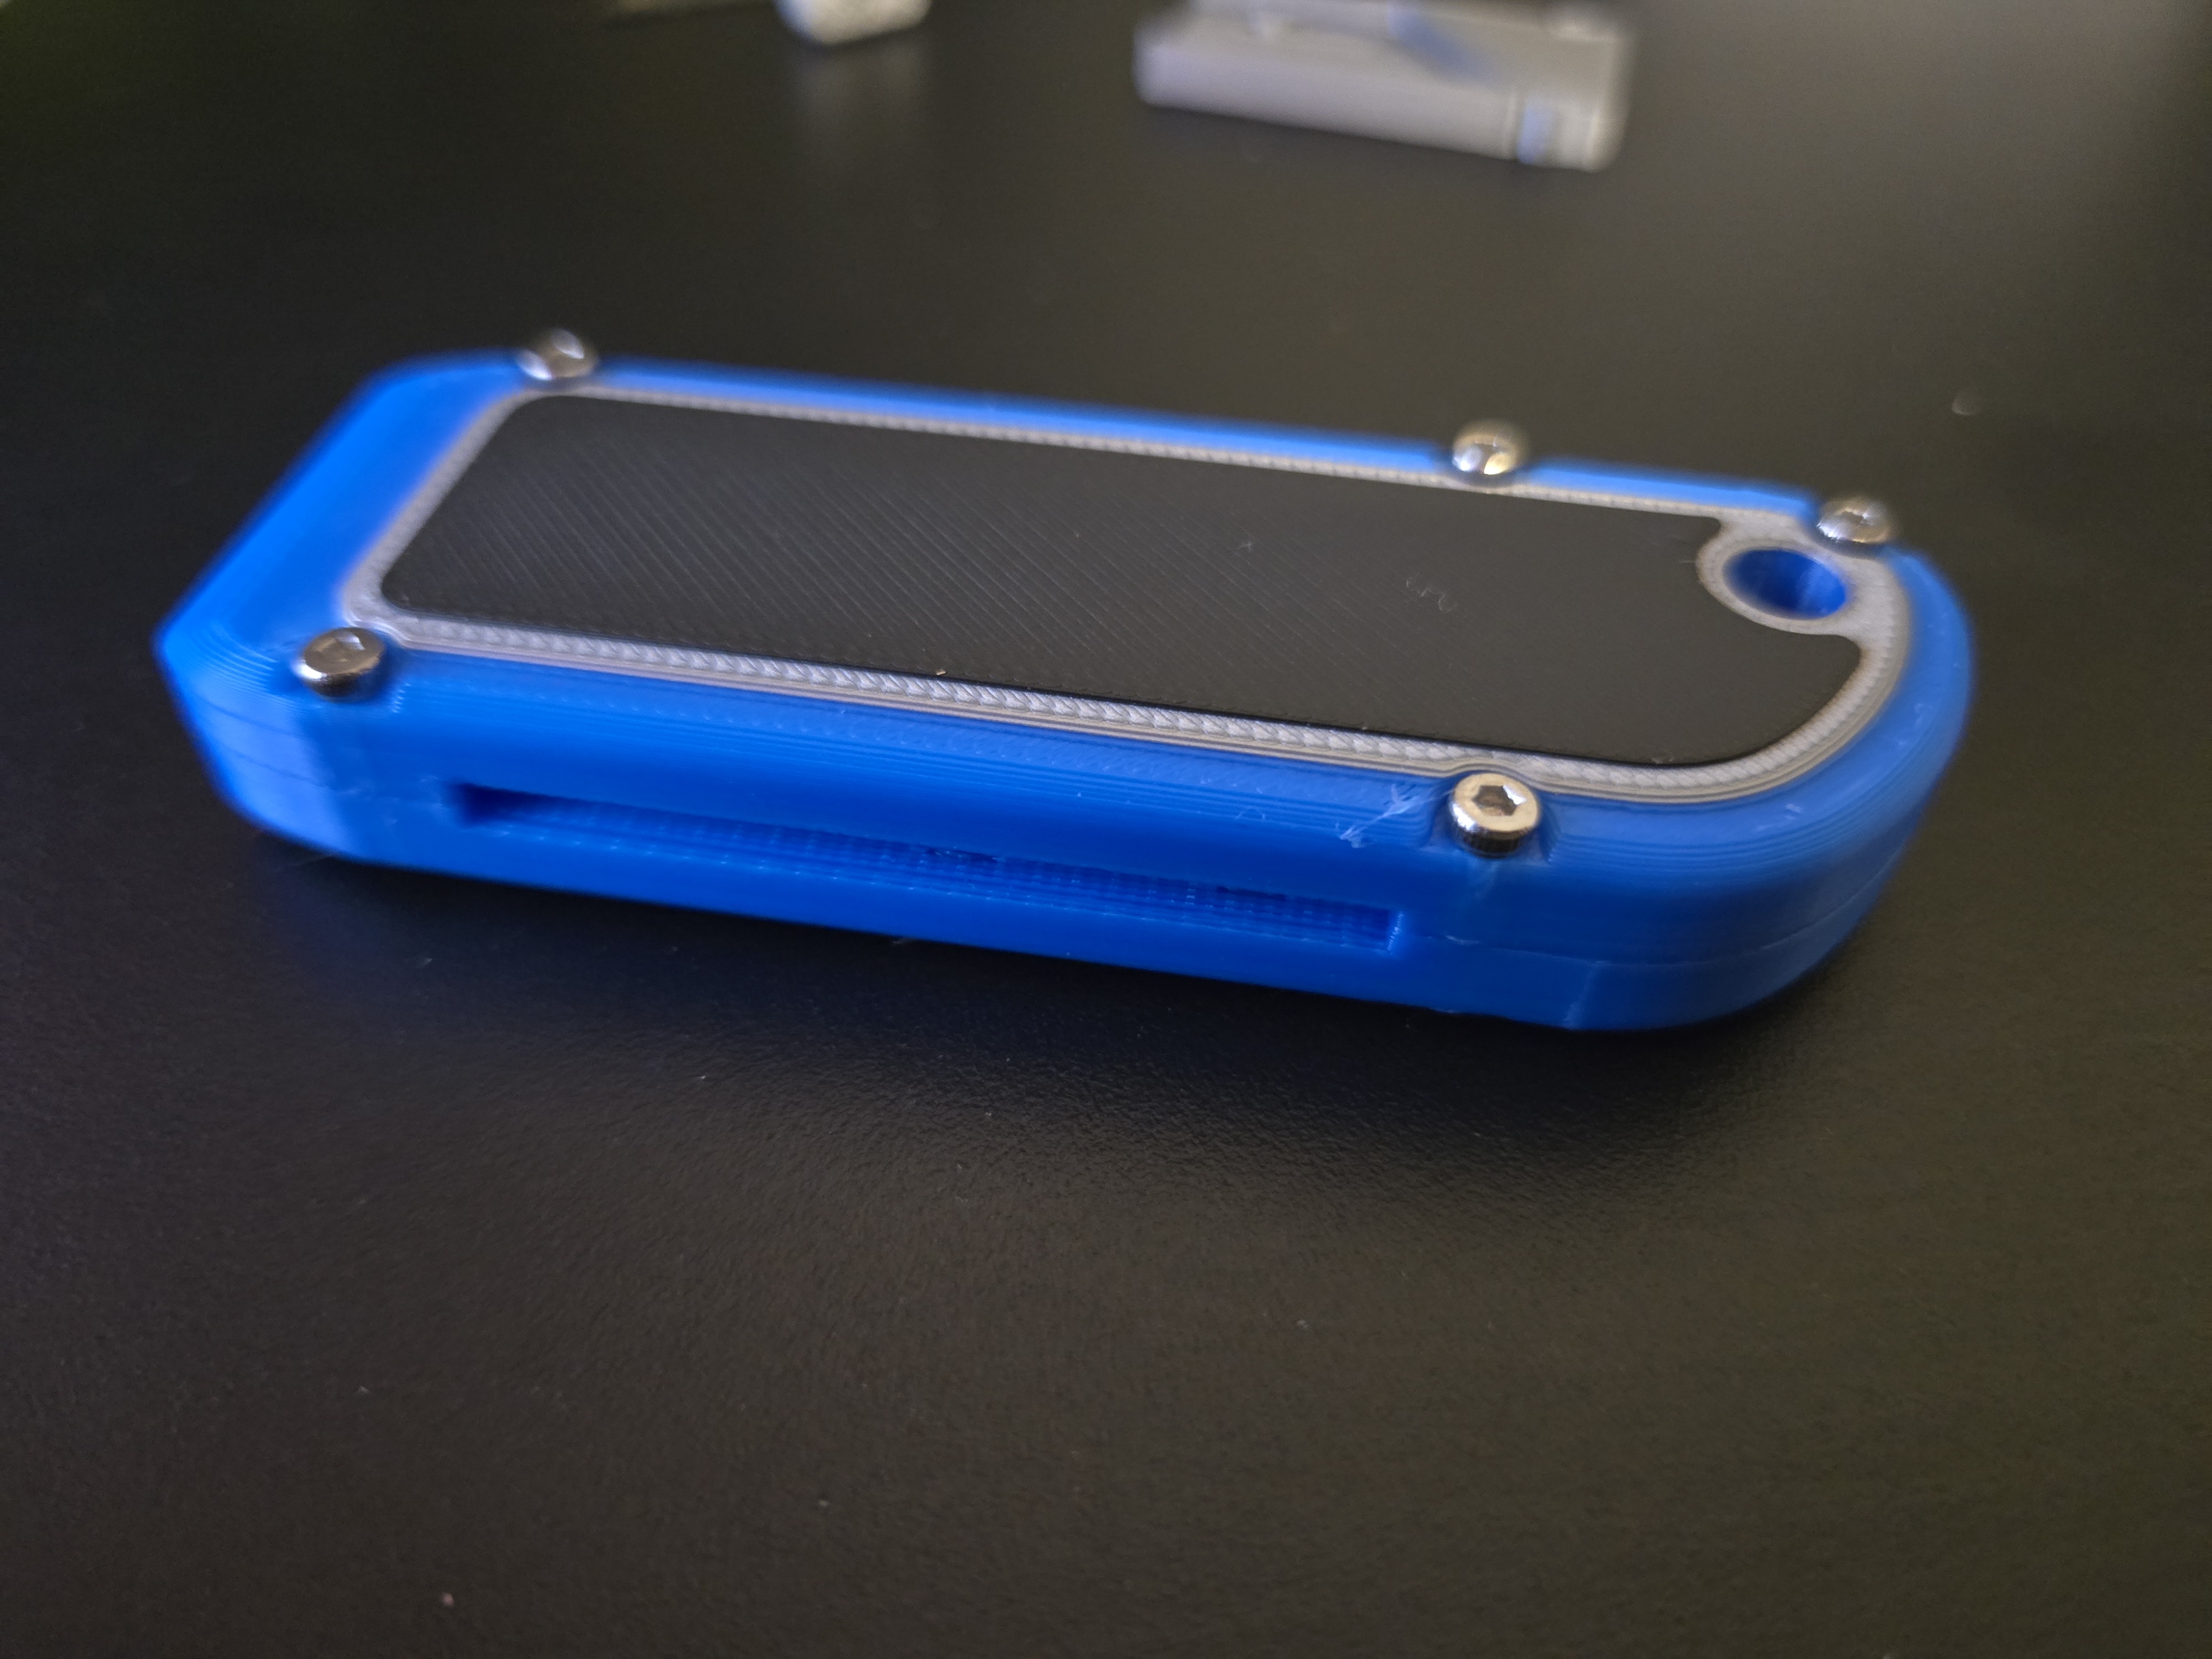
Use five M2*10 screws to fix the two main components together. It's easier to install the screws with an electric screwdriver or a drill.

Insert the blade into the blade holder, then press the fixing rod to make the blade slide in completely.
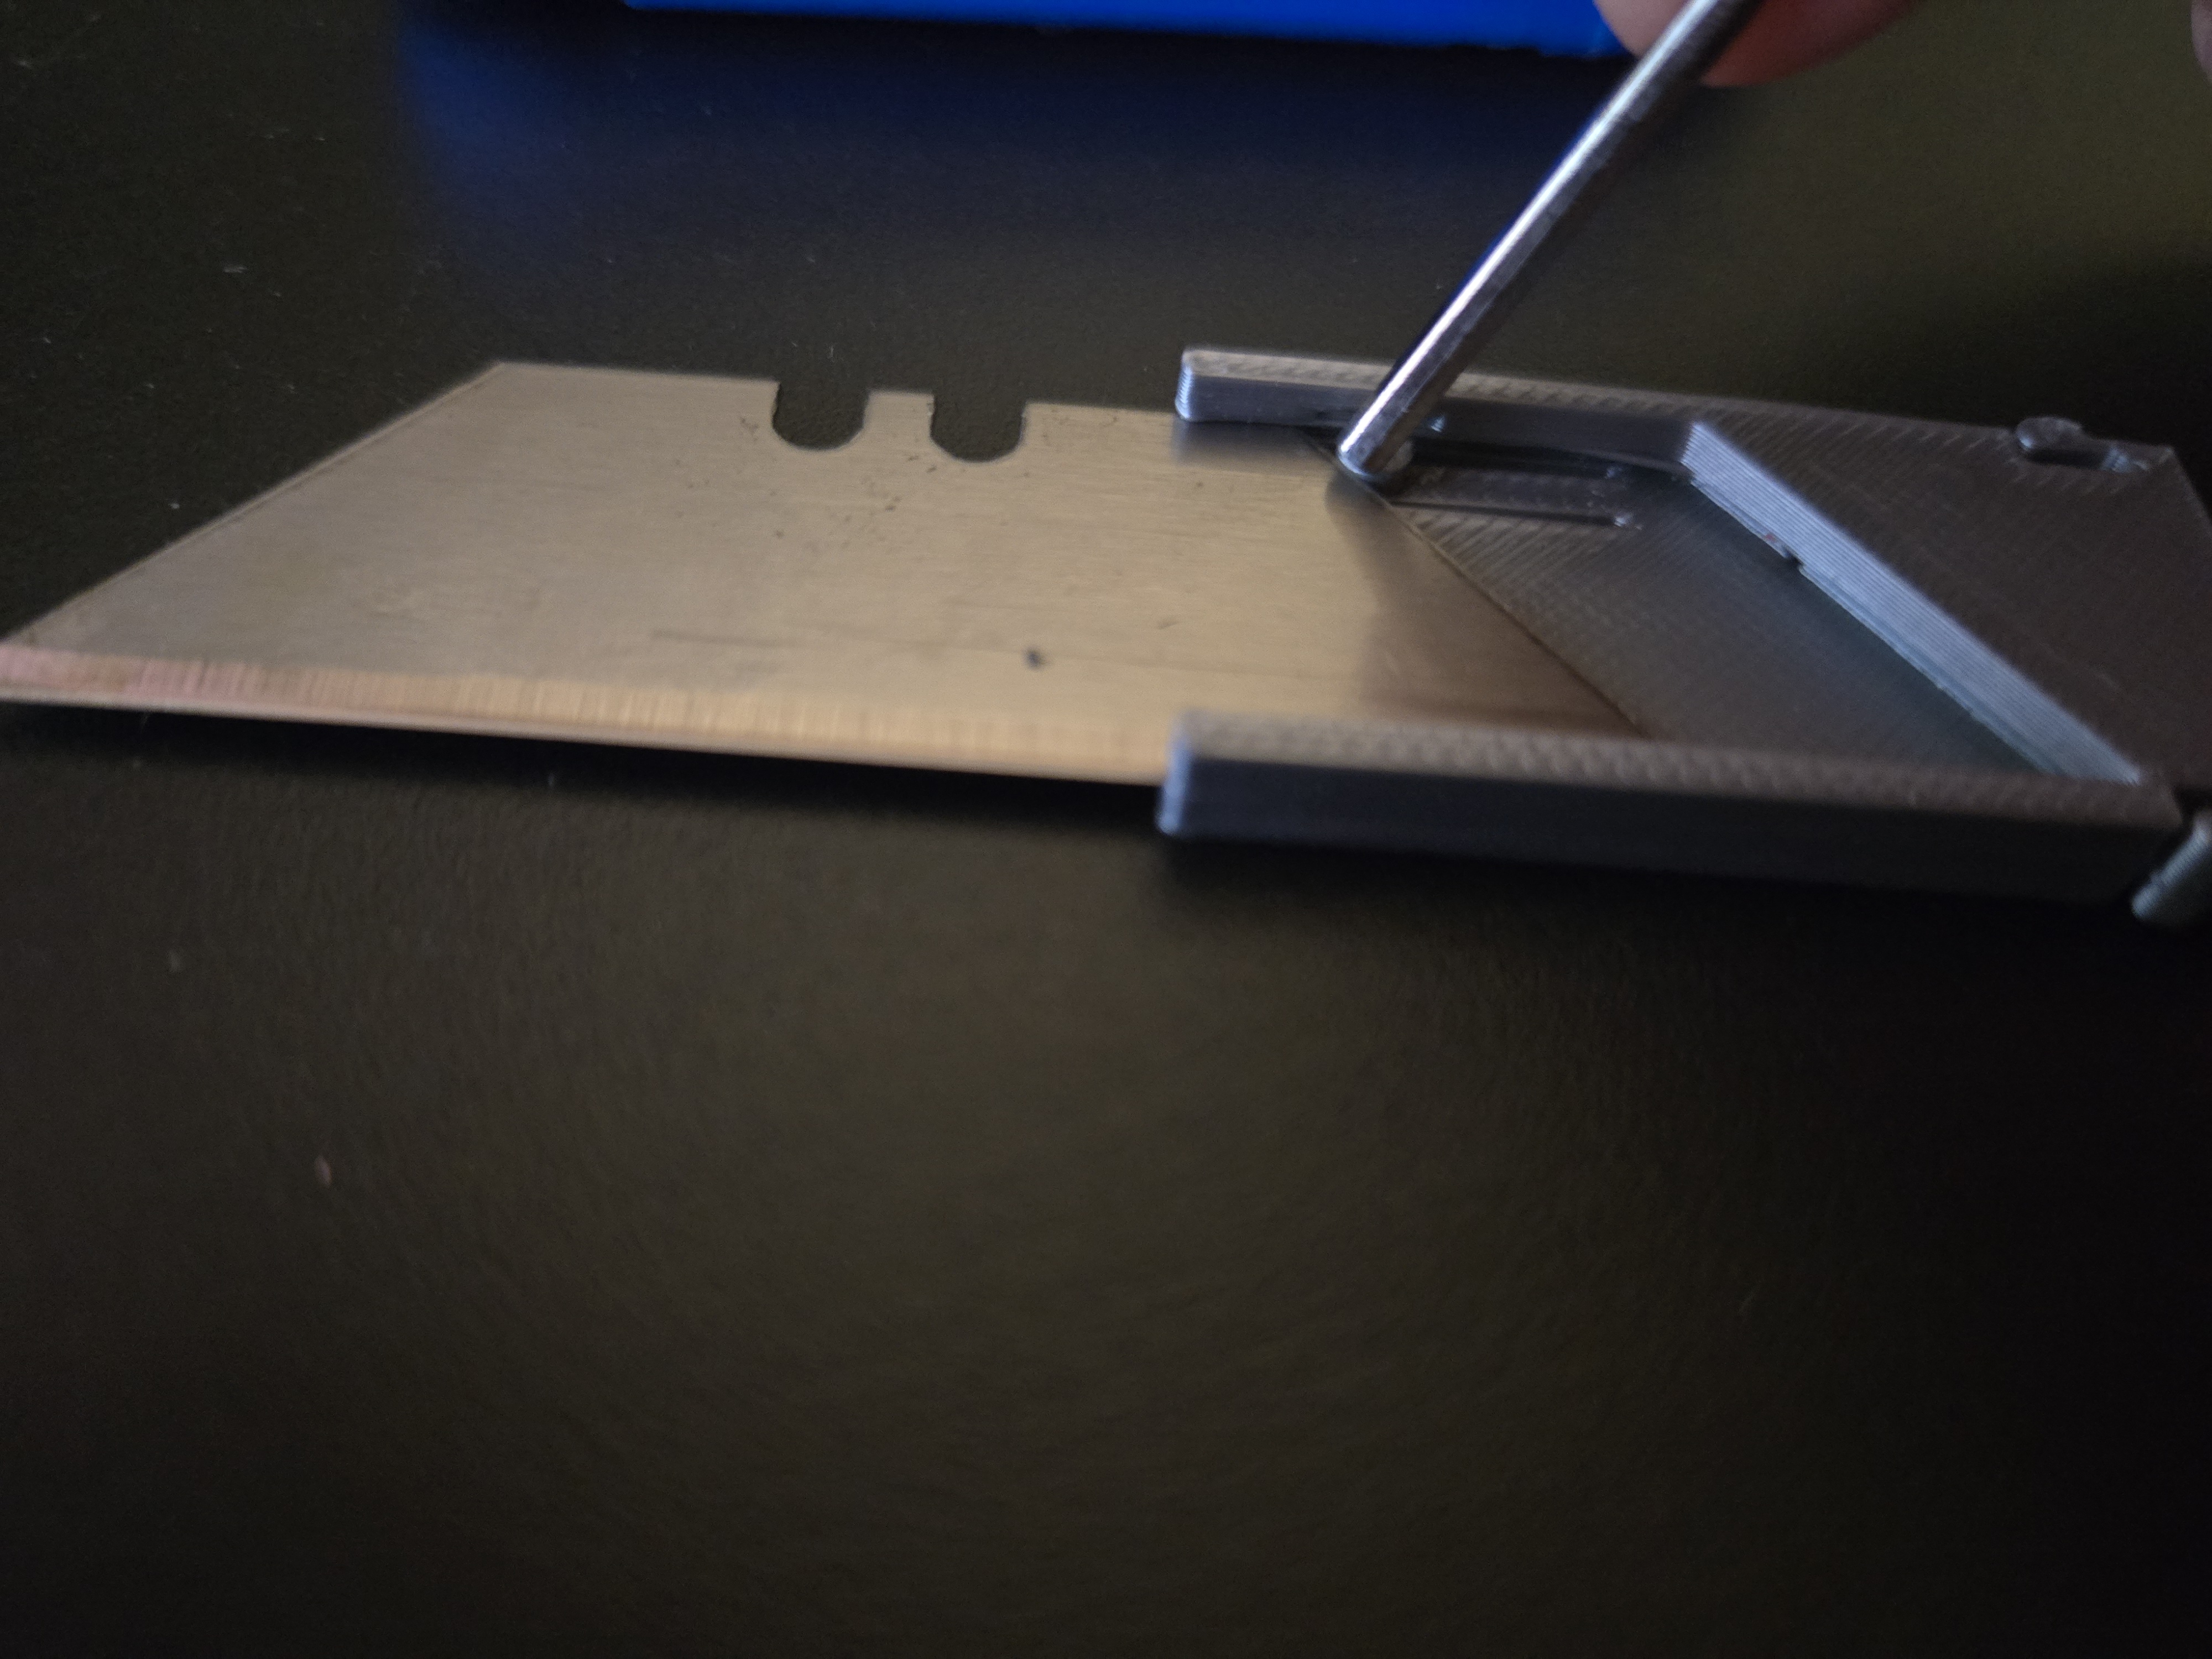
The fixed rod should be inserted into the notch on the blade to ensure that the blade is firmly in place.
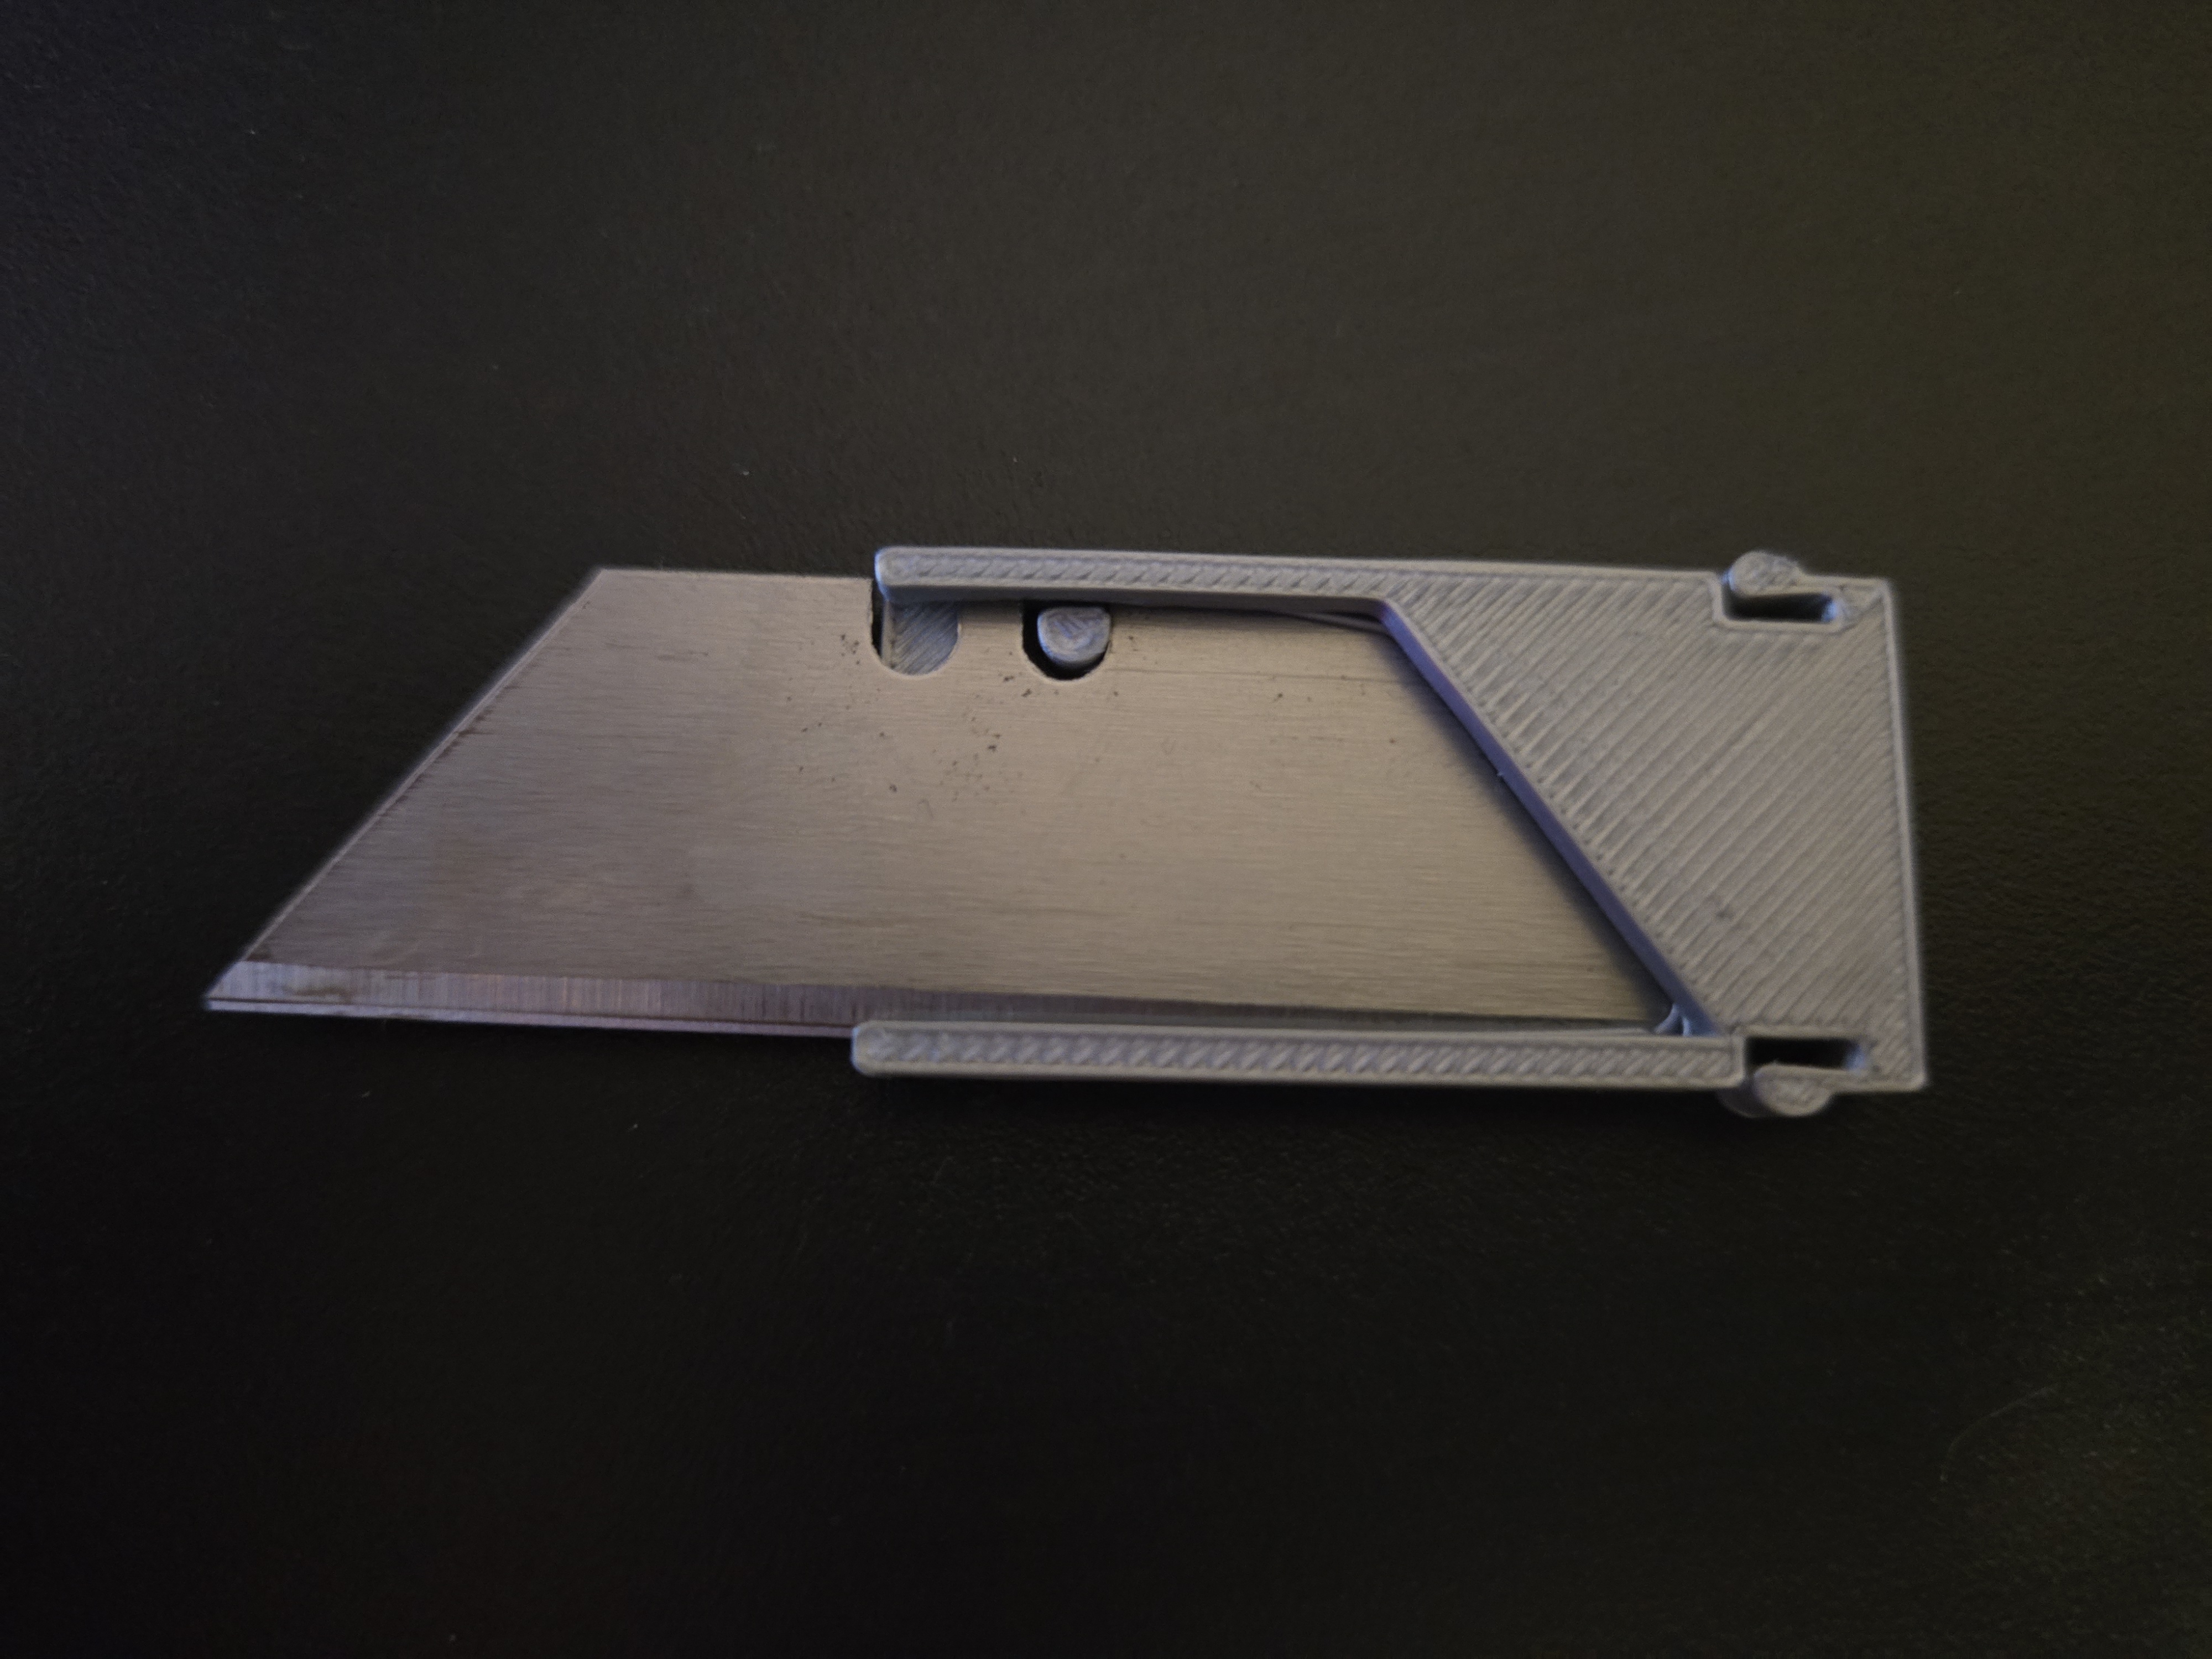
Slide the blade assembly into the tool body.
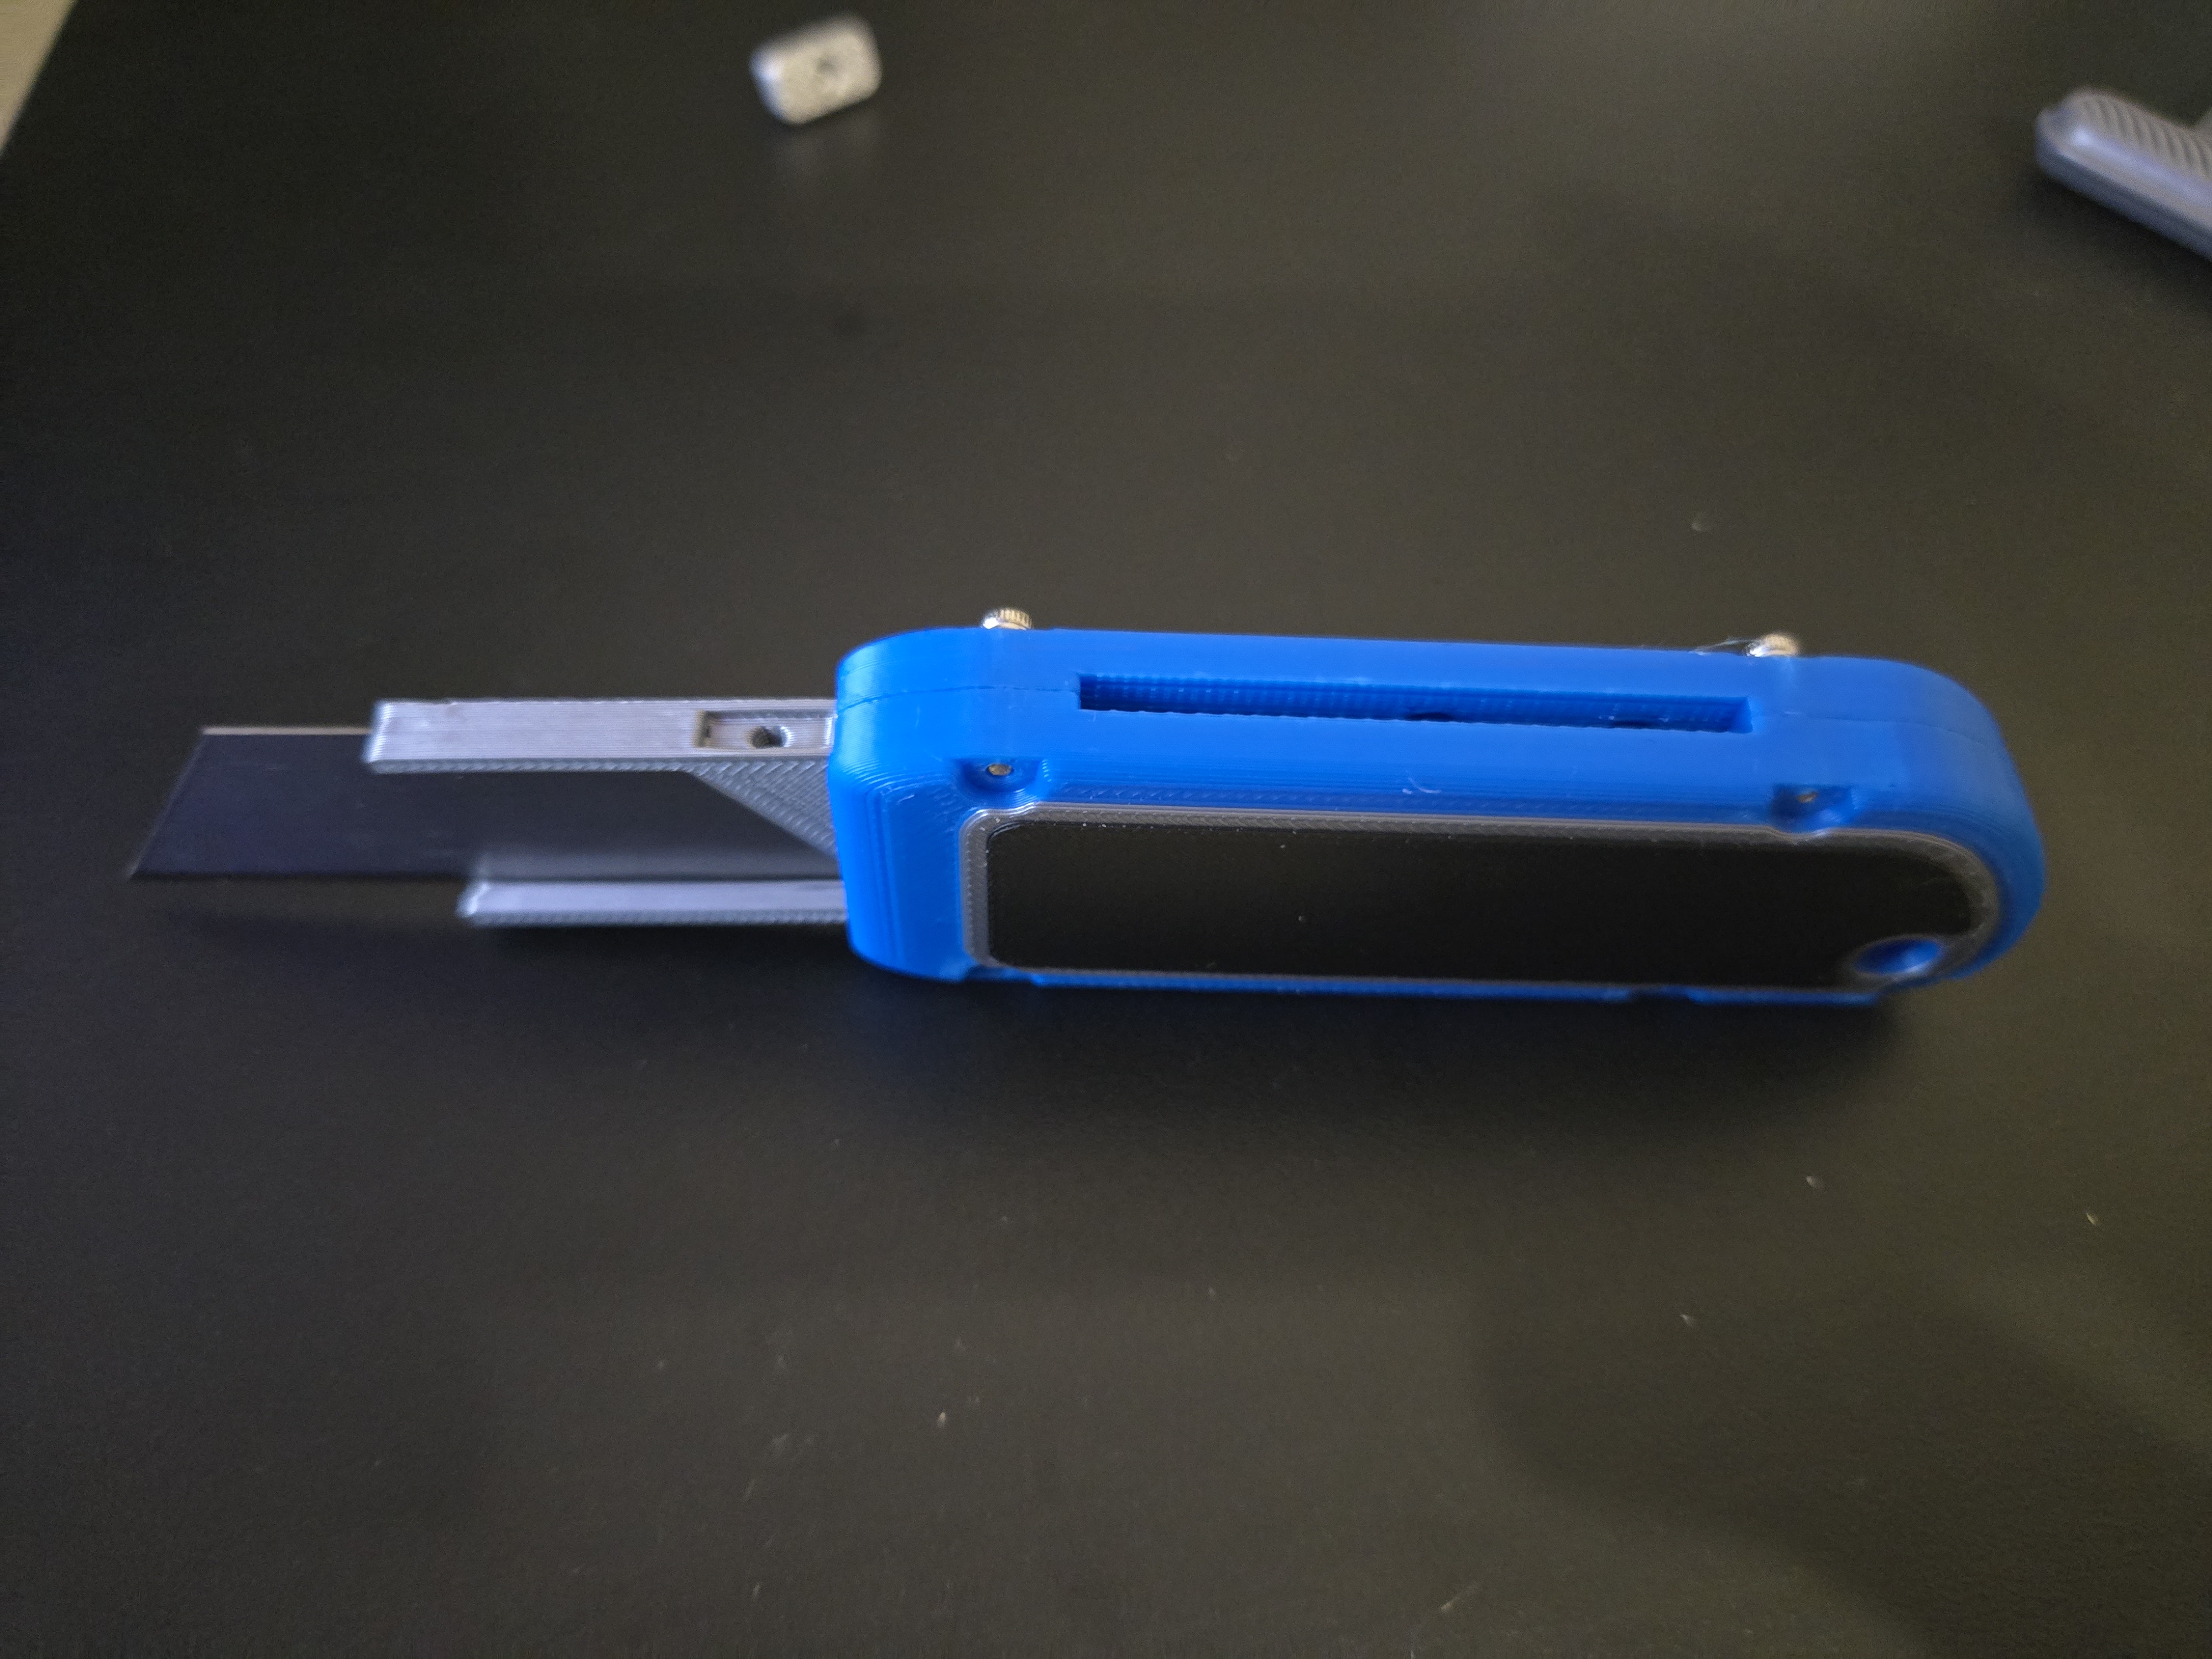
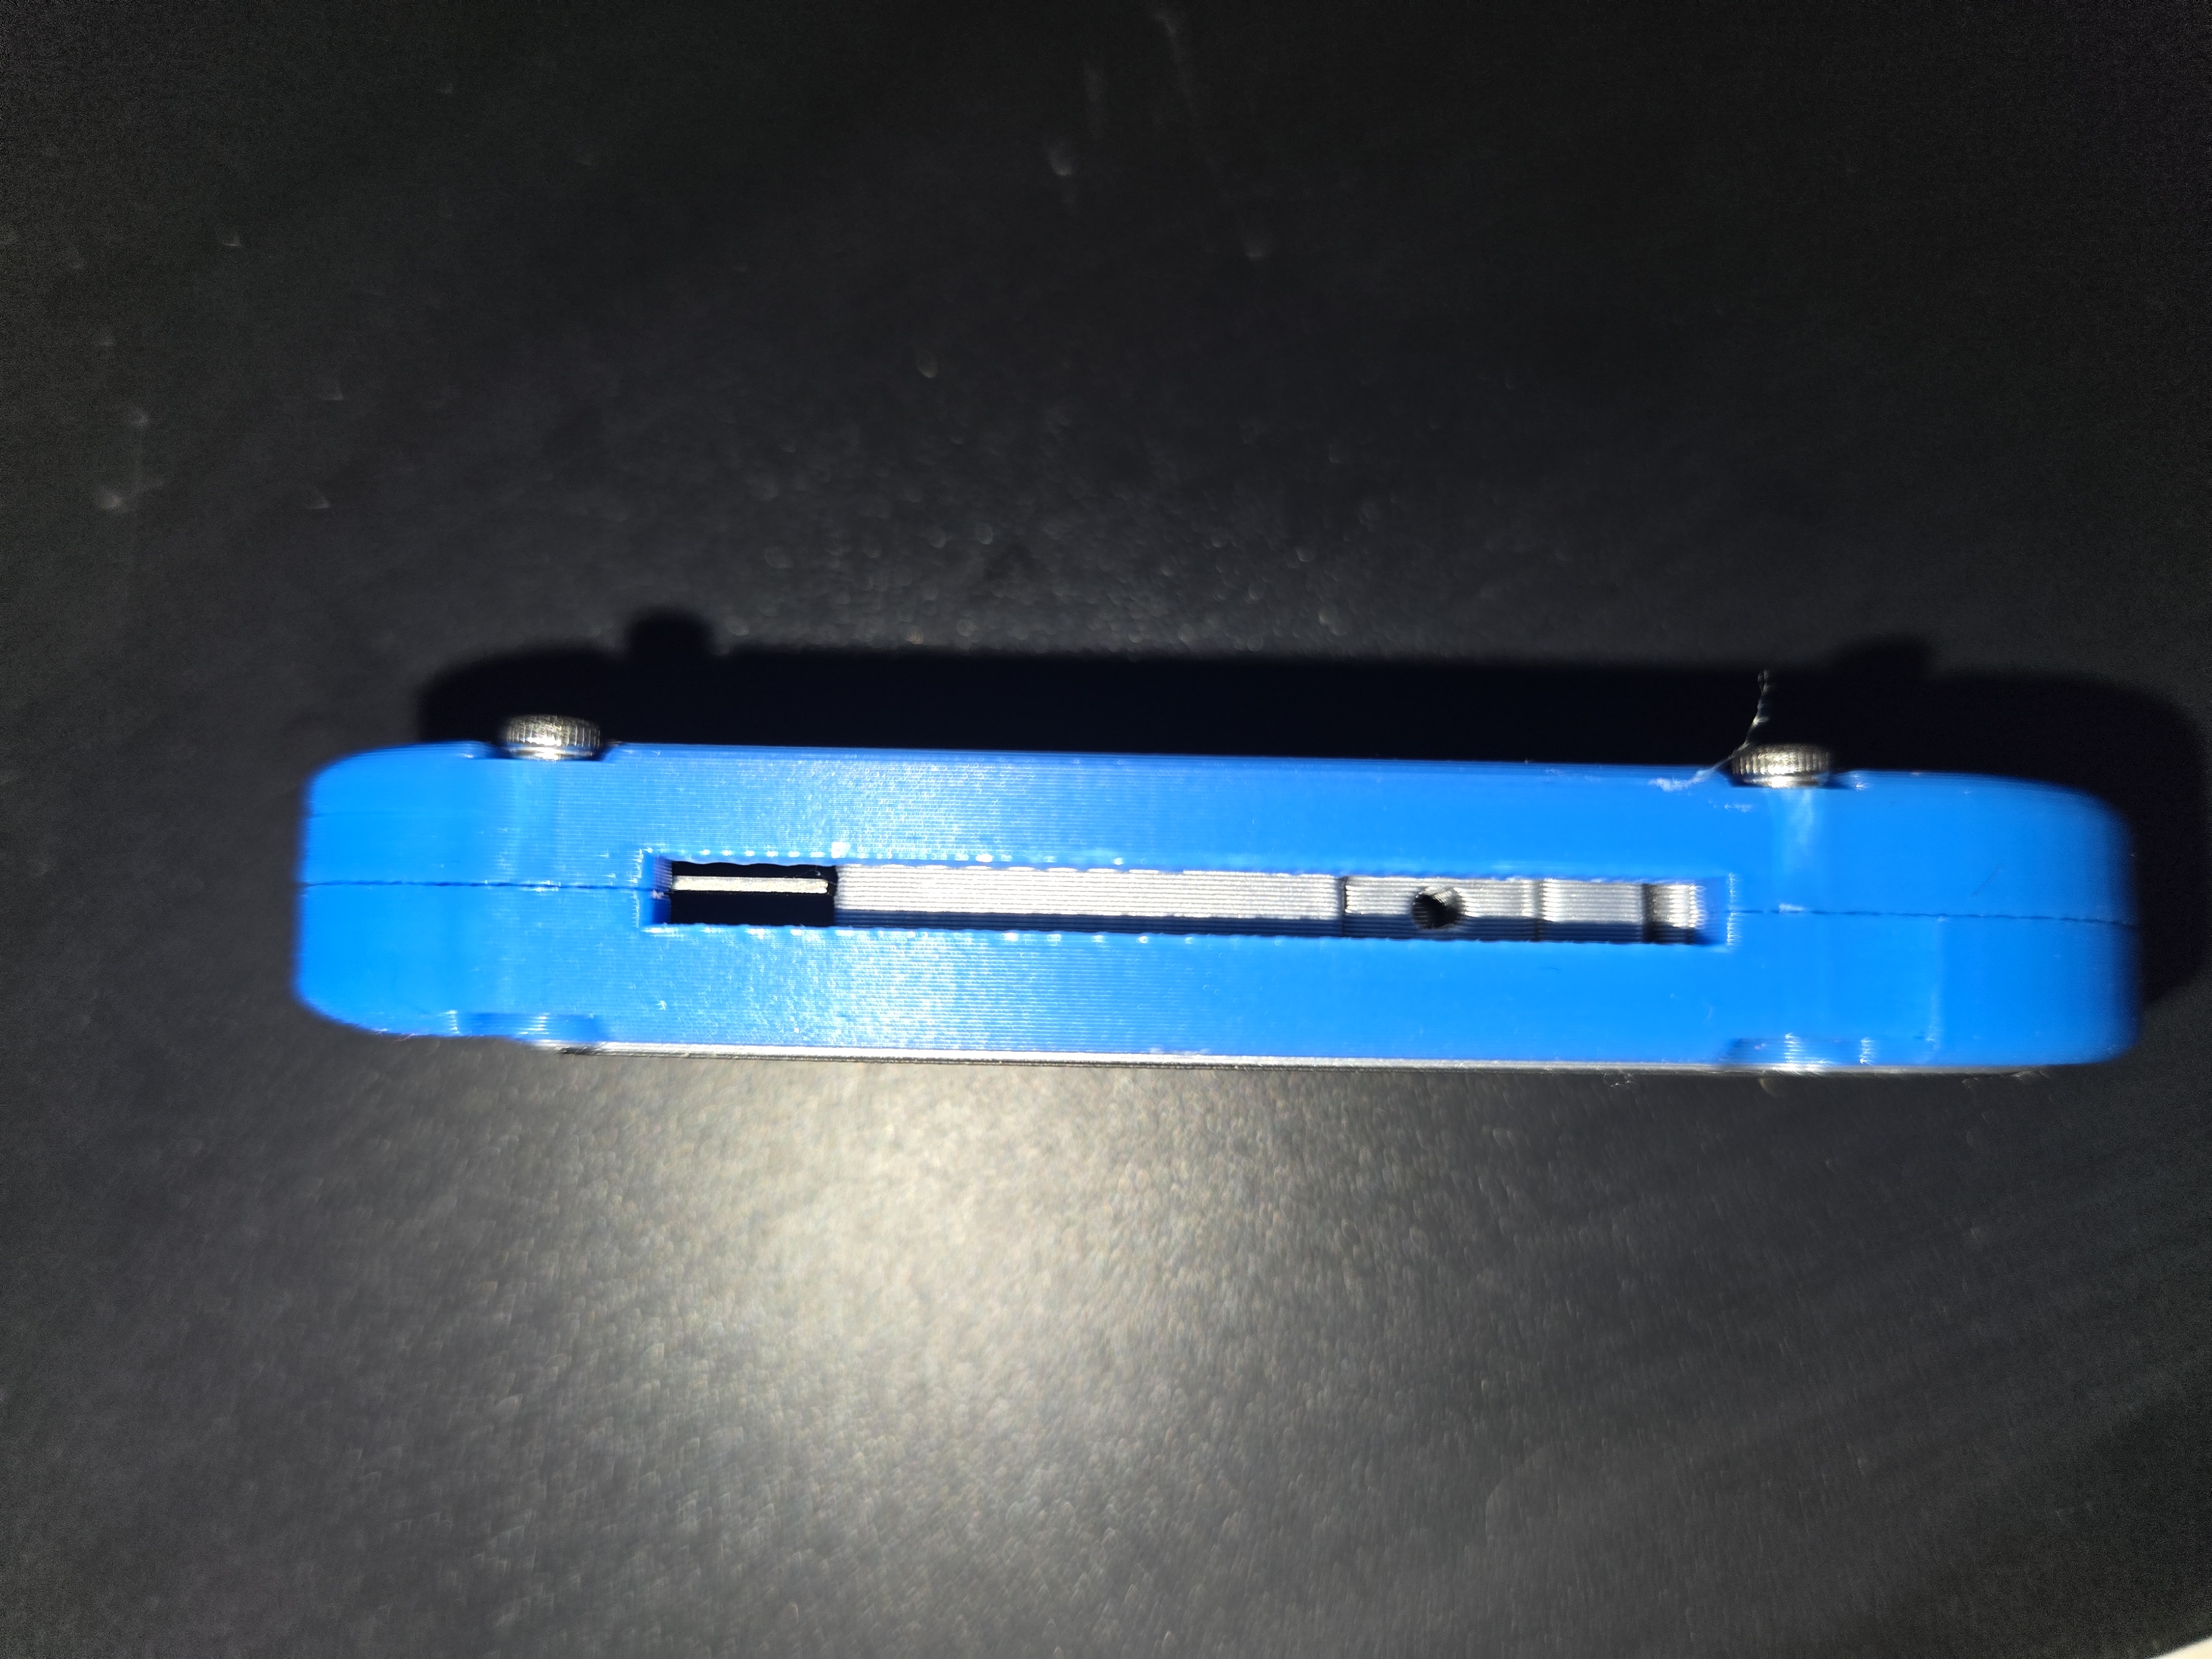
Ensure that the notches on the blade assembly can be seen through the incisions.
Use one M2*12 screw to fix the knob to the blade assembly.
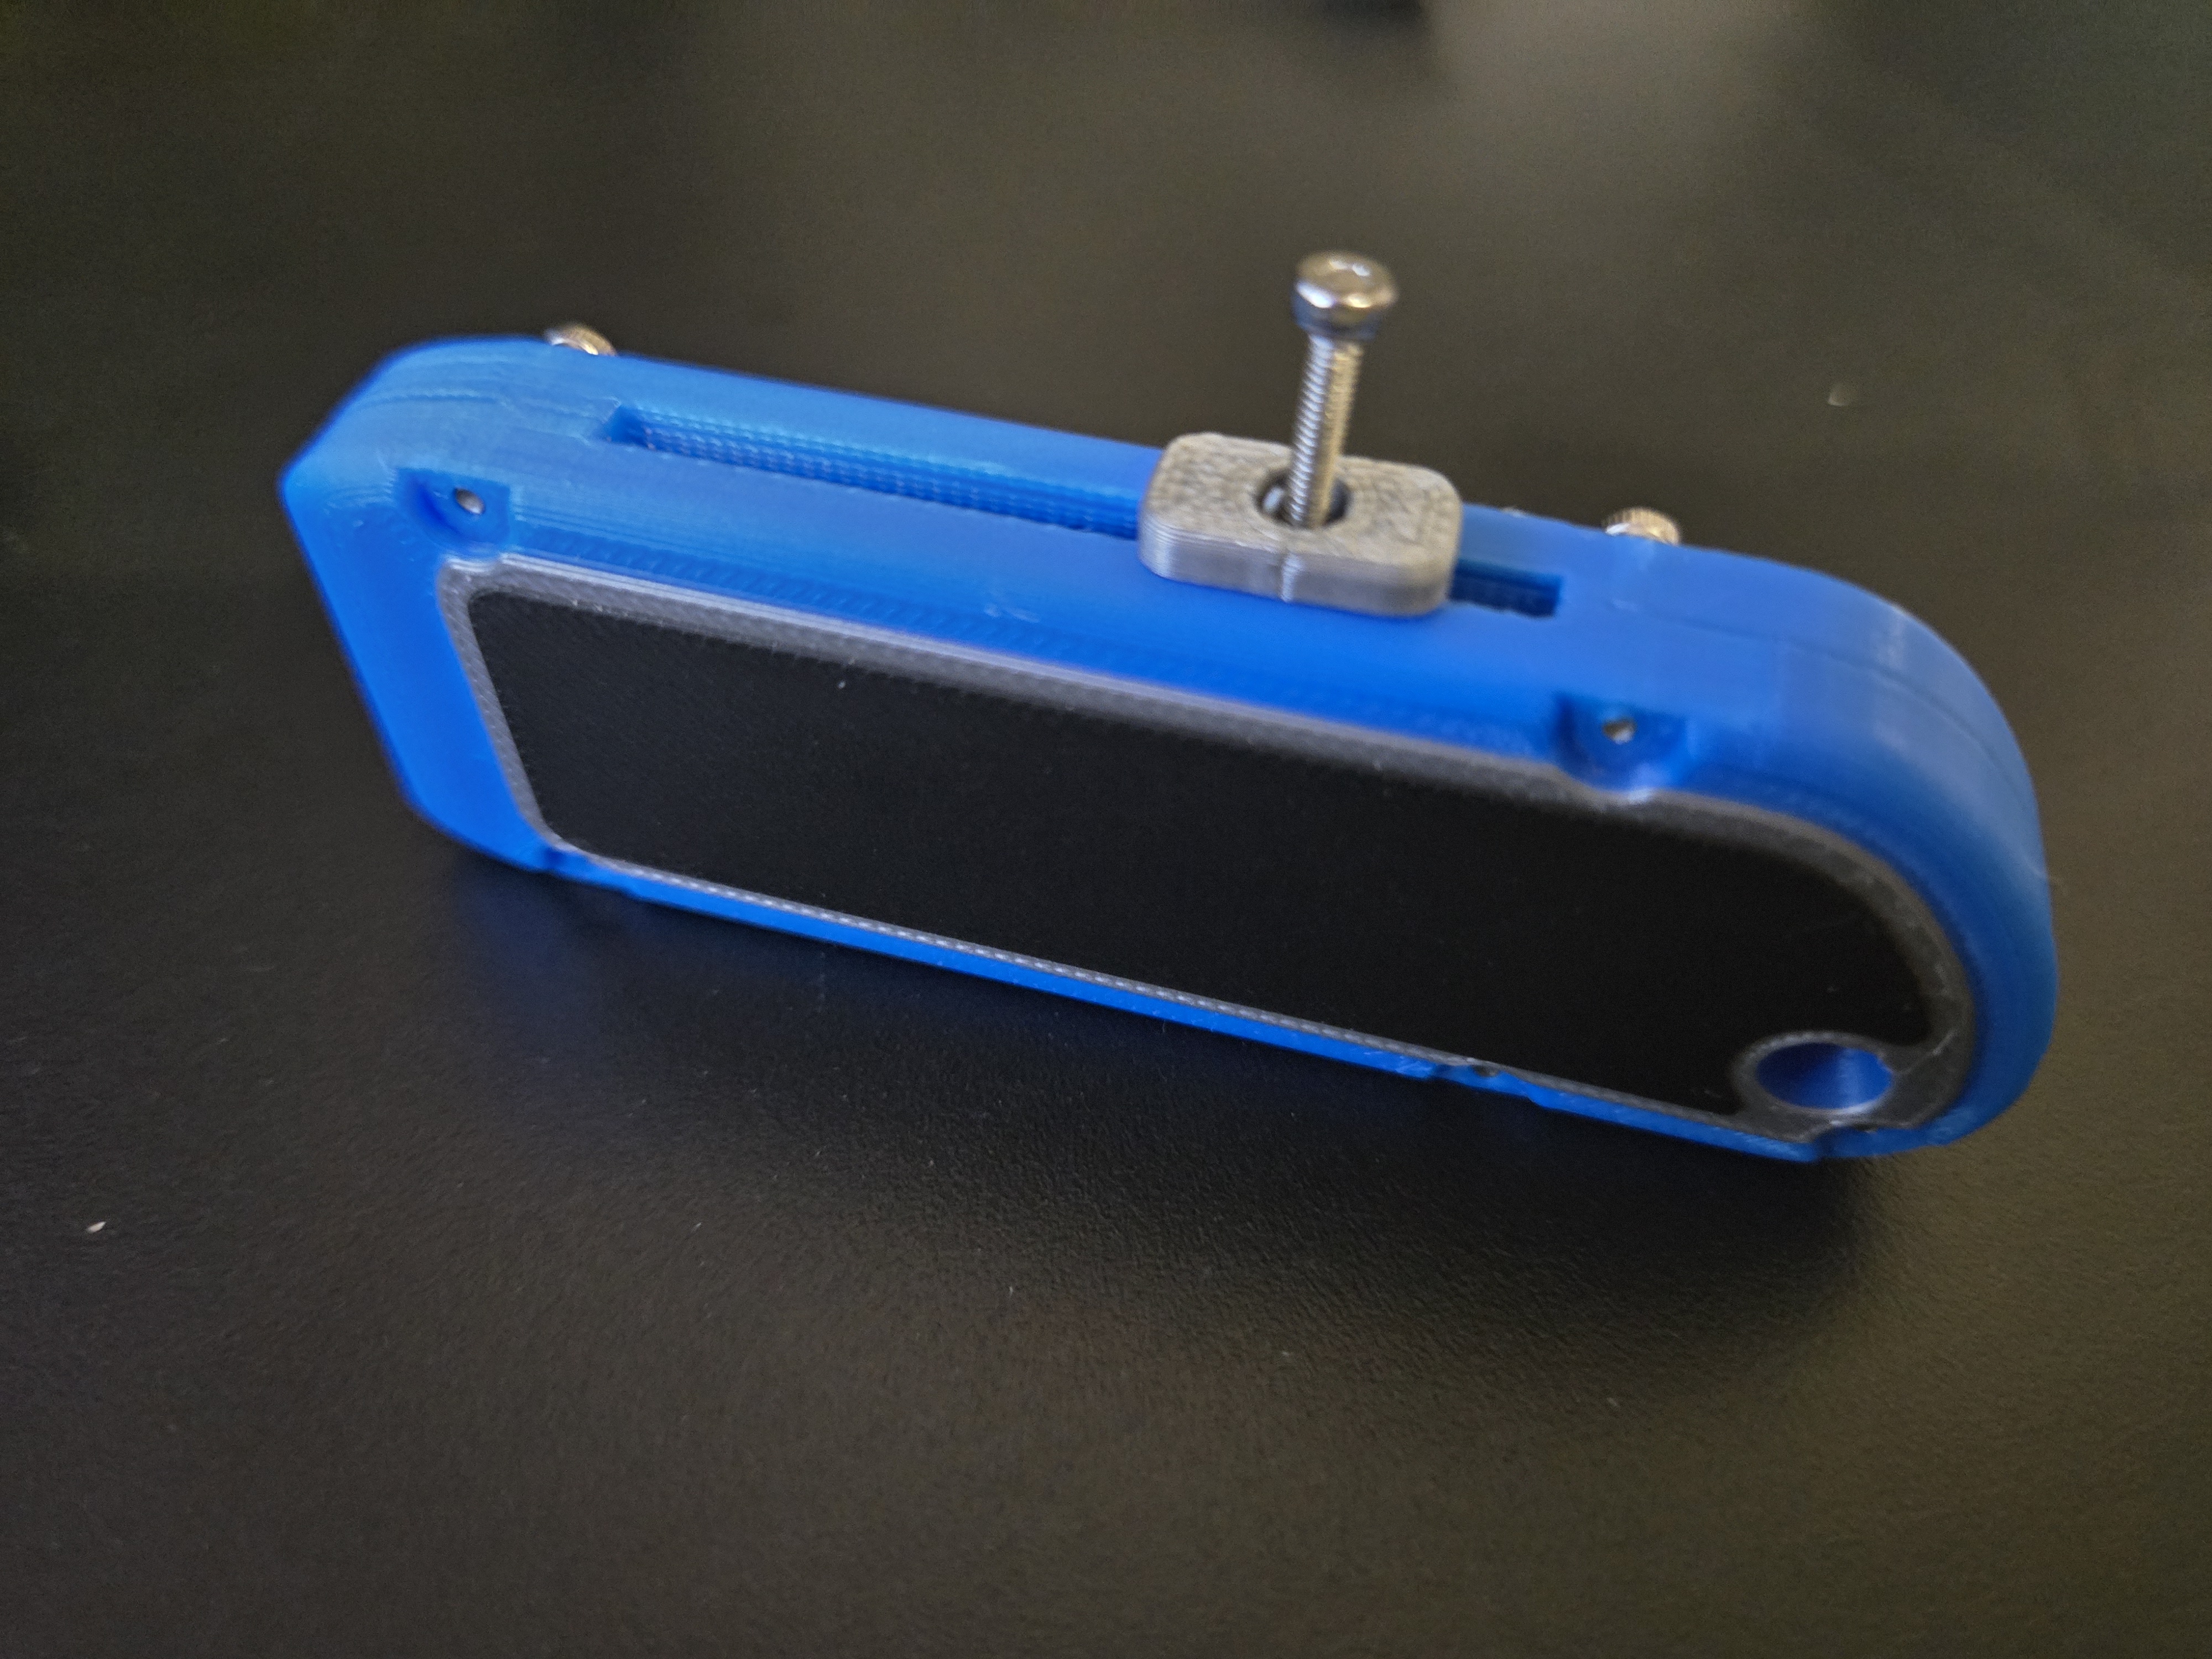
Done
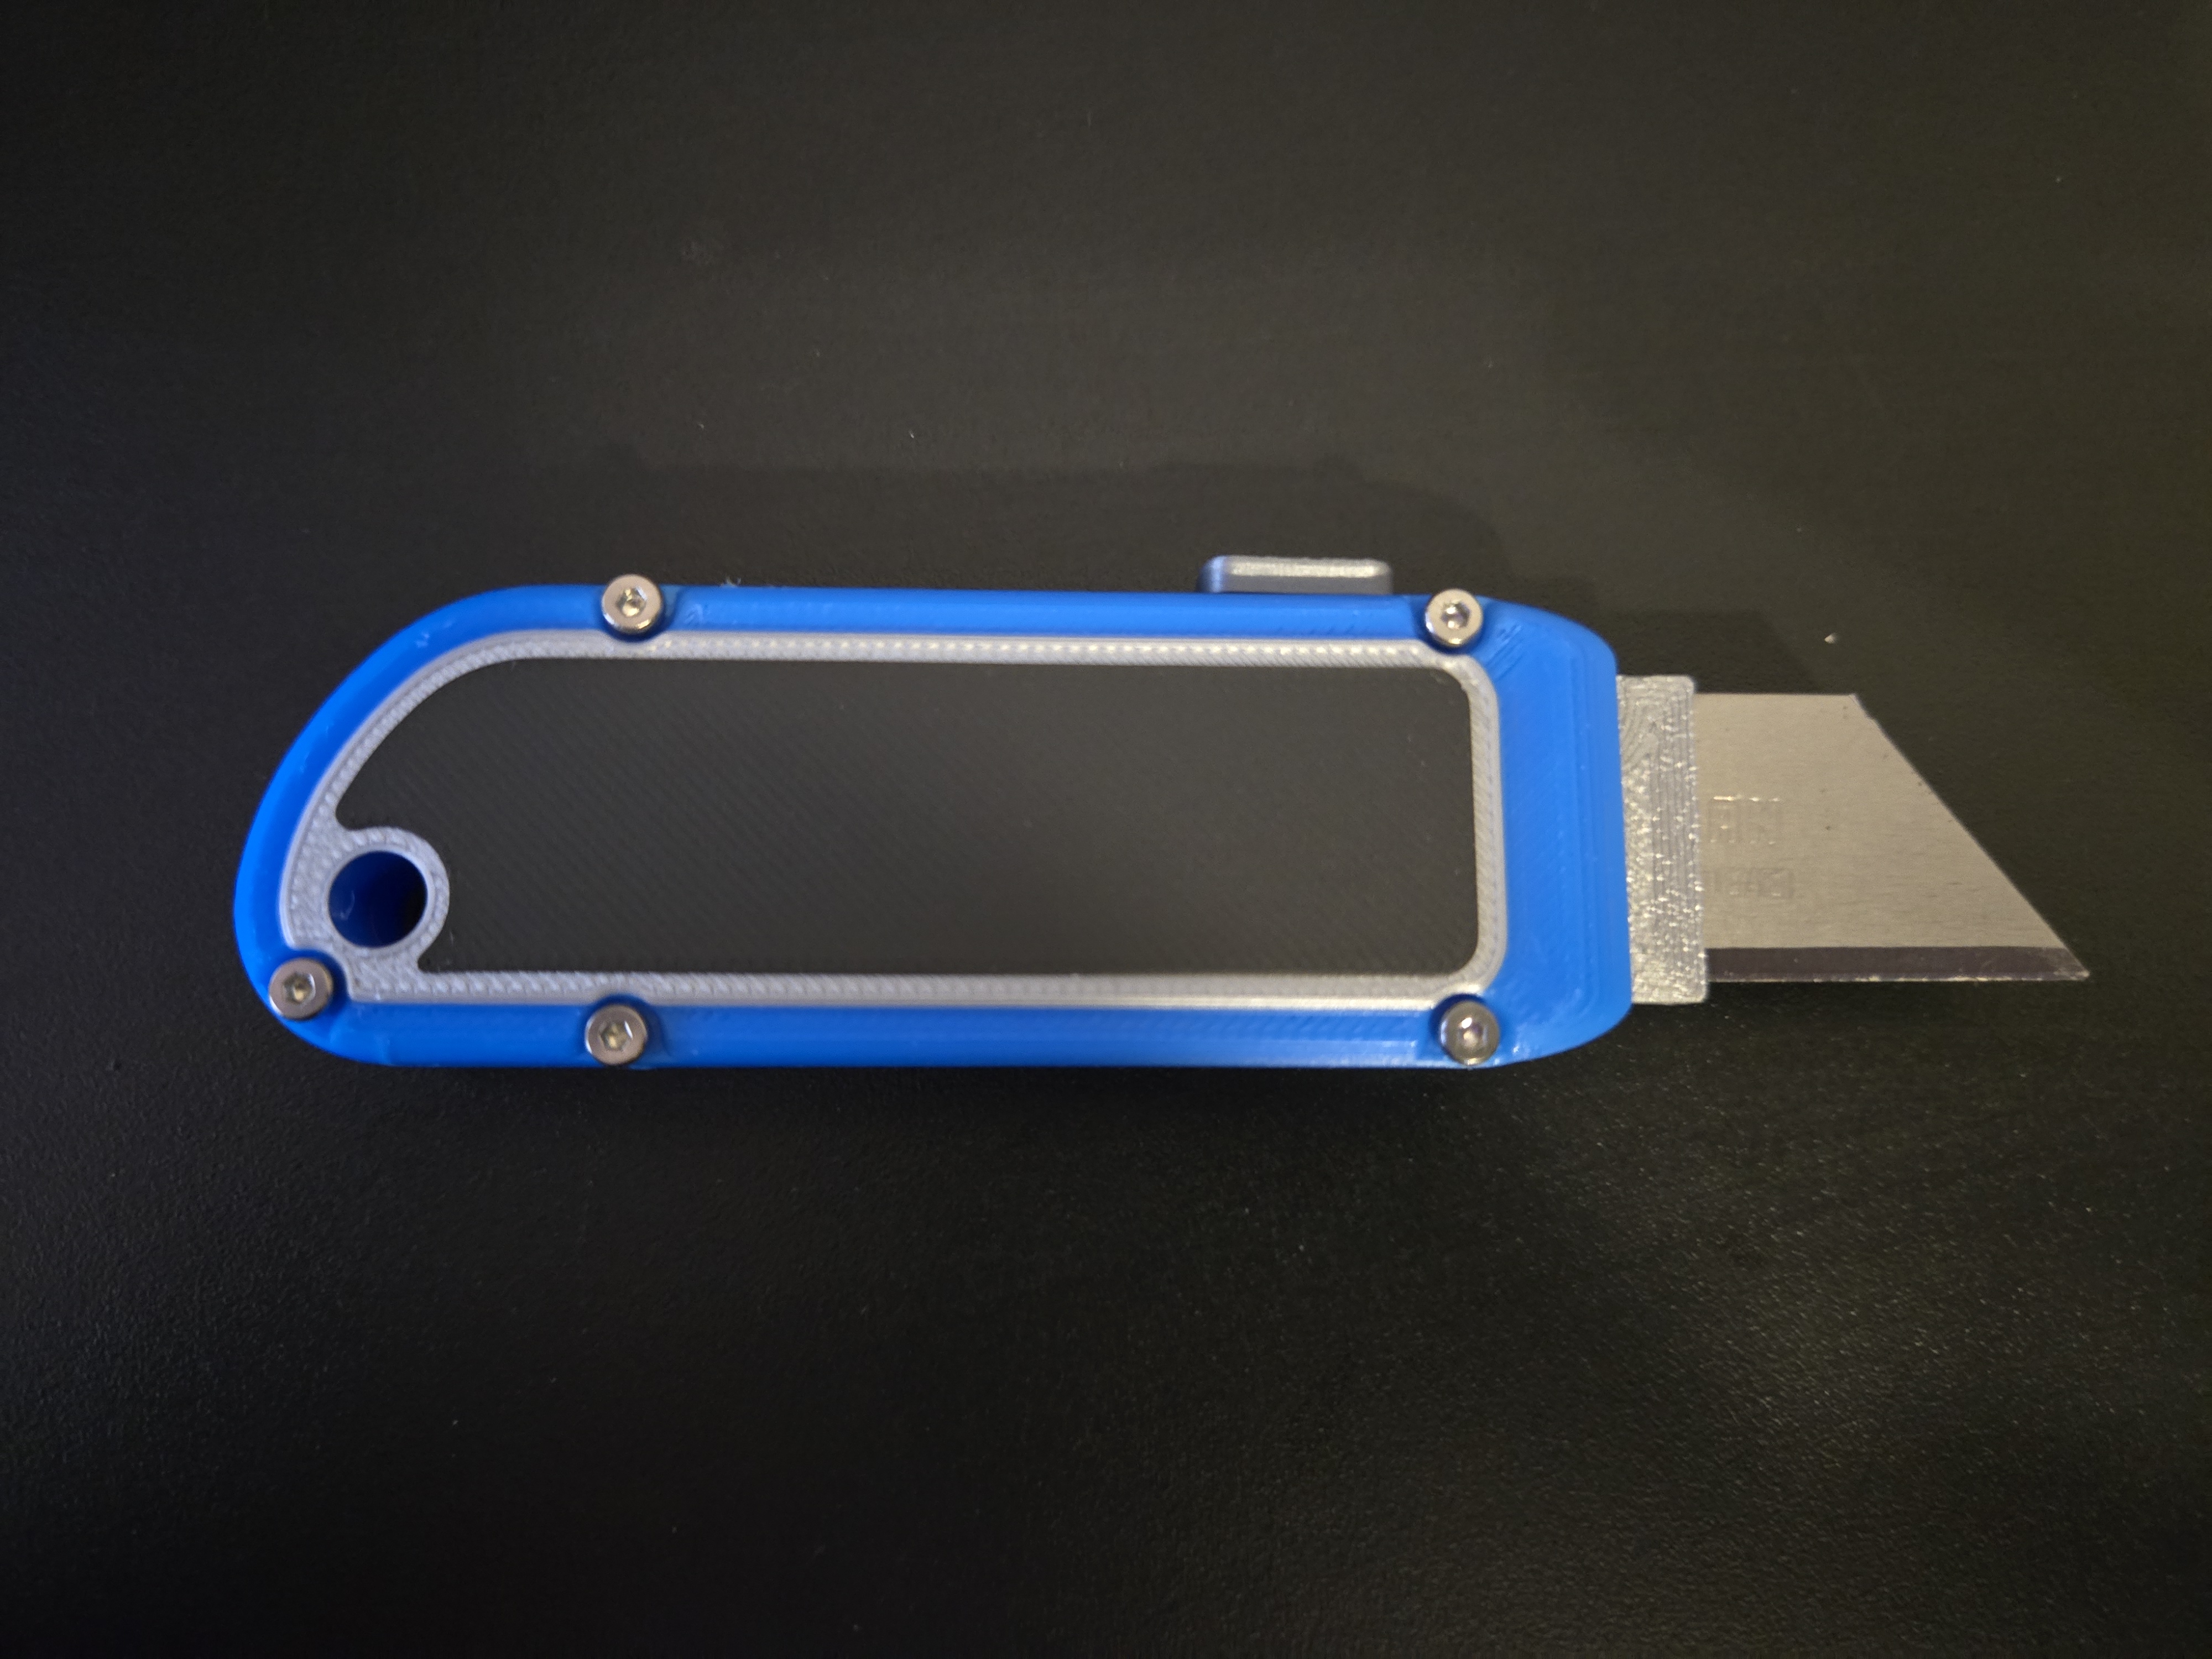
Supplementary Explanation
To replace the blade, please unscrew the knob and pull out the blade assembly. There's no need to disassemble the entire tool.
As time goes by and with wear and tear, the looseness of the blades in the tool will increase; replacing the blade holder can achieve a tight fit again.
The two halves of the print body need to be supported. Using the support interface can be helpful, but I've also achieved good results using dry consumables.
