
Twin can table lamp
Stark Society

Trouver des similitudes avec l'IA


Profil d’impression(0)
Fichier modèle(0)
 1
1 1
1 0
0
Publié:2025-12-26 17:36:23
0
0



 110
110The twin can table lamp is a modern design based on two cylinder (or cans) stacked upon each other.
I wanted the inside of the lamp to be white (or any other light color) and printing the shade with separate colors using an MMU or AMS isn't an option for me because of waste and very long printing times. So I designed it with two separate shades where the outer shade slides over the inner shade. Since the outer shade is removable you can swap it at any time for other colors.
You can also choose between a diffuser or a louver for the top end of the lamp and there is an optional lower diffuser.
Dimensions: 228mm x 124mm
These goals means that this lamp is not necessarily the most efficient lamp from a 3D printing perspective. It requires a fair bit of filament since there are two shades needed and there are also supports needed on one of the parts. However, I believe this to be a good compromise considering the results. The amount of filament used provides a nice weight to the lamp and the supports needed are not extensive.

You will need a E14 lamp holder kit with a screw collar. Check the measurements before printing.
The lamp cable should be a regular 2 core cable in order to fit snugly in the cable groove on the bottom of the foot.
Maximum width for the body of the lamp holder is 30 mm and 45 mm for the screw collar.
*** Please note that this model is only suitable for LED-bulbs up to 4W ***
The inner shade is supposed to fit quite snugly in the foot. If you are not sure about the precision of your printer, print the two test models first.
I have printed this in PLA and haven't had any issues with heat deforming the plastic. The bulbs I am using are completely comfortable to touch when lit so there should not be any problems. But your milage might vary, especially when using the upper diffuser which will not let through hot air upwards. So check that heat doesn't accumulate when the lamp has been on for a few hours.
Make sure that you use good quality filaments that are as opaque as possible, especially for the outer shade. I have found that cheaper filaments, while still having great printing properties, can contain less pigment, therefore being a bit more translucent. You do not want the light to bleed through the shades, it will not be a good look since the shades are not printed in vase mode.
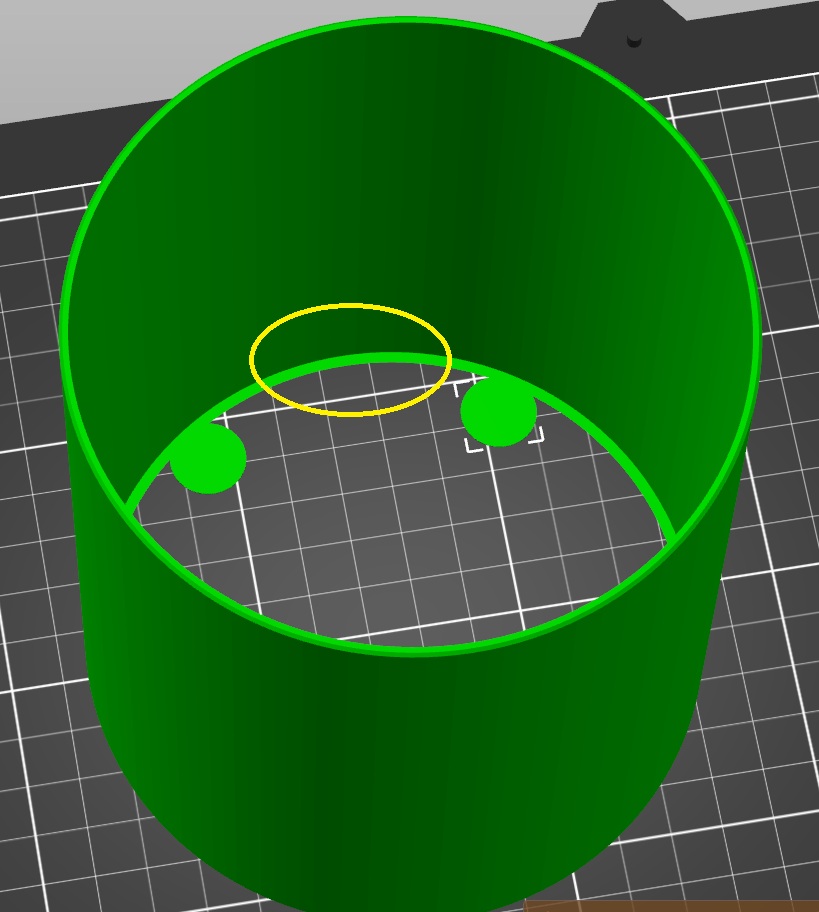
The louver, both diffusers and outer shade must be printed upside down. Check the outer shade twice since it has a lip on the top that is not very noticeable in the slicer, but this lip needs to be placed on the print bed.
There isn't a whole lot of area in contact with the bed so I also placed mouse ears on the inner edges of the outer shade.
