
Mechanical flow distributor, 5cc
LateDove

Trouver des similitudes avec l'IA
Profil d’impression(0)
Fichier modèle(0)
 0
0 0
0 0
0
Publié:2025-11-21 03:52:52
0
0
 000
000The dispensers previously launched were once widely popular, but in recent years, during actual use, people have gradually put forward many suggestions for improvement - more specifically, some optimization requirements for its workflow. For example, solder paste needs to be stored in a low-temperature refrigerator, but I usually prefer to divide the solder paste into small-sized syringes for use. For small-scale welding operations, I don't need much solder paste each time. Moreover, when using large syringes to squeeze and apply solder paste to the pads, it's often difficult to
Actually, I didn't originally plan to develop this device, because I'm currently focused on researching and developing an electric dispensing device. However, by chance, I suddenly realized that such a compact and convenient dispensing tool also has great potential. Moreover, the entire process from design to production didn't take long. As for the electric dispensing and solder paste mixing device, I will introduce it in detail after I finish the subsequent research and development. At present, the battery components are still under development. Please stay tuned for more details...
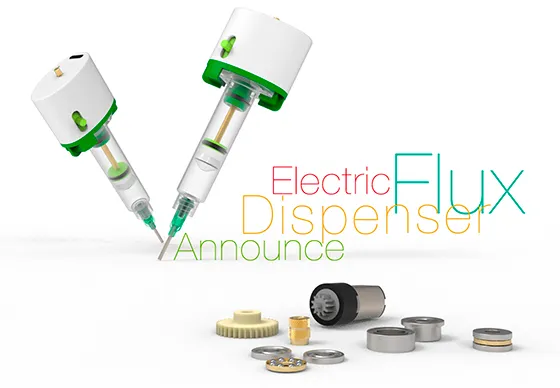
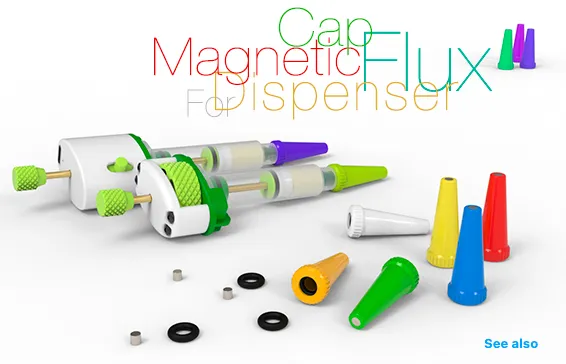
As you can see, the entire set of equipment is almost entirely made up of 3D-printed parts—strictly speaking, only a small number of parts were printed, while most of the rest are precision components that have been carefully designed and processed. The reason we chose the injection adapter specifically for pneumatic dispensers as the foundation is precisely because of its structural reliability and practicality. By the way, although pneumatic dispensers perform excellently in dispensing operations on large-scale workpieces, they inevitably fall short when dealing with delicate small workpieces—not only do they require
I believe even a novice can easily assemble this dispenser. The only thing to pay attention to may be a seemingly insignificant but crucial detail: when installing the syringe, it is necessary to open a small airway groove on the piston O-ring to allow air to flow smoothly. Apart from that, the remaining steps are much simpler - how to drill holes and how to cut, I'm sure you all already have a good grasp of it, right?
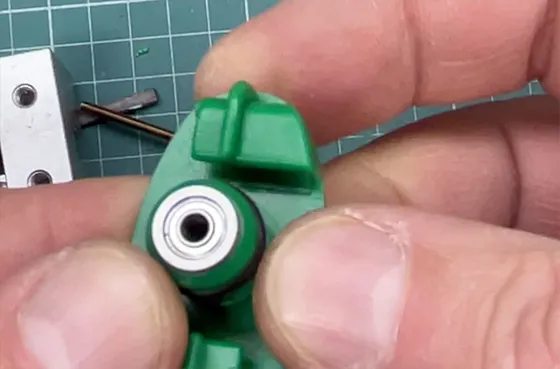
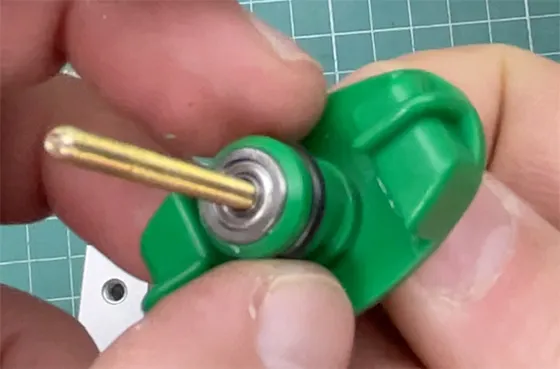
Next, let's first take a look at the materials reserved for the next project and the key points of the adapter processing process. The overall process is not much different from before, except that the depth of the bearing hole is slightly different.
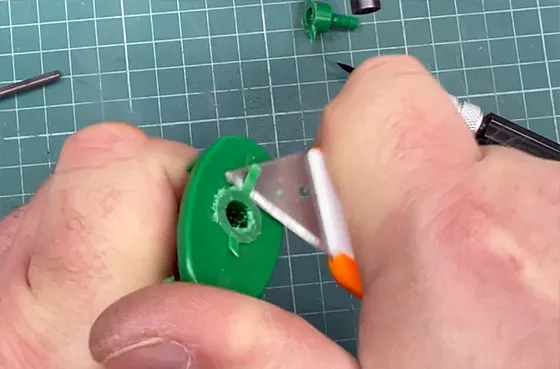
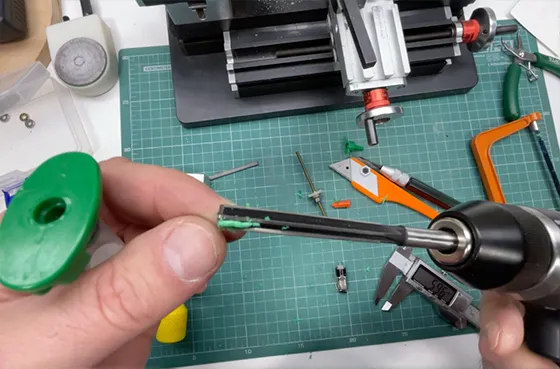
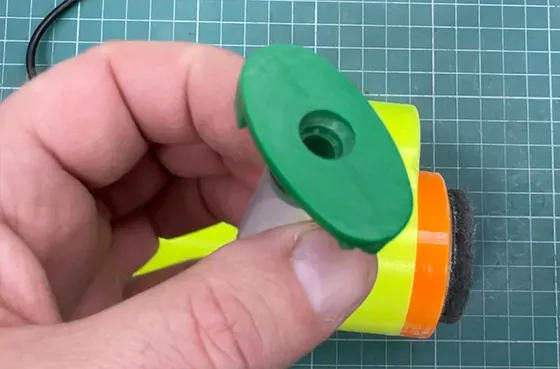
For more details, please watch the video:
If you also like this little gadget, why not give it a thumbs-up to let me know you love it!
 project-files.zip syringe-adapter-mechanical-printable-stl.zip
