
Chess board
planefashion

Encuentre similares con IA


Perfil de impresión(0)
Archivo de modelo(0)
 3
3 3
3 0
0
Publicado:2025-03-22 00:58:55
1
0
 330
330This chessboard is designed to be compact and easy to assemble, making it portable. The chess pieces can be stored inside the chessboard, and when it's closed, it looks just like a travel case.
You can freely copy, modify, and even sell this chessboard.
The entire set of chessboard supplies weighs less than 1kg, but it requires at least two colors, so there are even fewer supplies for each color.
There are multiple versions of this chessboard, and you can choose the one you like best.
To add more fun, I suggest you assemble chess pieces with magnets, so that the pieces can stick to the chessboard.
The version without a magnet has the advantages of being cheaper and requiring less assembly time.
You can use the MMU to print a set of 4x4 chess squares, which can greatly simplify your work and save you time.
If your printer doesn't have an MMU, don't worry. My printer doesn't have an MMU either. I've added a STL file of a single unit's chessboard, and you can print them separately and then glue them together one by one. This method requires more effort and takes longer.
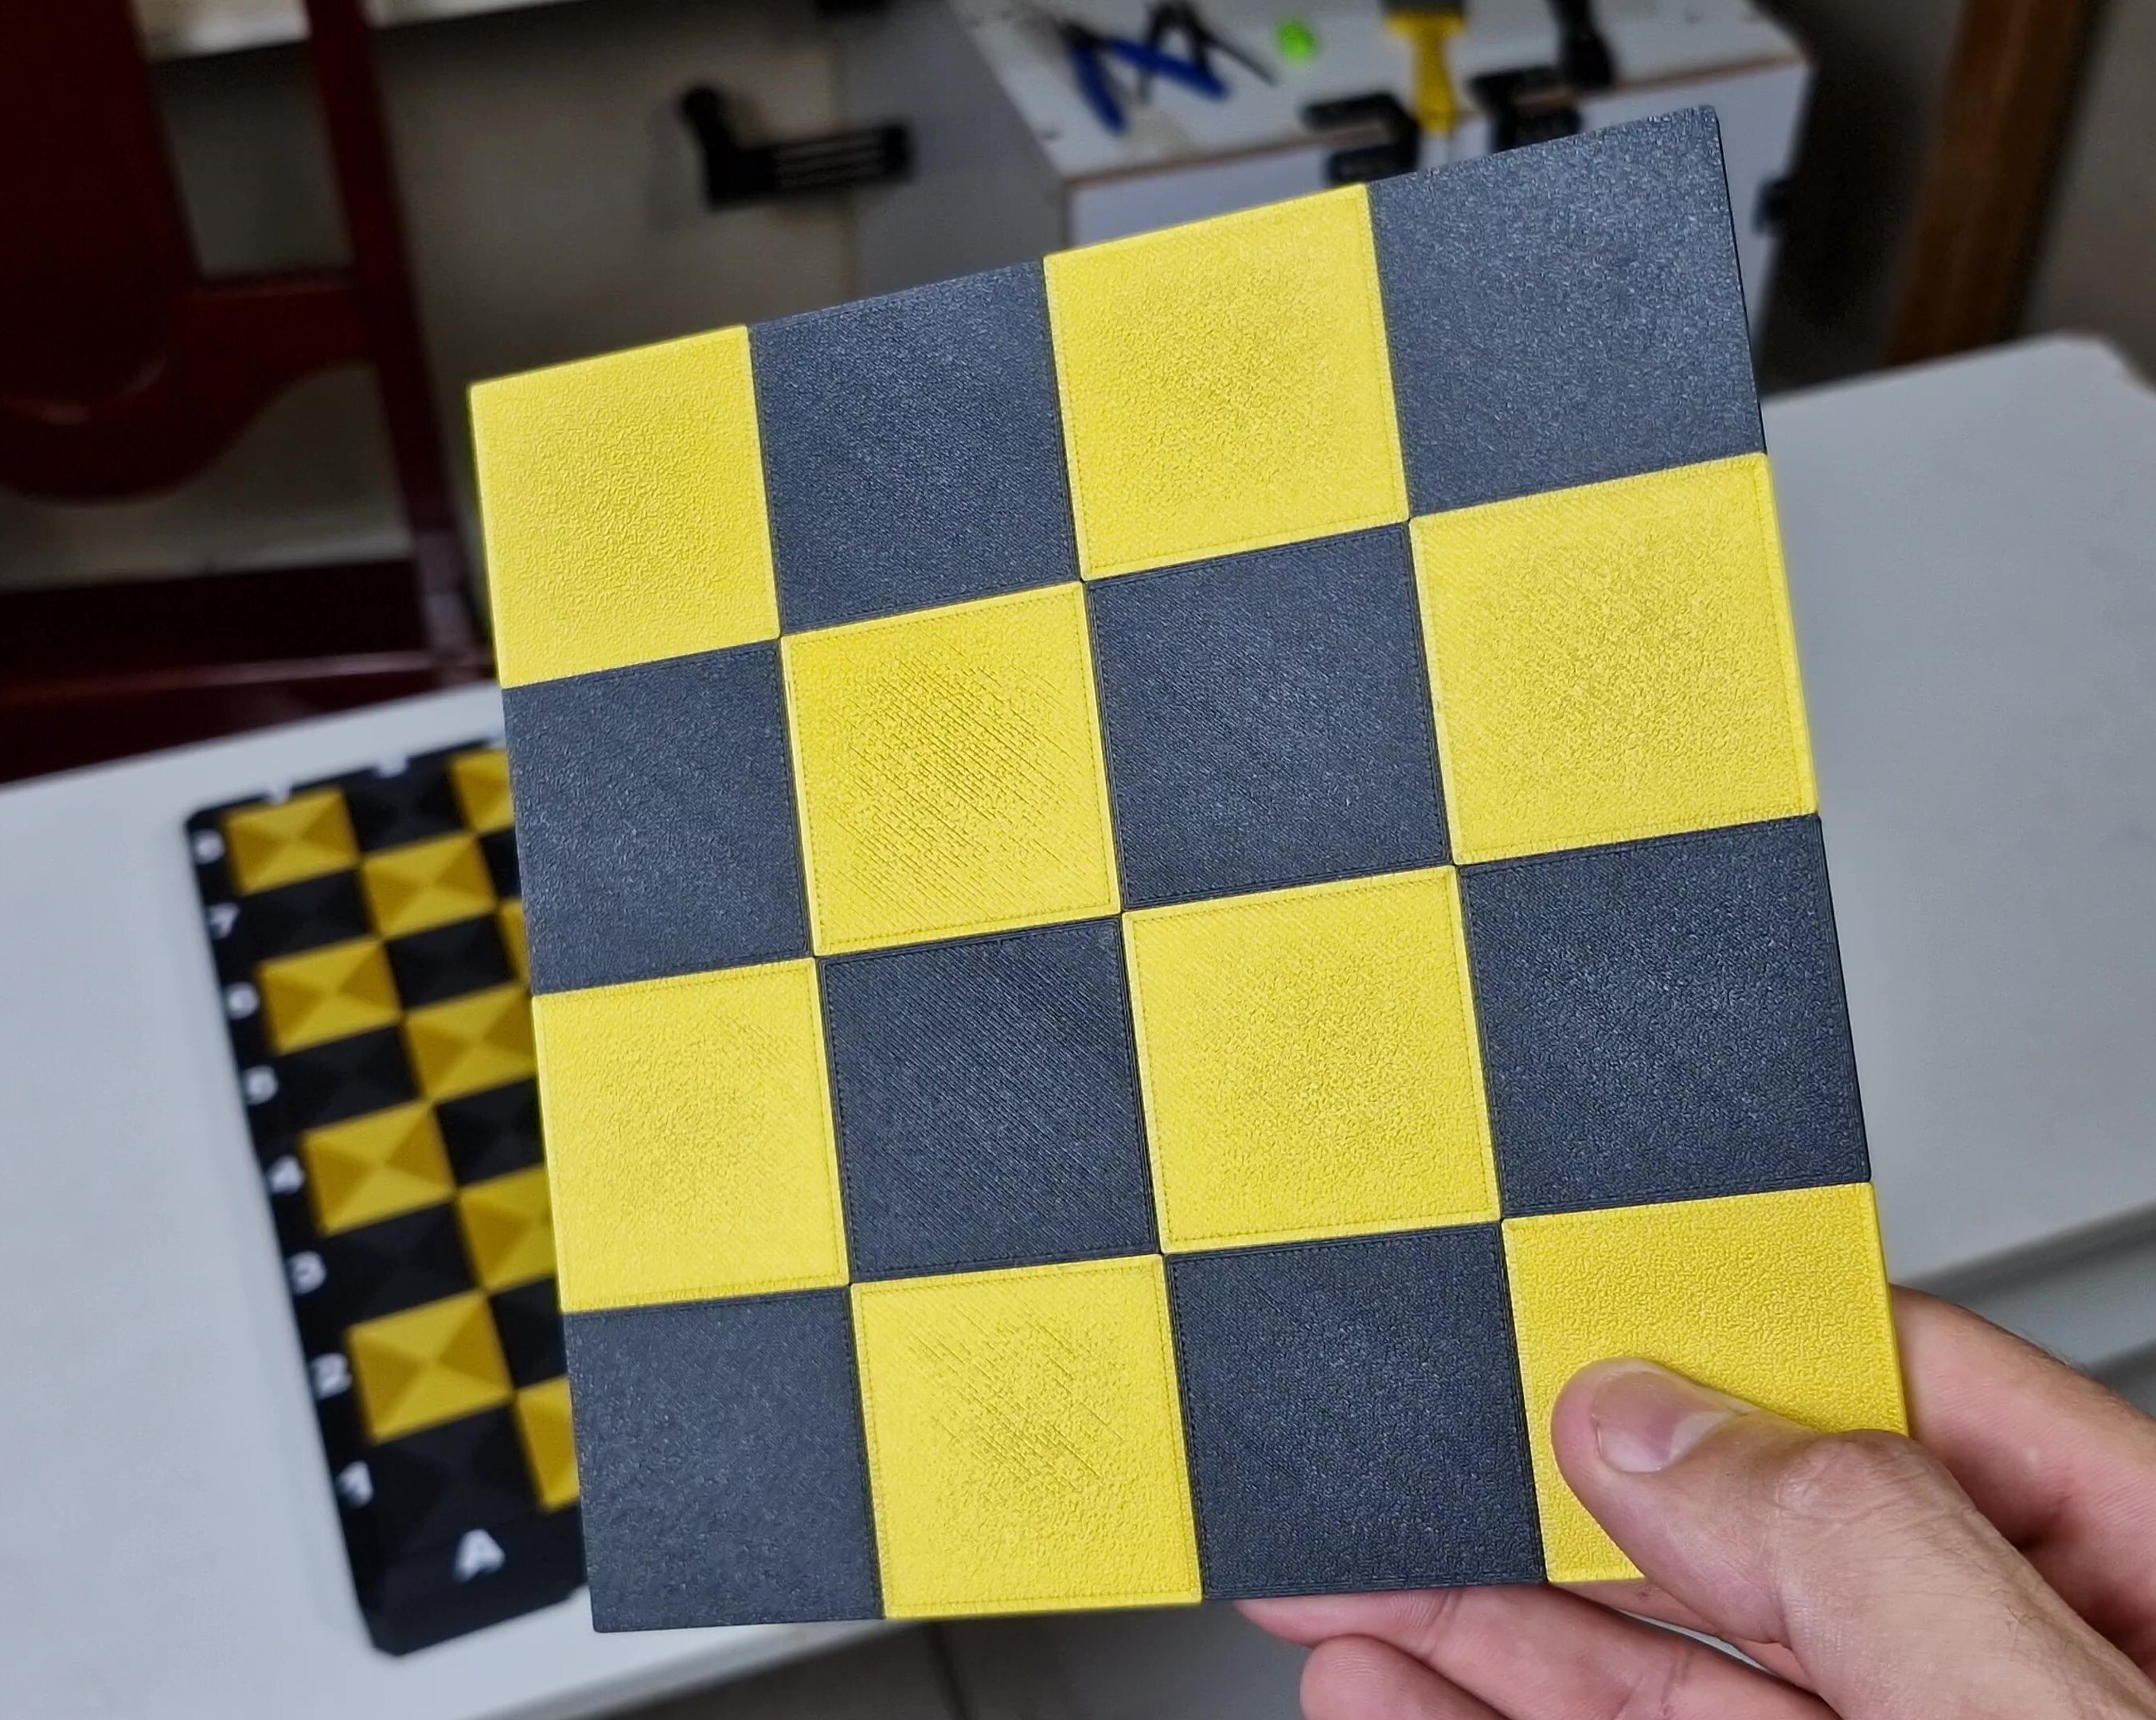
* If you have a color printer, your work will be much easier, because you can print this 4x4 chess grid model in one go, and then print four such models to assemble your complete chessboard.
Print settings:
Box/Checkered Pattern:
Nozzle: 0.4
Floor height: 0.3mm
Perimeter: 3
Horizontal wall thickness
Fill: 25%
Chess pieces:
Floor height: 0.2mm
Perimeter: 5
Horizontal wall thickness
Fill: 25%
*Before starting the assembly, please print the "calibrator", as these parts have magnetic grooves. Using the "calibrator", you can check whether the magnets can be perfectly installed on the parts. If the magnets are not suitable, please adjust the thickness of the calibrator and apply the same adjustment to the chessboard file.
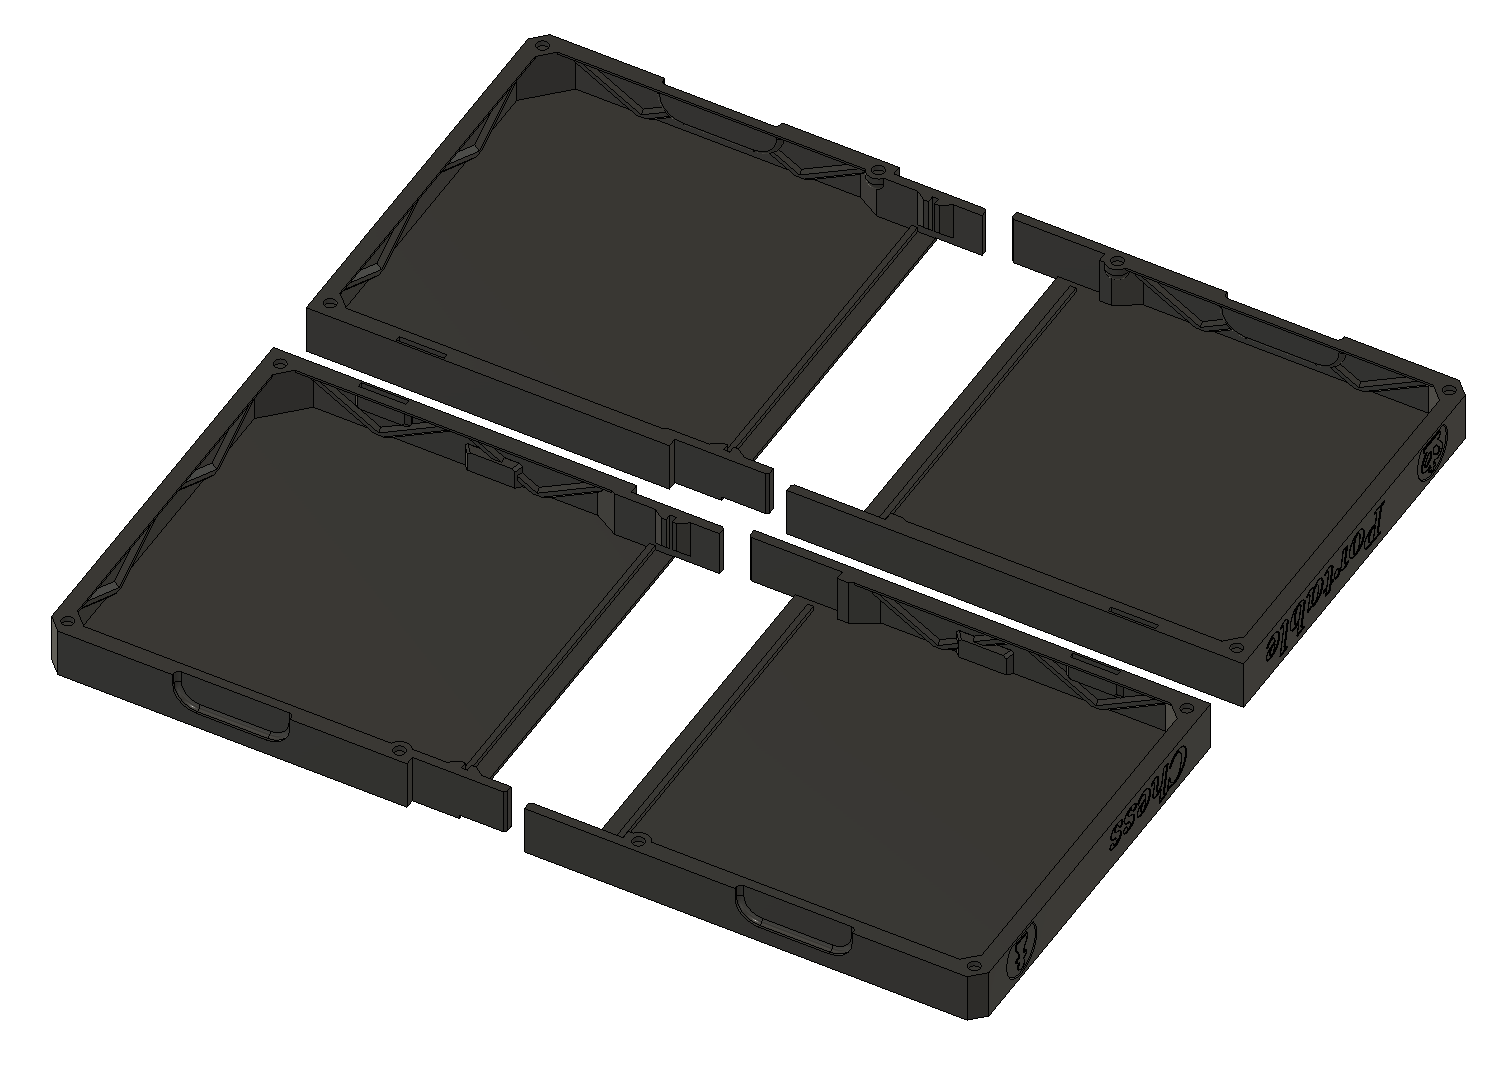
This is the order of assembling the chessboard.
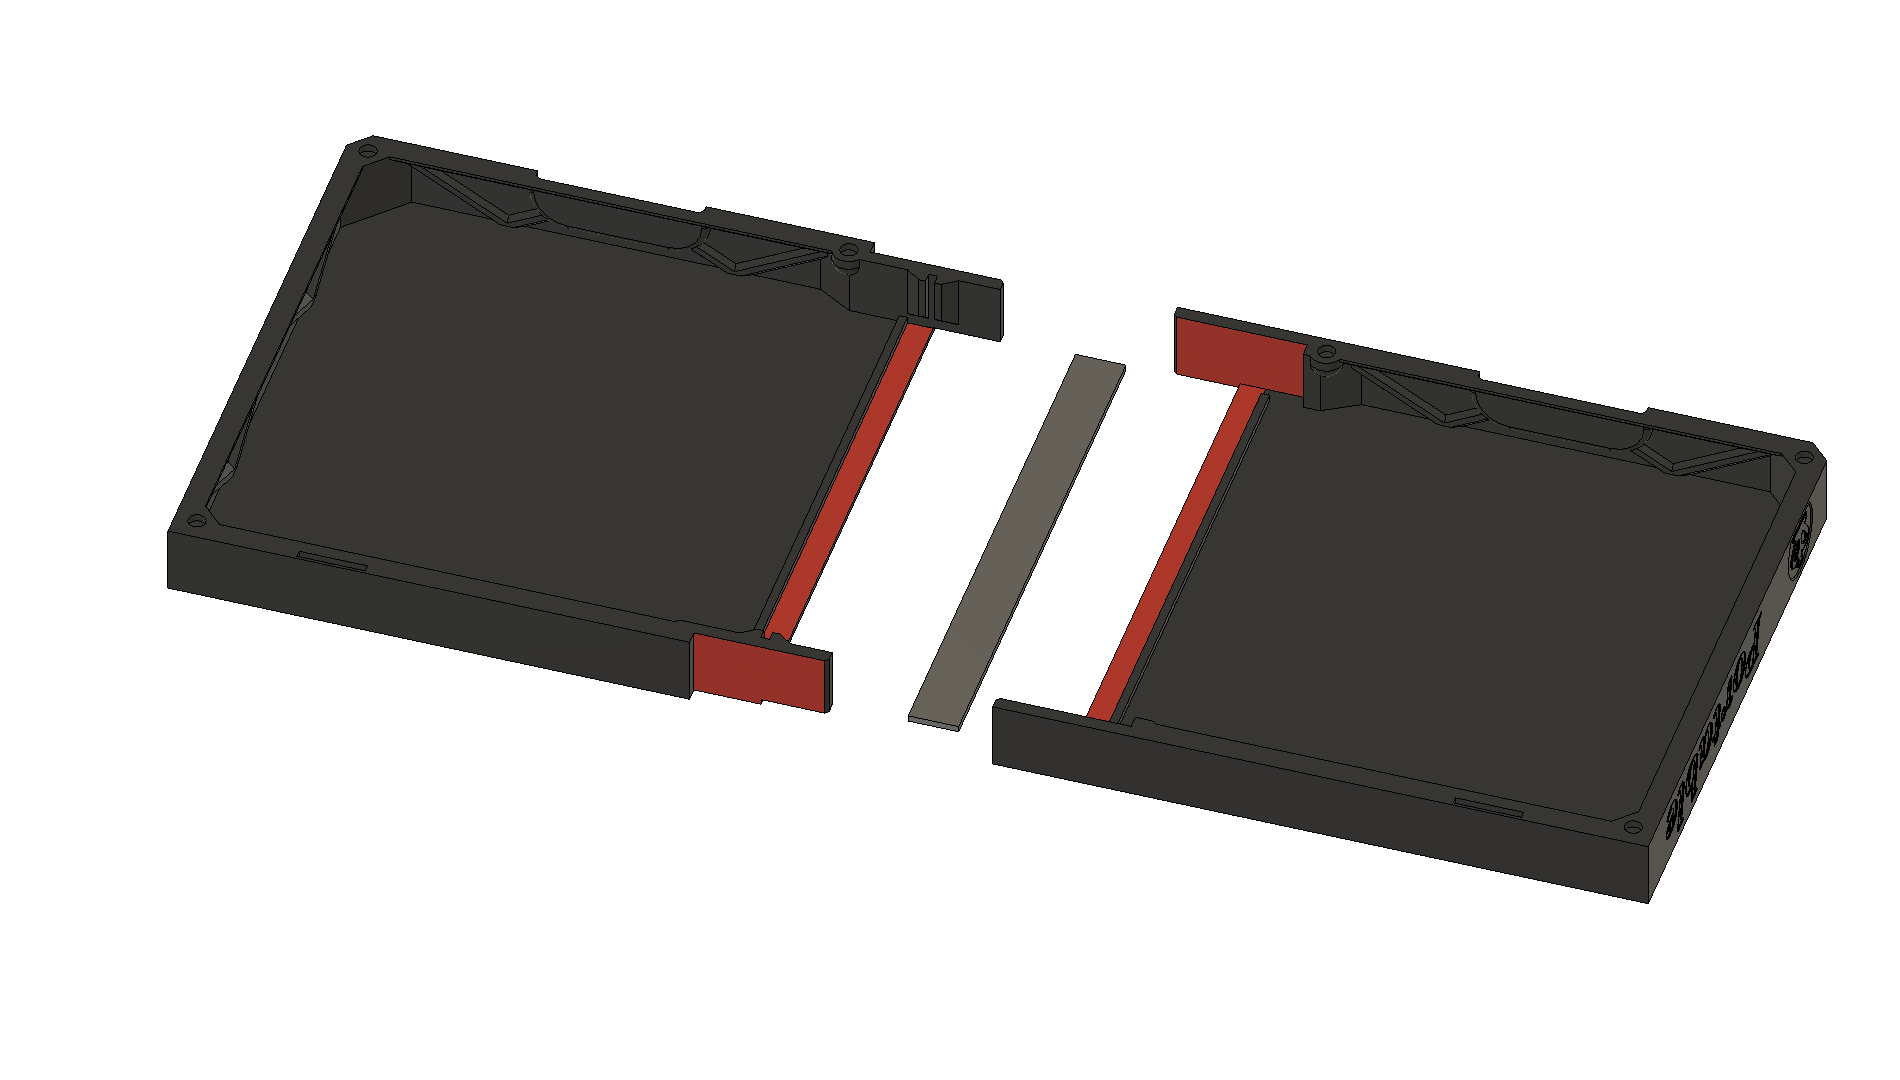
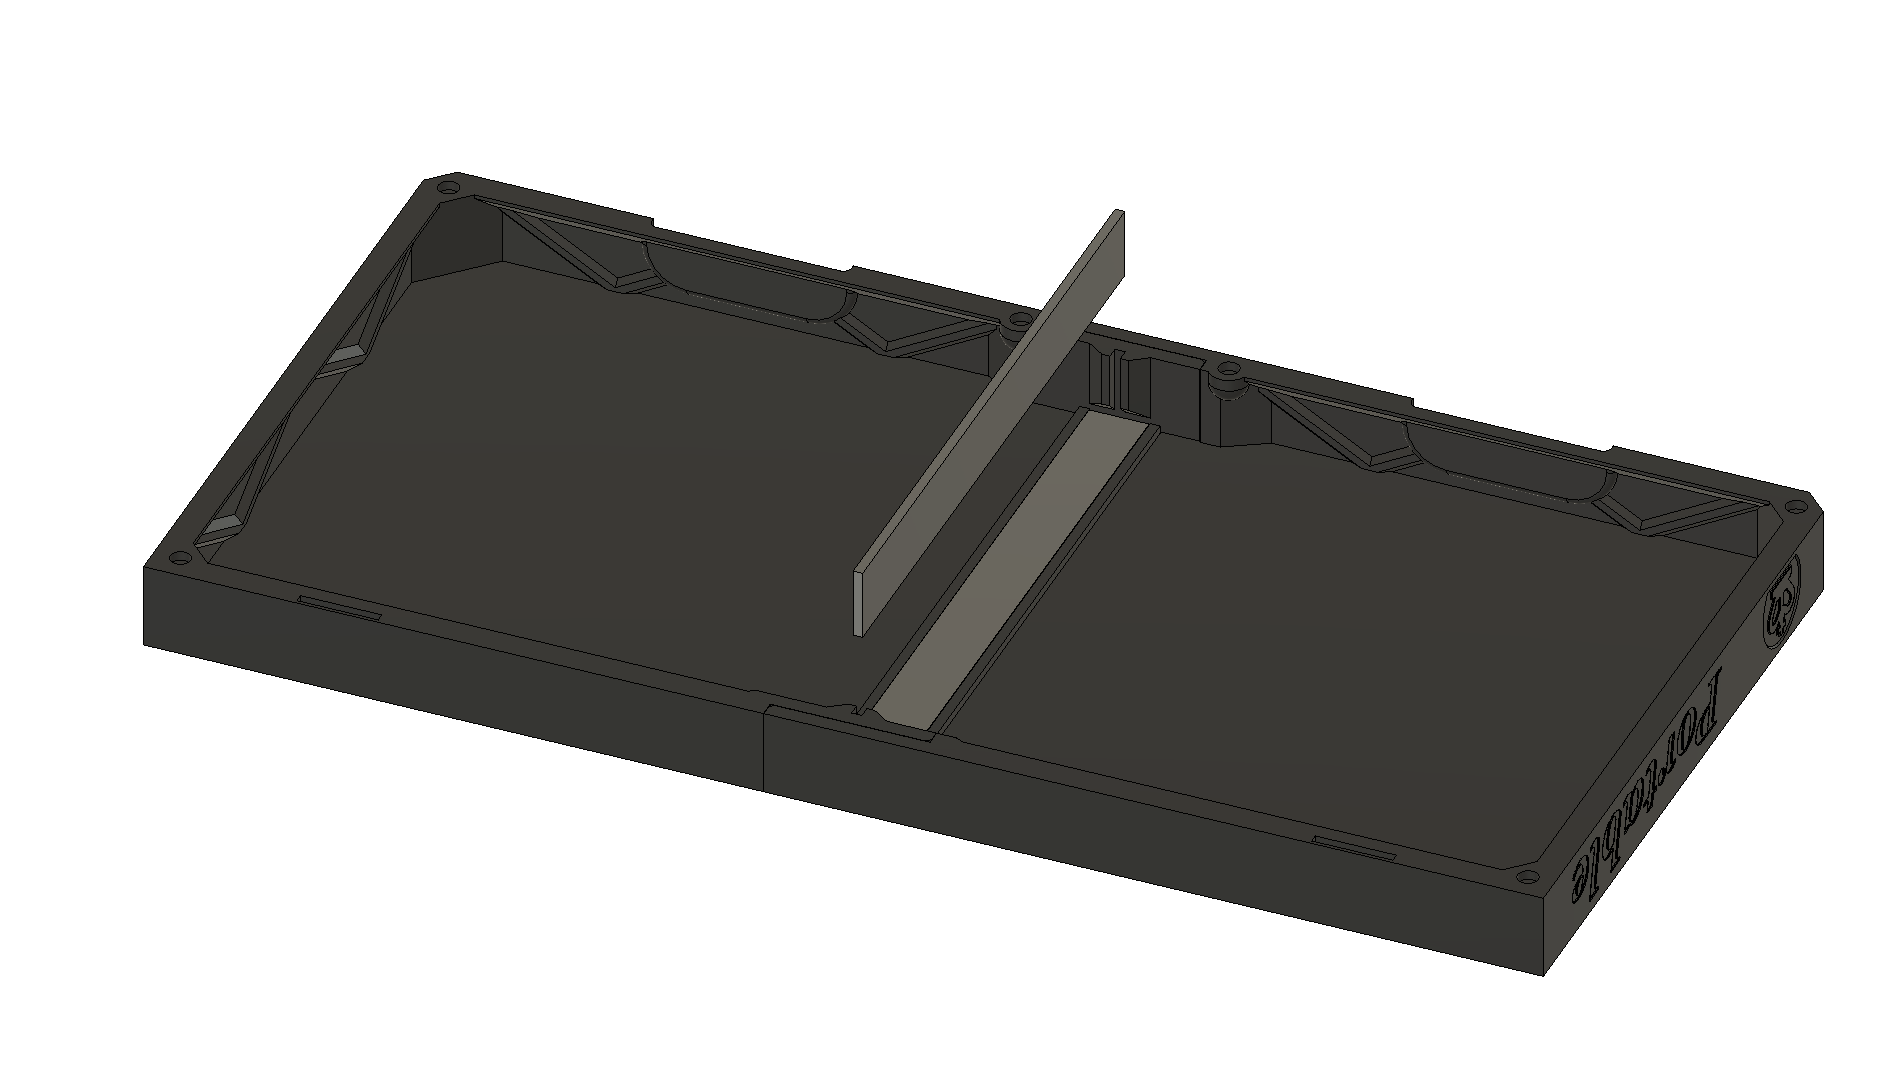
Install the end of "Sheet A" between "Box 1" and "Box 2". Apply glue to the red area.
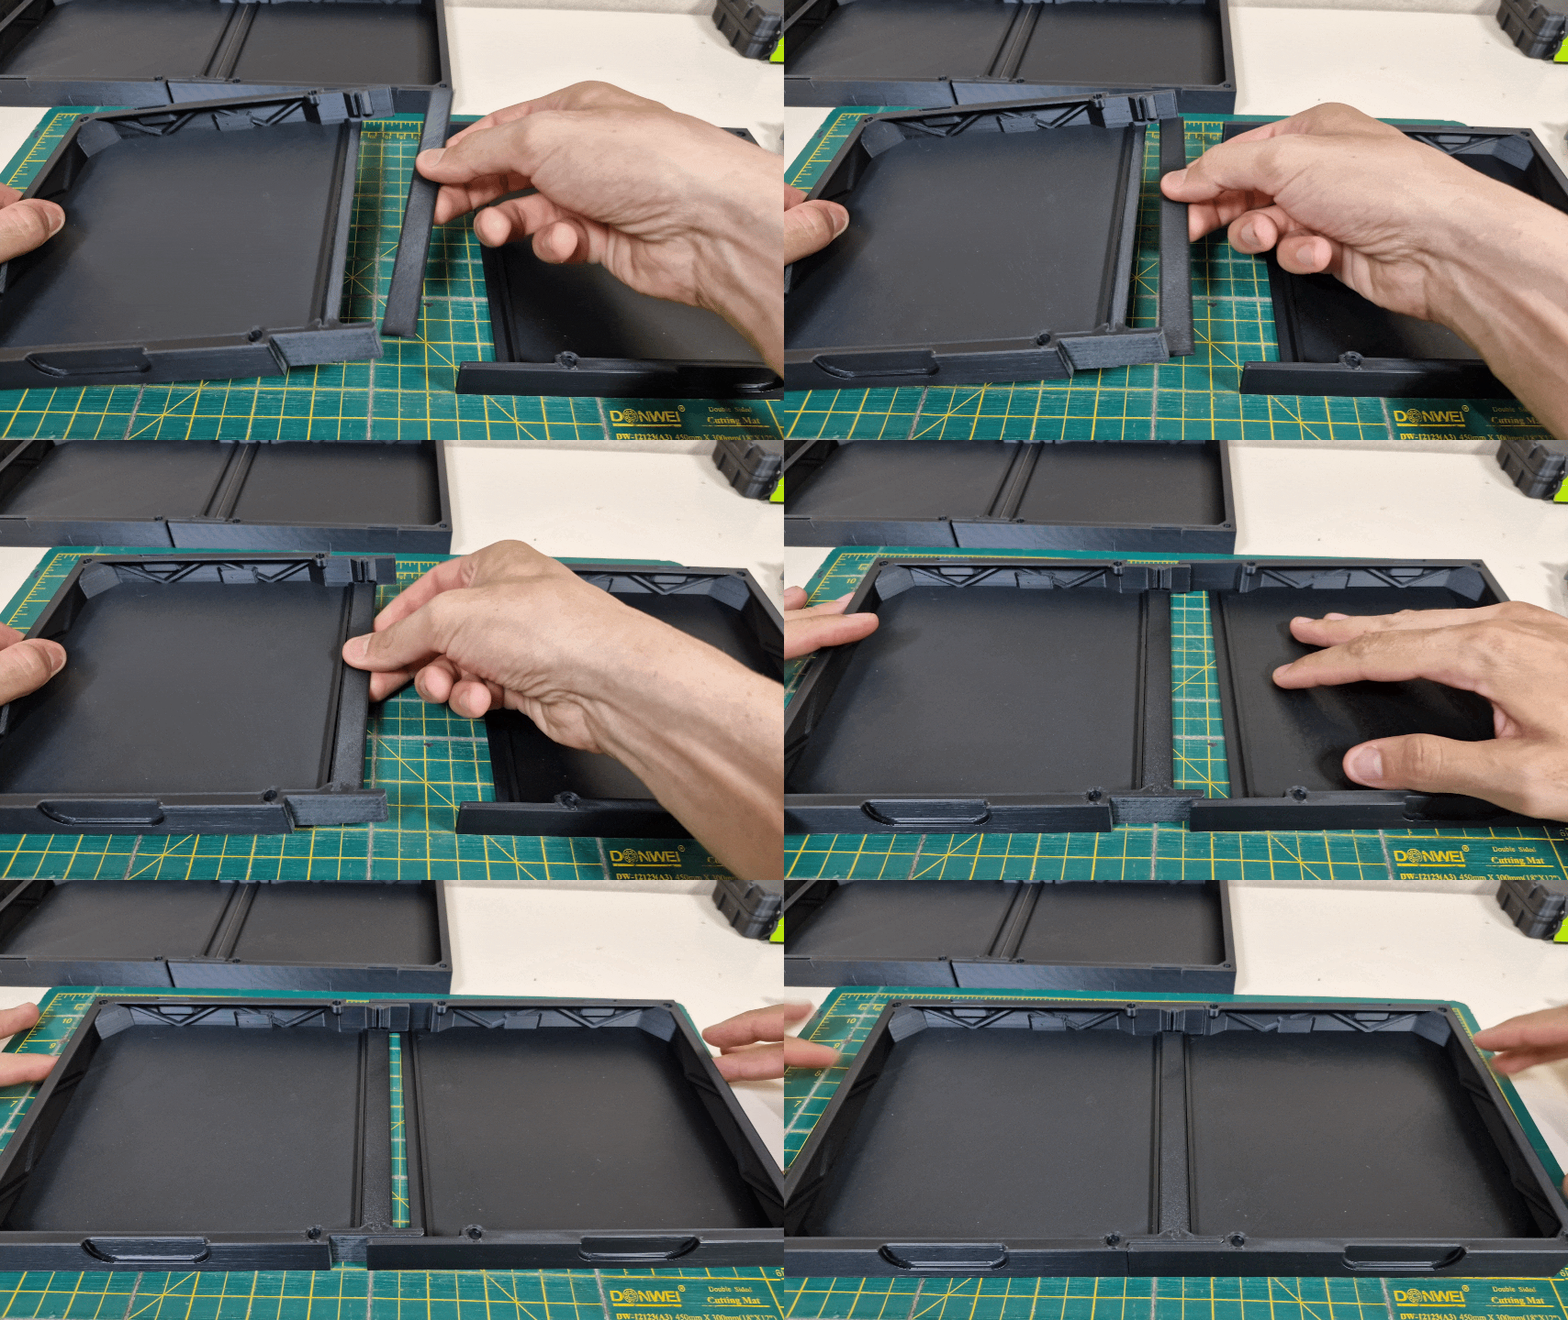
Assembly example.
Insert this card tongue "Board - B" into the correct slot, and remember to apply glue to the slot.

Assembly example.
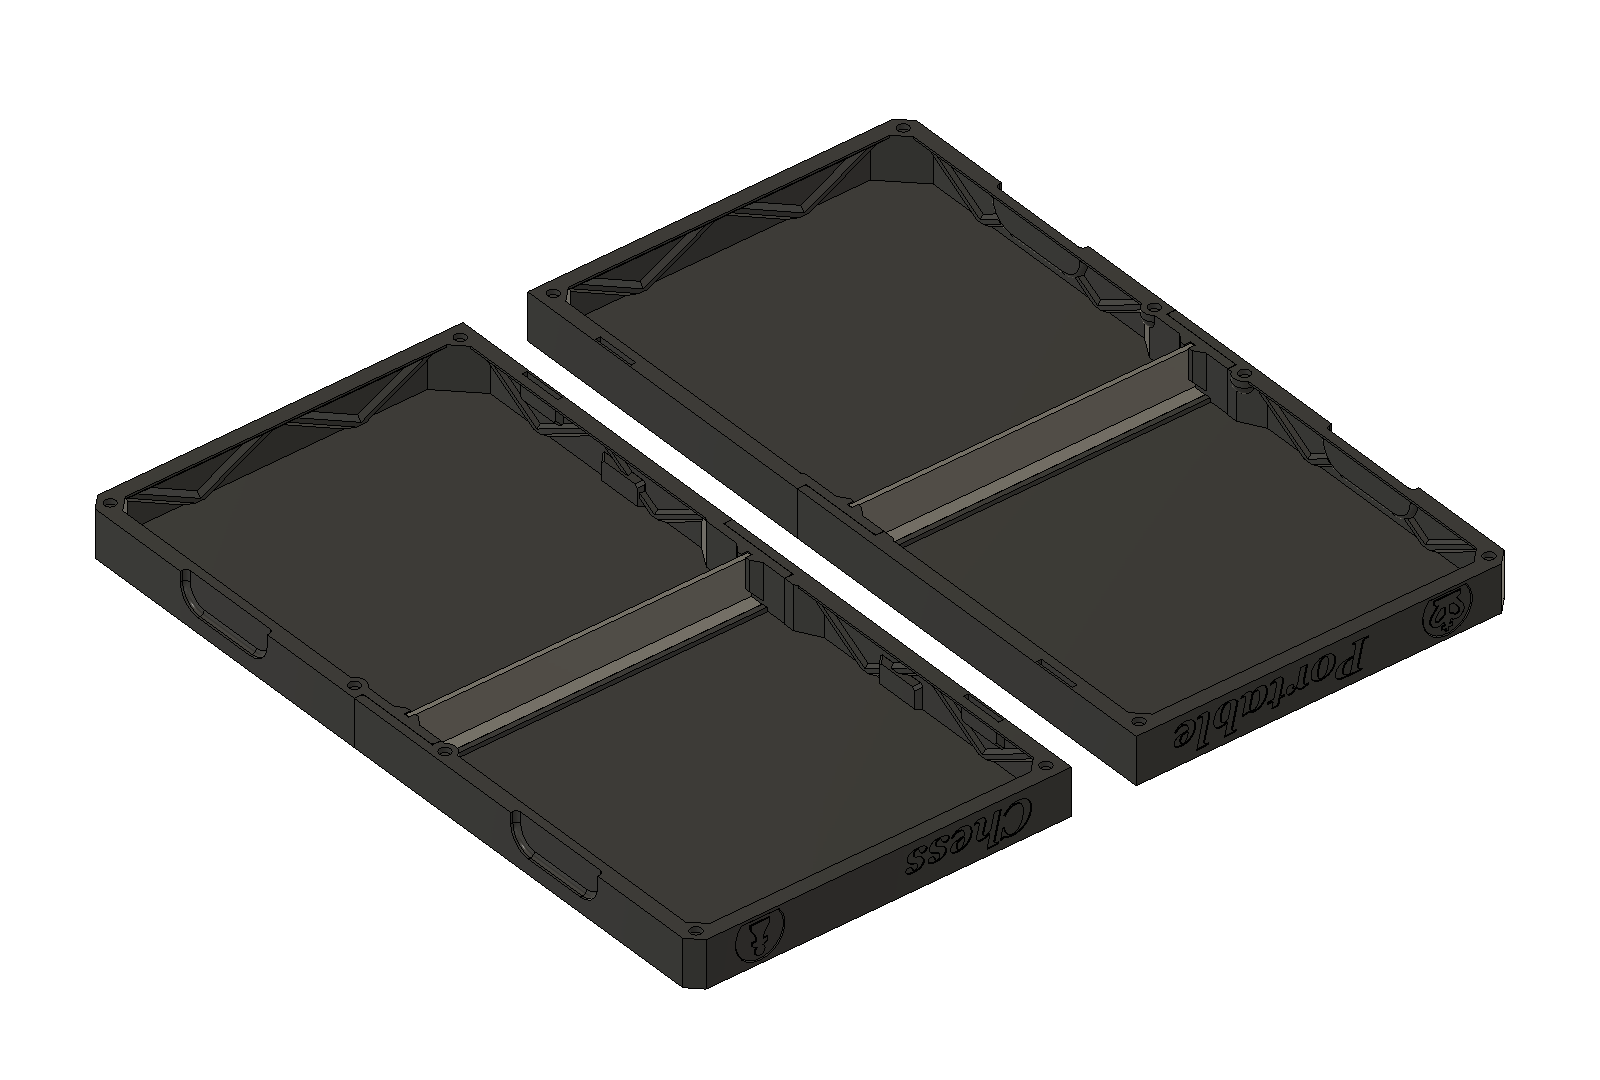
Repeat this process. There are two components that will make up a box for storing chess pieces.
These two components won't stick together.
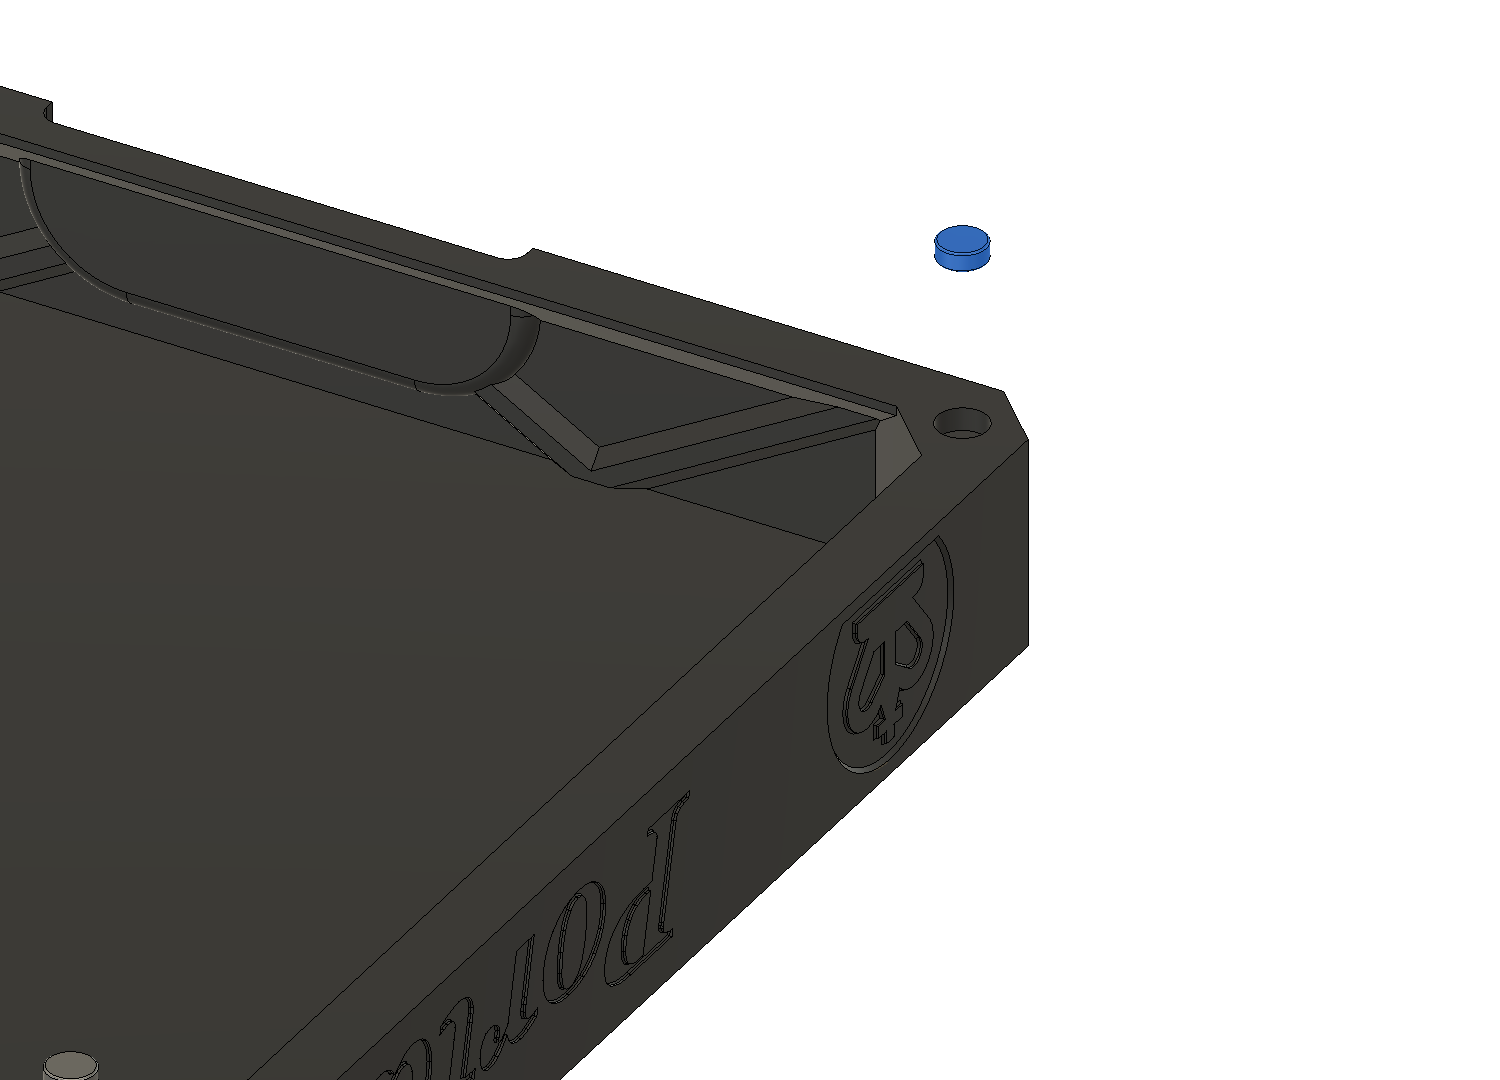
Install the 5x2 magnets as shown in the picture.
Important details: Make sure the magnets are in the same position and correctly placed. You will learn more about this in other diagrams.
Apply glue to prevent them from loosening.
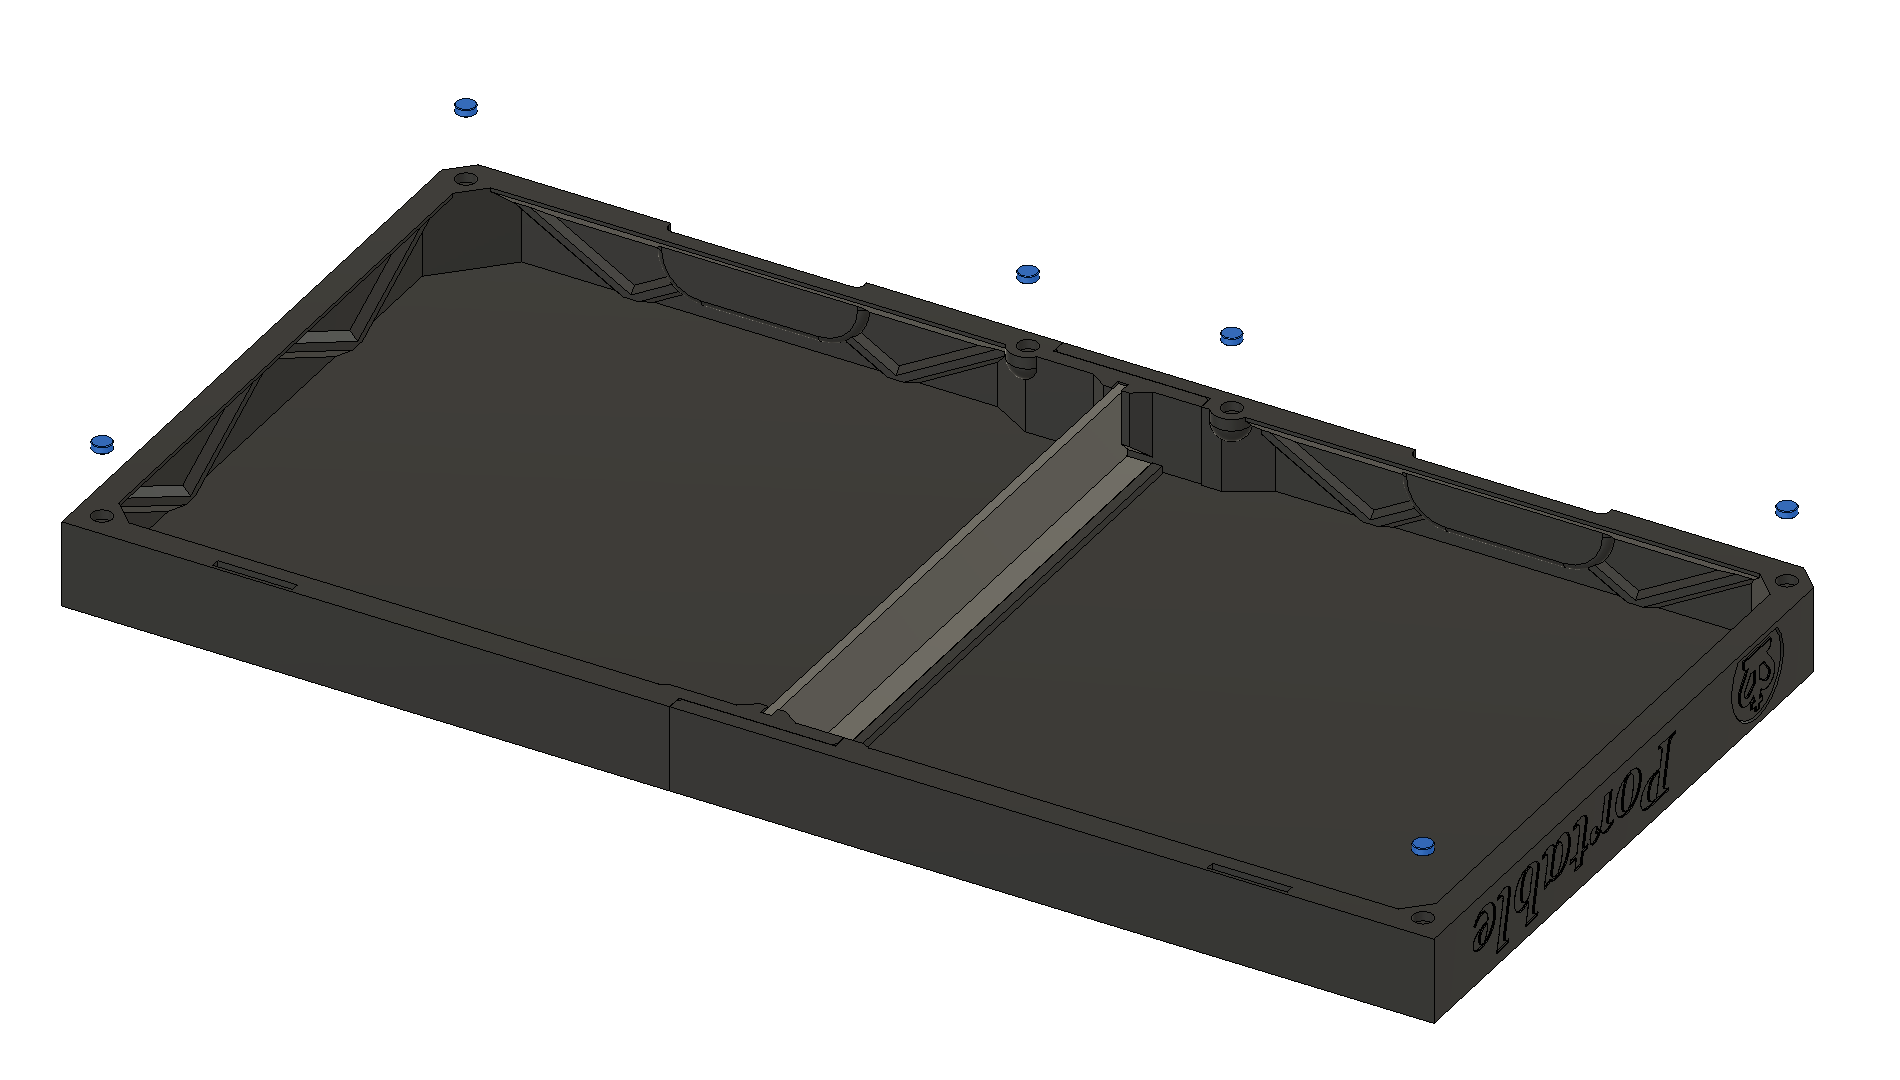
Each part of the box has 6 5x2 magnets, and they should be installed as shown in the picture.
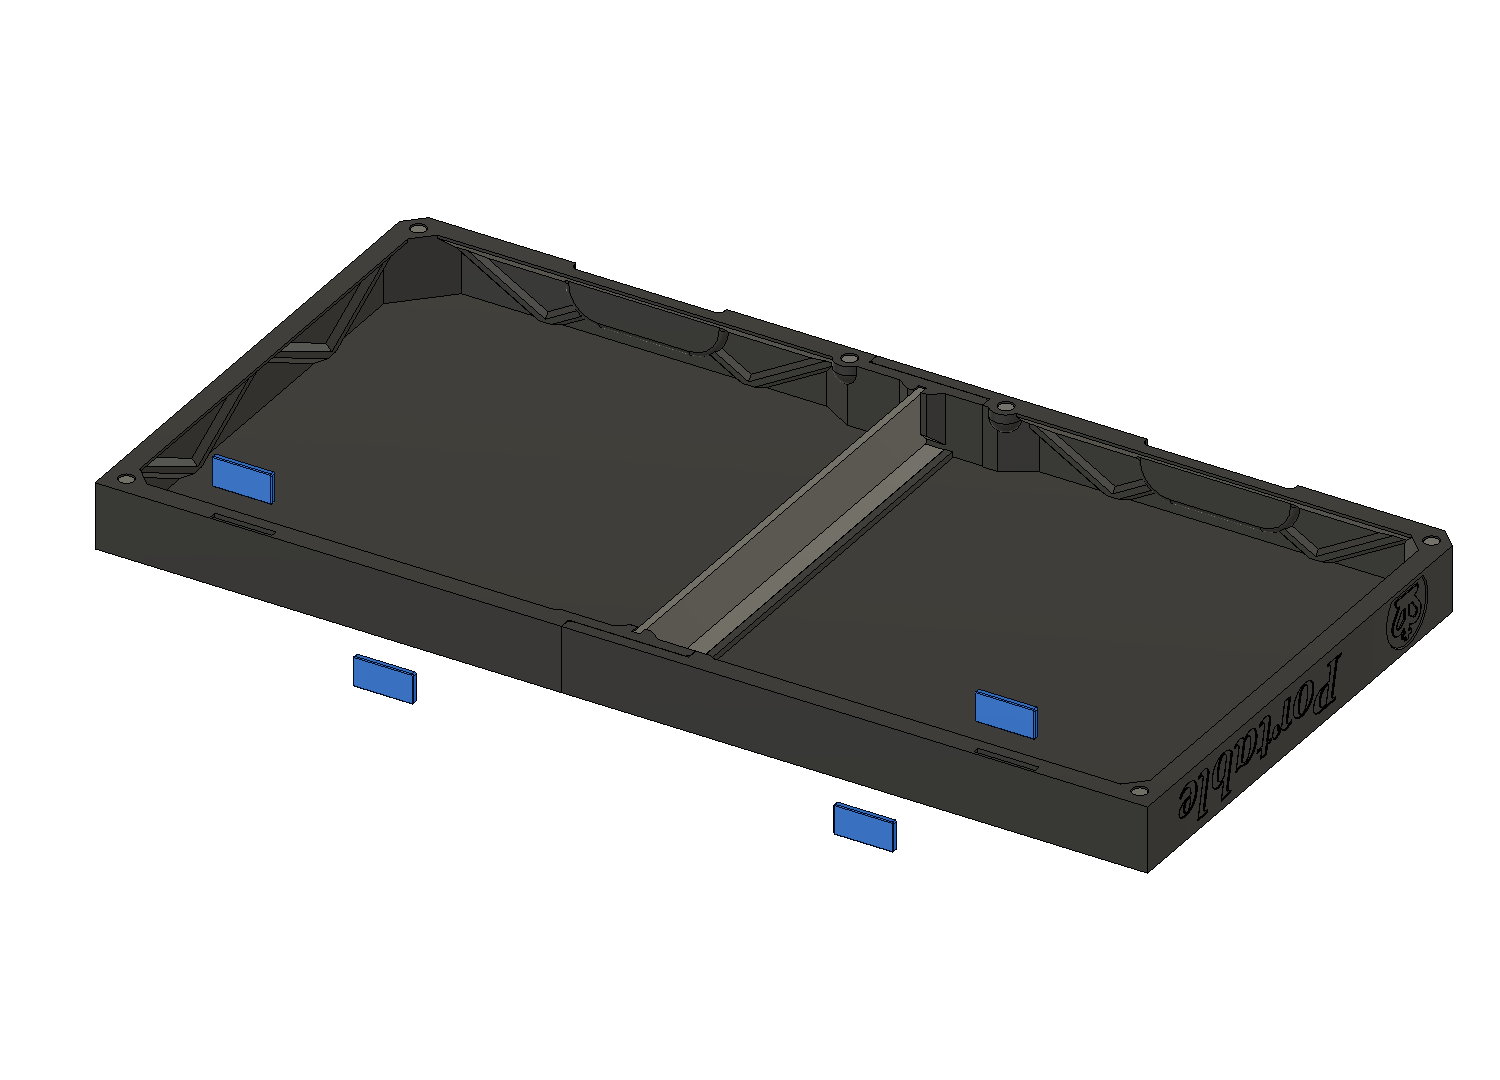
In addition to the 5x2 magnets, you should also add 20x10x2 magnets to the indicated grooves.
There will be 4 of each part in the box.
Apply the glue.
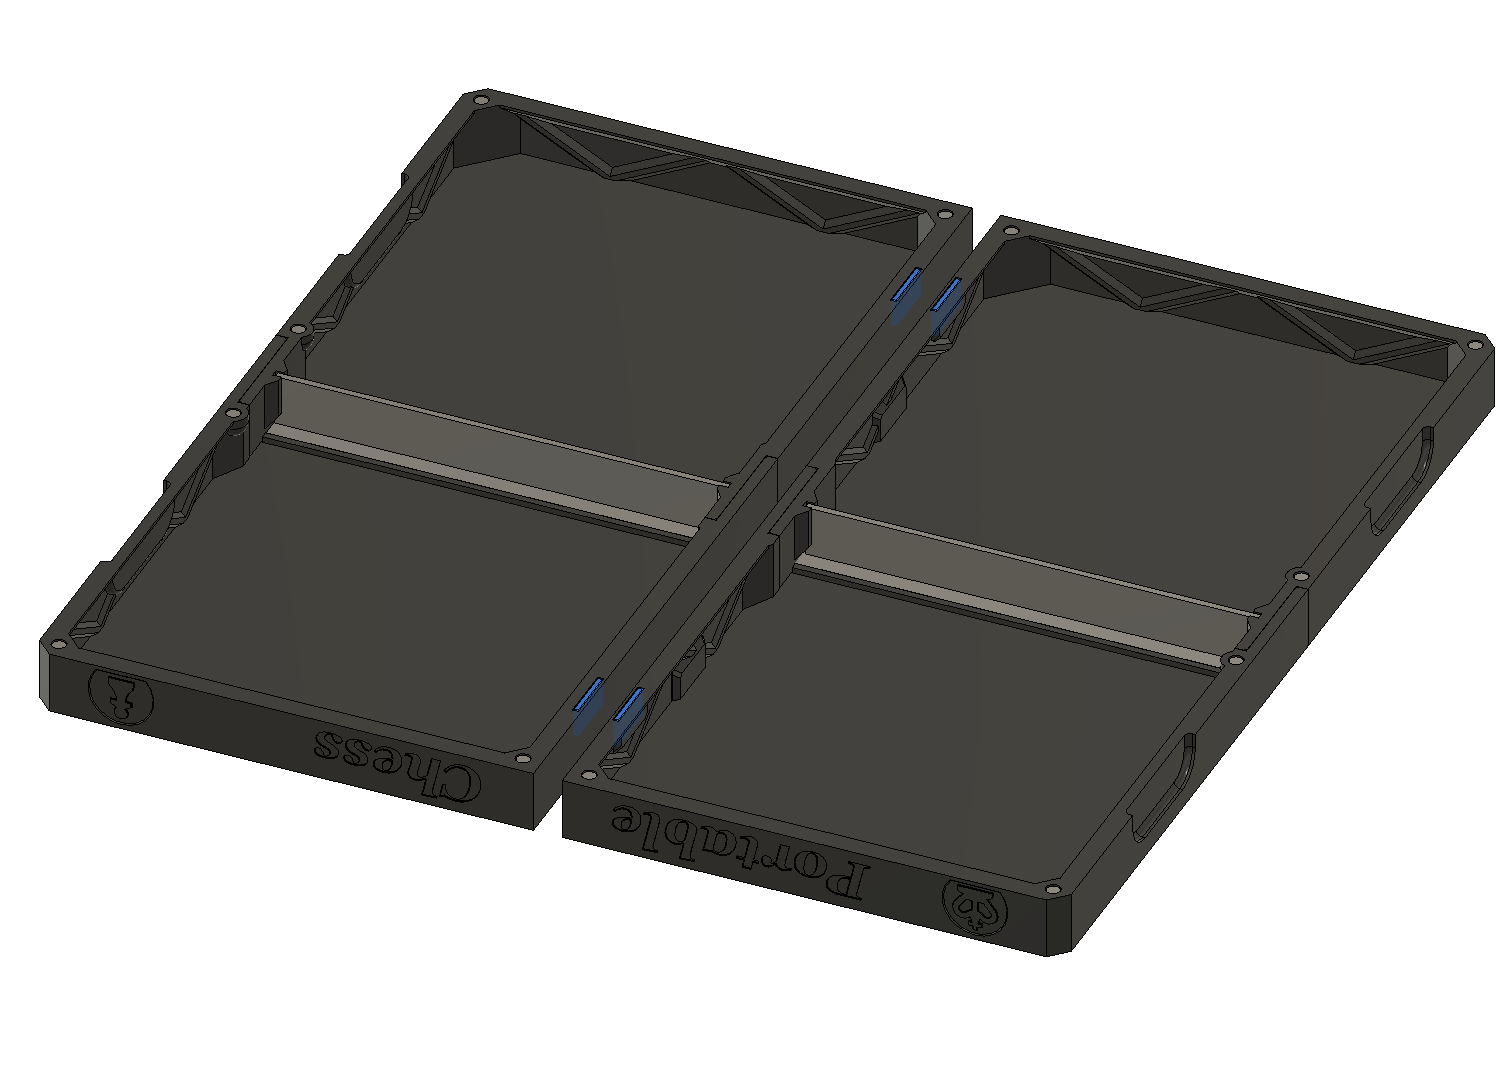
When installing the magnets, be careful to ensure that they are in the correct position to attract each other. Please refer to the example diagram next to it.
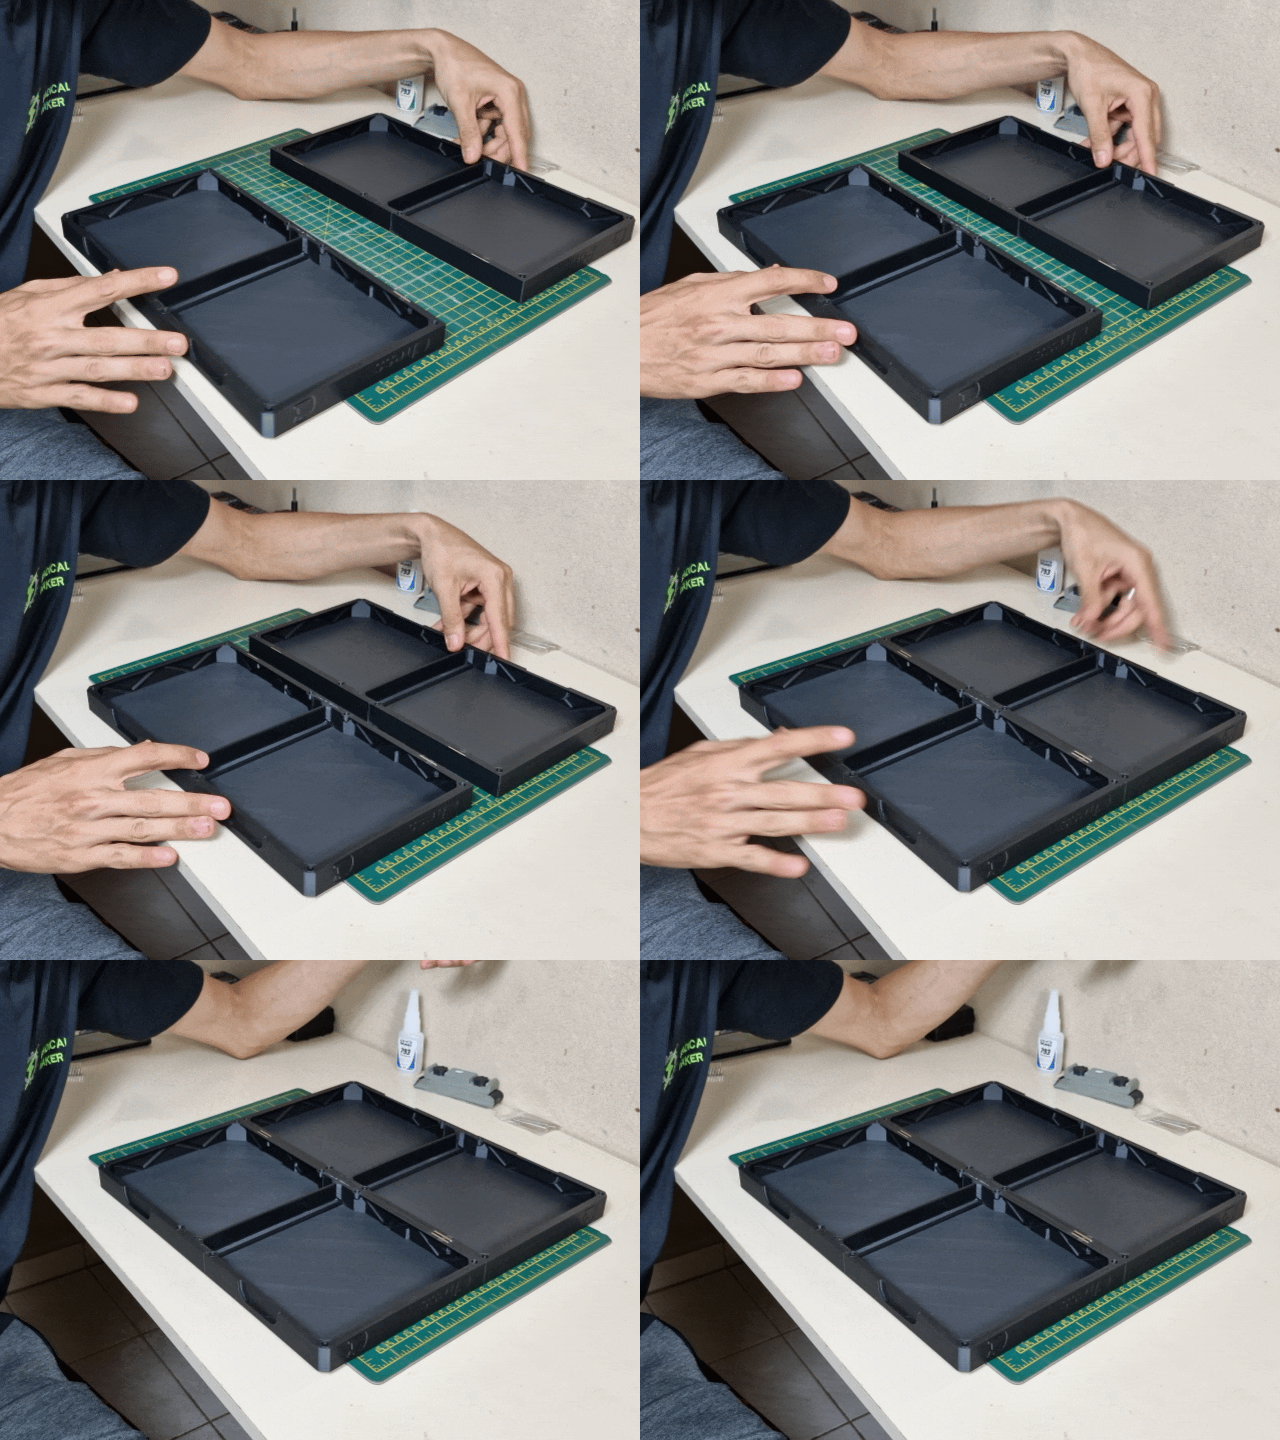
If it's assembled correctly, the effect should be like this.
Tip: Before applying glue, first install the magnet in the correct position and test the magnet's suction force to ensure that you have assembled it correctly. After verification, then apply the glue.

Check whether the box can be closed and whether the magnet can keep it closed securely.
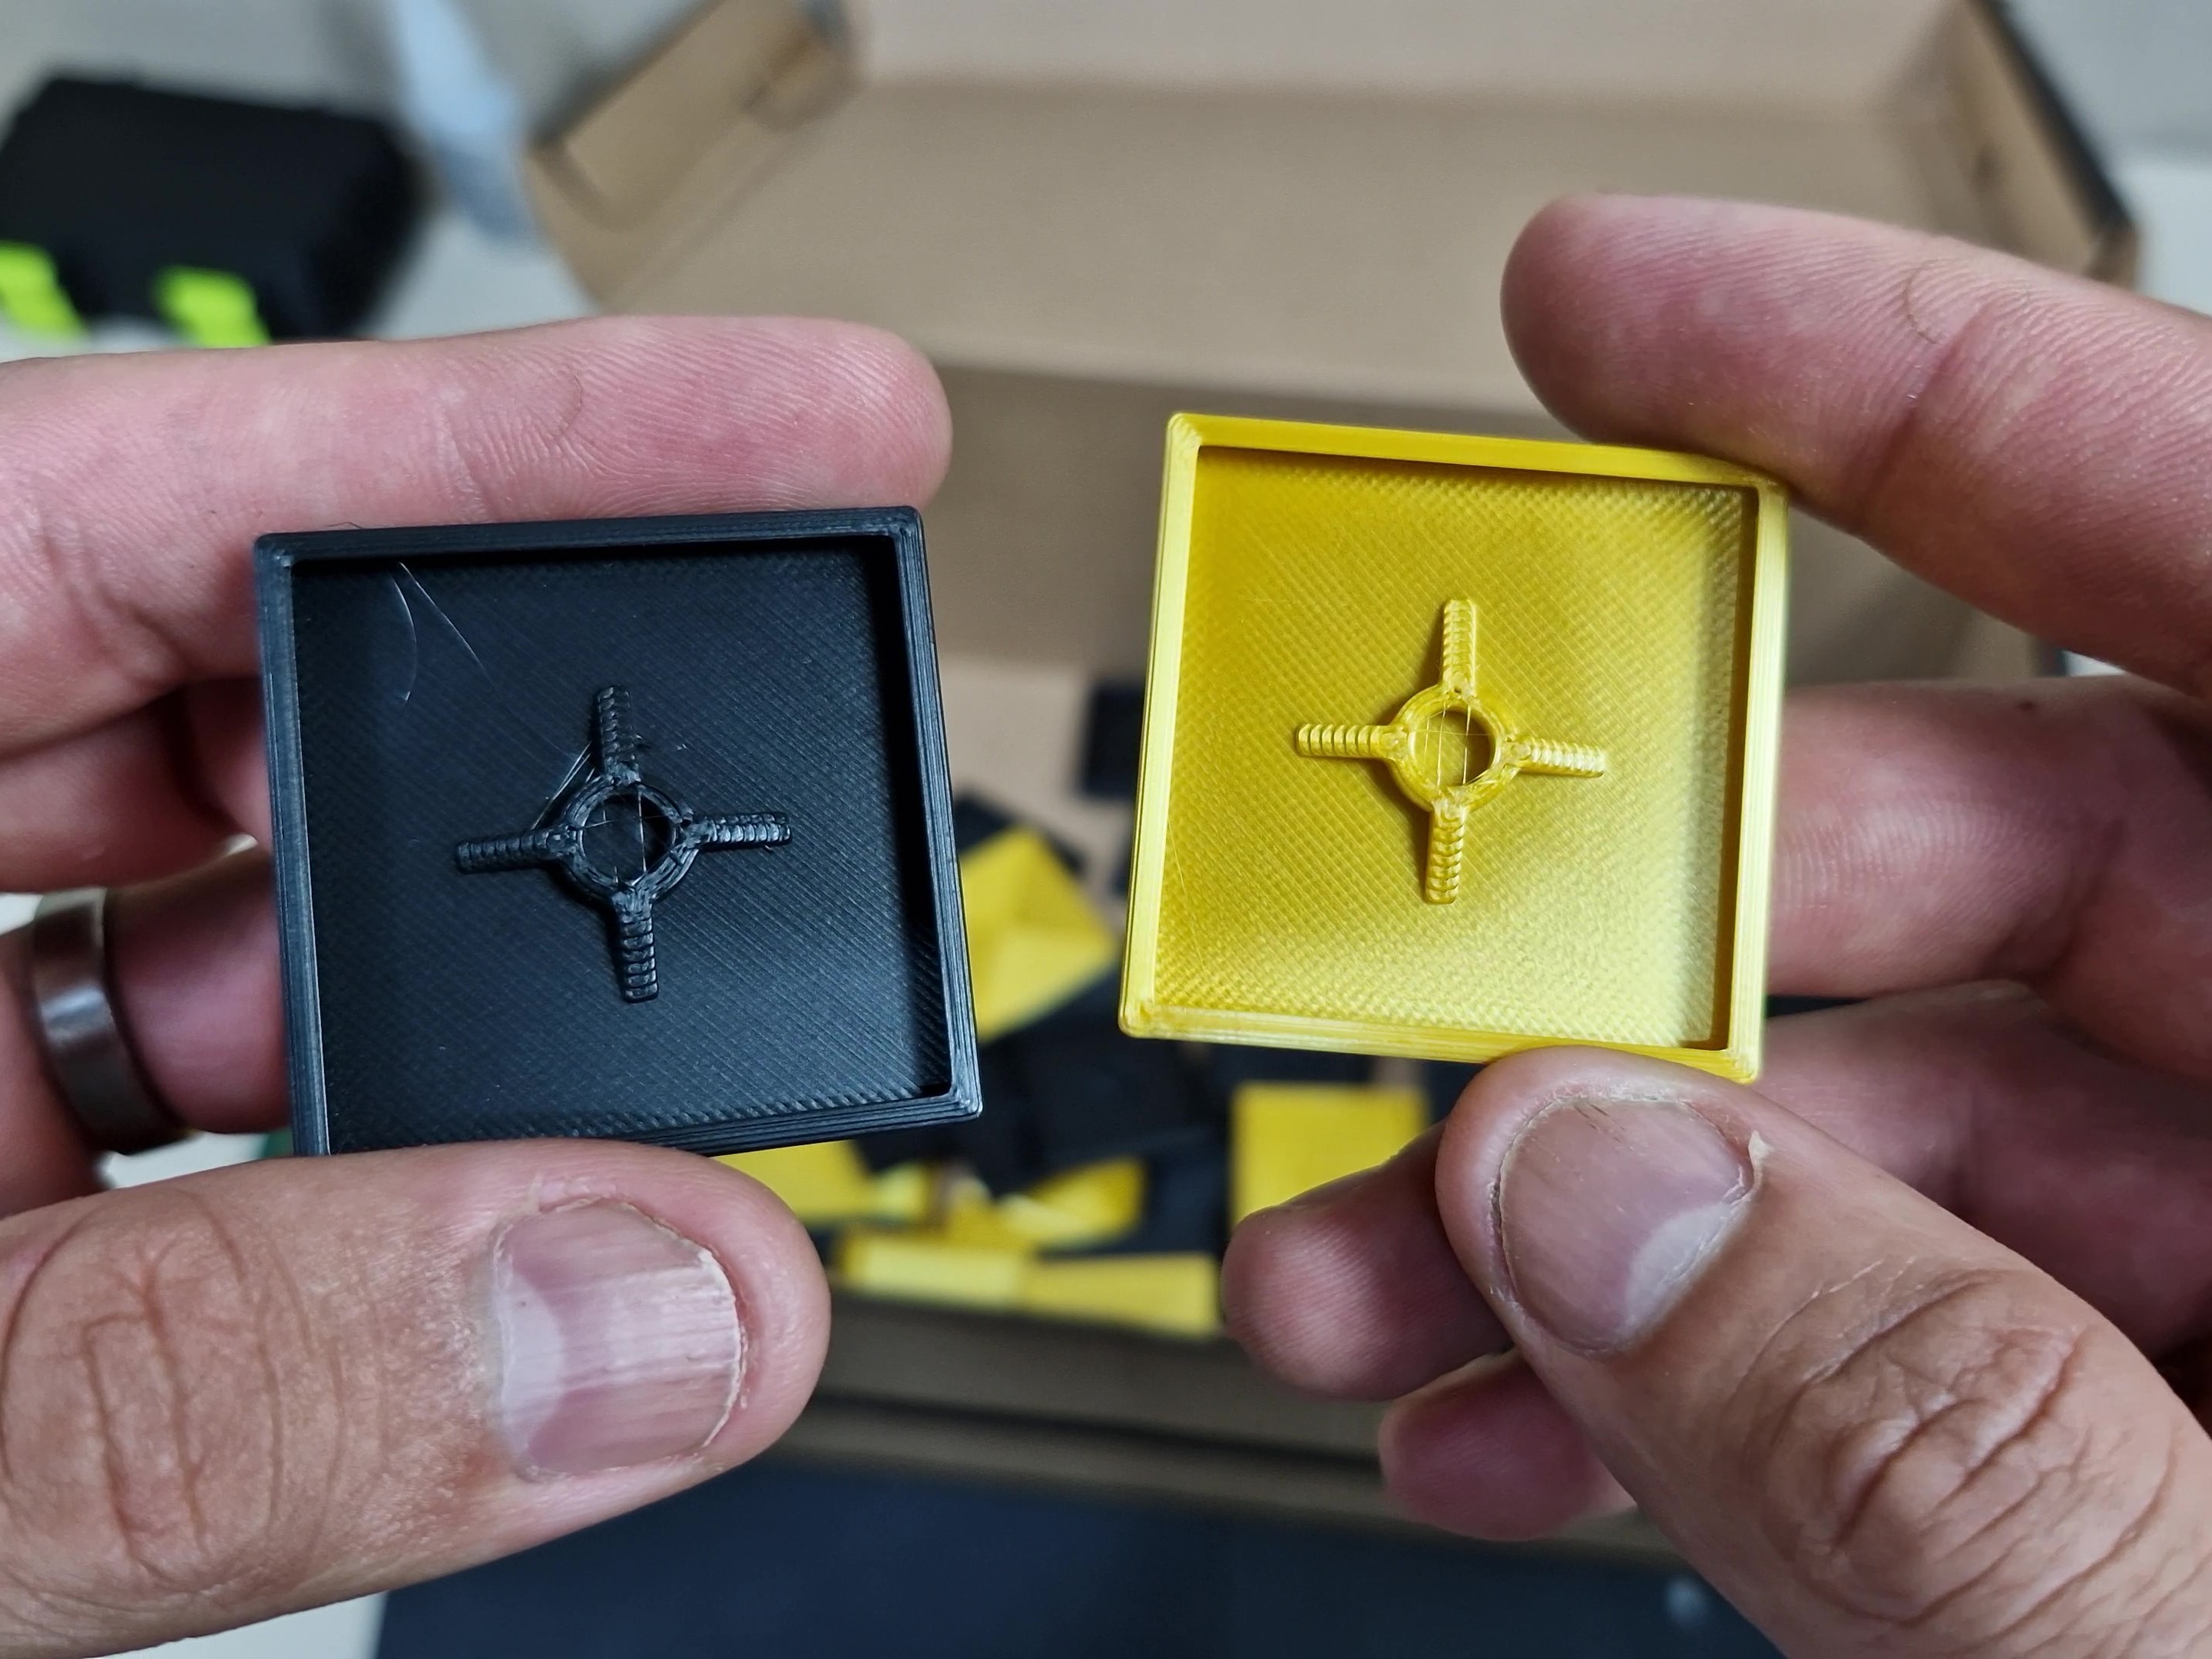
These are the squares that make up the chessboard. There are a total of 64 units, 32 light-colored squares and 32 dark-colored squares, and you can choose the colors yourself.
There are 5x2 magnetic grooves on the back of these components, which are used to attach the components to the chessboard. Without magnets, the components won't be able to be attached to the chessboard, but whether to use them or not is up to you.
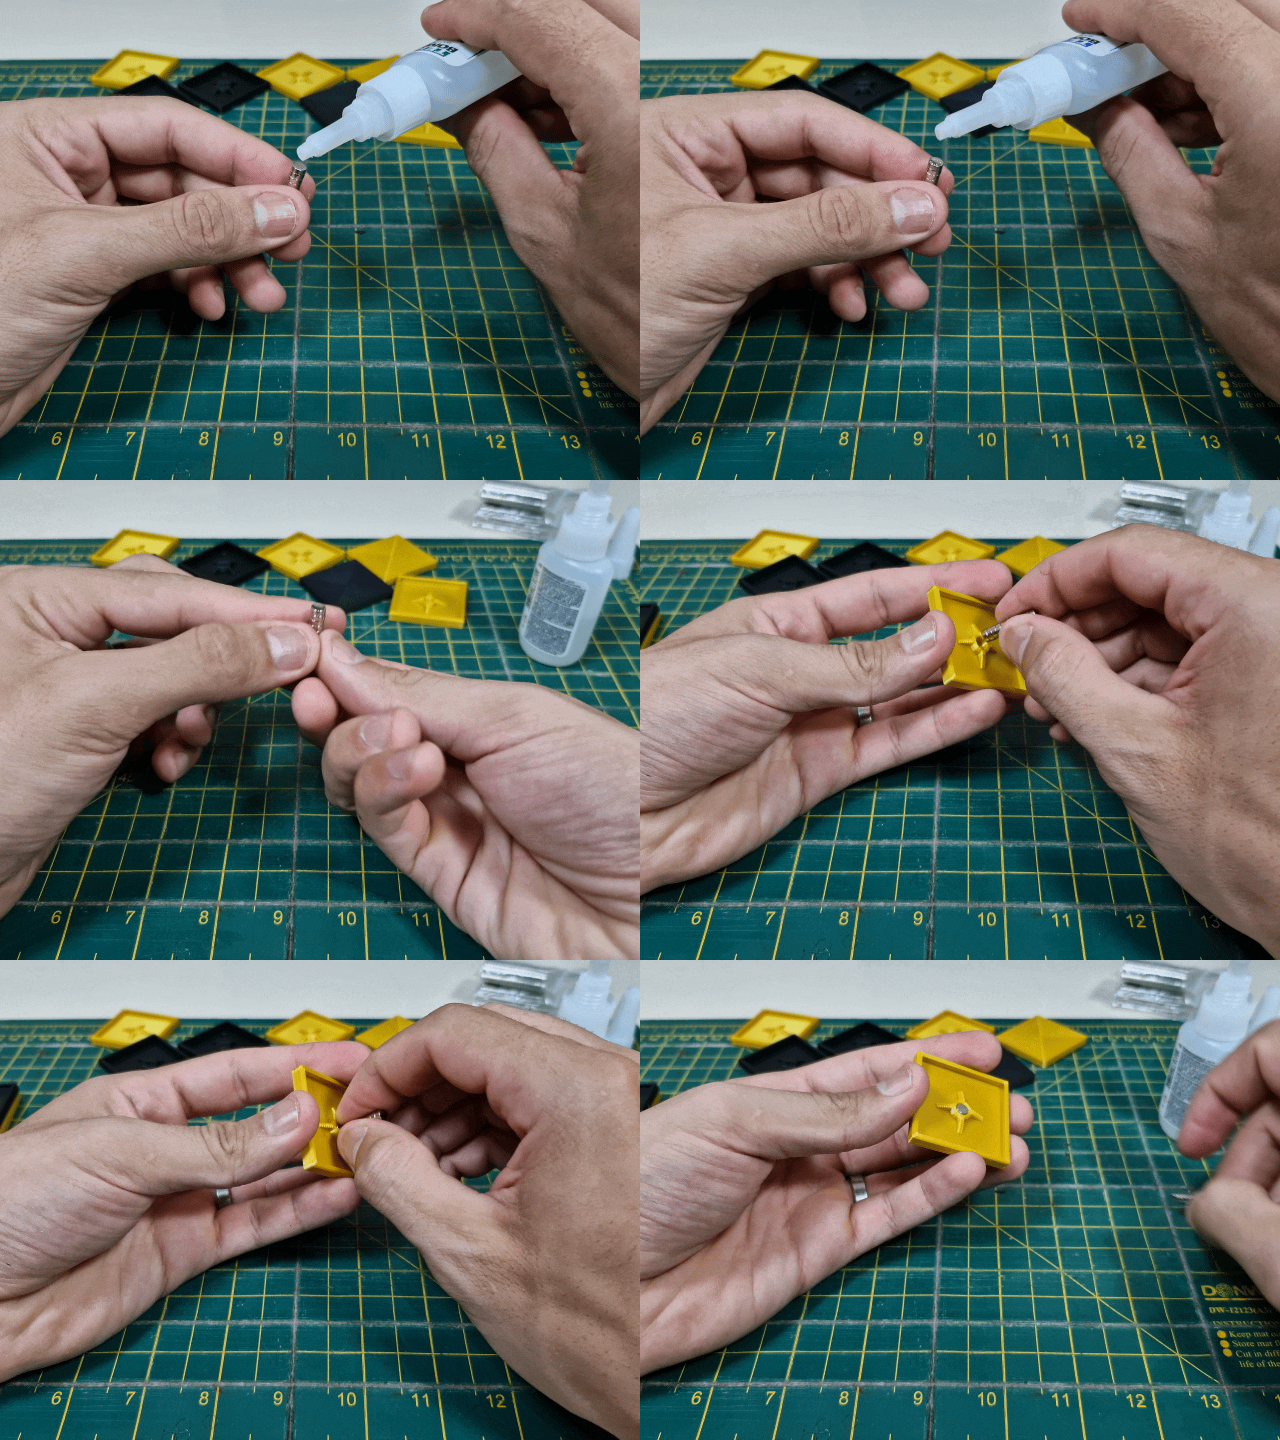
Remember, if you want to use magnets, make sure to stick them all in the same place.
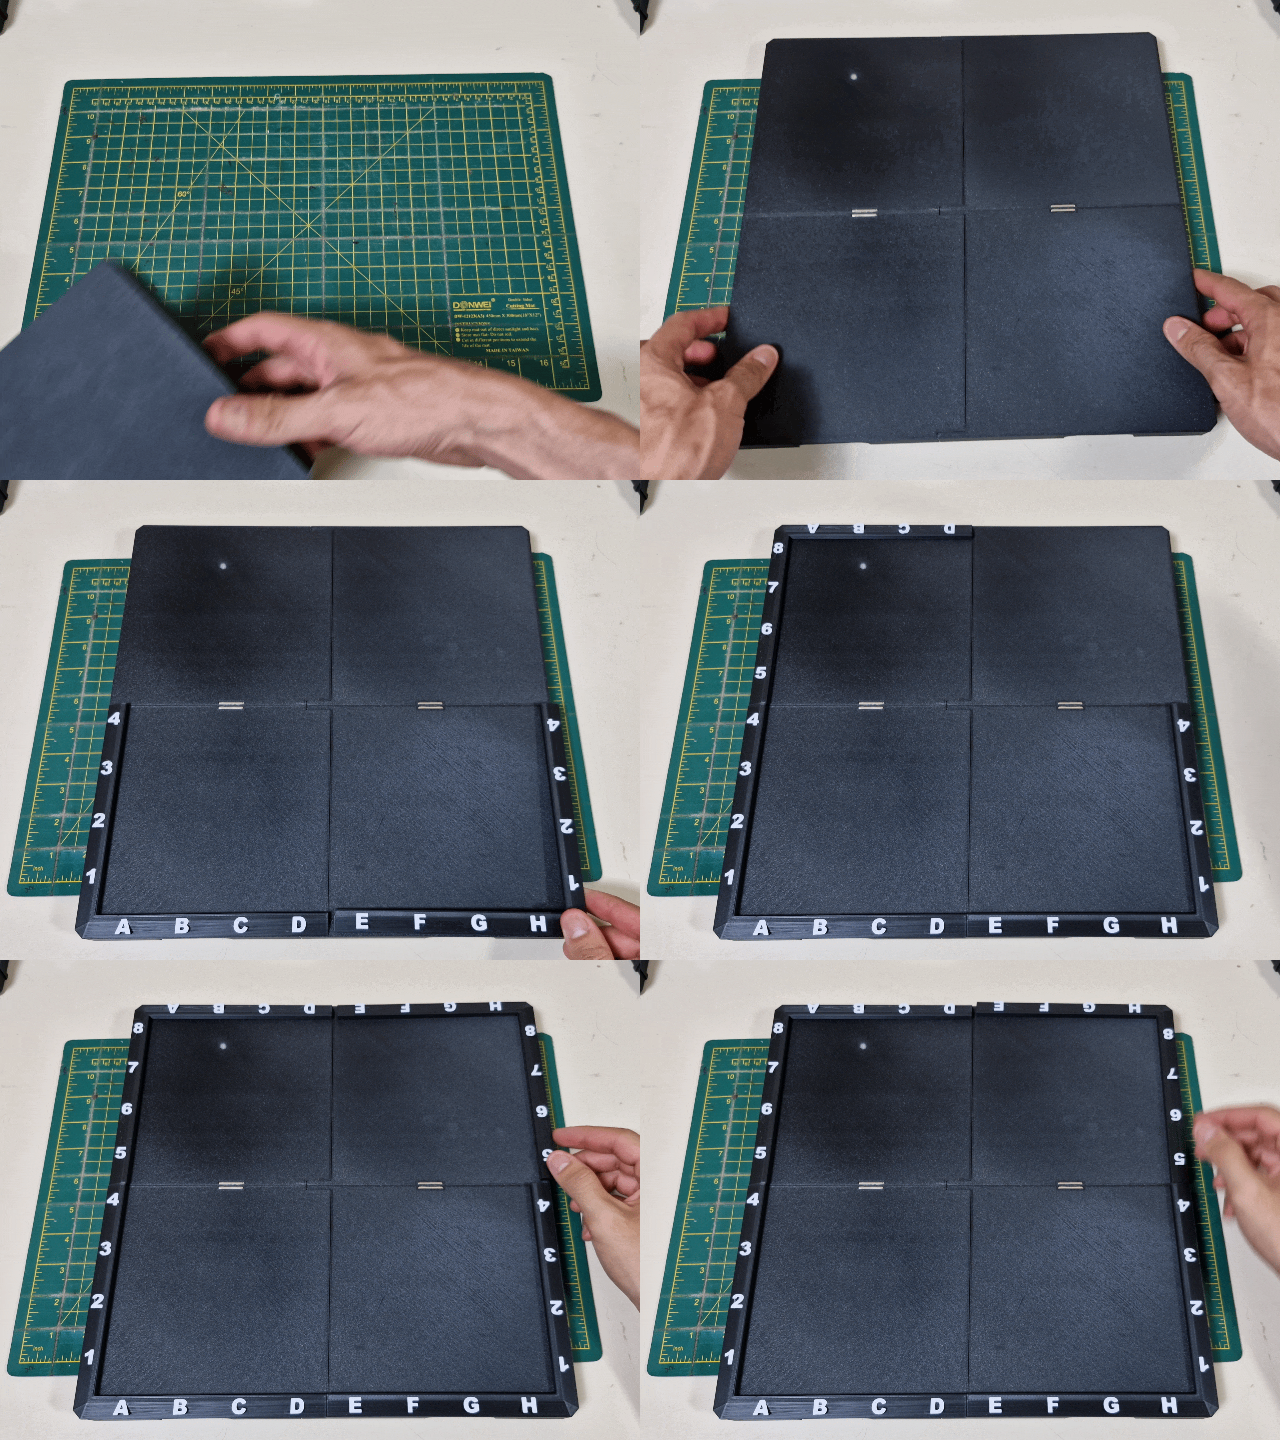
The next step is to assemble the parts I call 'coordinates'. They have a specific and standard order on all boards, so please pay attention to their positions. The GIF on the side and the images below can help you find the correct order.
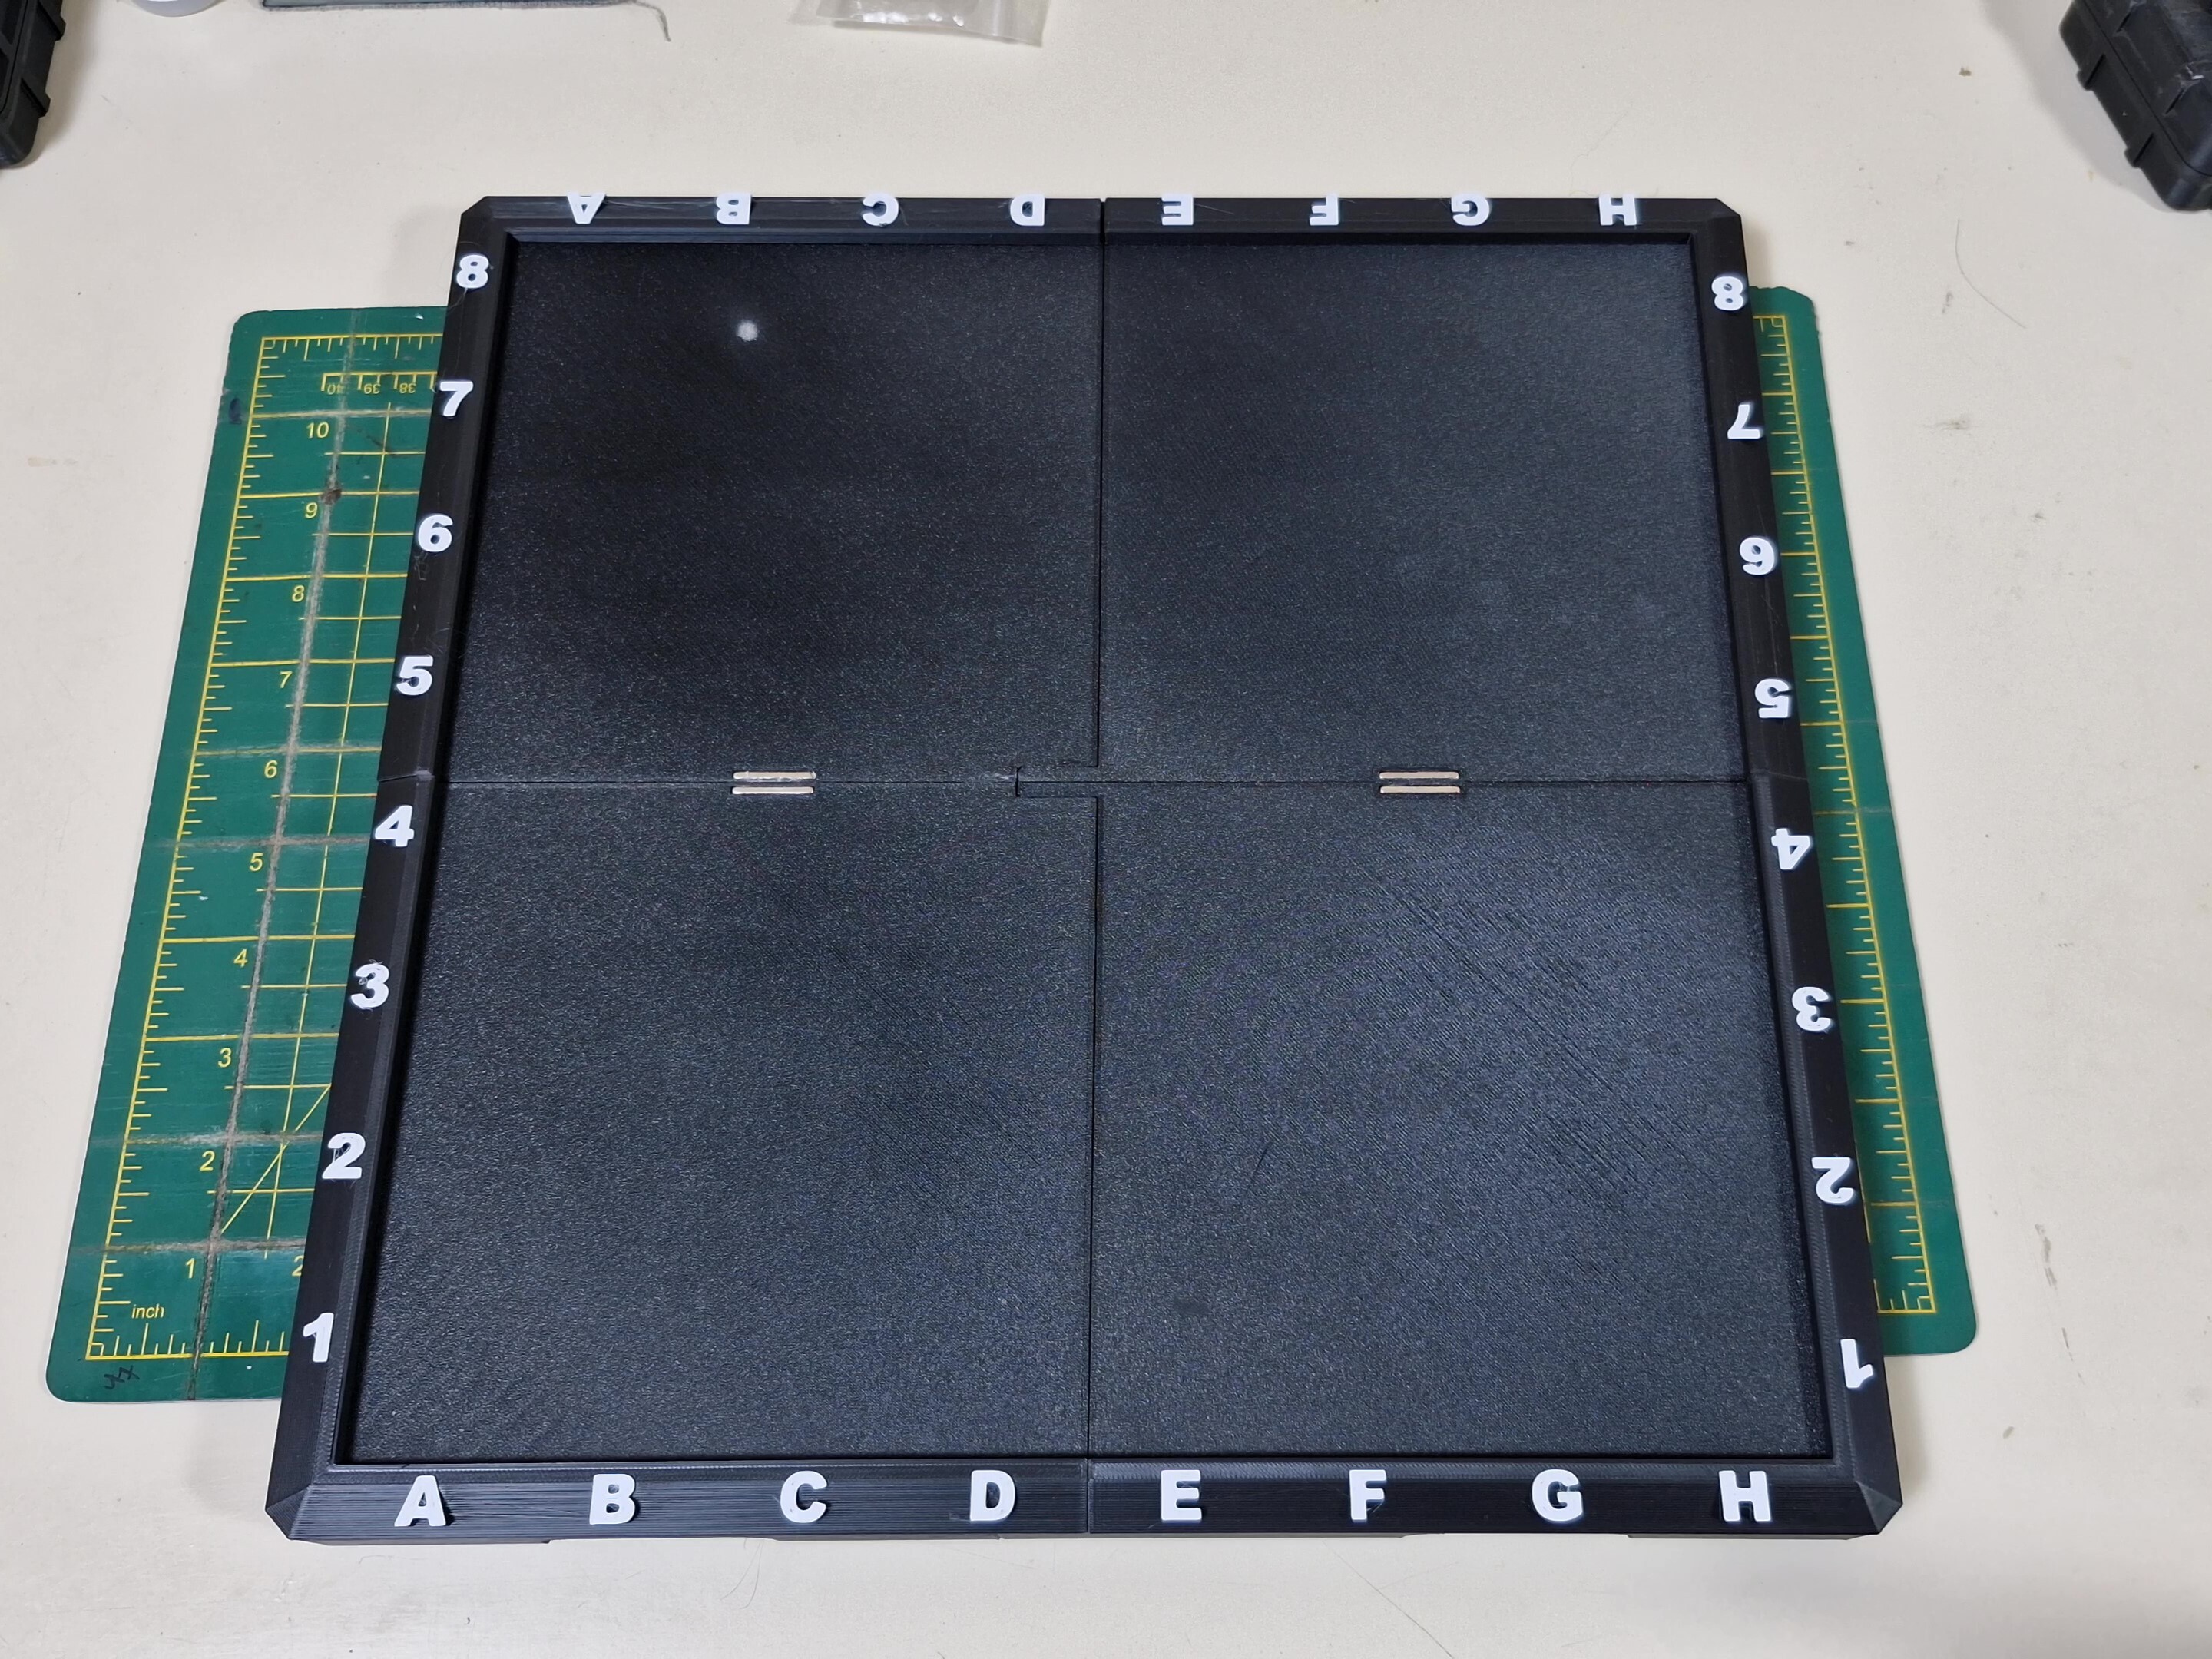
Use this image as a reference to place the coordinates correctly.
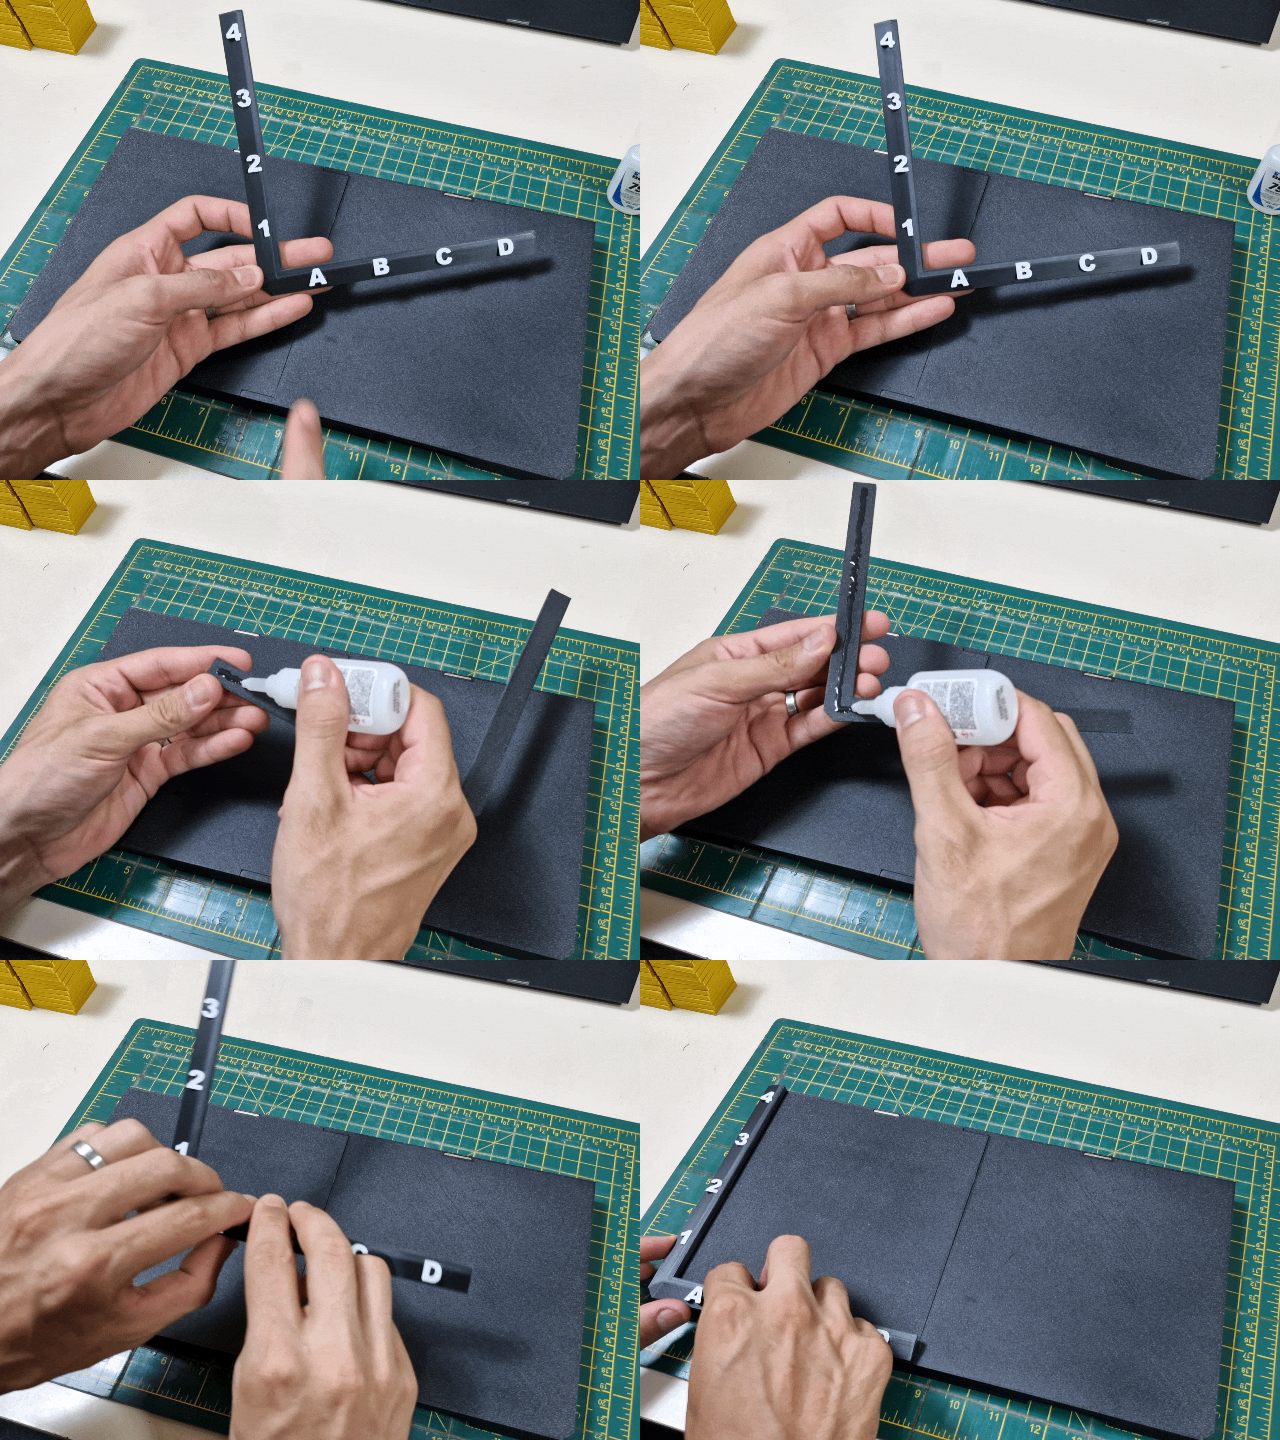
Now that you've determined the correct positions of the coordinates, let's paste them onto the chessboard, starting with the coordinates of the corner marked "A-1".
Apply quick-drying glue to the back and place it in the correct position, making sure it is aligned with the edges. This step is very important, as your chessboard might end up being crooked, or the final pieces might not be able to be installed.
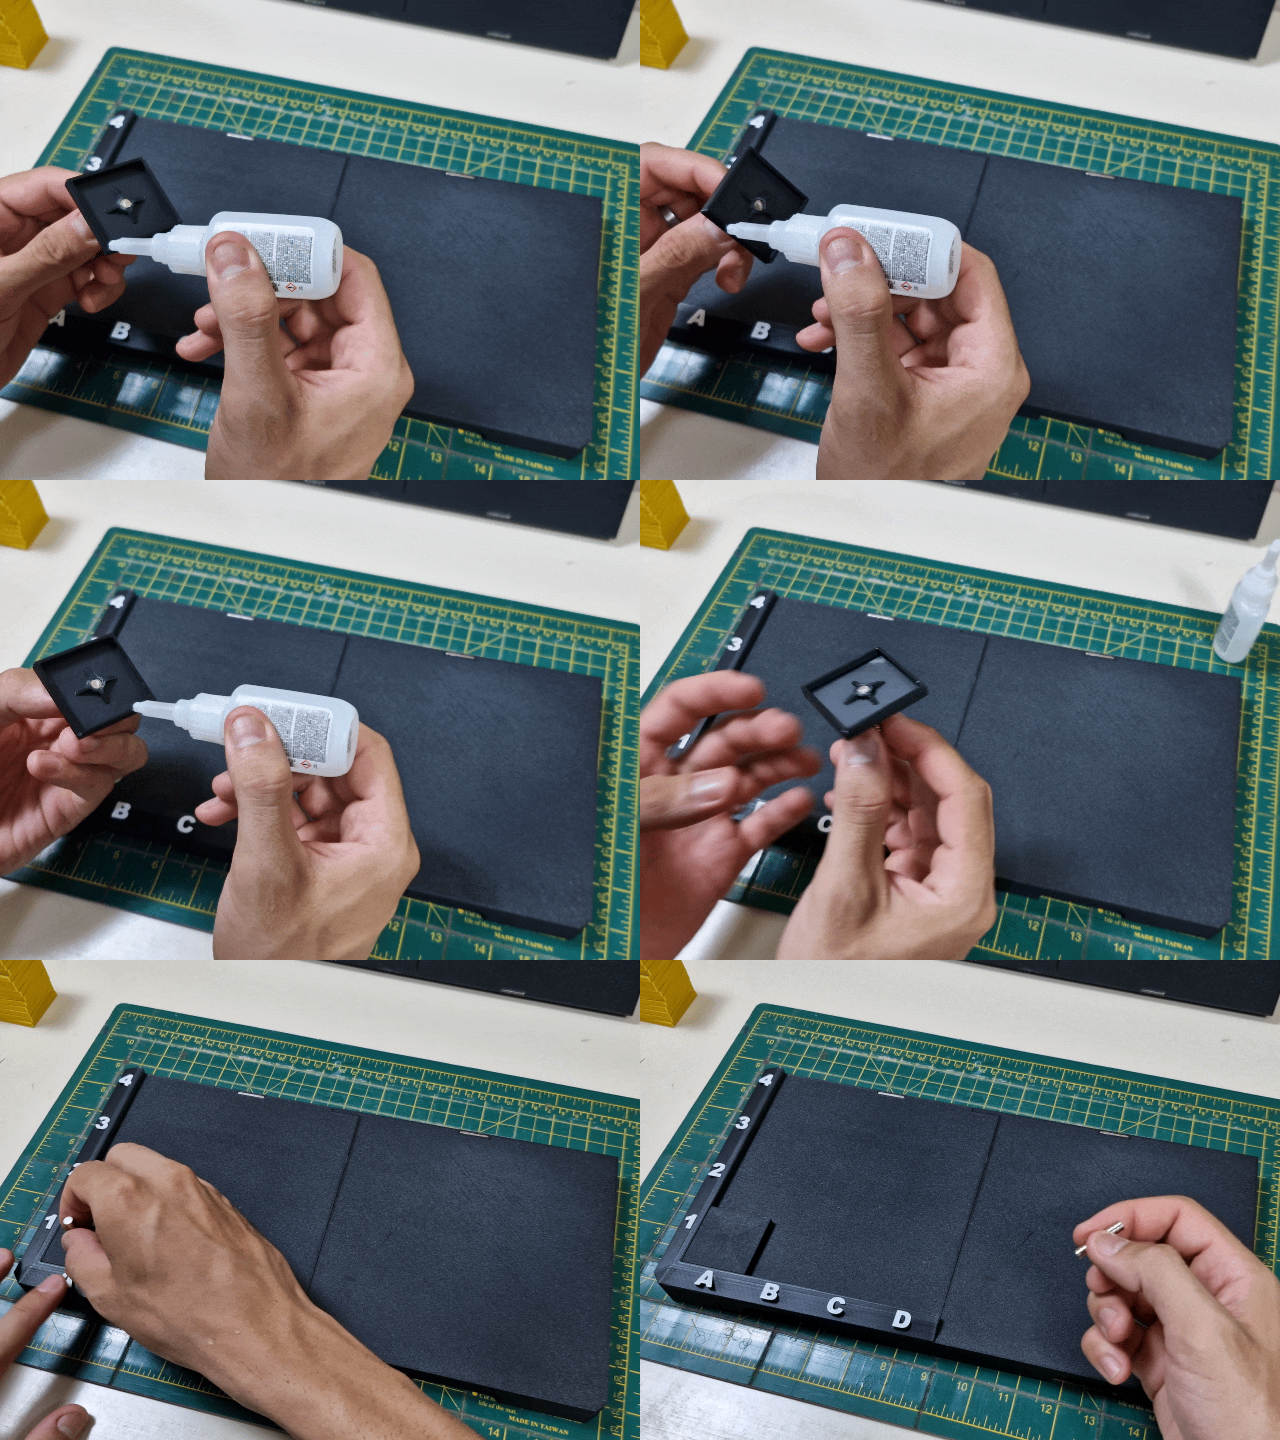
The first square in the corner, "A-1", must be a dark-colored square. Then you can continue to place squares of different colors, but be careful not to stick two squares of the same color together.
Below, you can find a picture to refer to the color sequence of the squares.
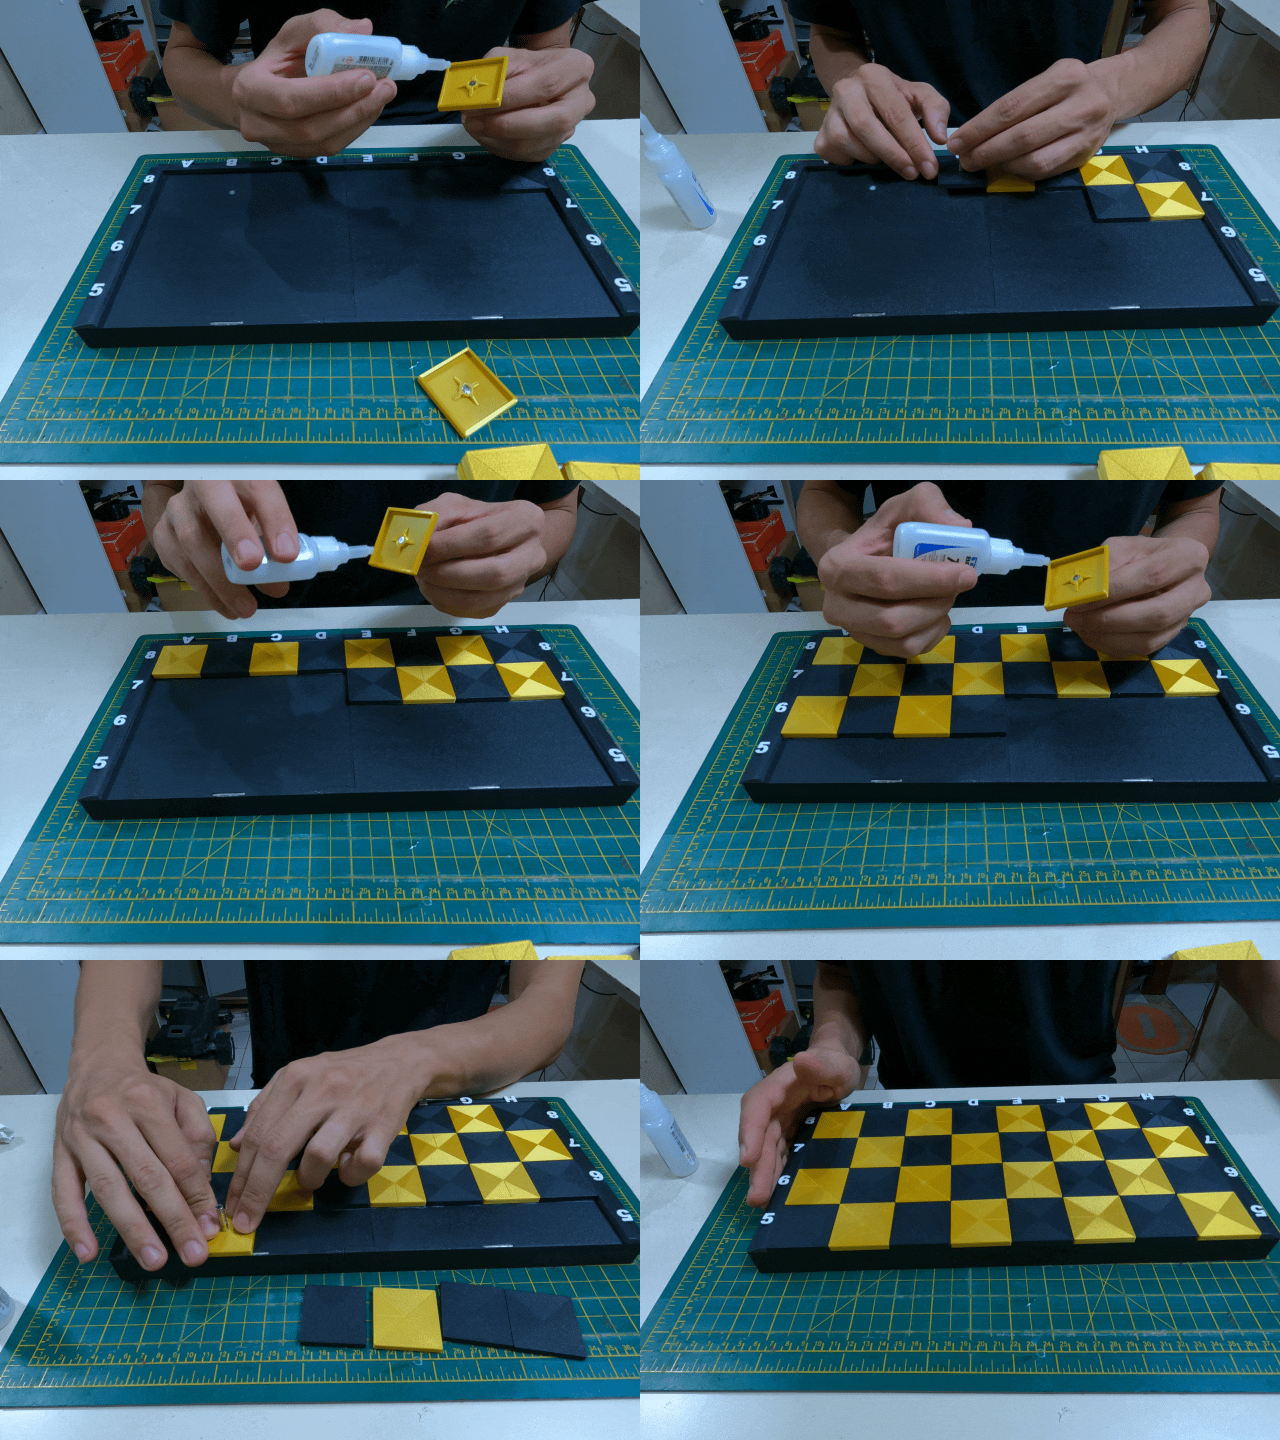
This is a time-lapse video of how I glued all the chess pieces together.
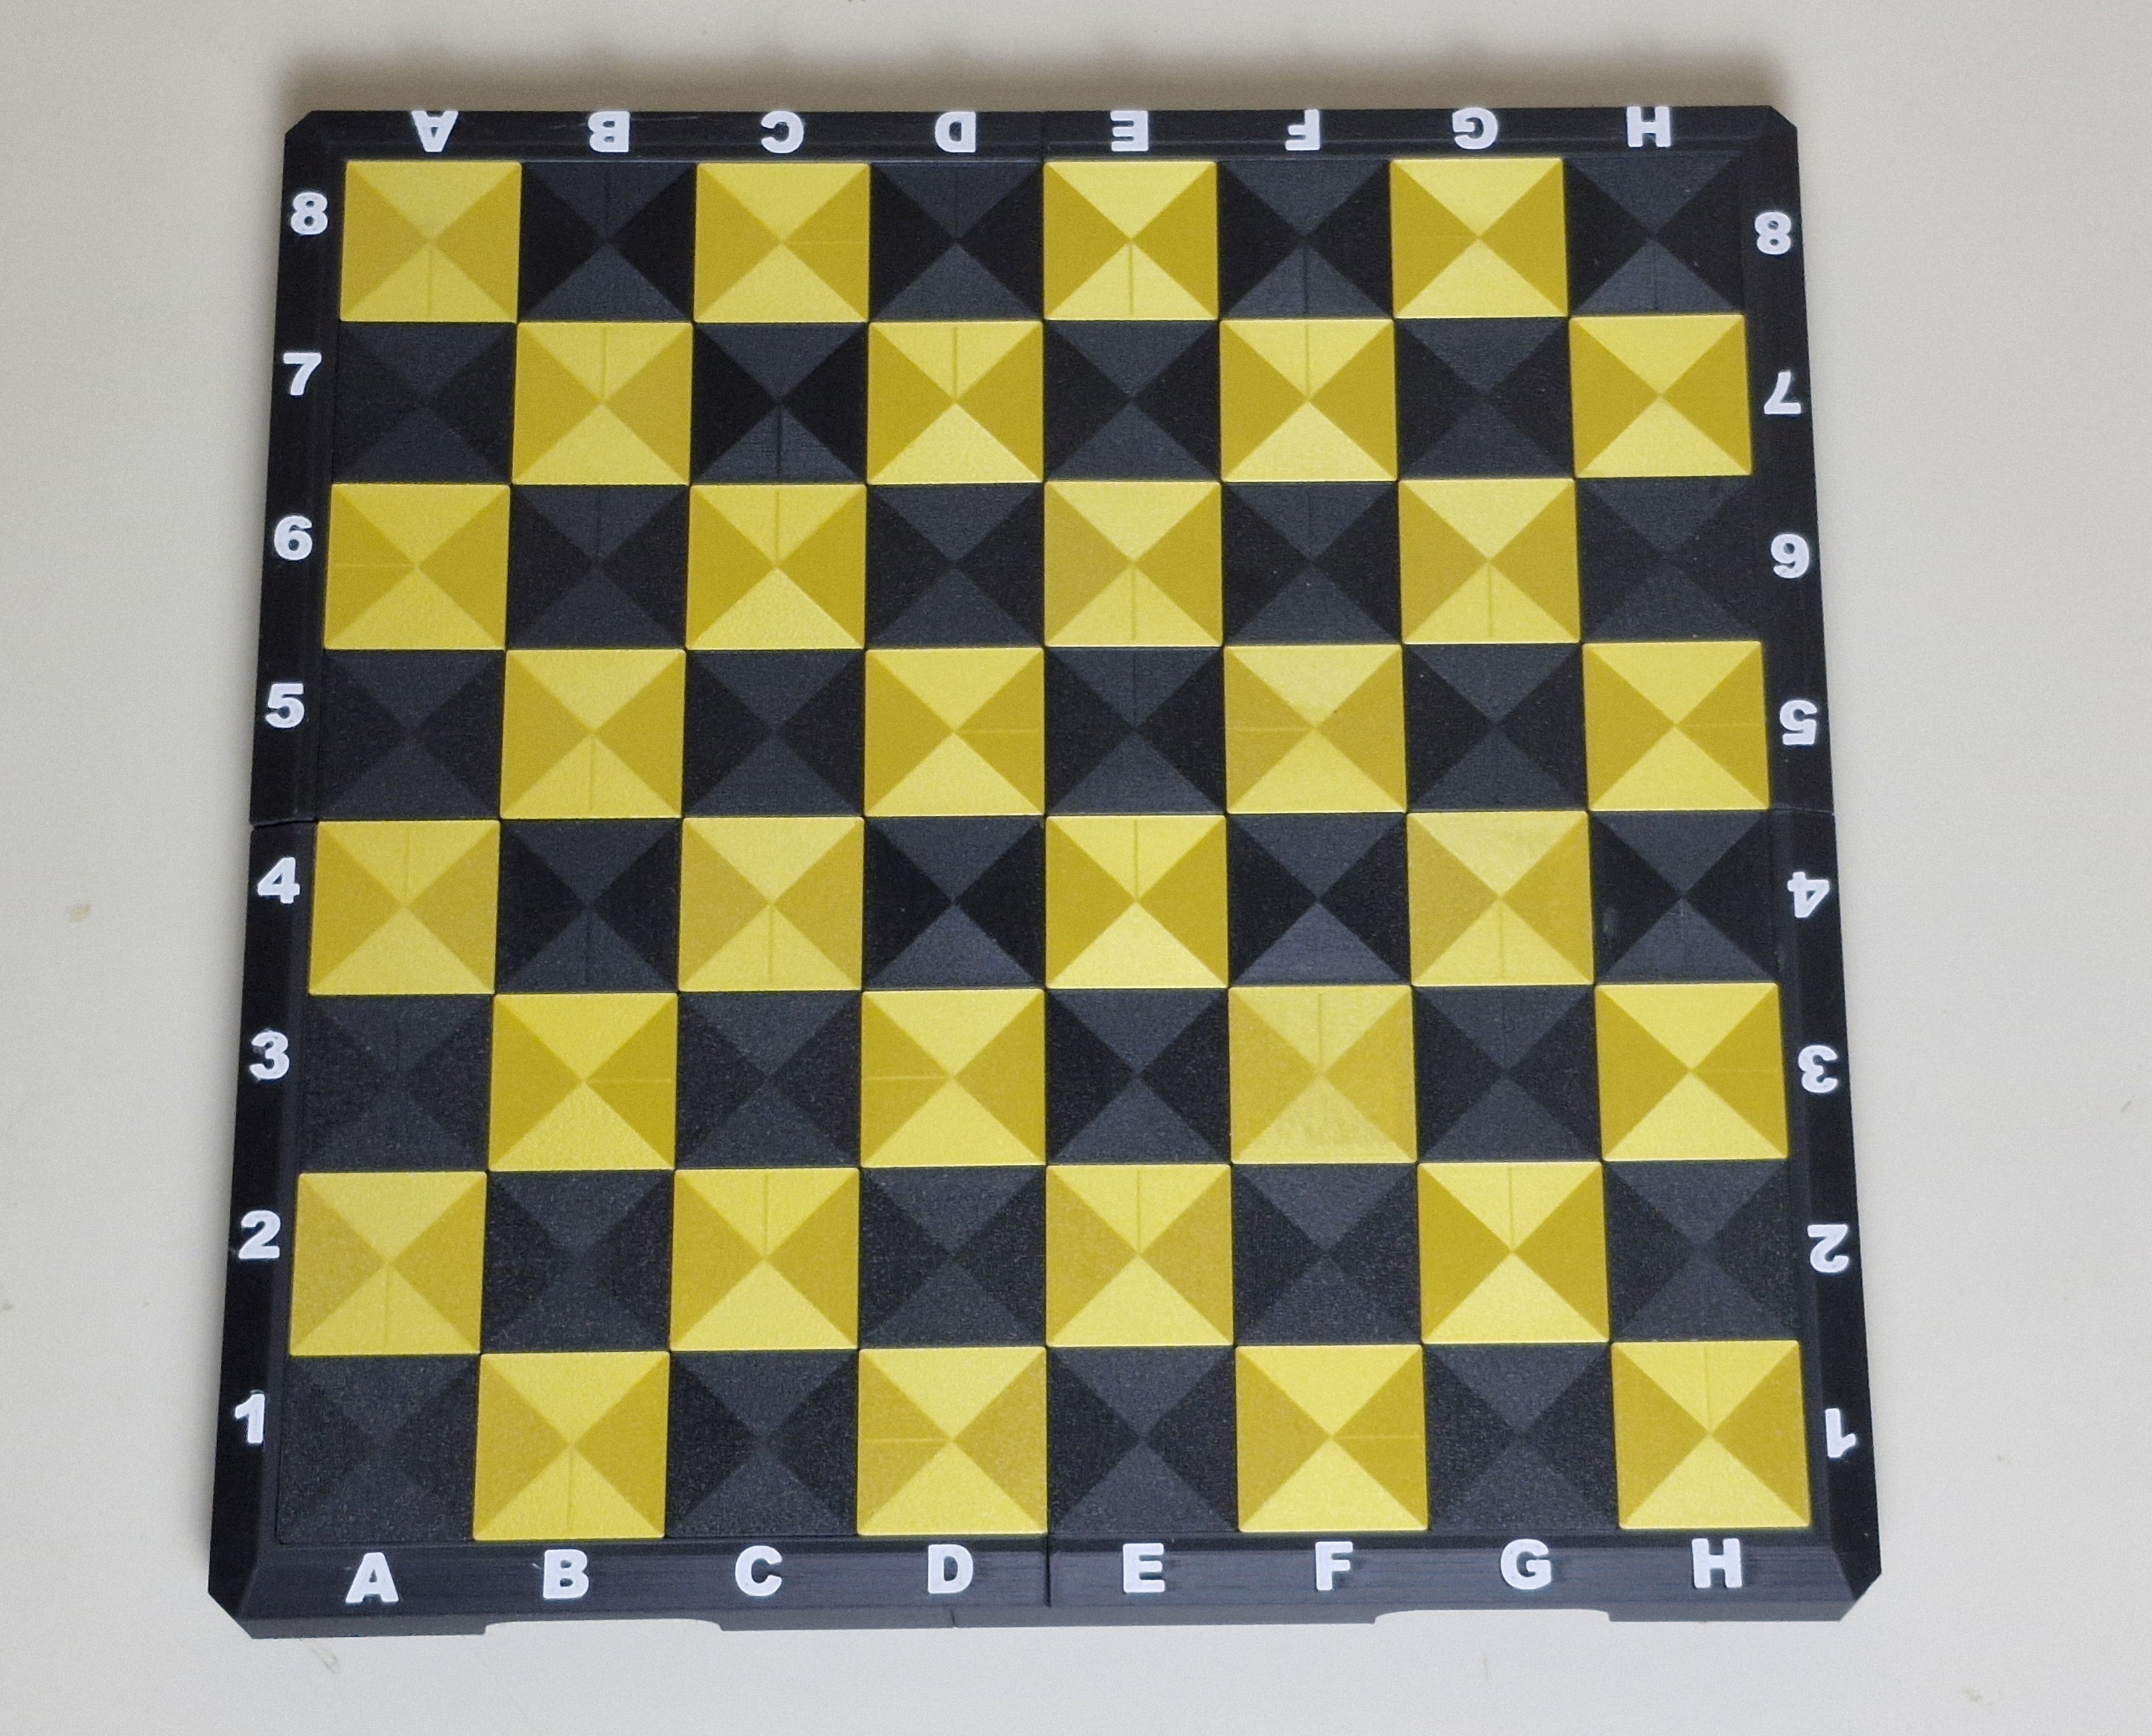
Use this picture to guide you on the order of the colors in the chessboard.
Even if the colors you use are different from those in the photo, it's important to adhere to the positioning of the dark and light checkered patterns.
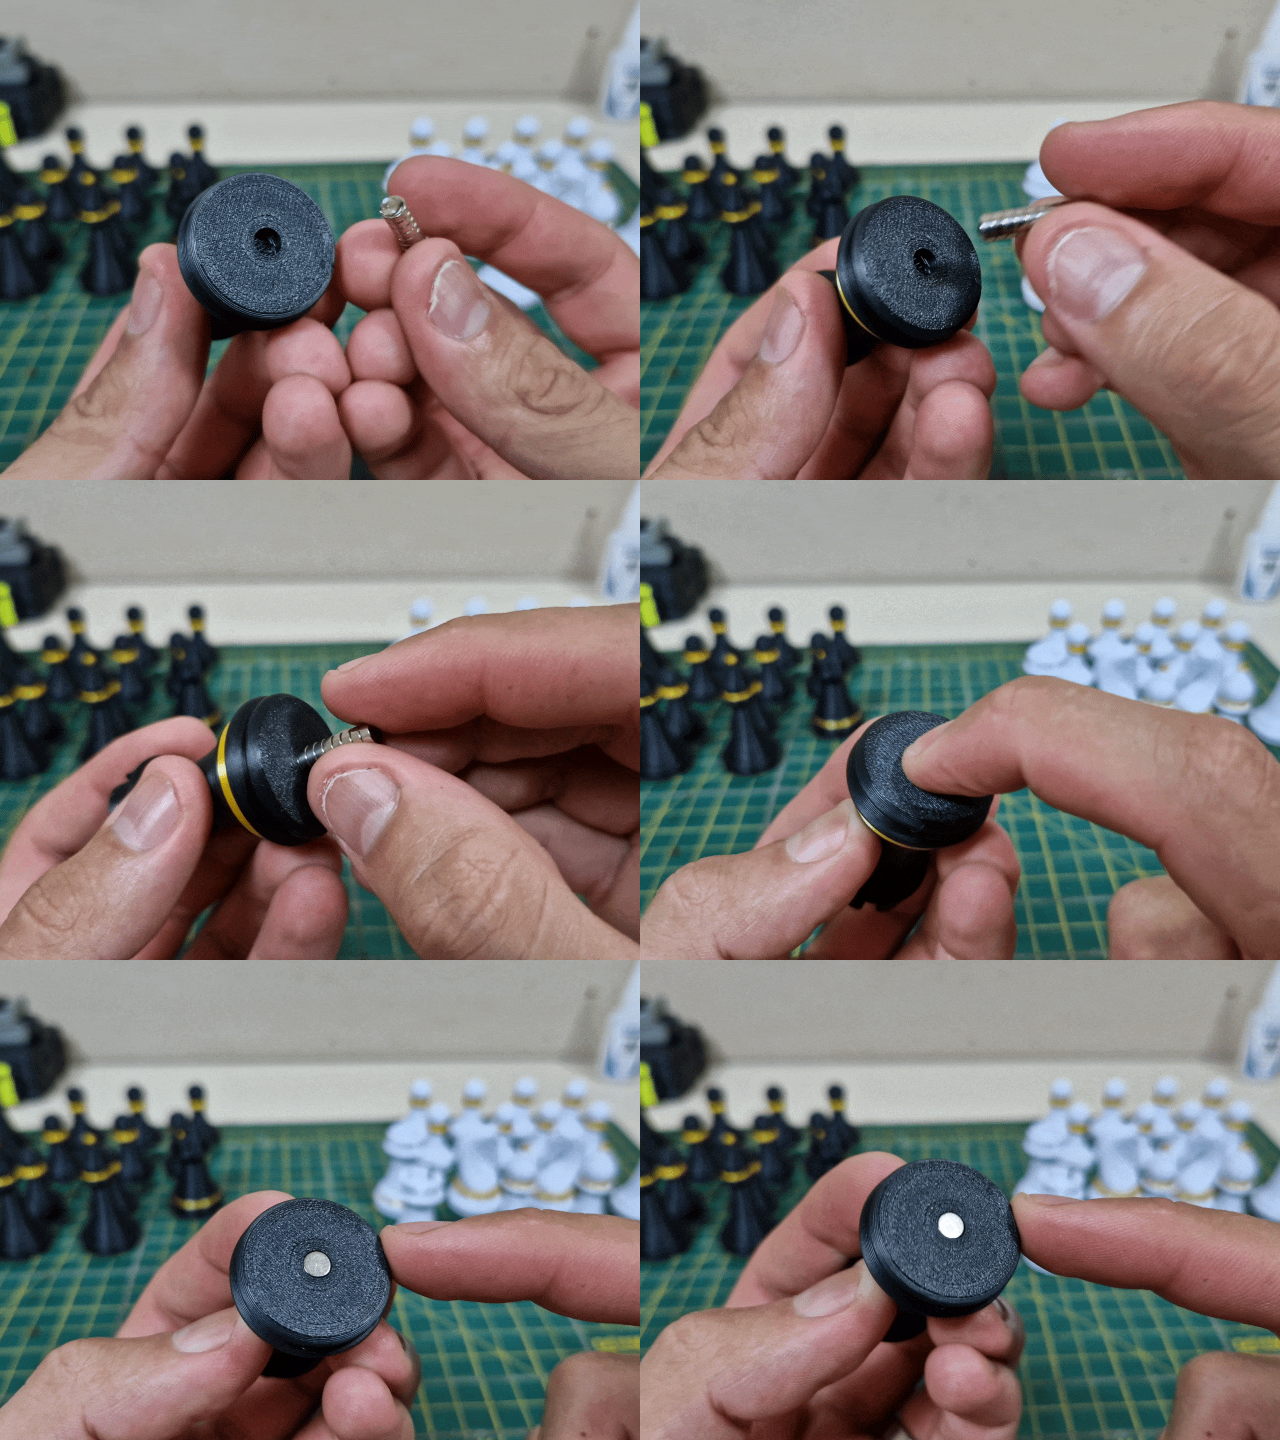
Now we just need to place the magnets on each chess piece, noting that this side of the magnet is the one that attracts the chessboard. Otherwise, the chess pieces will be repelled.
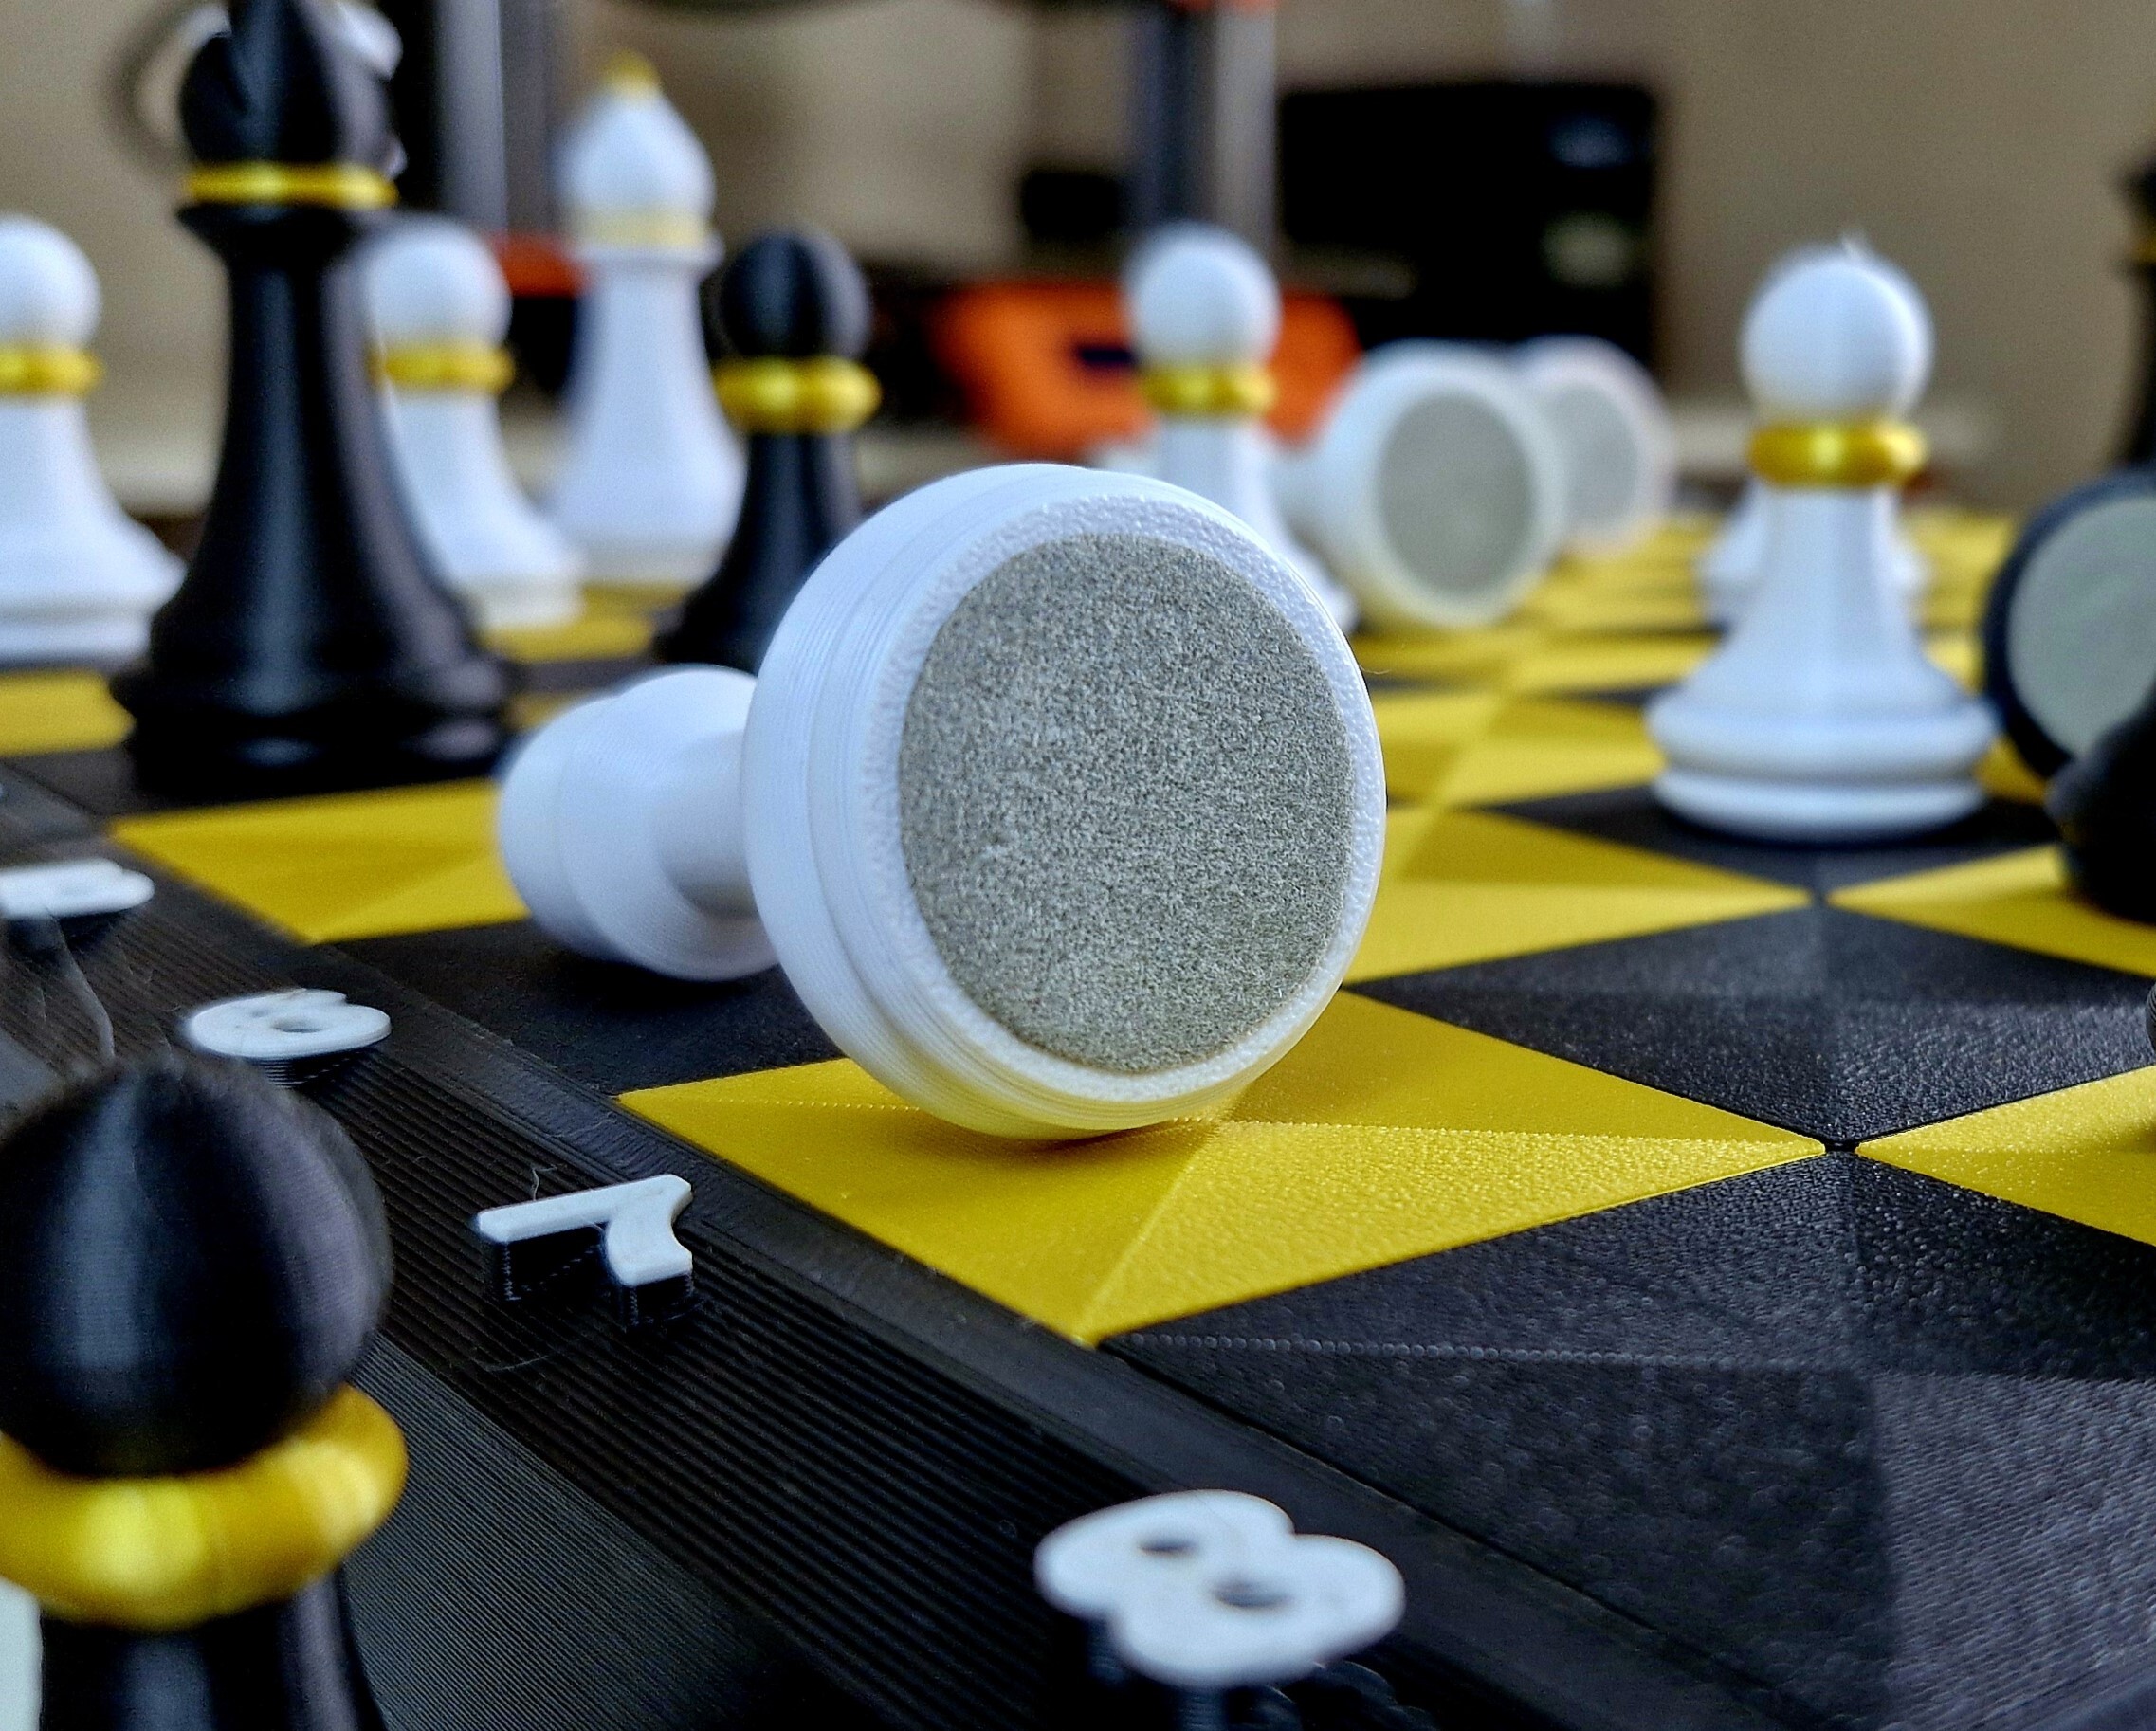
In order to cover the magnets and prevent the chess pieces from sliding, I pasted some flannel paper under the chess pieces, which also made the chess pieces look more exquisite.
I used regular glue.
You can find this kind of paper in the stationery store.
In my area, it's called suede paper, but it might have a different name in your area.
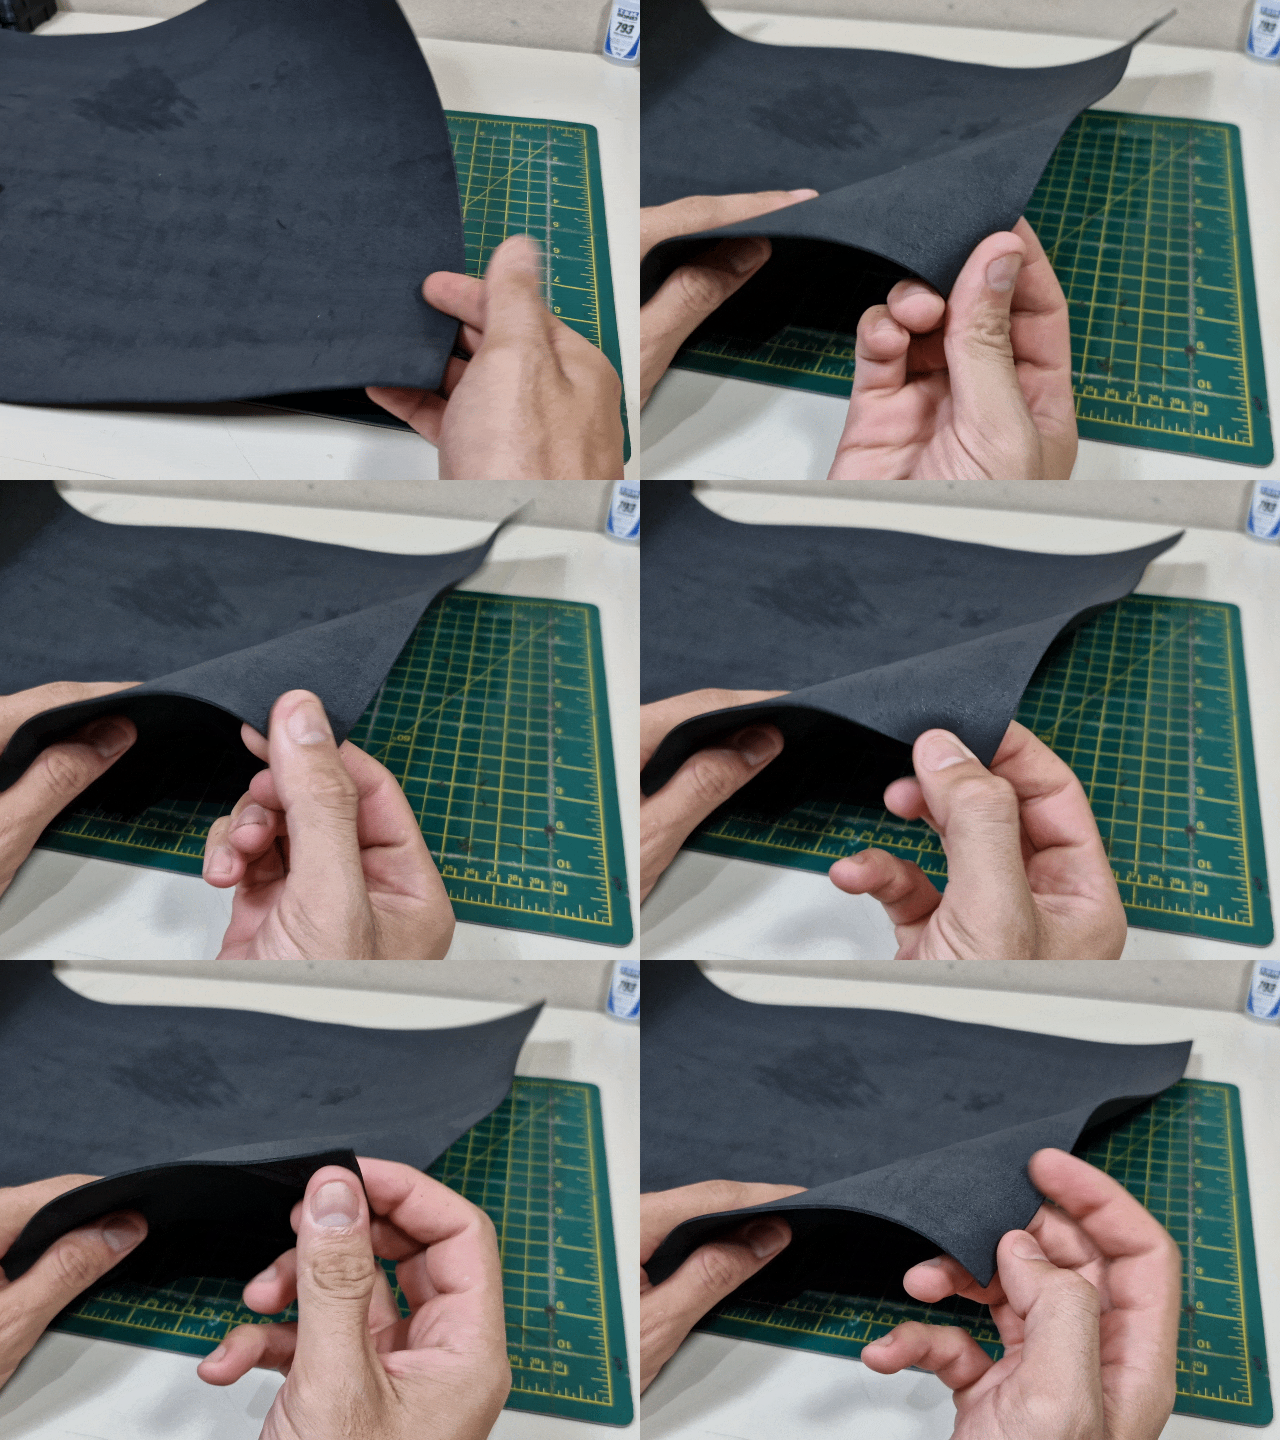
To complete the interior of the box, I will use this EVA. In addition to decoration, it also helps to protect the chess pieces inside the box.
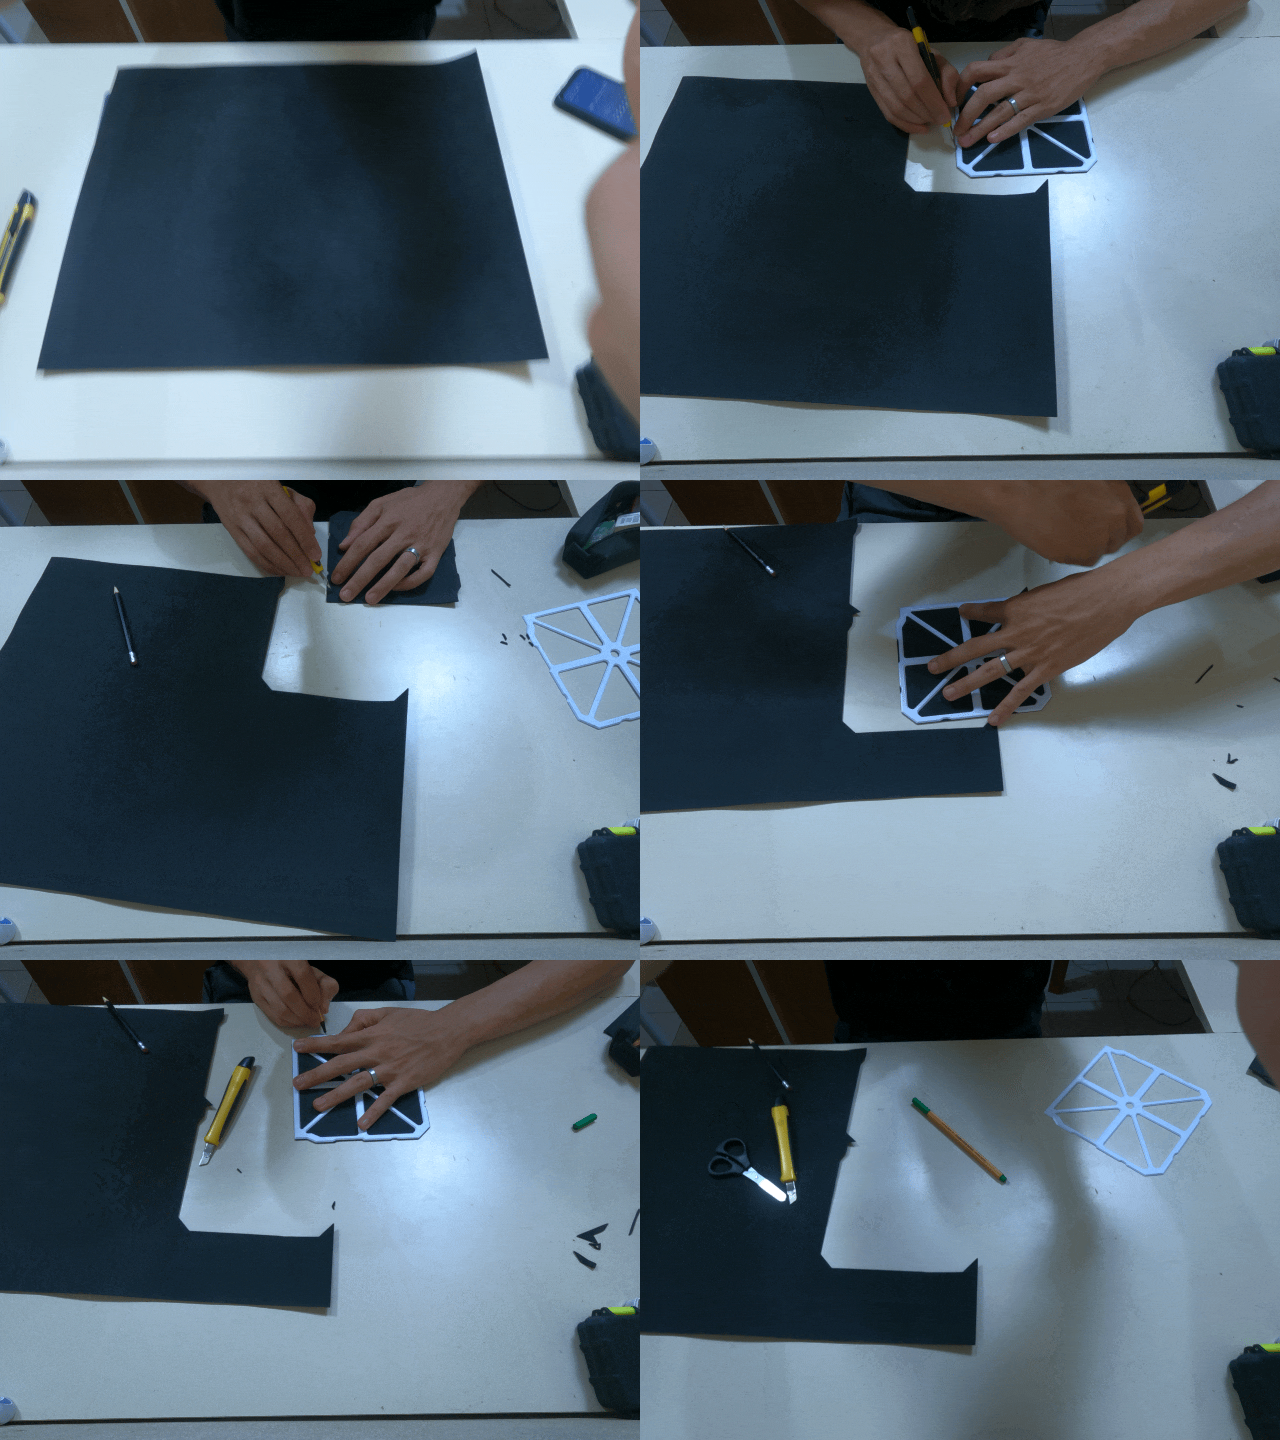
Using the template, I will cut it into an exact shape to fit inside the box.
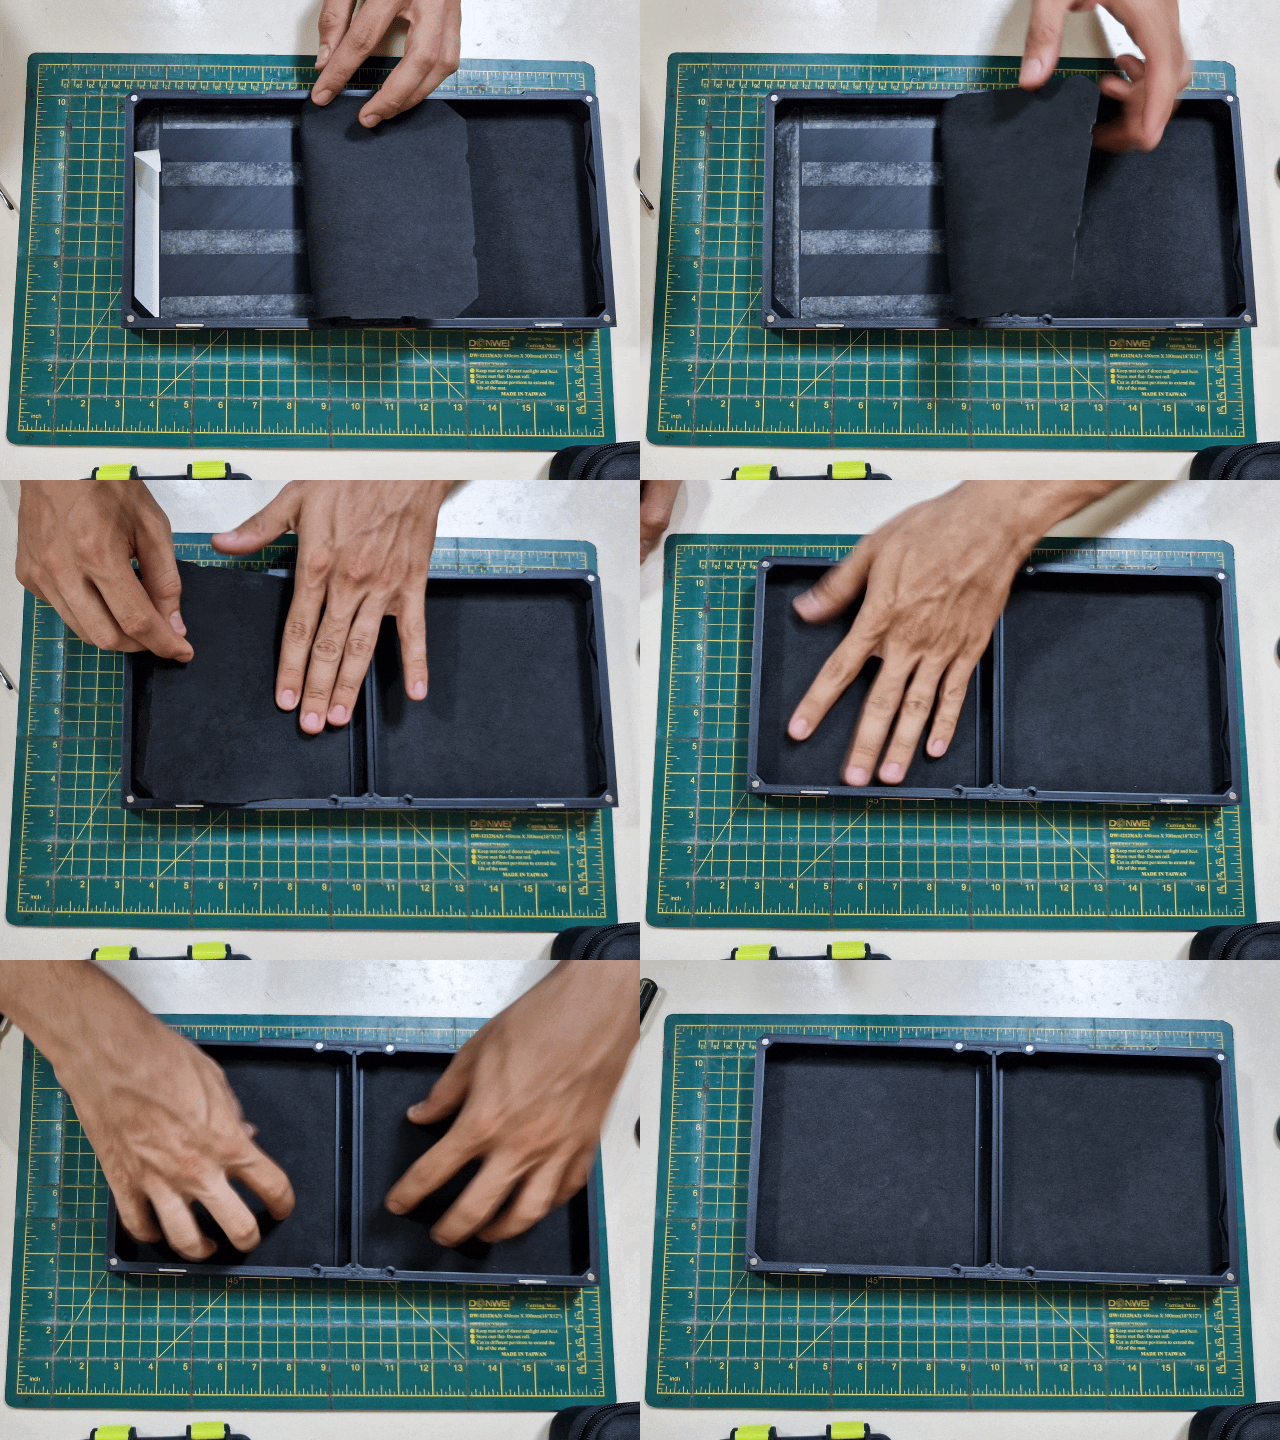
To stick EVA, you can use thin double-sided tape, which you can easily find in stationery stores.
