
Gachapon/surprise ball machine
WondrousBasket14

Encuentre similares con IA


Perfil de impresión(0)
Archivo de modelo(0)
 6
6 5
5 0
0
Publicado:2026-06-01 07:11:10
17
3



 650
650
Please print this machine designed by my wife, who is a school teacher. She uses it as a reward system in her classroom. It uses standard 45mm balls, which you can find on Amazon.
This is the first time I've designed something from scratch. It was very challenging because there were many large components. It took quite a lot of materials to adjust it.
You need a 220 mm x 130 mm acrylic board and4-inch spring。
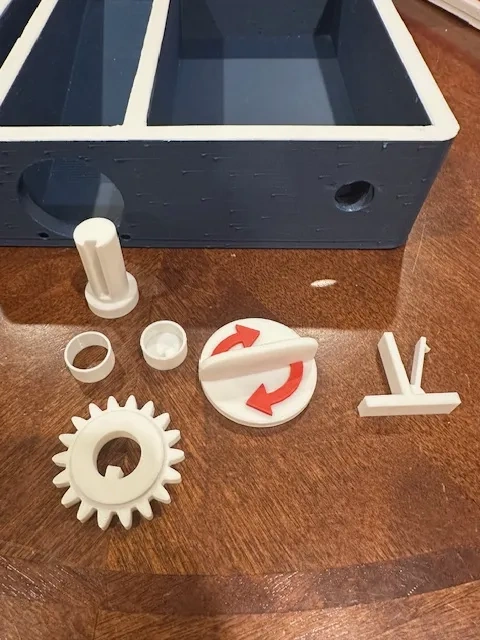
All the components needed for assembling the knob.
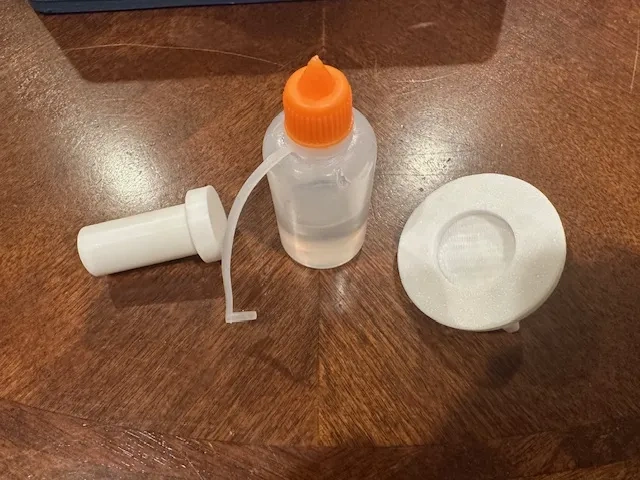
Glue the knob shaft to the knob.
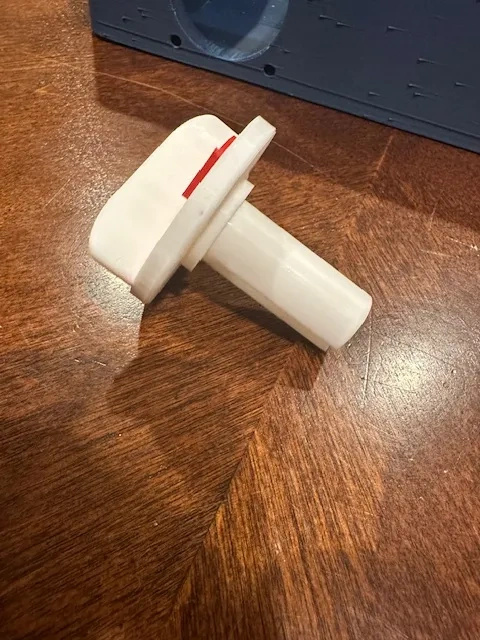

Insert the knob into the small hole, with the groove facing upwards.

Take the above-mentioned gear
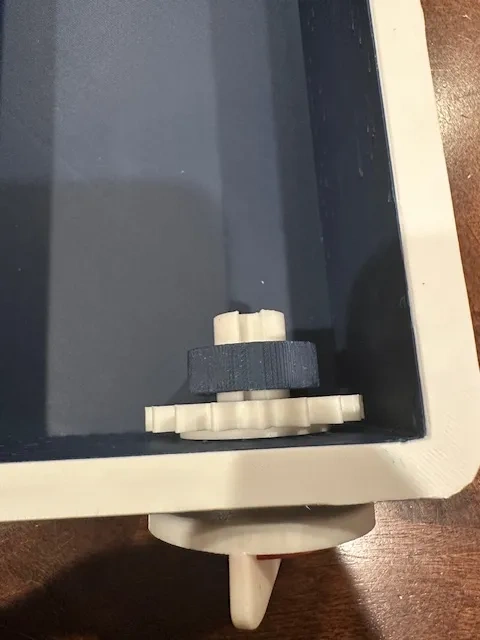
Align the grooves on the shaft and the labels on the gear, and then push it in completely.
Stick the shaft end cover on.
Stick the directional limiter on.
Insert the top gear as shown.
Flip the top over.
Push the gear onto the shaft. It's very tight, so make sure it's loose enough to rotate freely.
Glue the gear to the shaft.
Glue the shaft to the top of the main shaft.
Insert the spindle into the large gear.
Place the large gear on the bottom plate of the gearbox.
Flip the bottom of the gearbox. Stick the spindle holder in place.
Place the bottom gearbox in place.
Note: This is a very tight fit and may require some trimming. I didn't glue this part because it's very tight.
Stick the top of the gearbox in place.
Stick the spring column in place.
Installation4-inch spring。
Stick the acrylic board in place.
