Heat-setting insert pressing station
Brenda Quinn

Encuentre similares con IA
Perfil de impresión(0)
Archivo de modelo(0)
 0
0 0
0 0
0
Publicado:2025-06-19 04:21:01
0
0
 000
000
Recently, I needed a tool for the precise serial installation of thermal insert parts. I decided to create a compact workstation specifically for this task. At first, I looked at existing solutions - thinking I would find a suitable one and just print it out. But what I saw really surprised me: most of these structures were too bulky. They took up half a desk, were made of aluminum profiles, and were oversized. However, in practice, if you need to install the inserts into a tall enclosure, you can simply raise the press by placing something underneath it. By default, the structure doesn't need
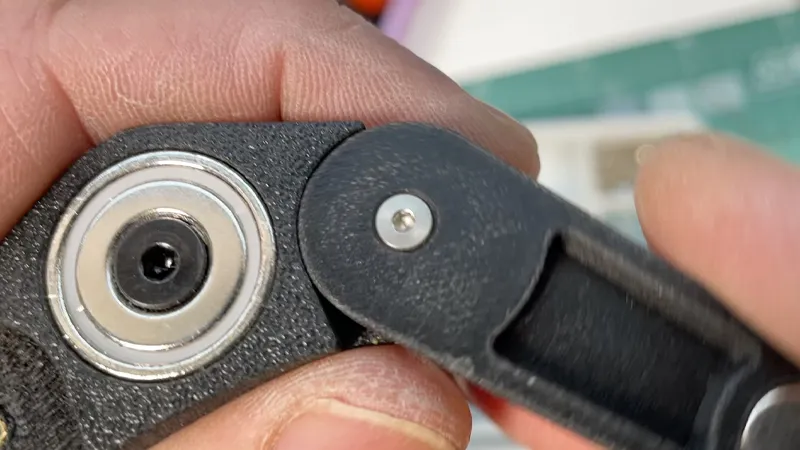
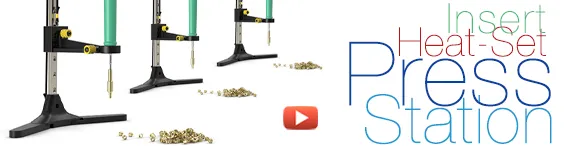
I wasn't satisfied with the search results, so I quickly developed my own version. Its core is the MGN7 rail: tiny but very precise. I printed the PLA base and legs with carbon fiber (PLA-CF), and initially used carbon-filled polyamide to make the levers. Later, I replaced it with a version printed in resin using a UV printer - this material handles long-term heat exposure much better. The hot air from the soldering iron rises and gradually heats the bracket. For continuous operation of 10-15 minutes, this becomes crucial.
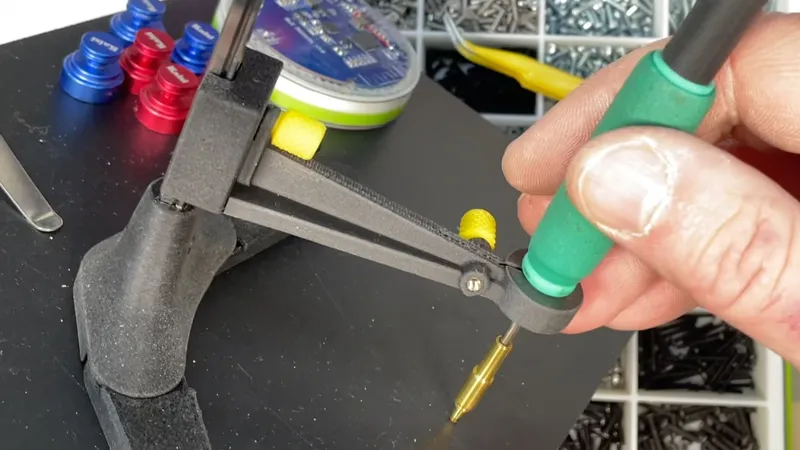
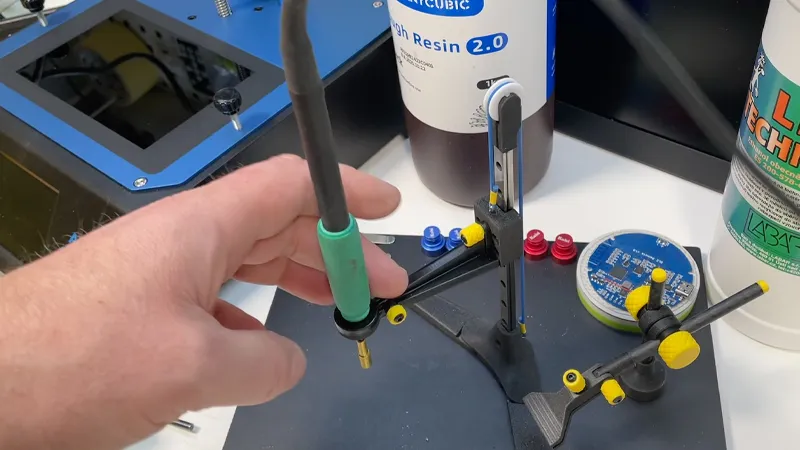
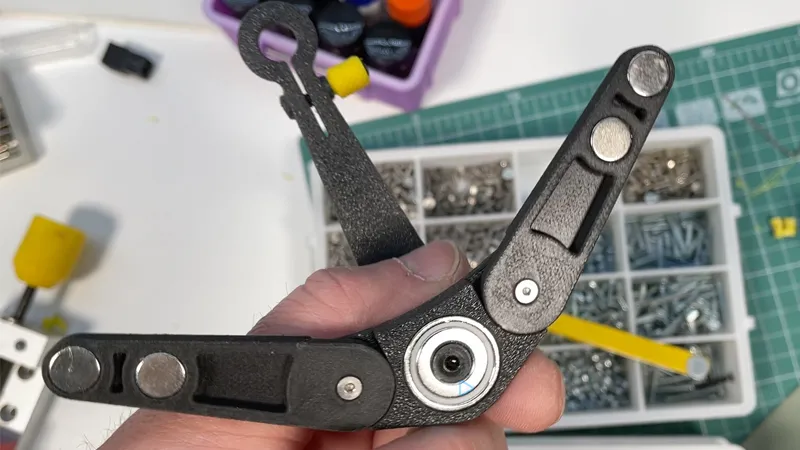
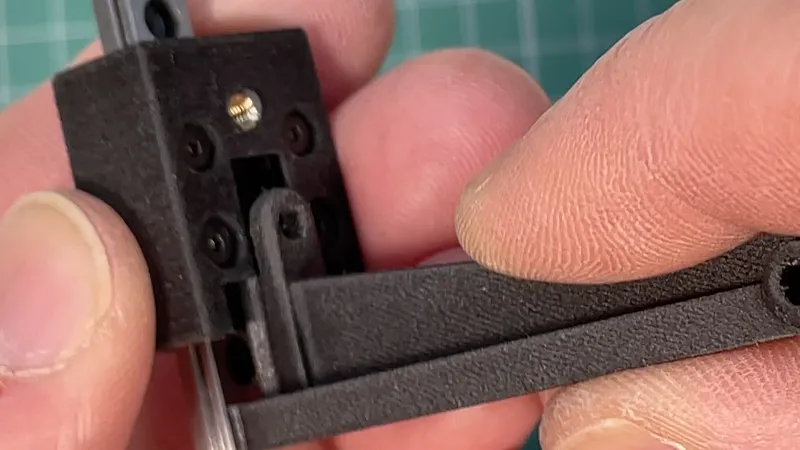
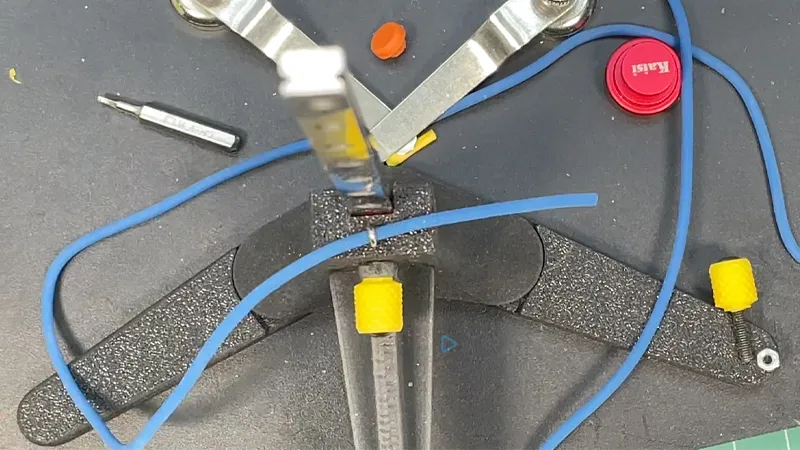
This tool can easily adapt to different types of soldering irons. The kit includes a stand for the compact T210 handle, with improved insertion and installation of the tip, and a Hakko T12 tip handle. The installation diameter is 9 and 13 mm. It also includes a STEP file, in case you need to make adjustments to your own tools.
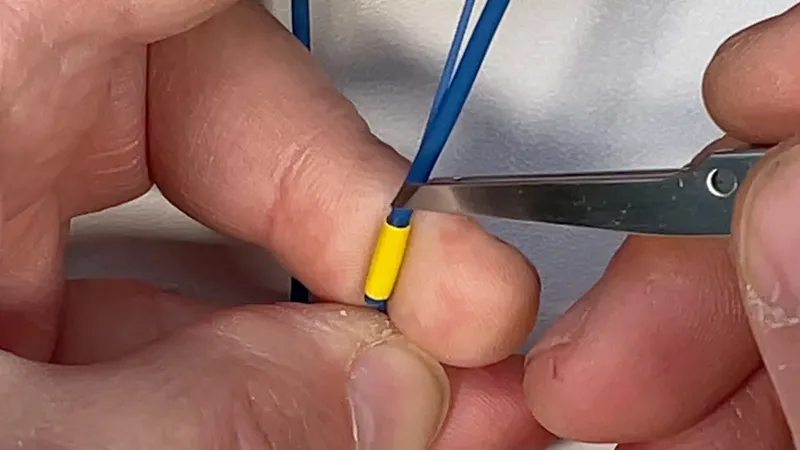
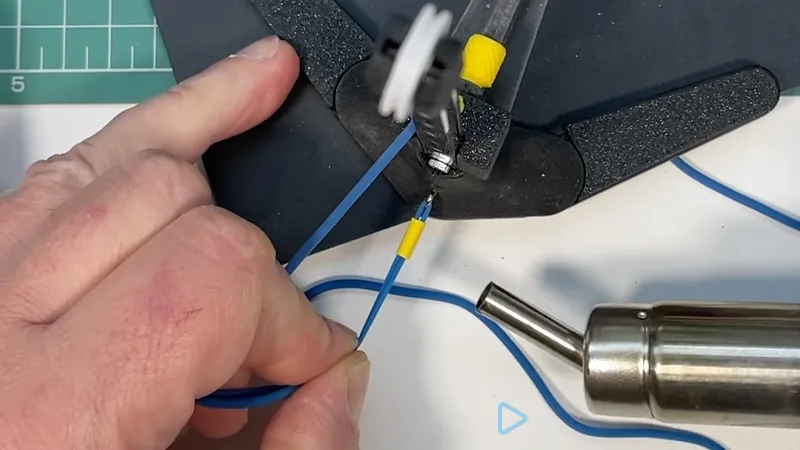
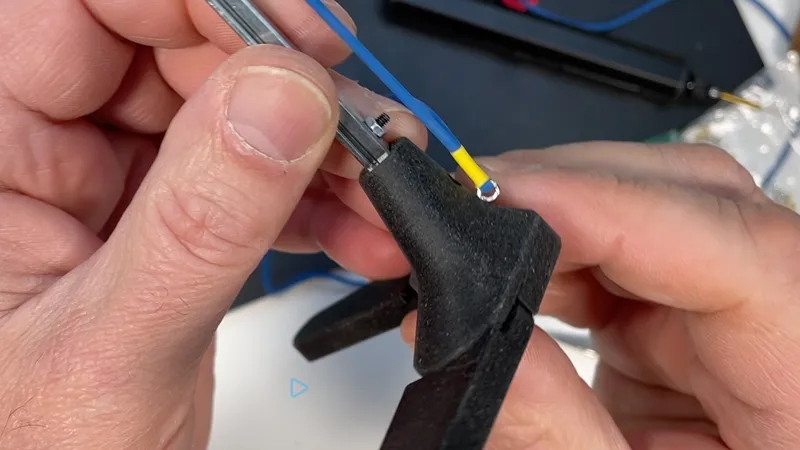
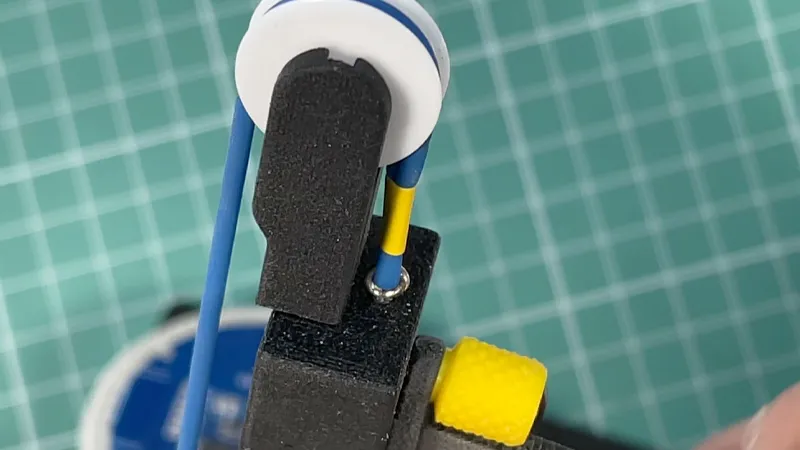
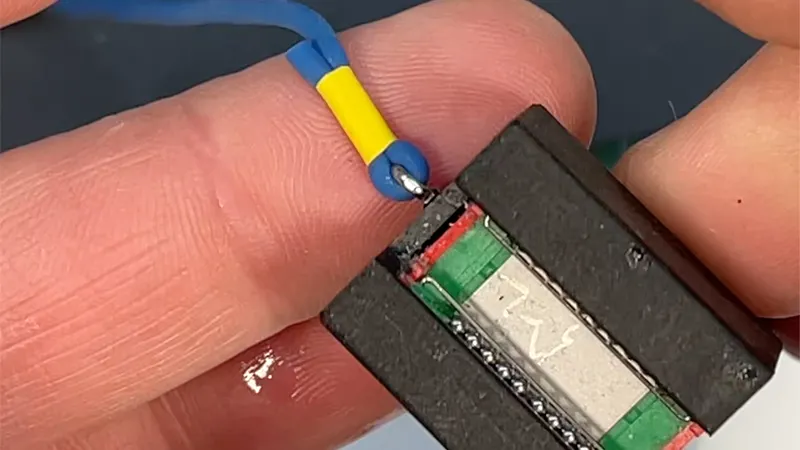
I'm not using traditional springs, but latex ropes. It provides a smoother and more consistent lever return. The only challenge is protecting it. I'll tighten the rope and clamp it in heat-shrink tubing, while heating it in a stretched state. It works reliably and effectively.
The station is fixed to the metal plate with a strong magnet - I usually work on the circuit board. It's very convenient: the design is stable, the legs don't take up space, and the height is easy to adjust. I've already shown all the key assembly steps in the video. If you have any questions, please feel free to ask in the comments, and I'll clarify them as much as possible.
For more details, please refer to the video:
If you like this item, let me know by clicking the 'Like' button!
Thank you for every tip or donation you've made.
This means a great deal of recognition to me and will help me move forward!

BTC:bc1qplpzq36ghw84hty4nn2zzu4ps4sdh4th0v93j8
ETH:0xc766ebbeAa76aaf629788c8F99C33A8d80d48977