Wall-mounted drilling jigs
Vellovisk99

Encuentre similares con IA


Perfil de impresión(0)
Archivo de modelo(0)
 0
0 0
0 0
0
Publicado:2025-07-08 06:32:15
0
0
 000
000
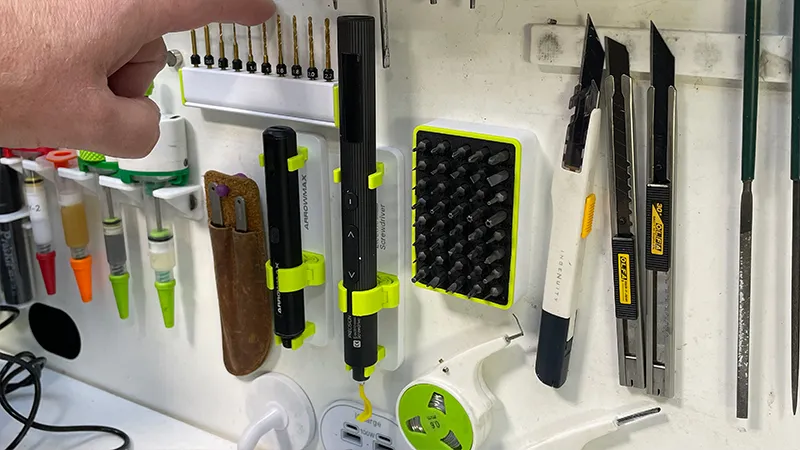
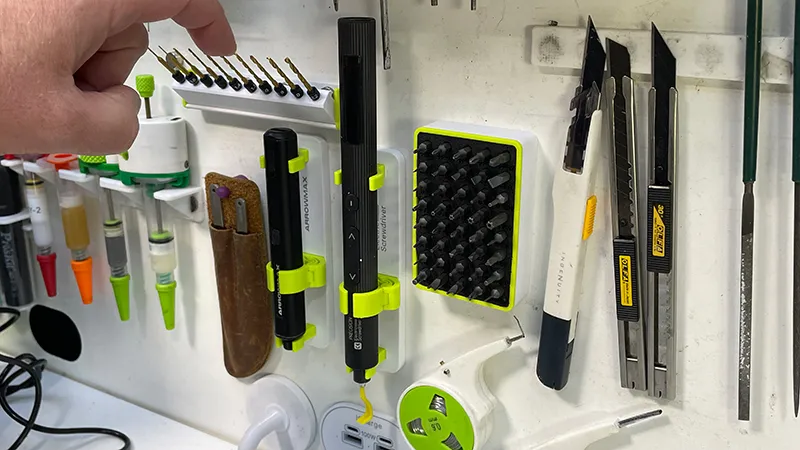
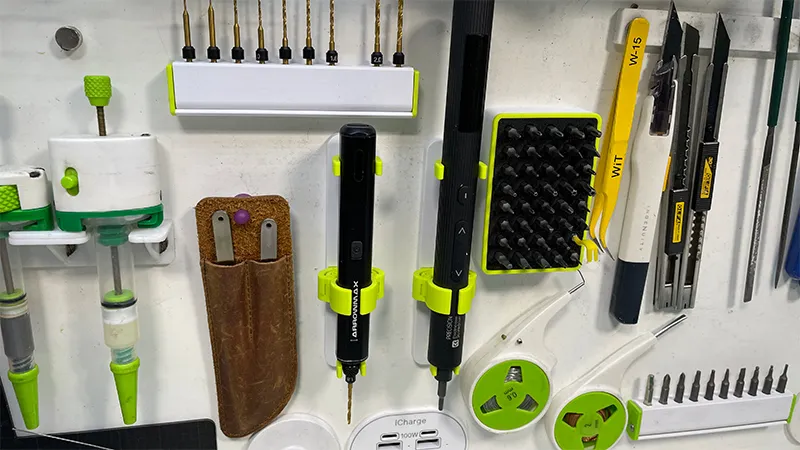
Not long ago, I released a model of a wall-mounted magnetic holder for electric screwdrivers. It turned out to be so convenient in daily use that I immediately decided to apply it to another idle tool - a miniature drill.
Why is it idle? Simple: the tool is not within easy reach. It's in a box. When something is hidden in a box -- when you find it and open it, you've already forgotten what you need it for. I mentioned this before, by the way.
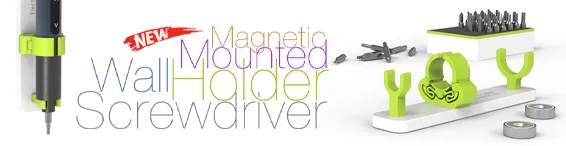
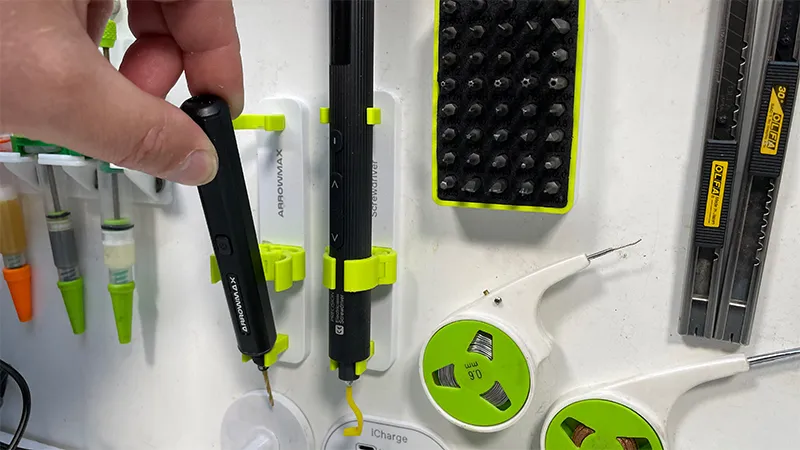
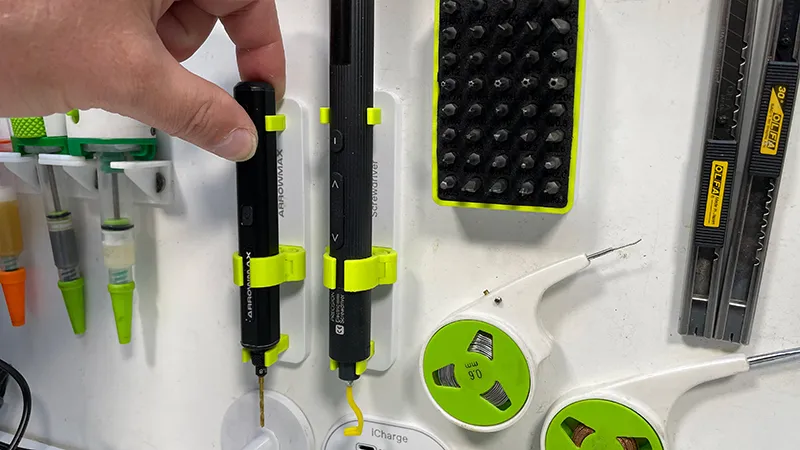
The bracket model for the miniature drill bit is almost identical in structure to the bracket model I made for the screwdriver. The main difference is the shape of the top support: it's not round, but it fits the shape of the main body of the miniature drill bit, which is closer to a round square and has a diameter slightly smaller than that of the screwdriver.
The assembly process is exactly the same as the one I showed in my previous video. Therefore, there's no point in filming a new video - all the steps are the same.
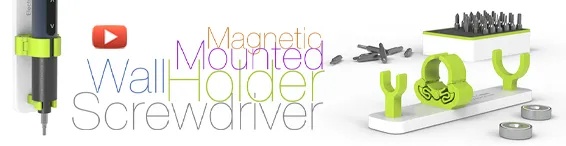
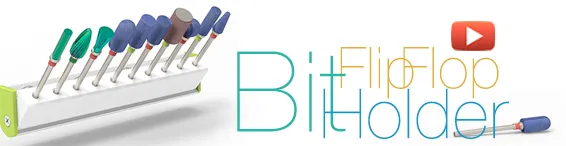
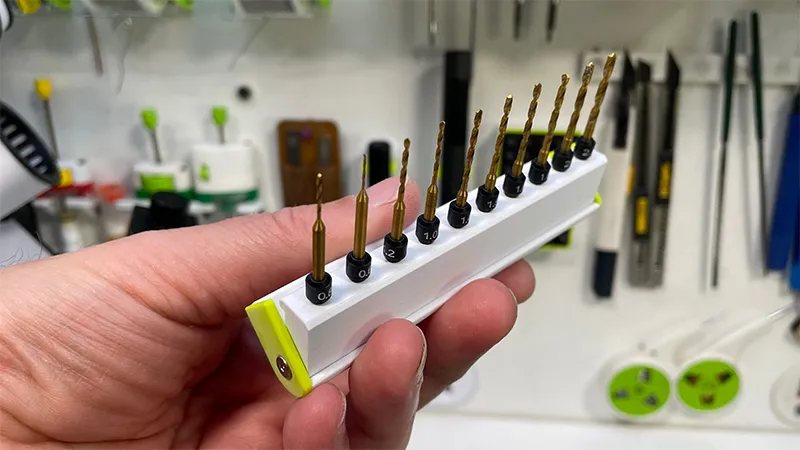
Provided with the drilling jig is a modified version of the famous trigger base - this time designed specifically for storing drill bits for the same miniature drill. Like the main jig, it uses magnets to attach to the metal wall and can be snapped into a vertical position when not in use.
The mini drill itself needs a small upgrade. I added a switch that completely disconnects the battery from the controller. This is necessary because the components running in standby mode are consuming milliamps rather than microamps, as specified in the specifications - this means the battery will be completely drained overnight.
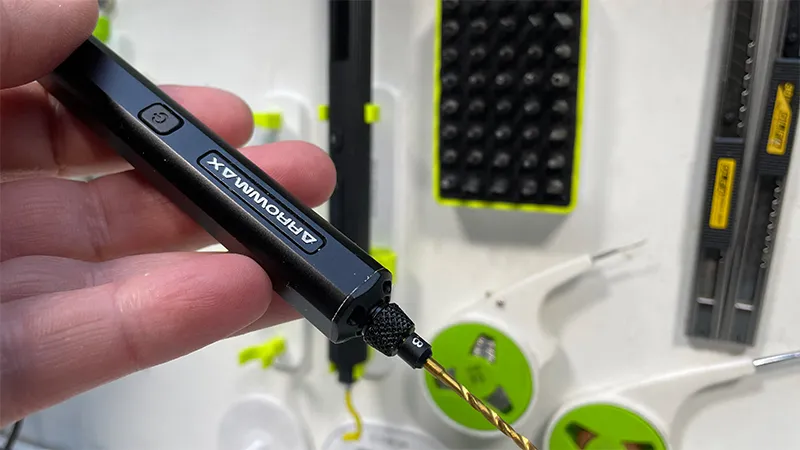
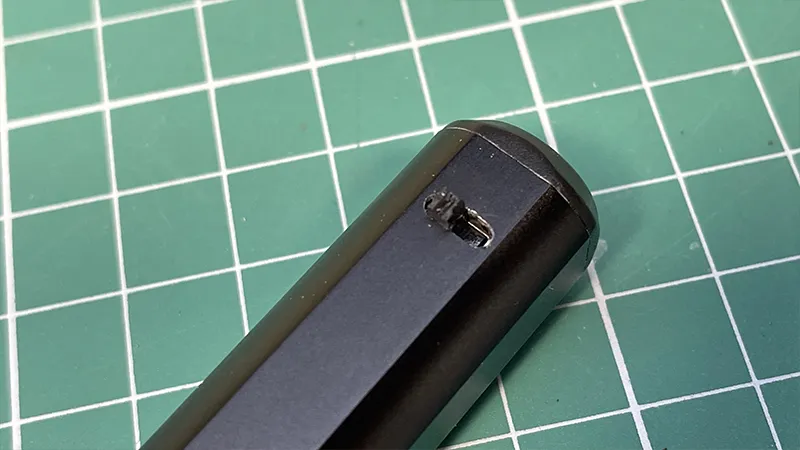
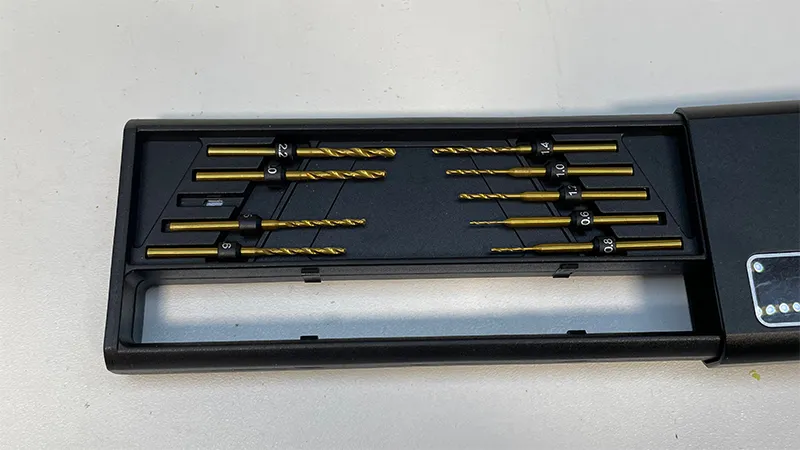
Most likely, I just got a unit like this. Maybe this isn't a widespread problem, but I can't say for sure - this isn't statistical data, it's just my personal experience. I've seen components before that should consume almost no power according to the datasheet, but end up drawing 40 mA in practice. It happened. Different production batches might not have this problem. I'm just sharing my observations.
The first thing - this is not a concrete drill bit. It's quite small and not particularly powerful. But in its category, it's absolutely irreplaceable. I often use it to drill plastic, route cables through casings, or widen the holes of small screws. Basically, it's like a precision mini-cone, and it's always handy to have on hand.
The main installation point is to fix the drill bit in the center SnapFlip clamp. The top and bottom supports are just for guidance. As mentioned above, the trigger clock of the bit is magnetic.
At first glance, things like wall-mounted brackets might seem insignificant. But it's these small decisions that change the way you work: the tools won't be buried and forgotten - they become part of your daily workflow. This means they'll be used more frequently.
In my opinion, this is a key indicator of a good engineering solution - when an object simply integrates into your life without any extra effort or reminders.
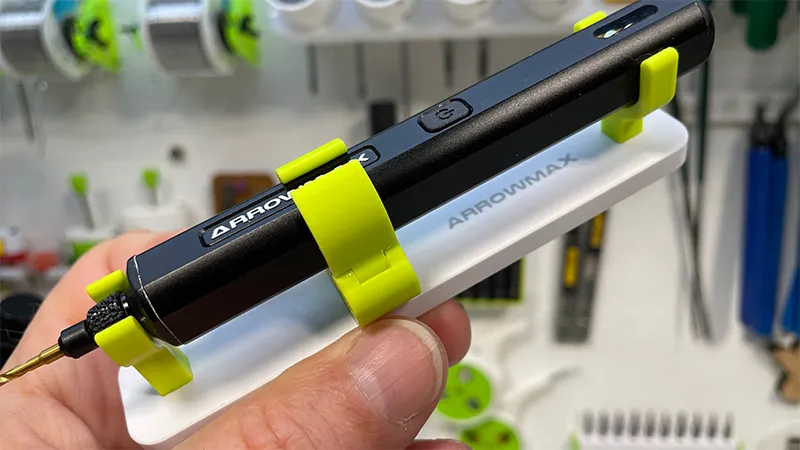
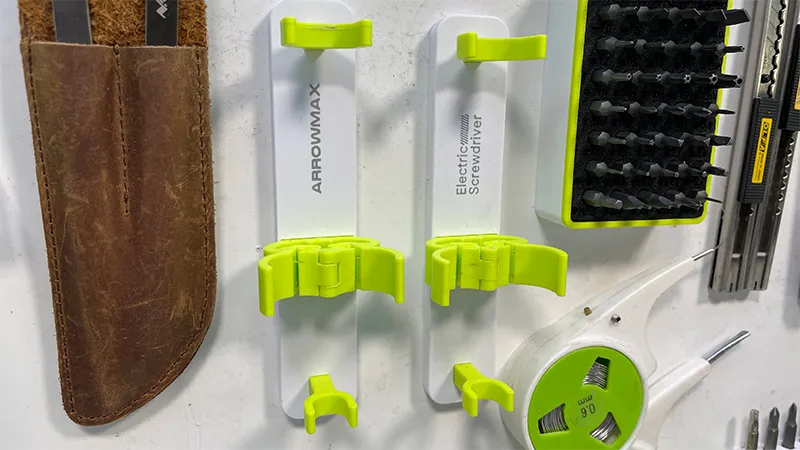
People often ask me in the comments: "What printer do you use, what filament, what nozzle size, what settings?" I try to answer this question in advance, always including a 3MF file. It's not just a model - it's a fully prepared print project, including all my settings, speed, temperature, layer height, and other details. This time, I printed everything with a 0.2mm nozzle - partly because it provided cleaner results, and partly because I honestly didn't want to change the nozzle. I had the time, so I just went for a

Thank you for every tip or donation you've made.
This means a great deal of recognition to me and will help me move forward!

BTC:bc1qplpzq36ghw84hty4nn2zzu4ps4sdh4th0v93j8
ETH:0xc766ebbeAa76aaf629788c8F99C33A8d80d48977