
iqos 2.4 disassembler
harris1999

Encuentre similares con IA
Perfil de impresión(0)
Archivo de modelo(0)
 0
0 0
0 0
0
Publicado:2026-02-04 10:10:03
0
0
 000
000
Do you have an old iqos 2.4 laying around? Do you want to change the battery or heating element? Or do you want to just see what is inside, maybe salvage something? Just if it wasn't for that pesky friction fit bottom cap of the pen. Well, this is the tool for you.
Printing requirements
I used a fast 0.2 printing profile and 3 parameters to make sure the threads are strong.
Extra materials
You will need 2 pieces of strong metal wire or two sewing pins or something of the sort(optional).
It is also recommended that you use a little grease/vaseline on the threads and make sure they screw well without a lot of resistance, while not being loose at the same time.
Instructions
First start by removing the top cap and then this ring thing next to the button. You may use a fingernail to pull it up or some other tool.

Second insert your iqos device in the top part of the device. Mind the hole for the button.
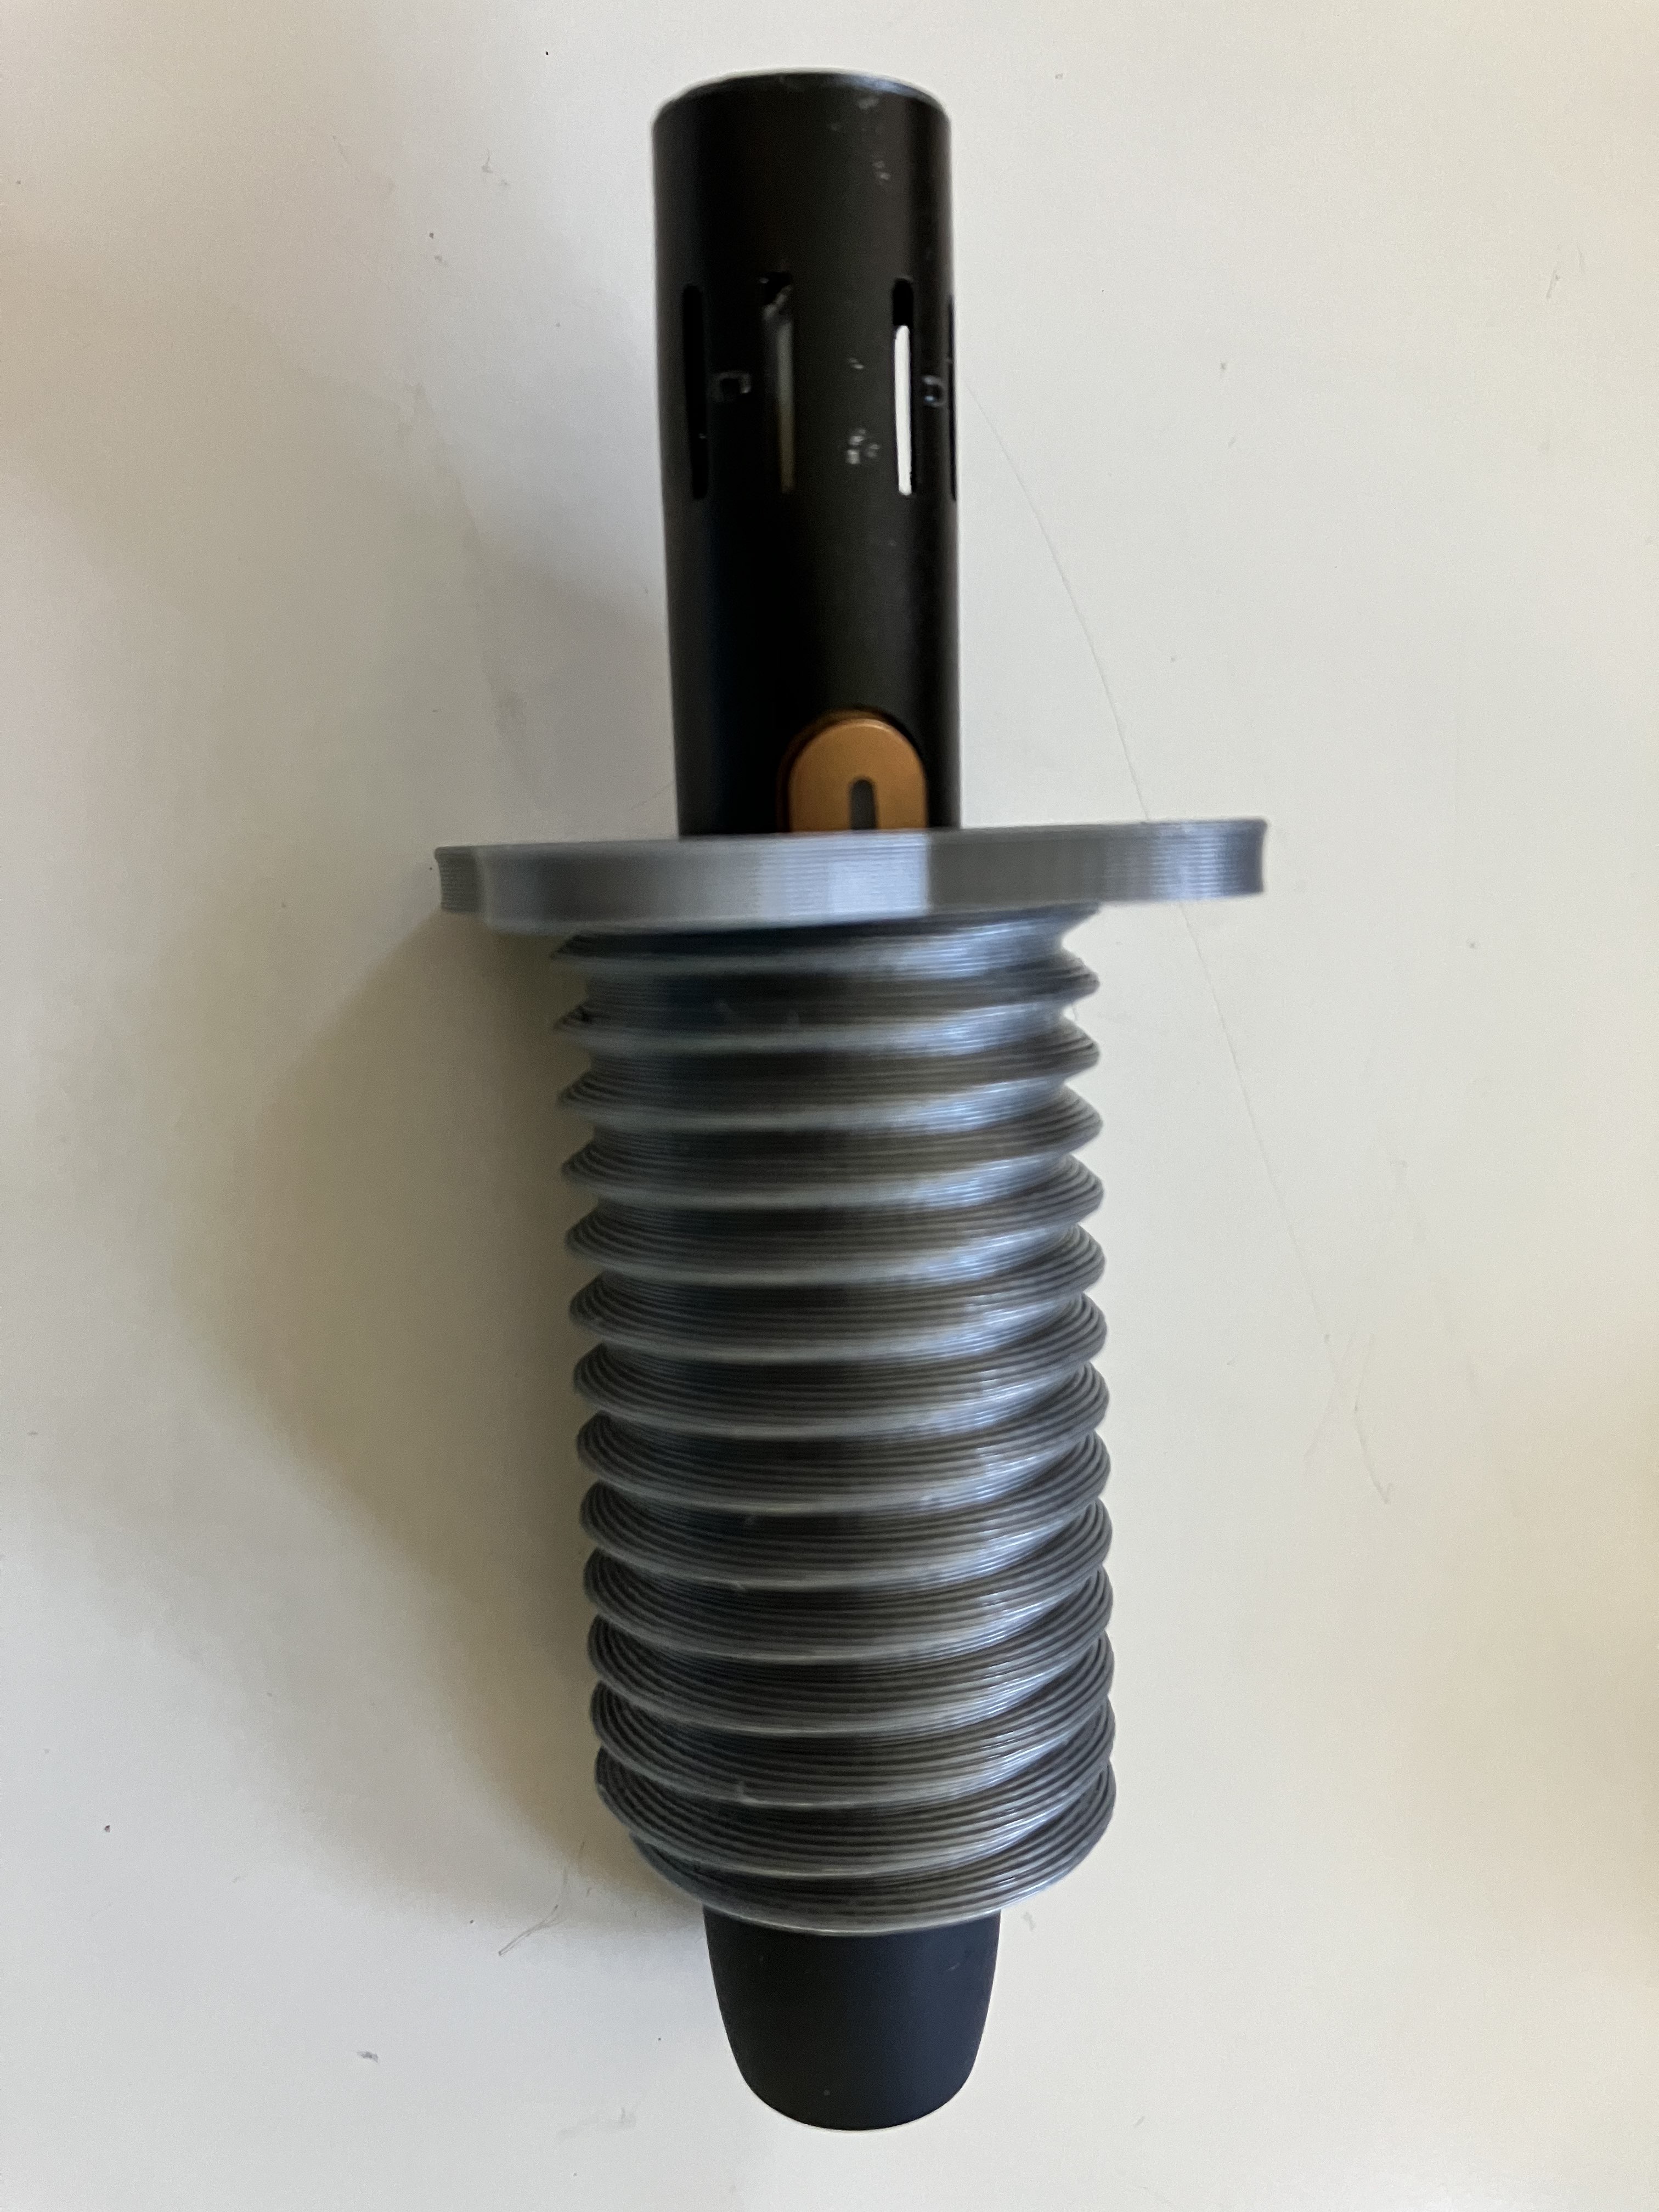
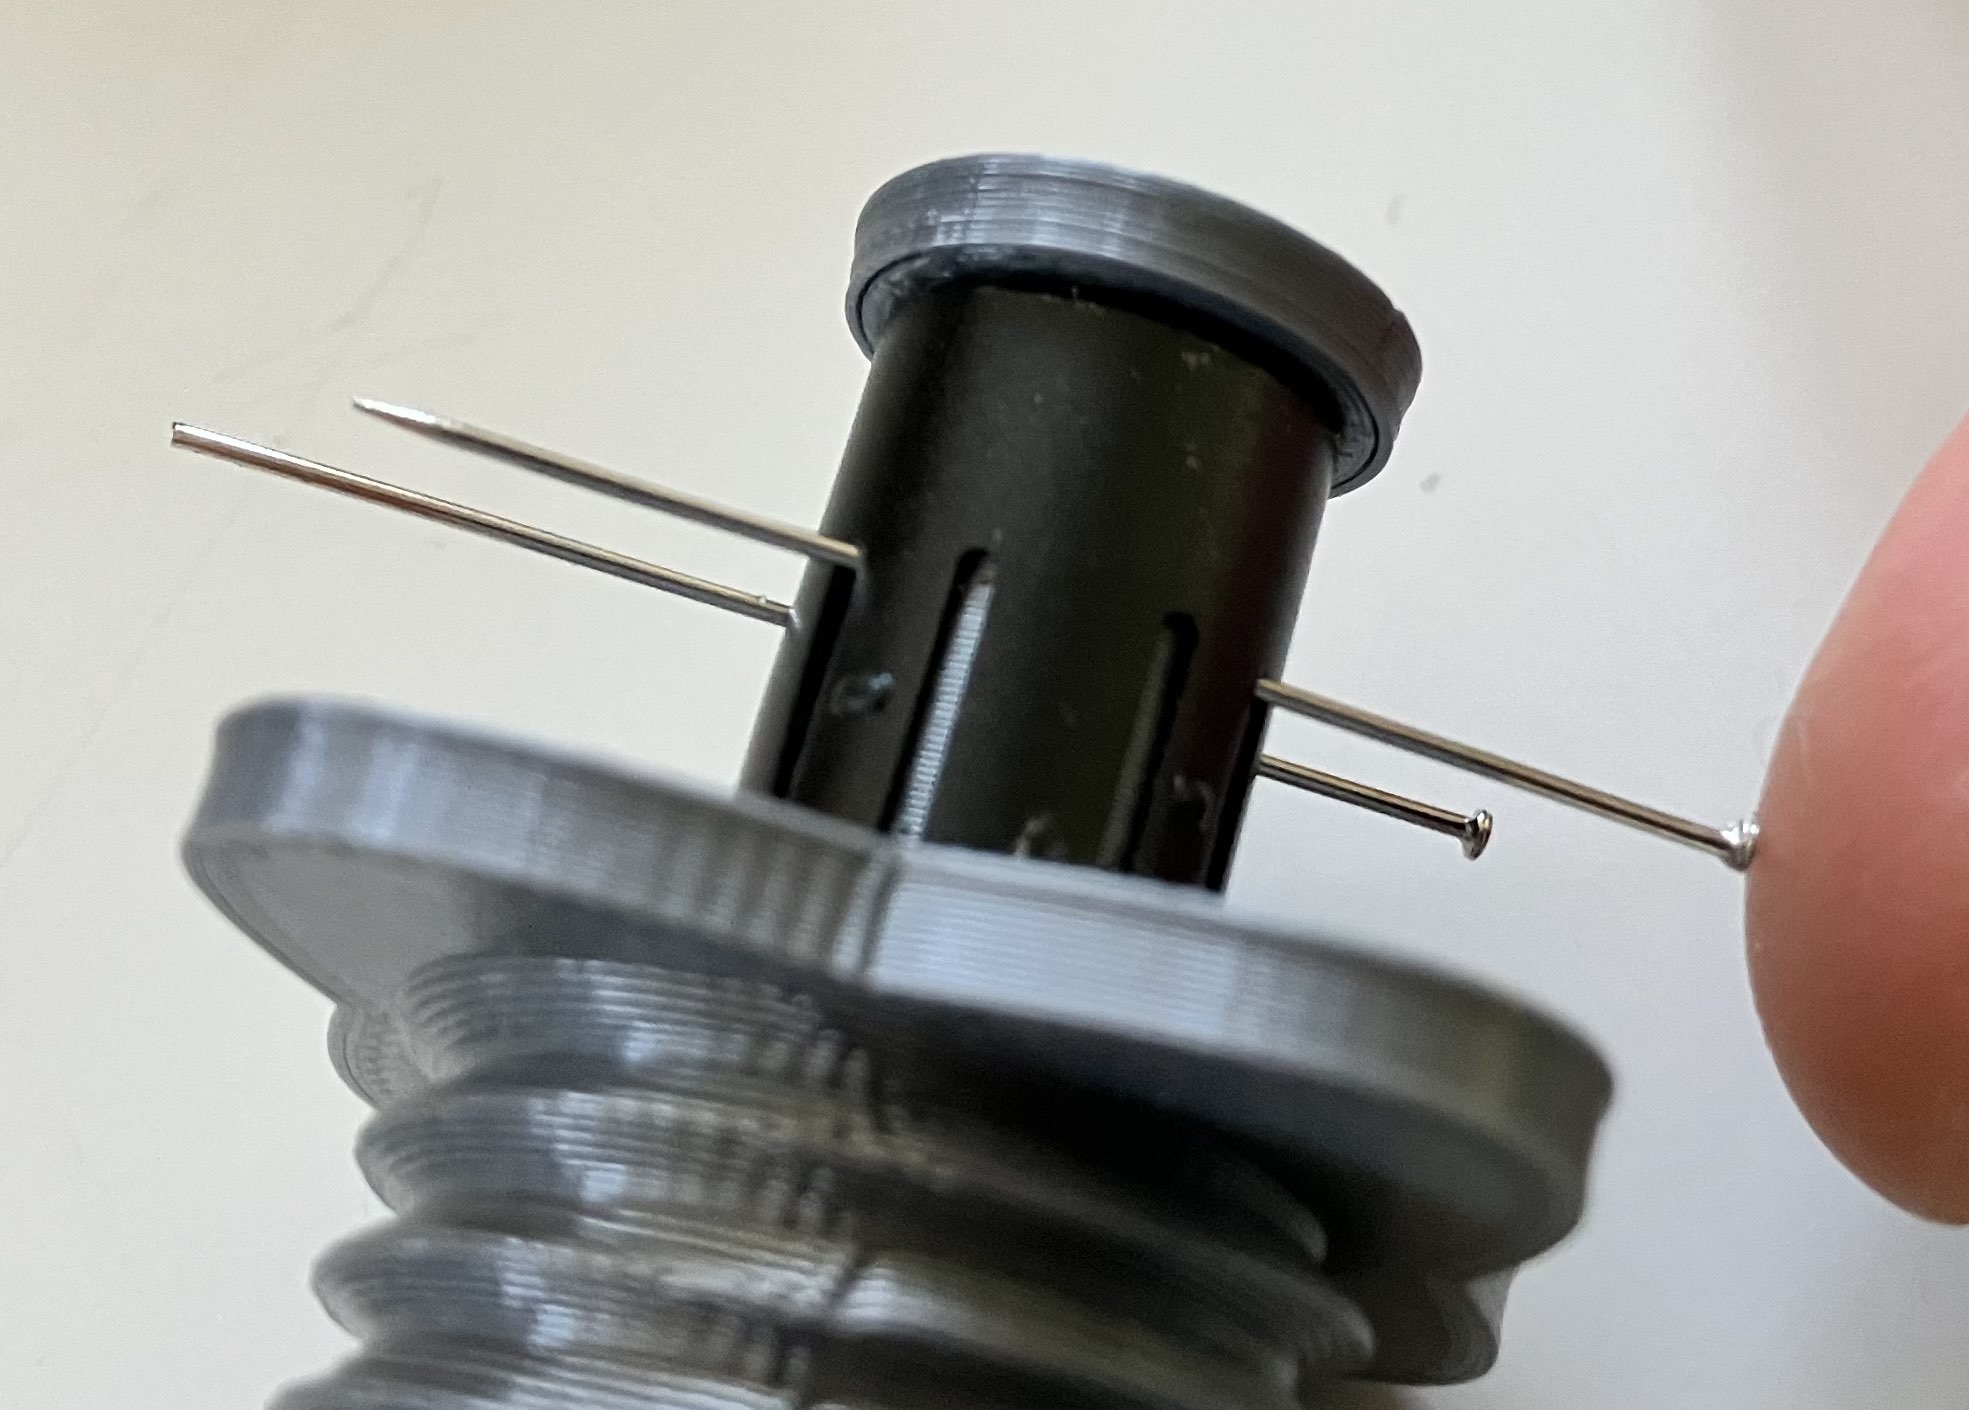
Peg (optional) - most times you won't need it, but if the bottom cap is really stuck you may force some of the electronic bits through the top. This should prevent it from happening. Simply insert the peg in the top of your iqos, making sure the notch is aligned with the one on the inside of the aluminum piece. The holes in the peg should align with the tops of the the two vertical holes of the aluminum piece. Stick the two pieces of metal pins through them as shown in the picture.
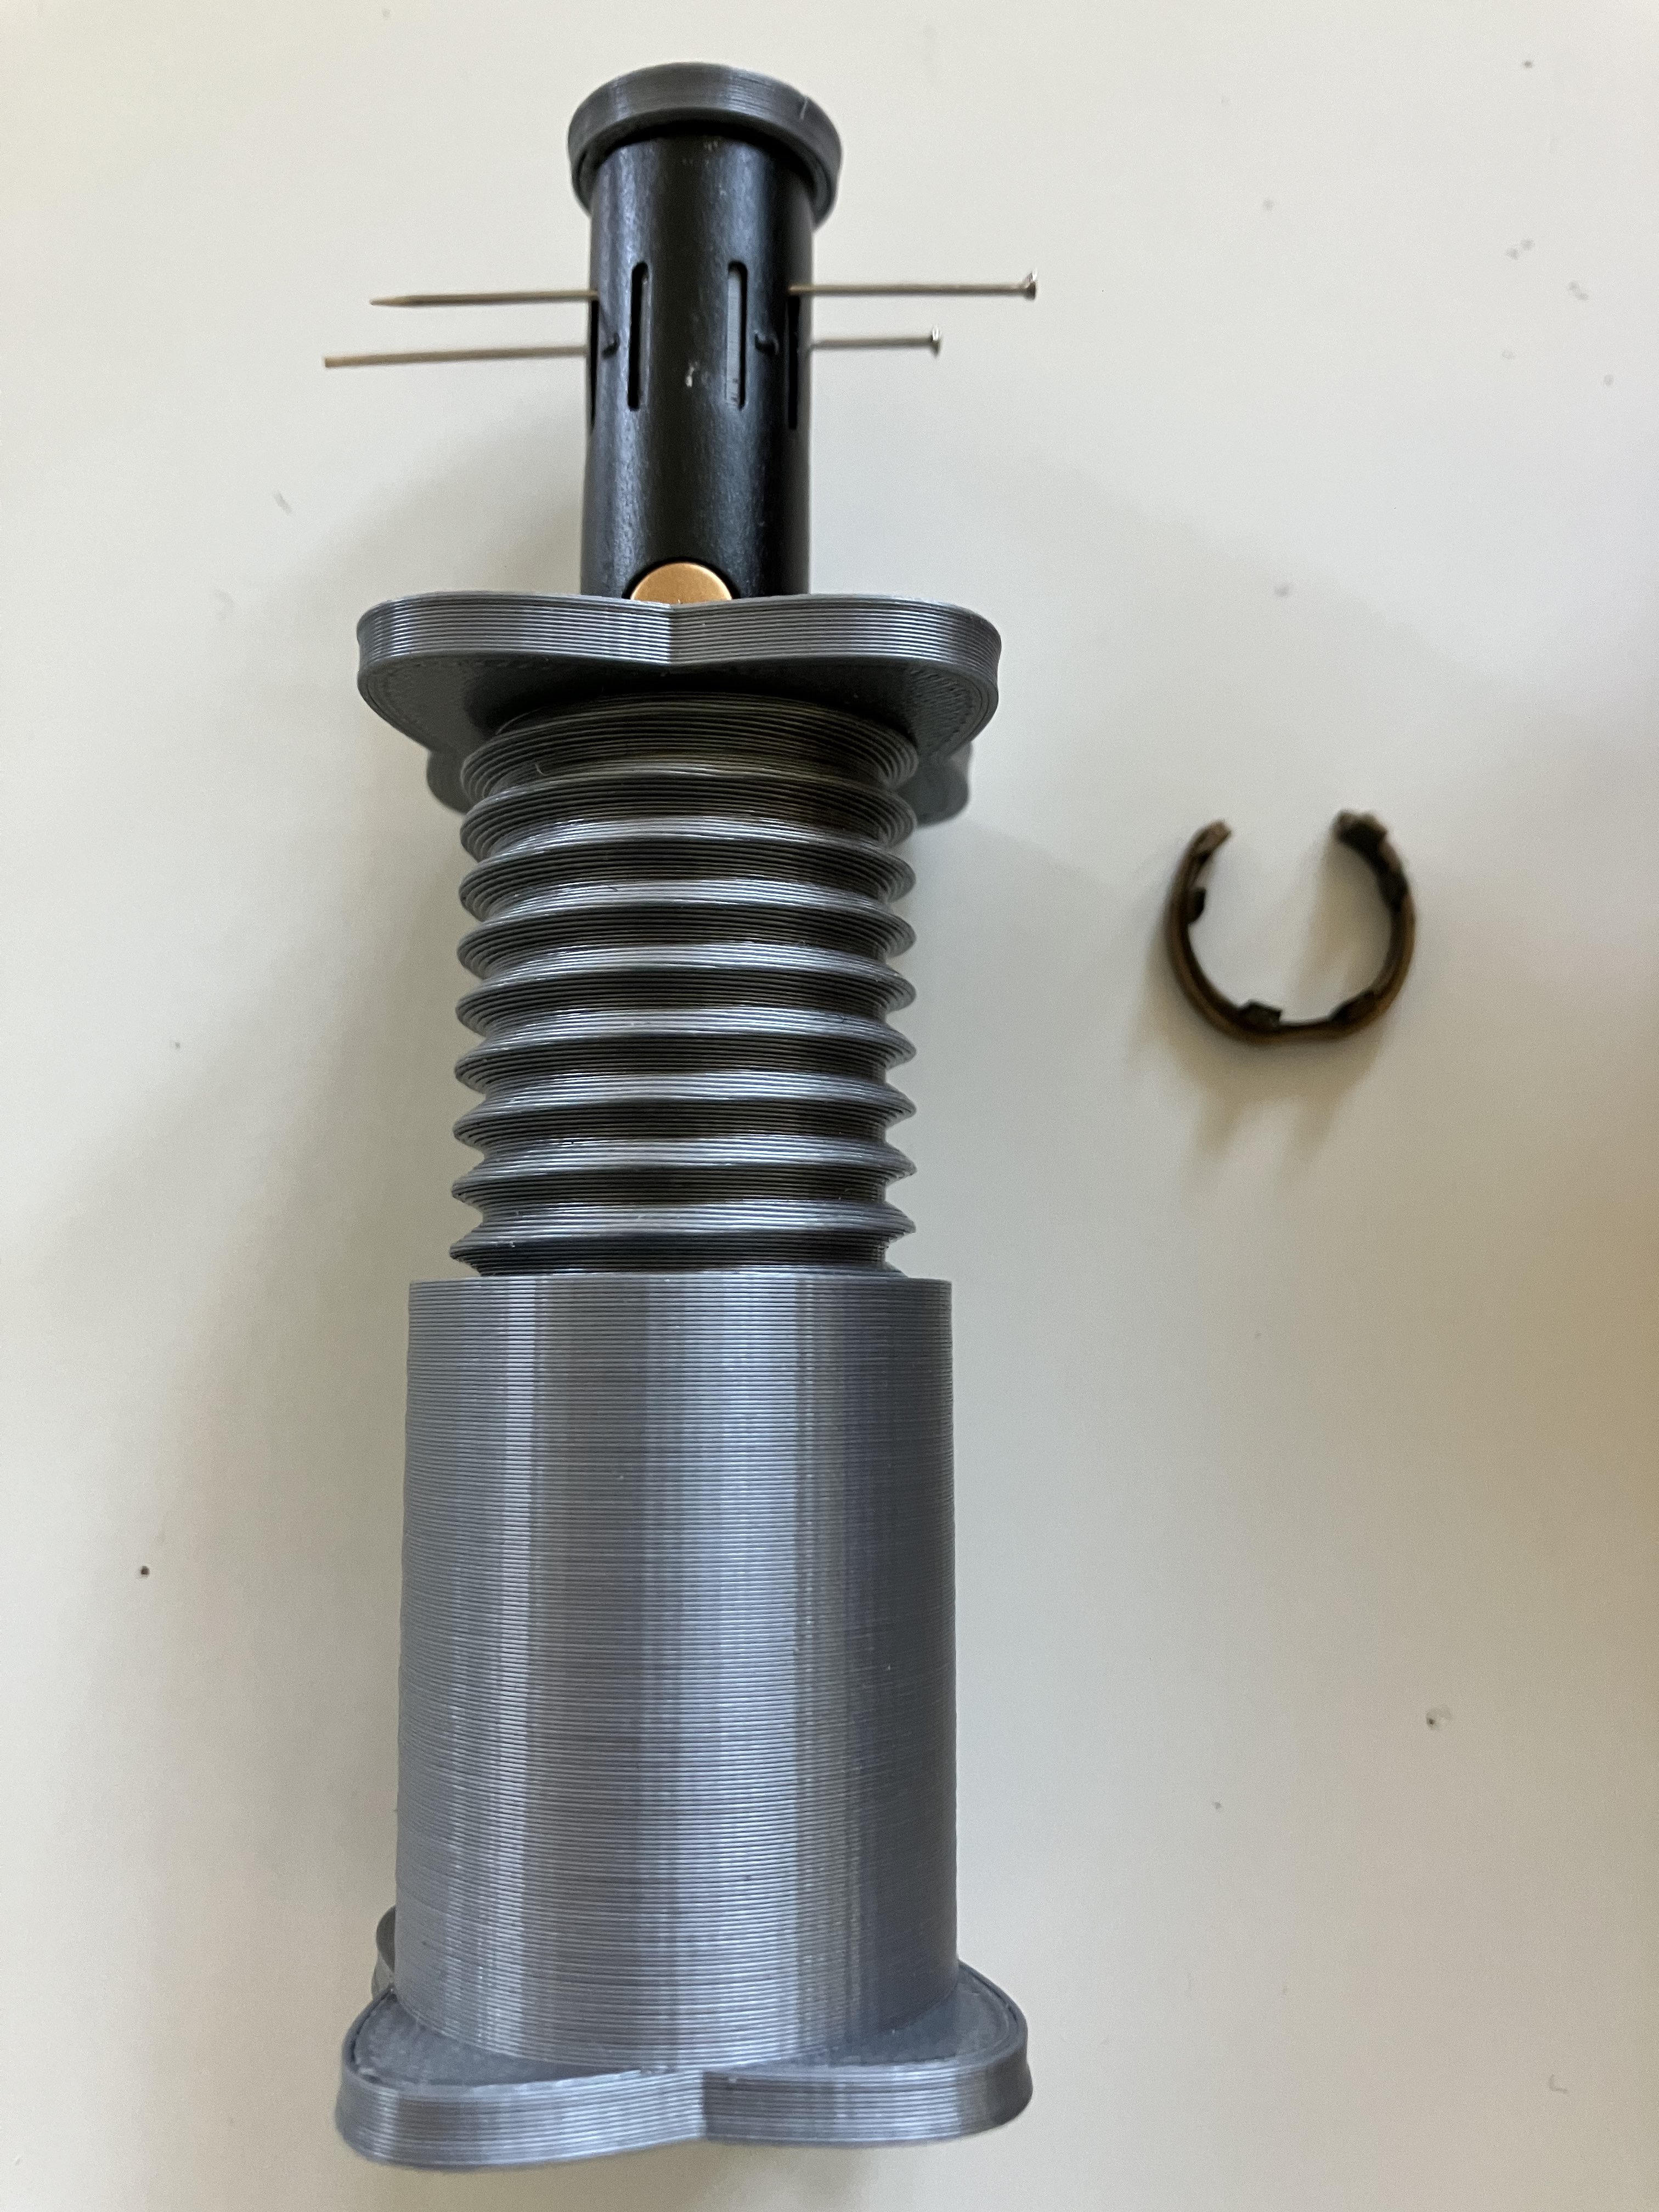
Finally, get the bottom part and screw the two halves together. Check that the button is still in the hole made for it, so that you don't destroy it. You don't need to turn all the way. After you feel it getting hard to turn, just 2 or 3 extra turns is enough to get the bottom cap of your iqos loose enough to separate with your hands. If you feel like you need extra strength you may employ a towel to help you turn.
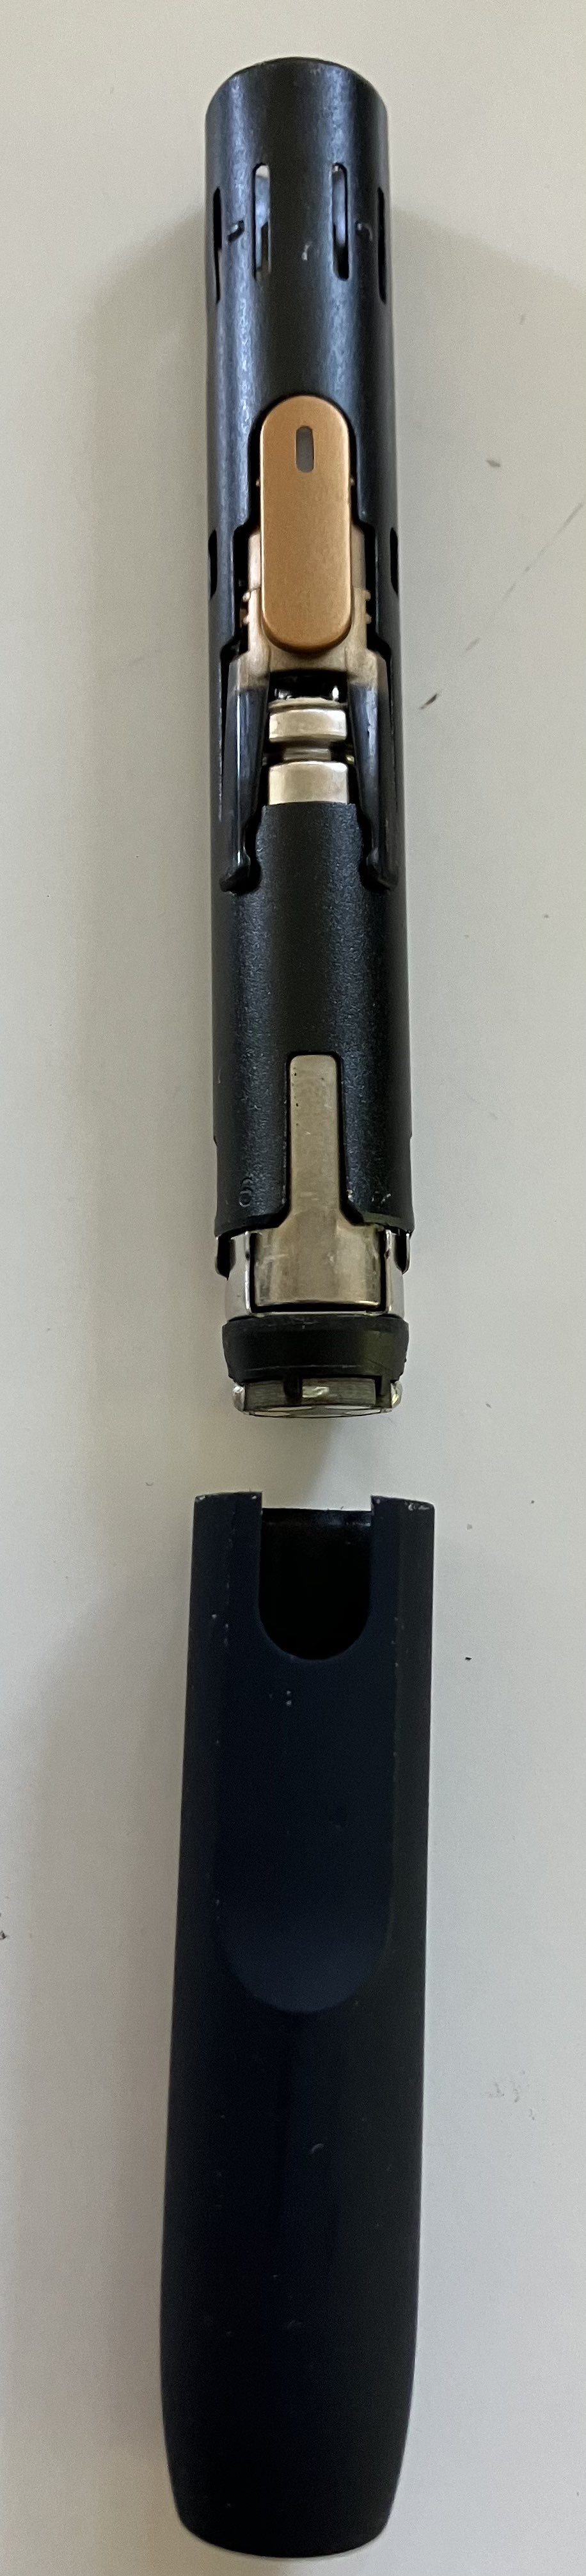
Congratulations! If you have done everything right the two halves should have separated and now you can do whatever you want with the insides of your iqos device.
The inspiration for this came from a metal device, which I saw someone in China use in a video to disassemble iqos 2.4 pens. It functioned very similarly to my device. I also found this YouTube video of a 3d printed version of that Chinese contraption. It just seemed unnecessarily big, so I made my own design.
If there is enough interest I may make one for disassembling the iqos duo as well.
