Laser template Mitutoyo Calipers
fairstrut

Encuentre similares con IA


Perfil de impresión(0)
Archivo de modelo(0)
 0
0 0
0 0
0
Publicado:2026-06-01 07:10:34
0
0



 000
000Do you work in a workshop where people keep using your calipers or do you just want to mod them? Then this tool is for you. This print in combination with the templates helps you perfectly align common 150mm Mitutoyo (530-104) calipers in order to engrave them.
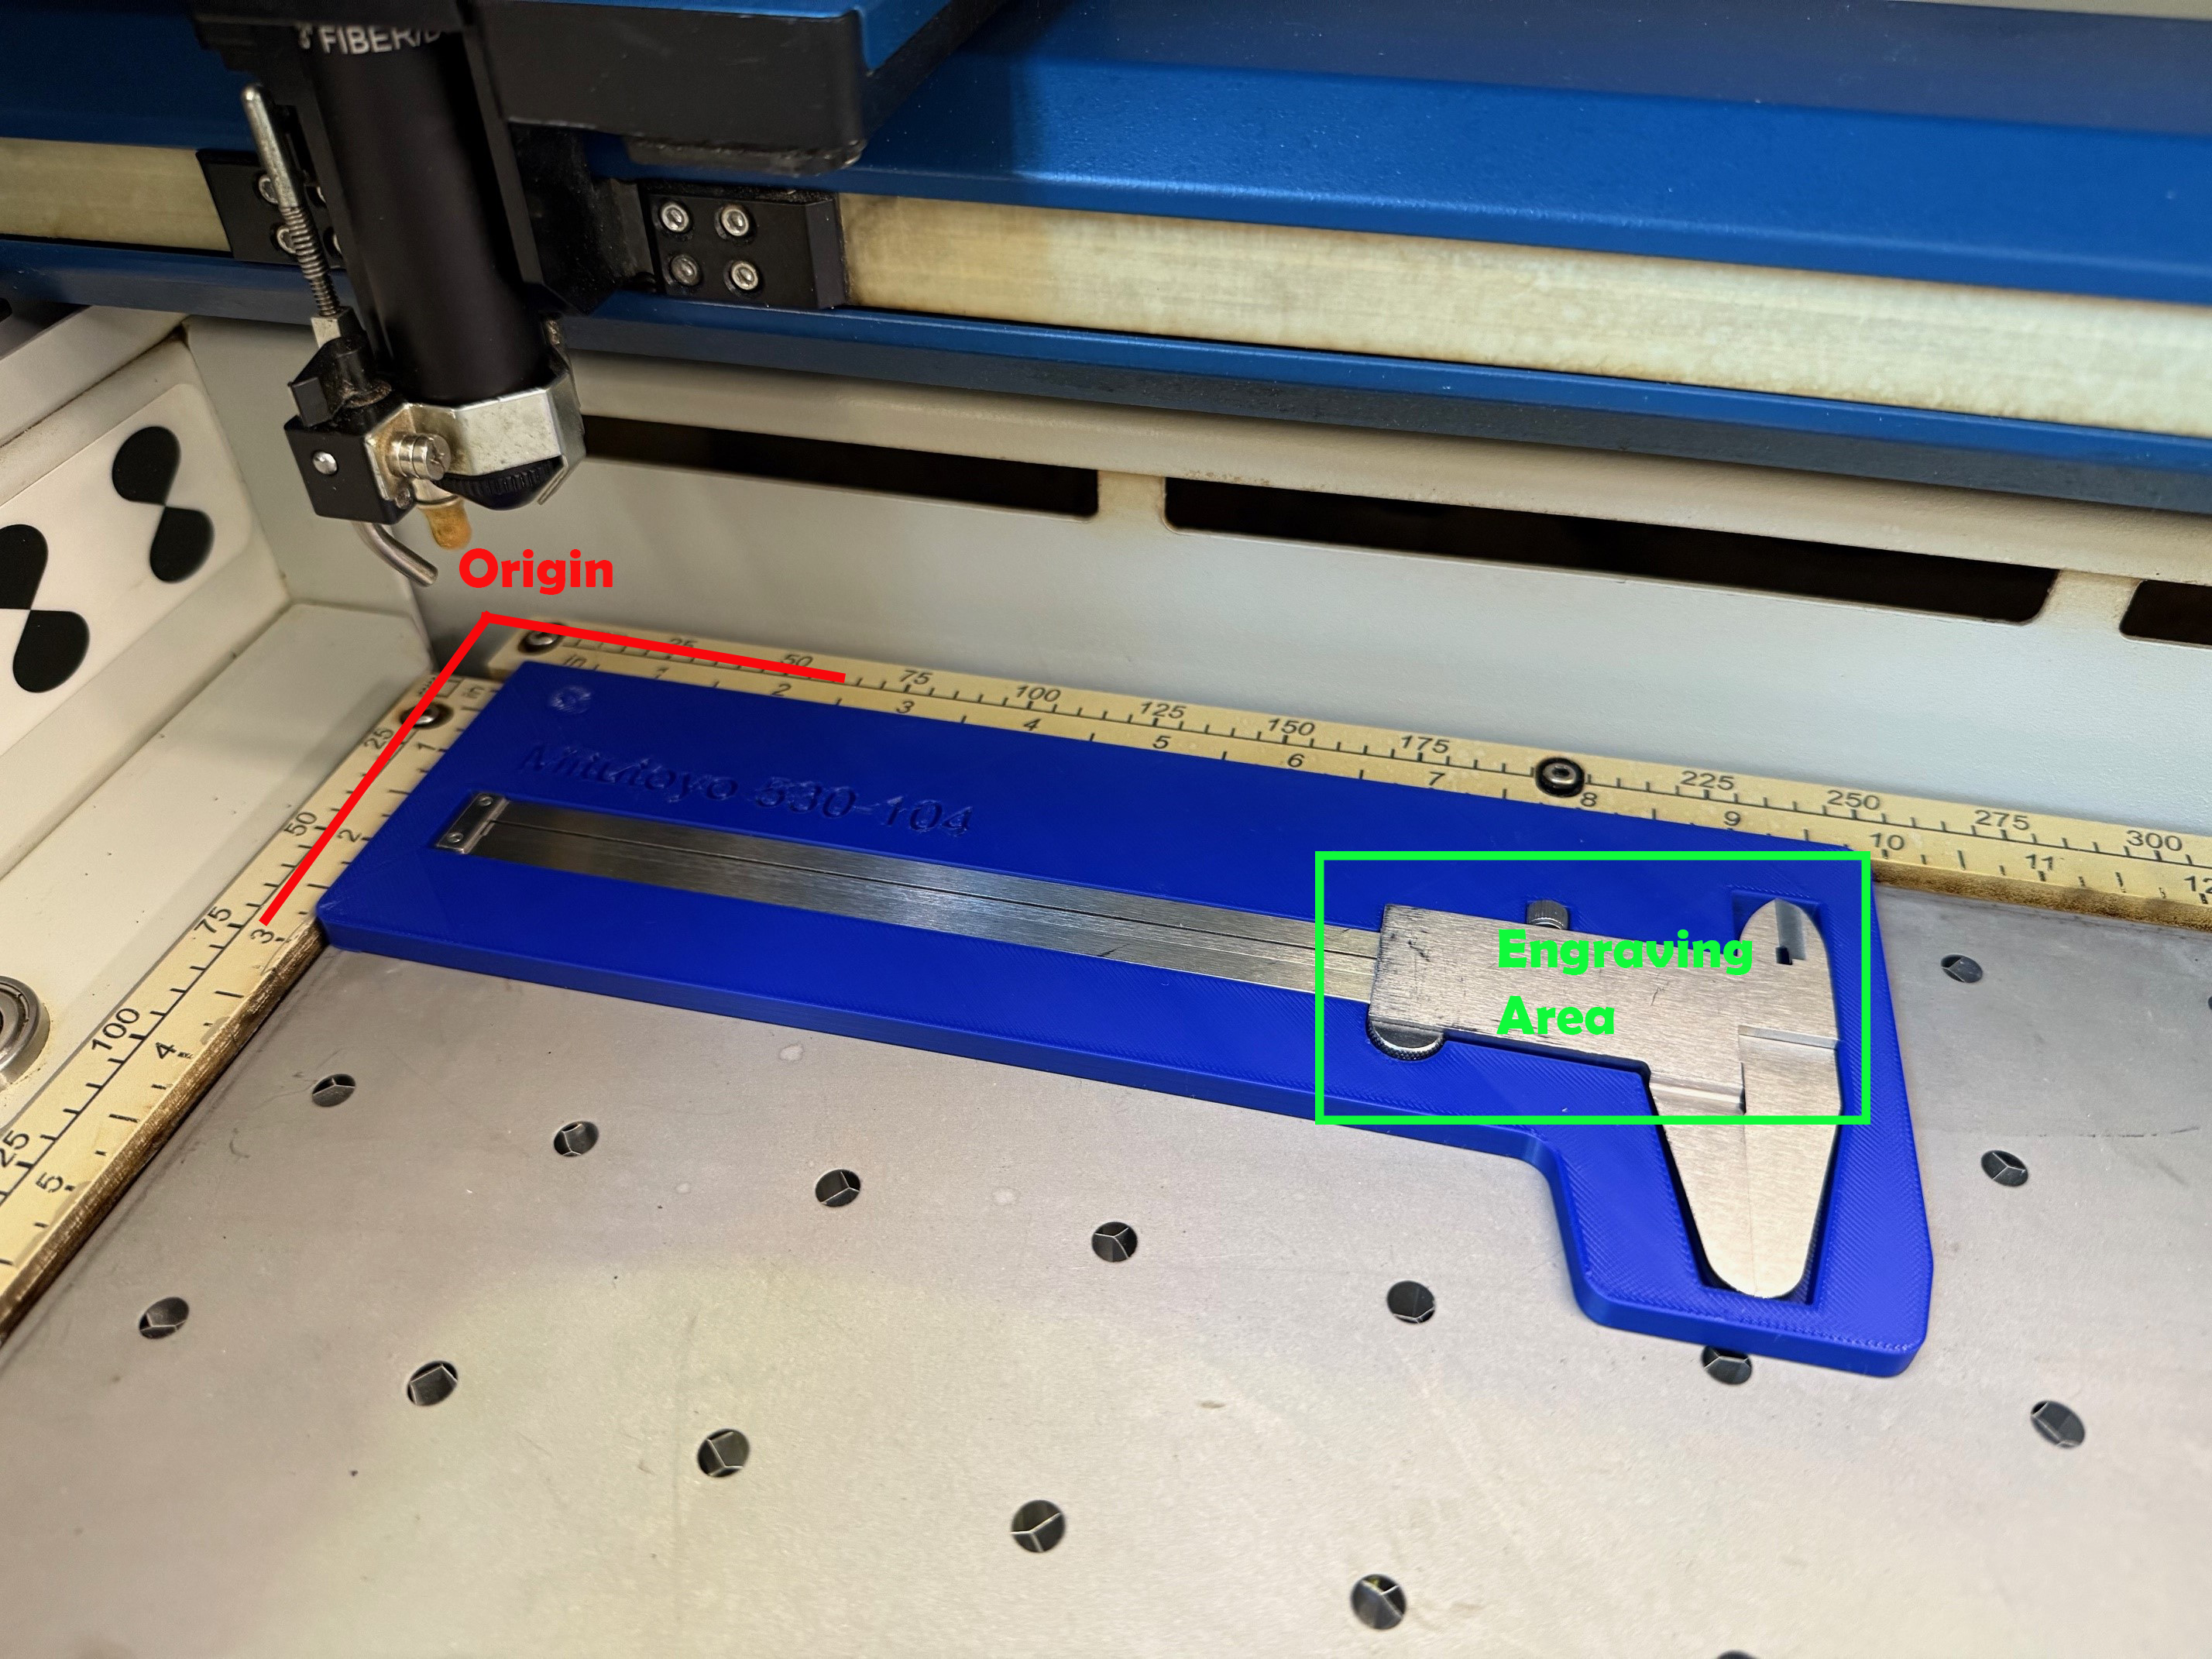
The most difficult part of engraving your calipers is to align it well in the laser. Some lasers off course have cameras for this, but they are not always millimeter accurate, and I wanted this method to suit all common lasers. Open the correct template for the chosen alignment method (1 or 2 below) and place your engraving in the green box (this is the flat backside of the calipers main body).
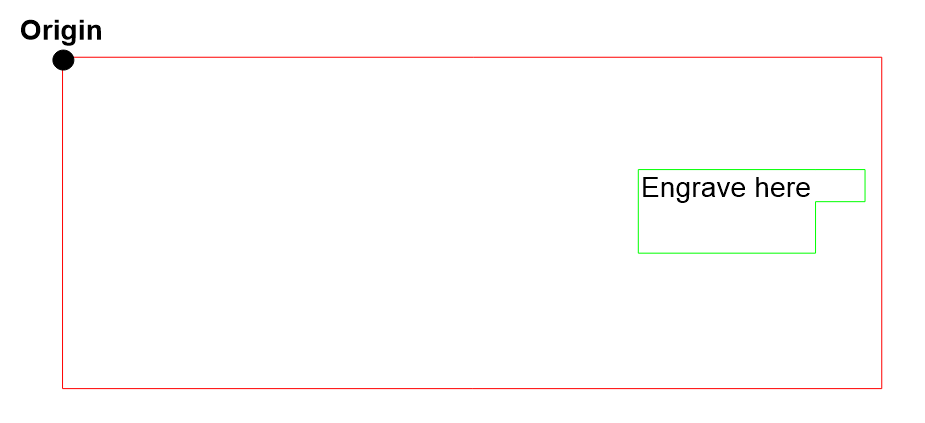
Some laser beds (like those on Epilog laser cutters) have an accurately defined 0.0 origin which means that you can just slide the printed mold in the corner of the laser and engrave on the specified spot by using the supplied template (left top origin).
Other lasers (such as open-bed lasers / BRM lasercutters) don't have the ability by default to accurately position the calipers in the laser since there is no defined 0.0 position with stops to slide the mold into. Therefore, this print has a little bump where you can align your laser to in order to set your origin relative from that point. Use the supplied template to position your design (center point origin).
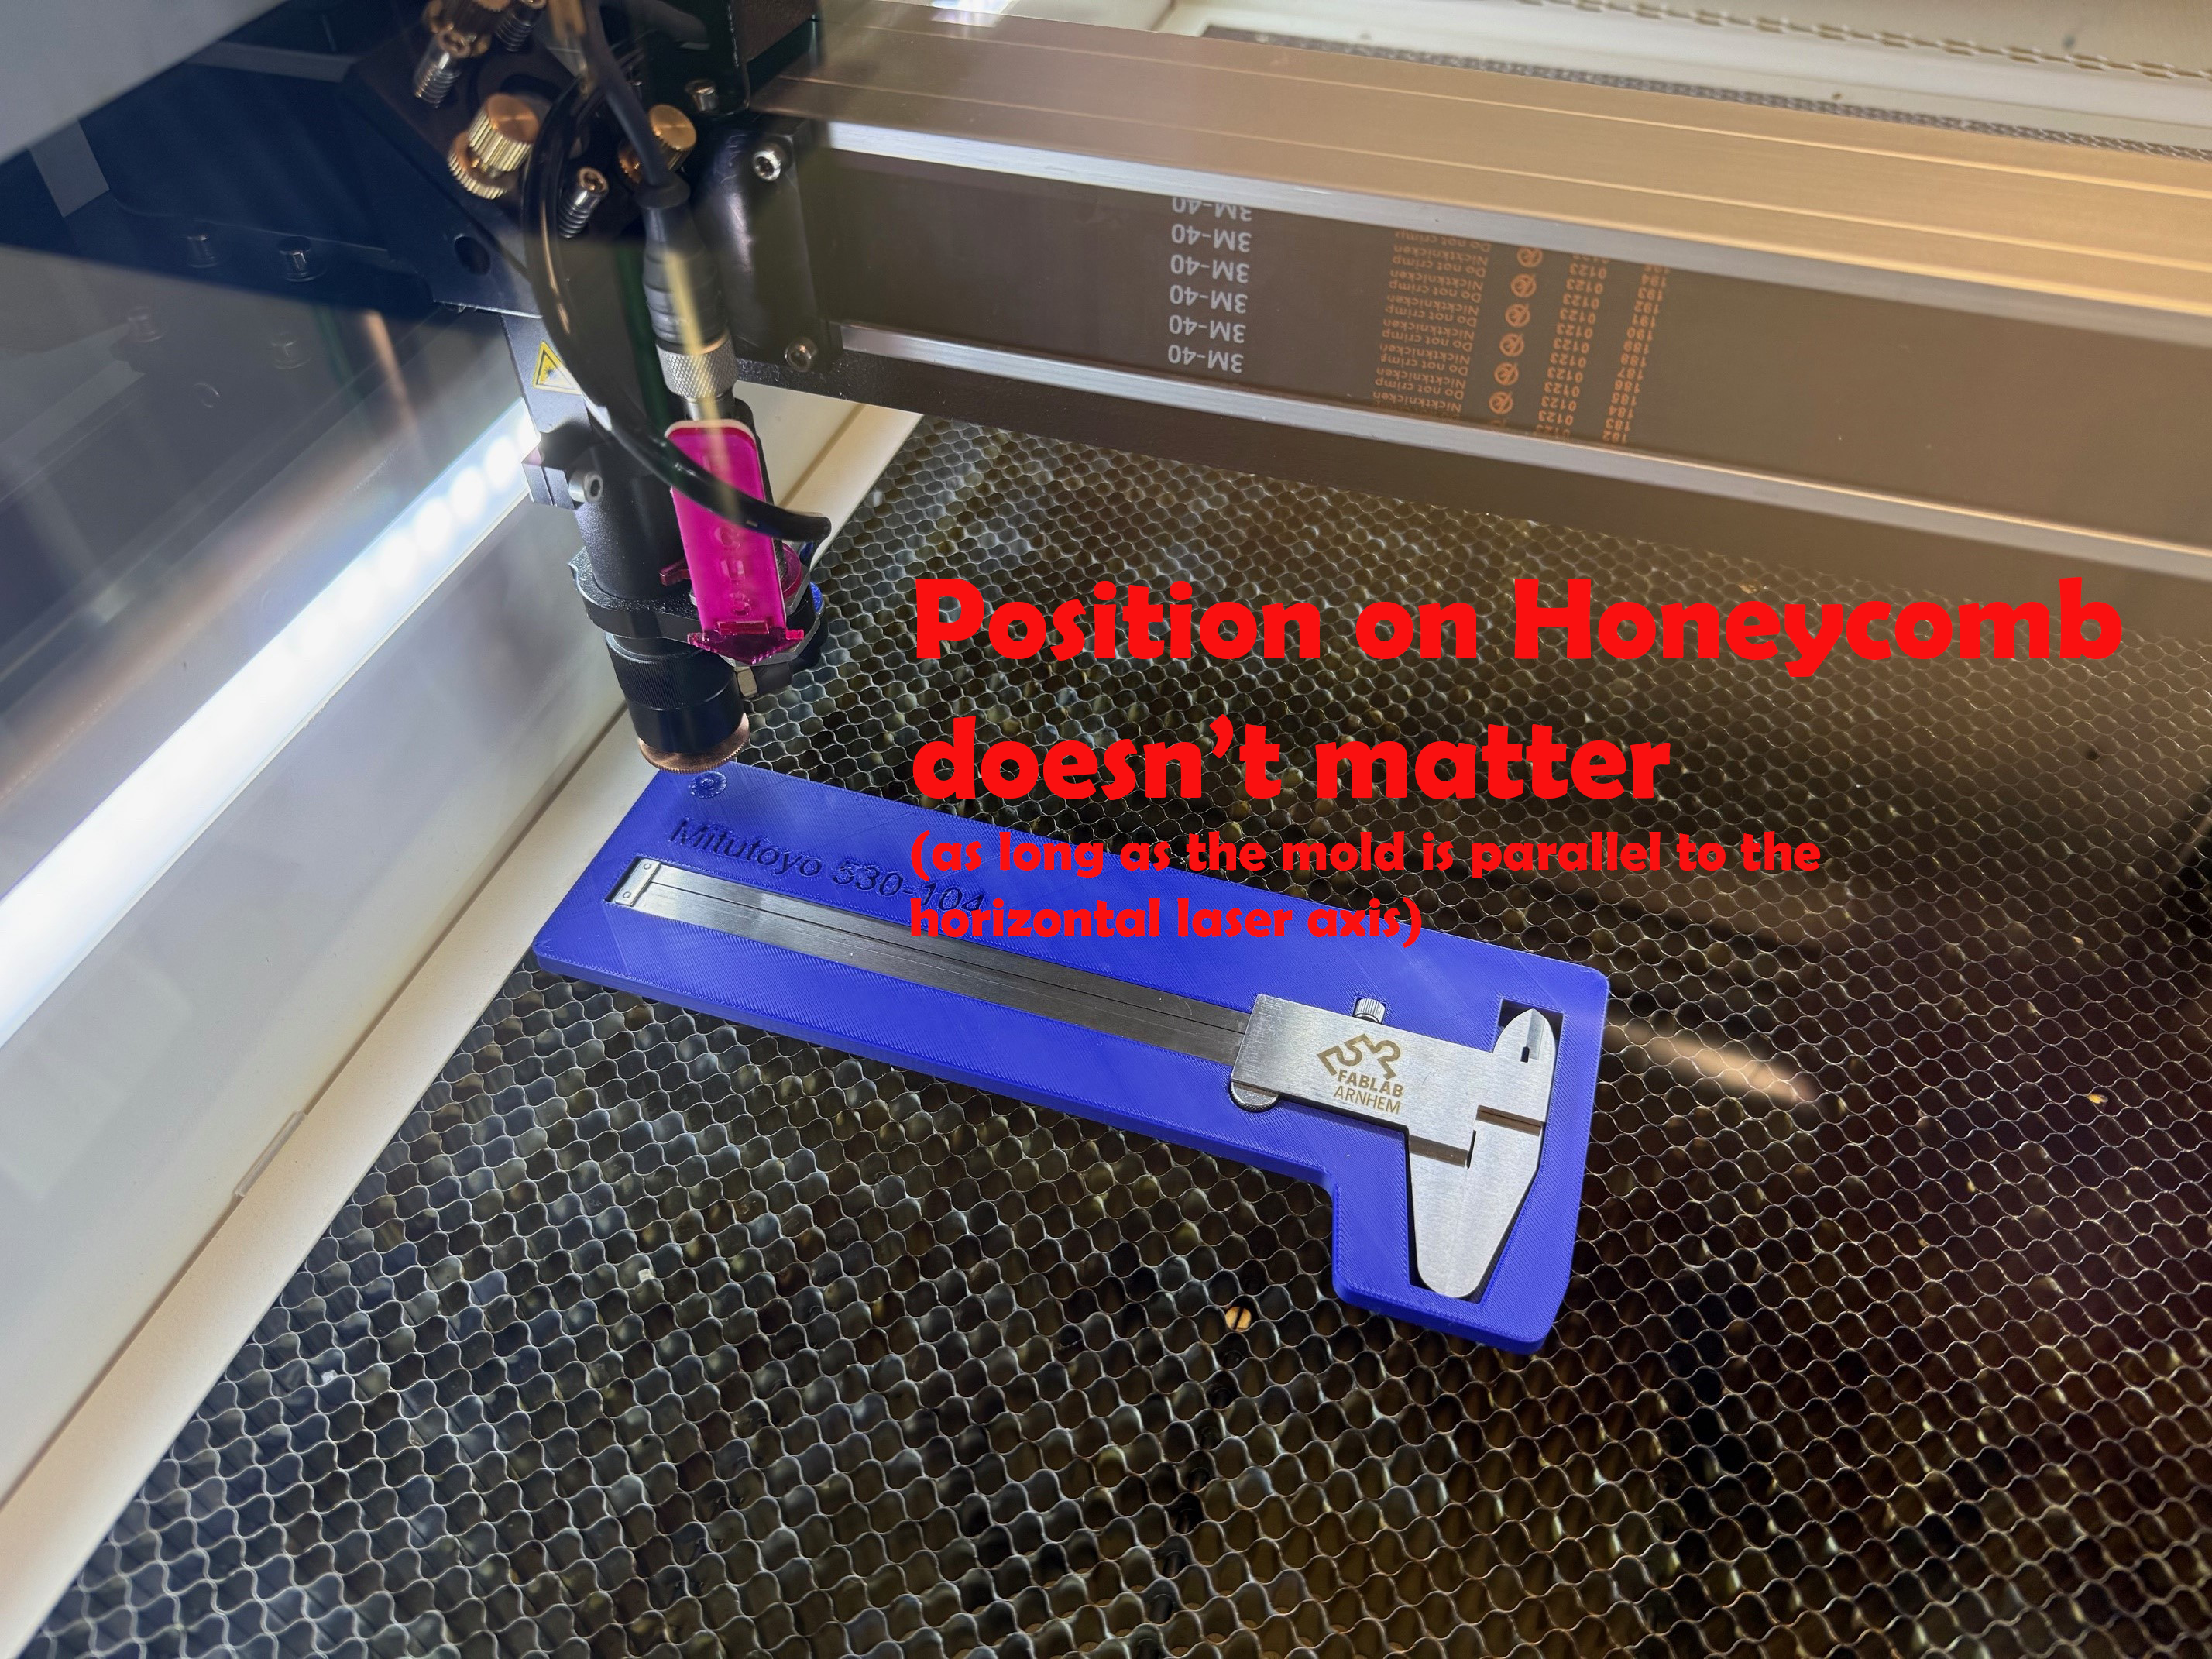

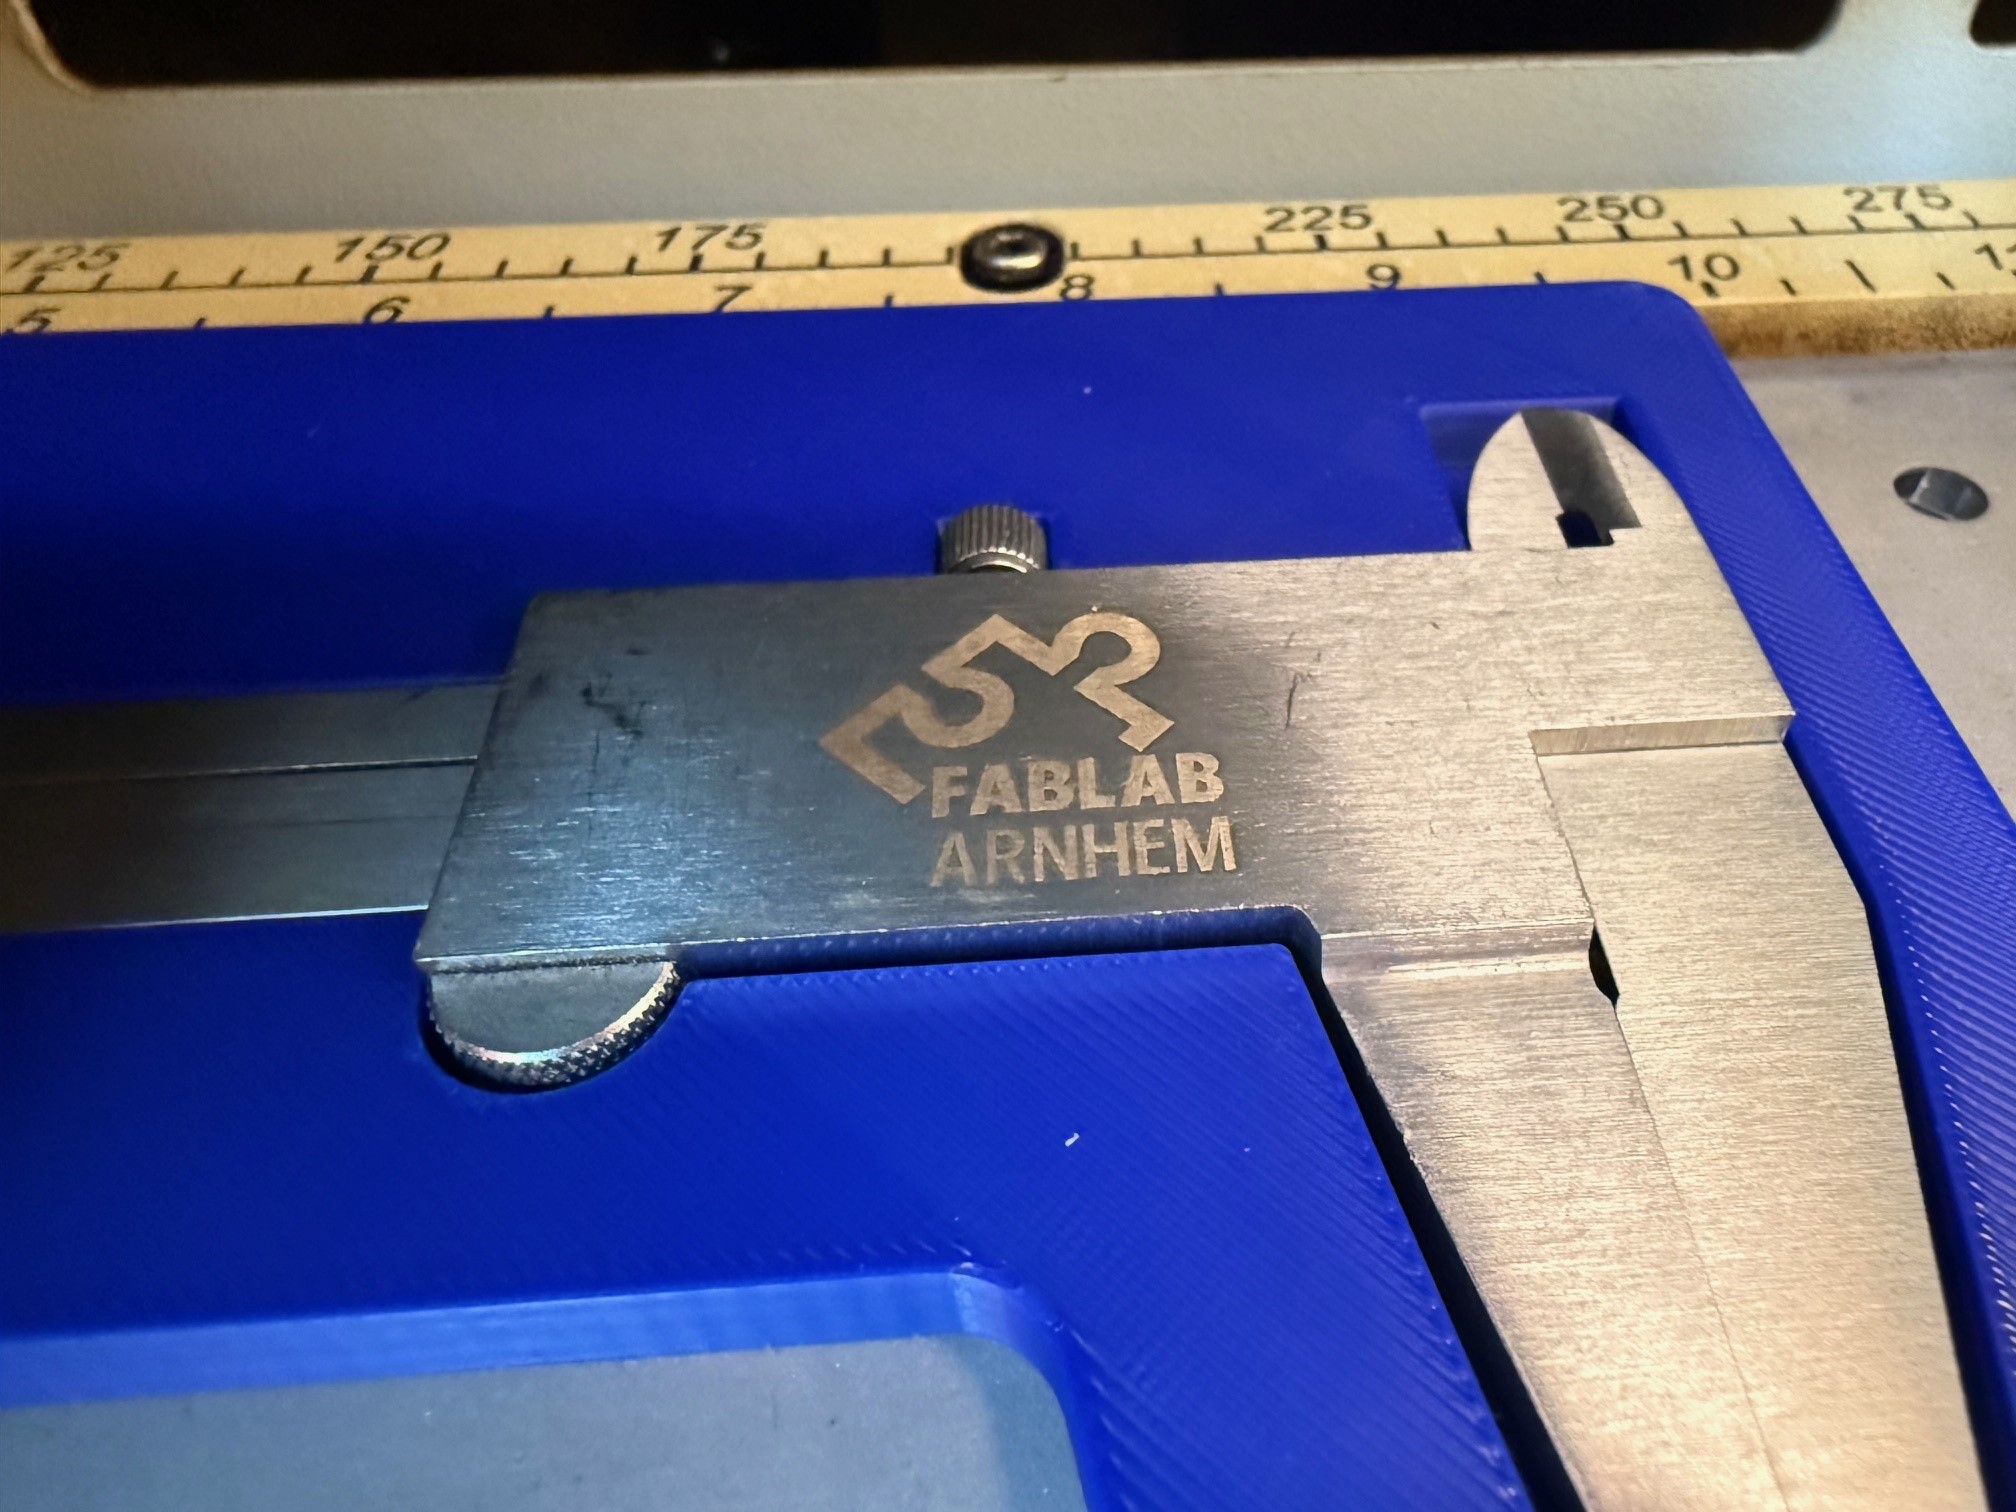
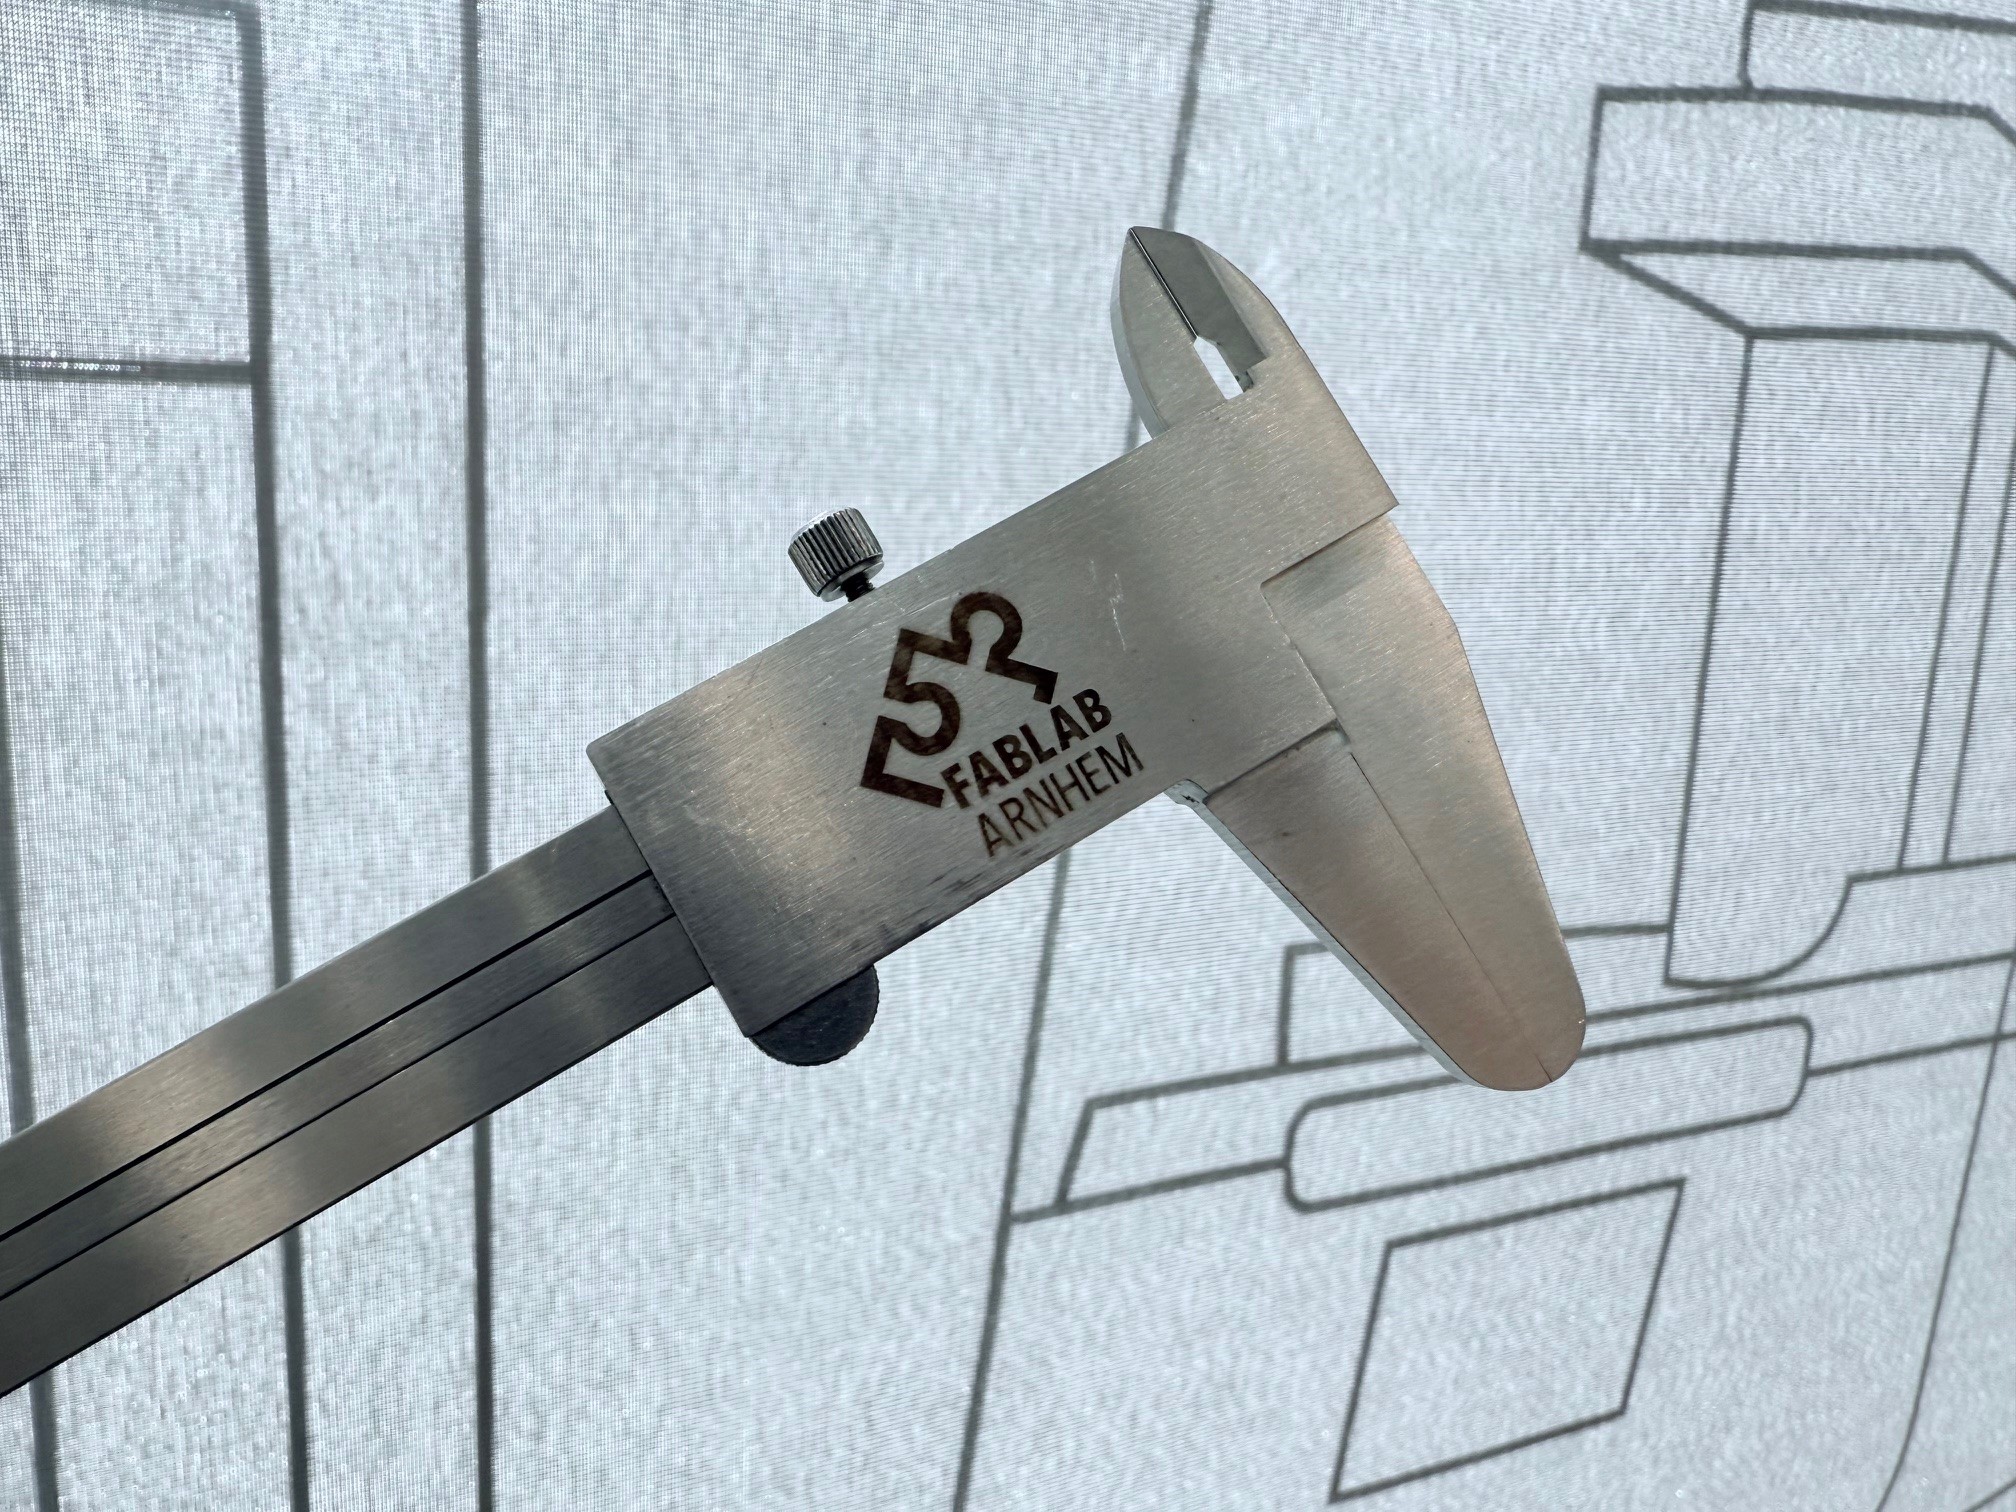
Most calipers are made from hardened stainless steel. There are multiple ways to engrave this material, but the easiest method is to use a fiber laser. In the above example we used a 30watt Epilog fiber laser. Another option is to coat the material using things like CerMark laser engraving spray. This allows you to engrave metal using normal CO2 lasers. Stronger off the shelf diode lasers should also work well (Makerspaces / Hackerspaces / Fablabs should be able to help you with this if you bring the mold. ;) ).