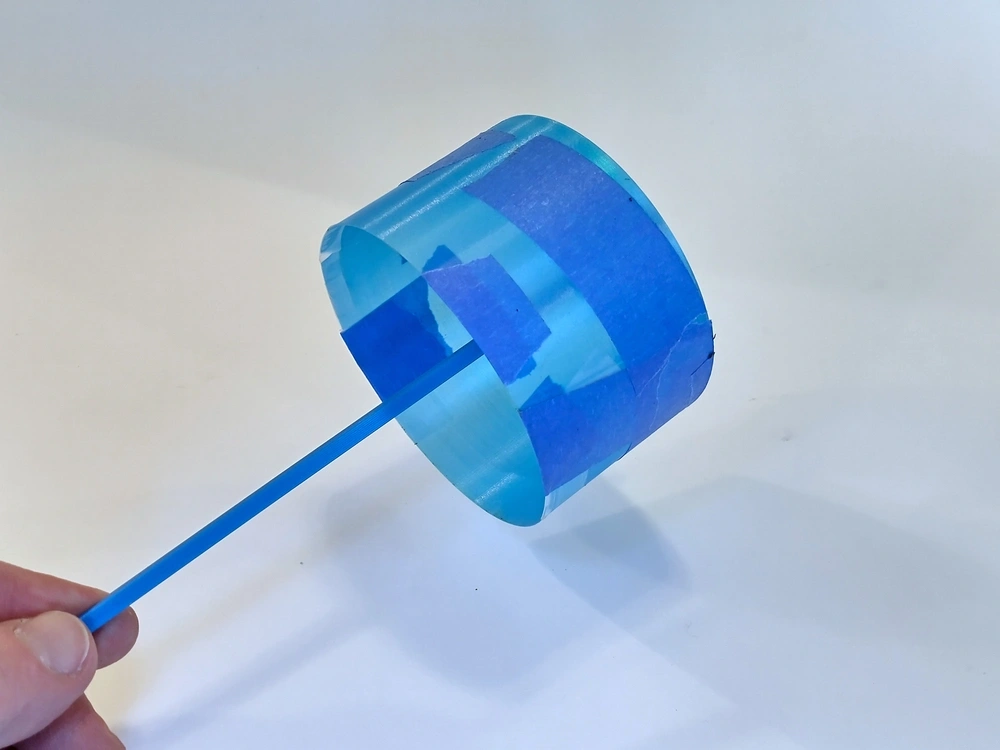
AutoGyro ring-shaped glider
Pla1dRamp

Find Similar with AI


Print Profile(0)
Model File(0)
 2
2 0
0 0
0
Published:2023-12-16 03:14:36
3
0



 200
200
Most 3D-printed flying rings have some problems: Firstly, it's hard to achieve a proper quality distribution with 3D-printed plastic. Secondly, they're hard to throw with proper spin, and they're prone to tearing your rotator cuff.
This is a rubber band launching version, and its spin comes from the tilted fins connecting the ring to the central "rod". The rod itself solves the problem of mass distribution, allowing you to have a uniform thin ring, but still gaining enough mass to position the center of gravity in the center of lift. And the minimum cross-sectional area can minimize drag.
However, launching with rubber bands also poses its own challenges, as the lower part of the circular wing would hit the launch rod. To solve this problem, I used a hinged rod, and when the tension of the rubber bands was released, the end of the rod would pop open.
Note:I've completely updated the launcher, making it able to release gliders more reliably.
Print
Both the glider and the launcher can be printed without using supports. I used a layer height of 0.2 mm and printed it with PLA and PETG
Assemble
The rod should slide into the center of the ring, then hit a small stopper on the rod. The fin should be facing the back of the glider, with a short piece of rod protruding from the back.
For the launcher, insert the hinged arm into the handle, then push the pin in from one side. It should be a slight interference fit, but you may need to drip a few drops of super glue on the head of the pin to secure it. To make it spring forward, thread the #33 rubber band through the hole, twist the ends a few times, and then slip the ring onto the handle, as shown in the third photo.
For launching the rubber band, use another #33 rubber band and put it in the hole on the hinged arm.
Launch
Hook the "arrowhead" end of the rod to the rubber band launcher, as shown in the second photo. When you pull it back, it should also cause the hinged arm on the launcher to tilt backward. Hold the launcher so that the arm is roughly vertical. Pull the rubber band as tightly as possible and aim it upward at an angle of about 10 degrees. Then release it!
Using a #33 rubber band, I've achieved a flight distance of over 30 meters. When using two rubber bands in parallel, my maximum flight distance is 57 meters.
Repair
The glider is light and agile, so it almost just bounces when it lands. However, if you hit anything at high speed, you might crack the thin ring. Minor cracks can be easily repaired with transparent tape or masking tape. As you can see below, after hitting many trees, fences, and walls, the glider can withstand quite a bit of repair and still fly well.