Ender3 v2 5" Raspberry Pi Touchscreen Case
HeartySwale21

Find Similar with AI


Print Profile(0)
Model File(0)
 0
0 0
0 0
0
Published:2026-04-11 14:32:57
0
0
 000
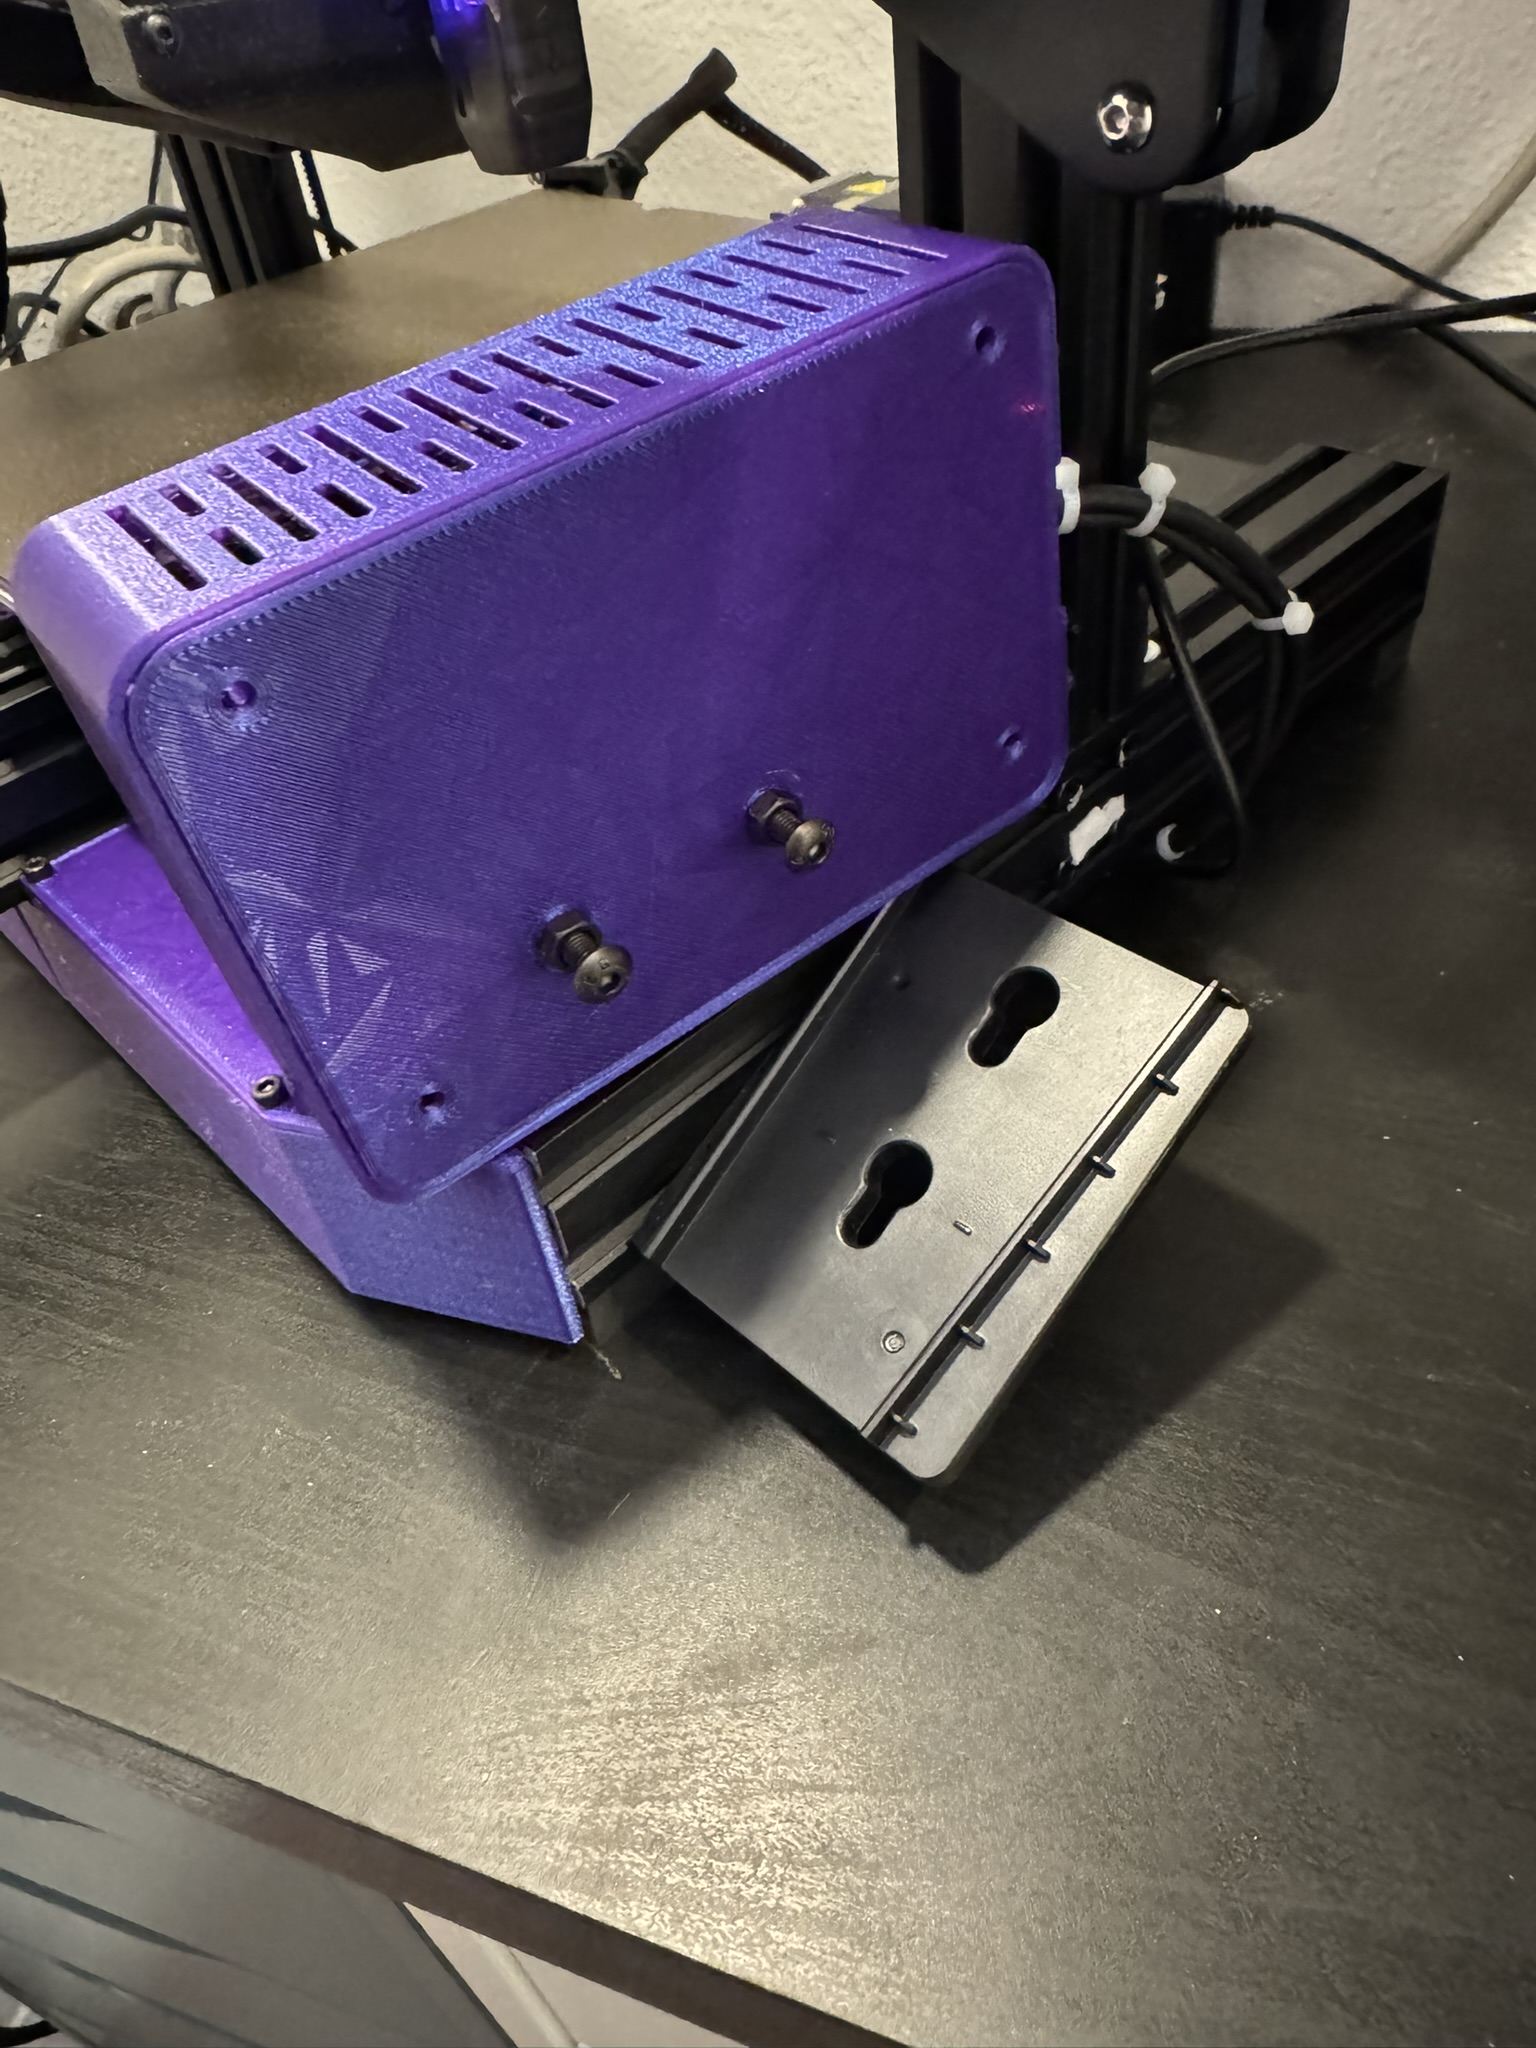
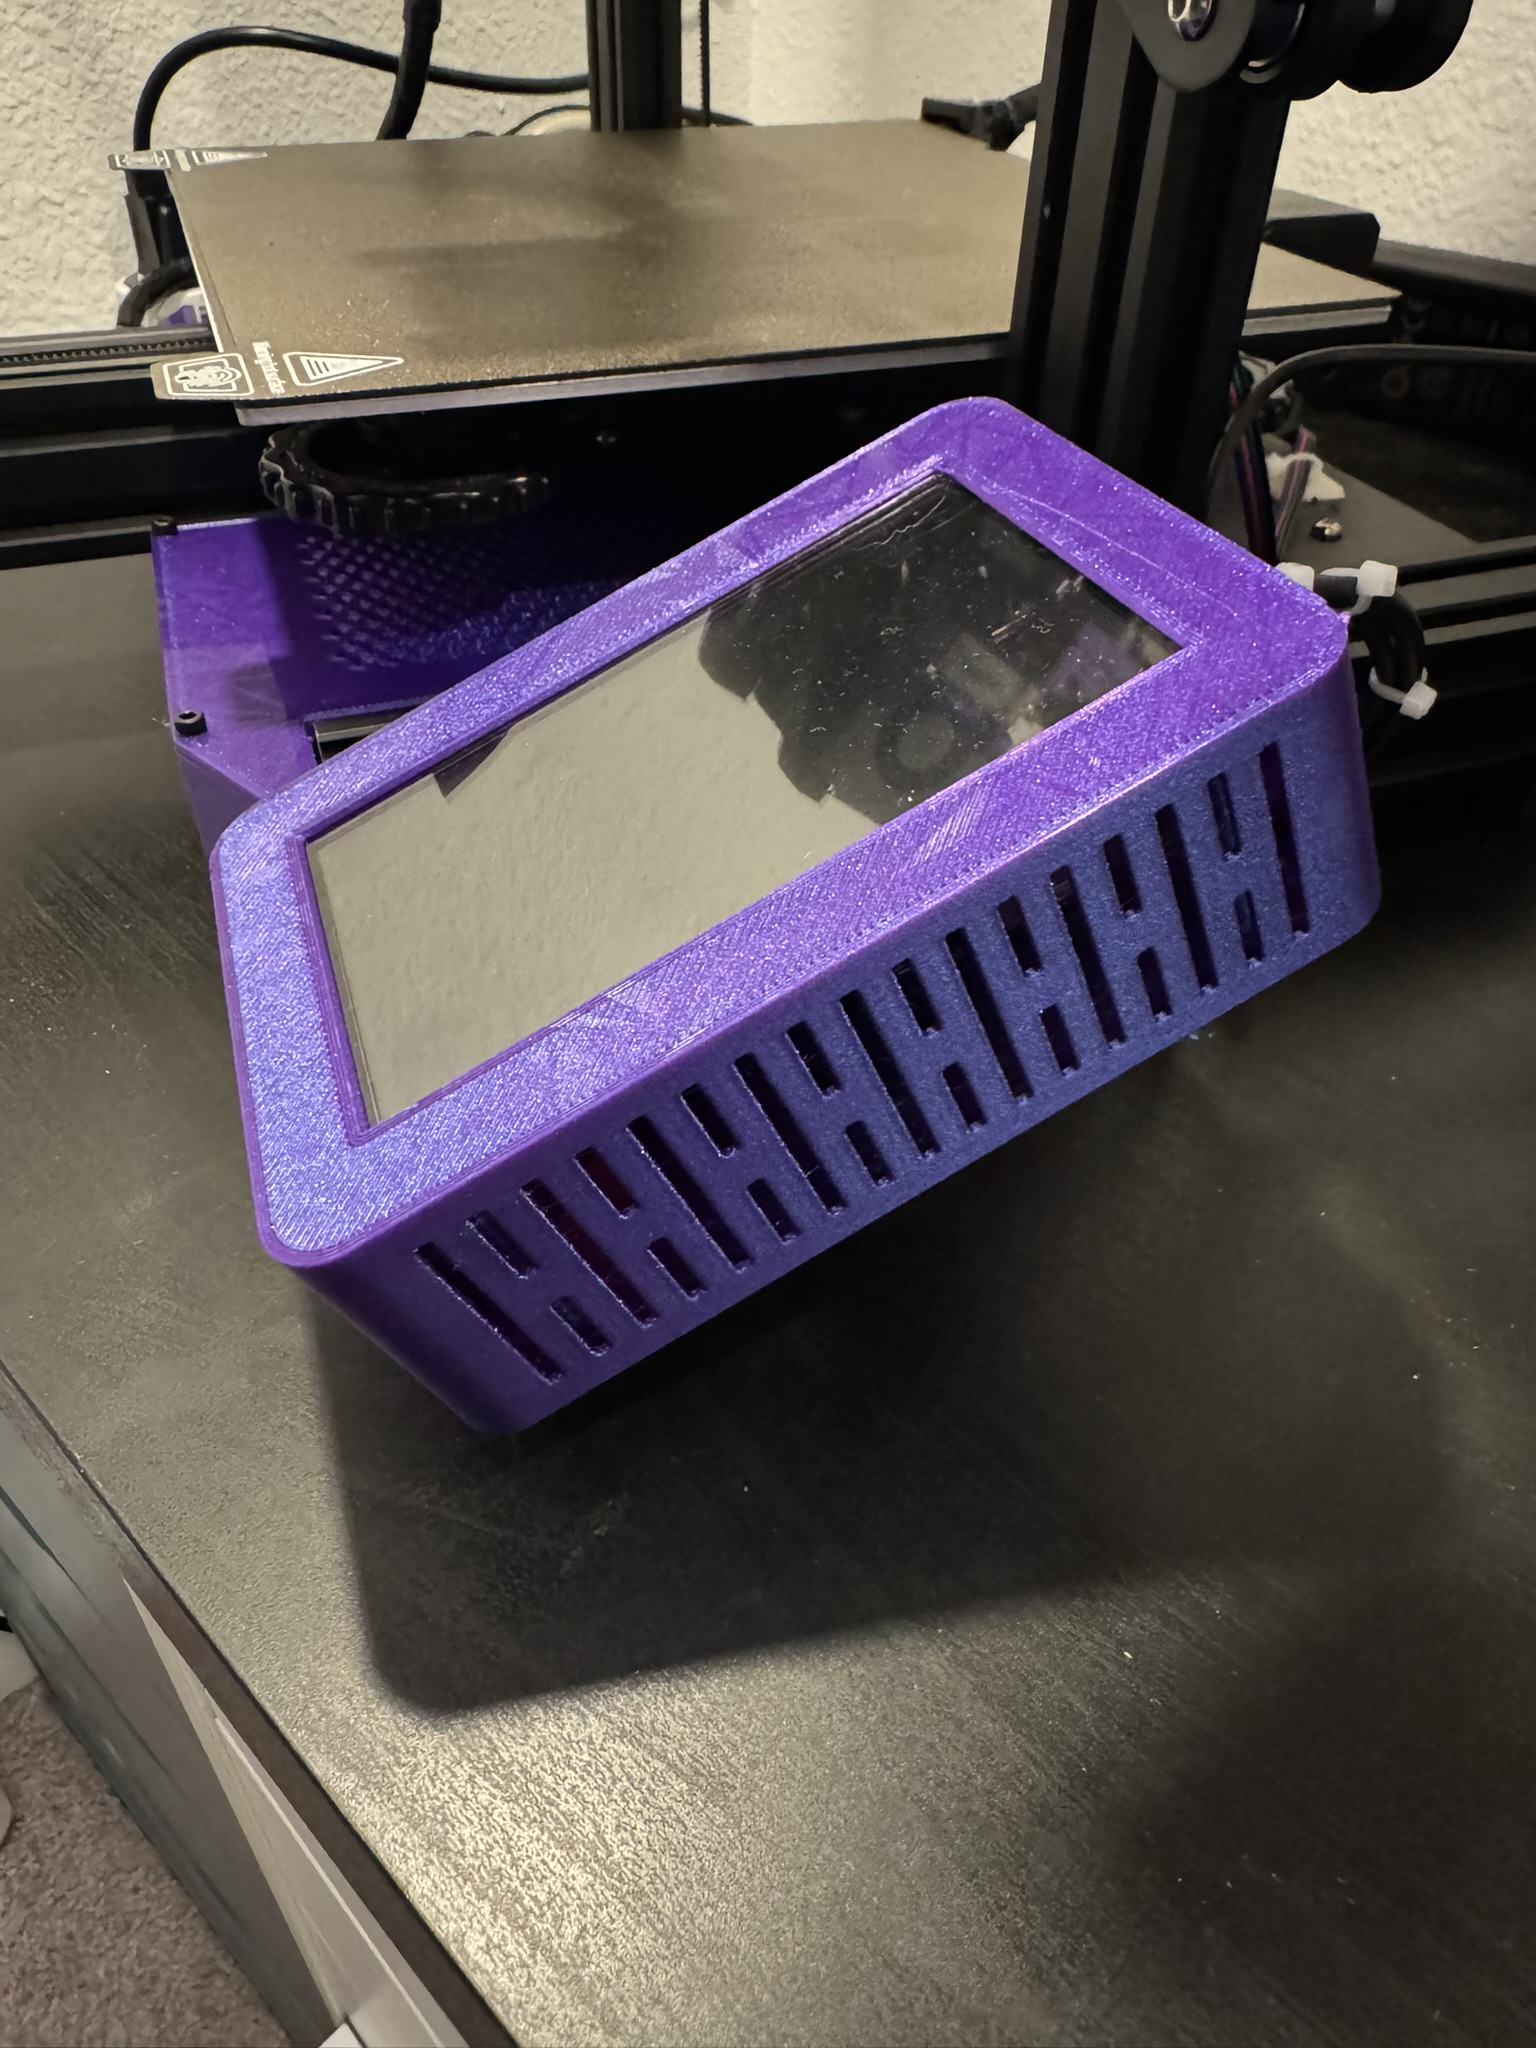
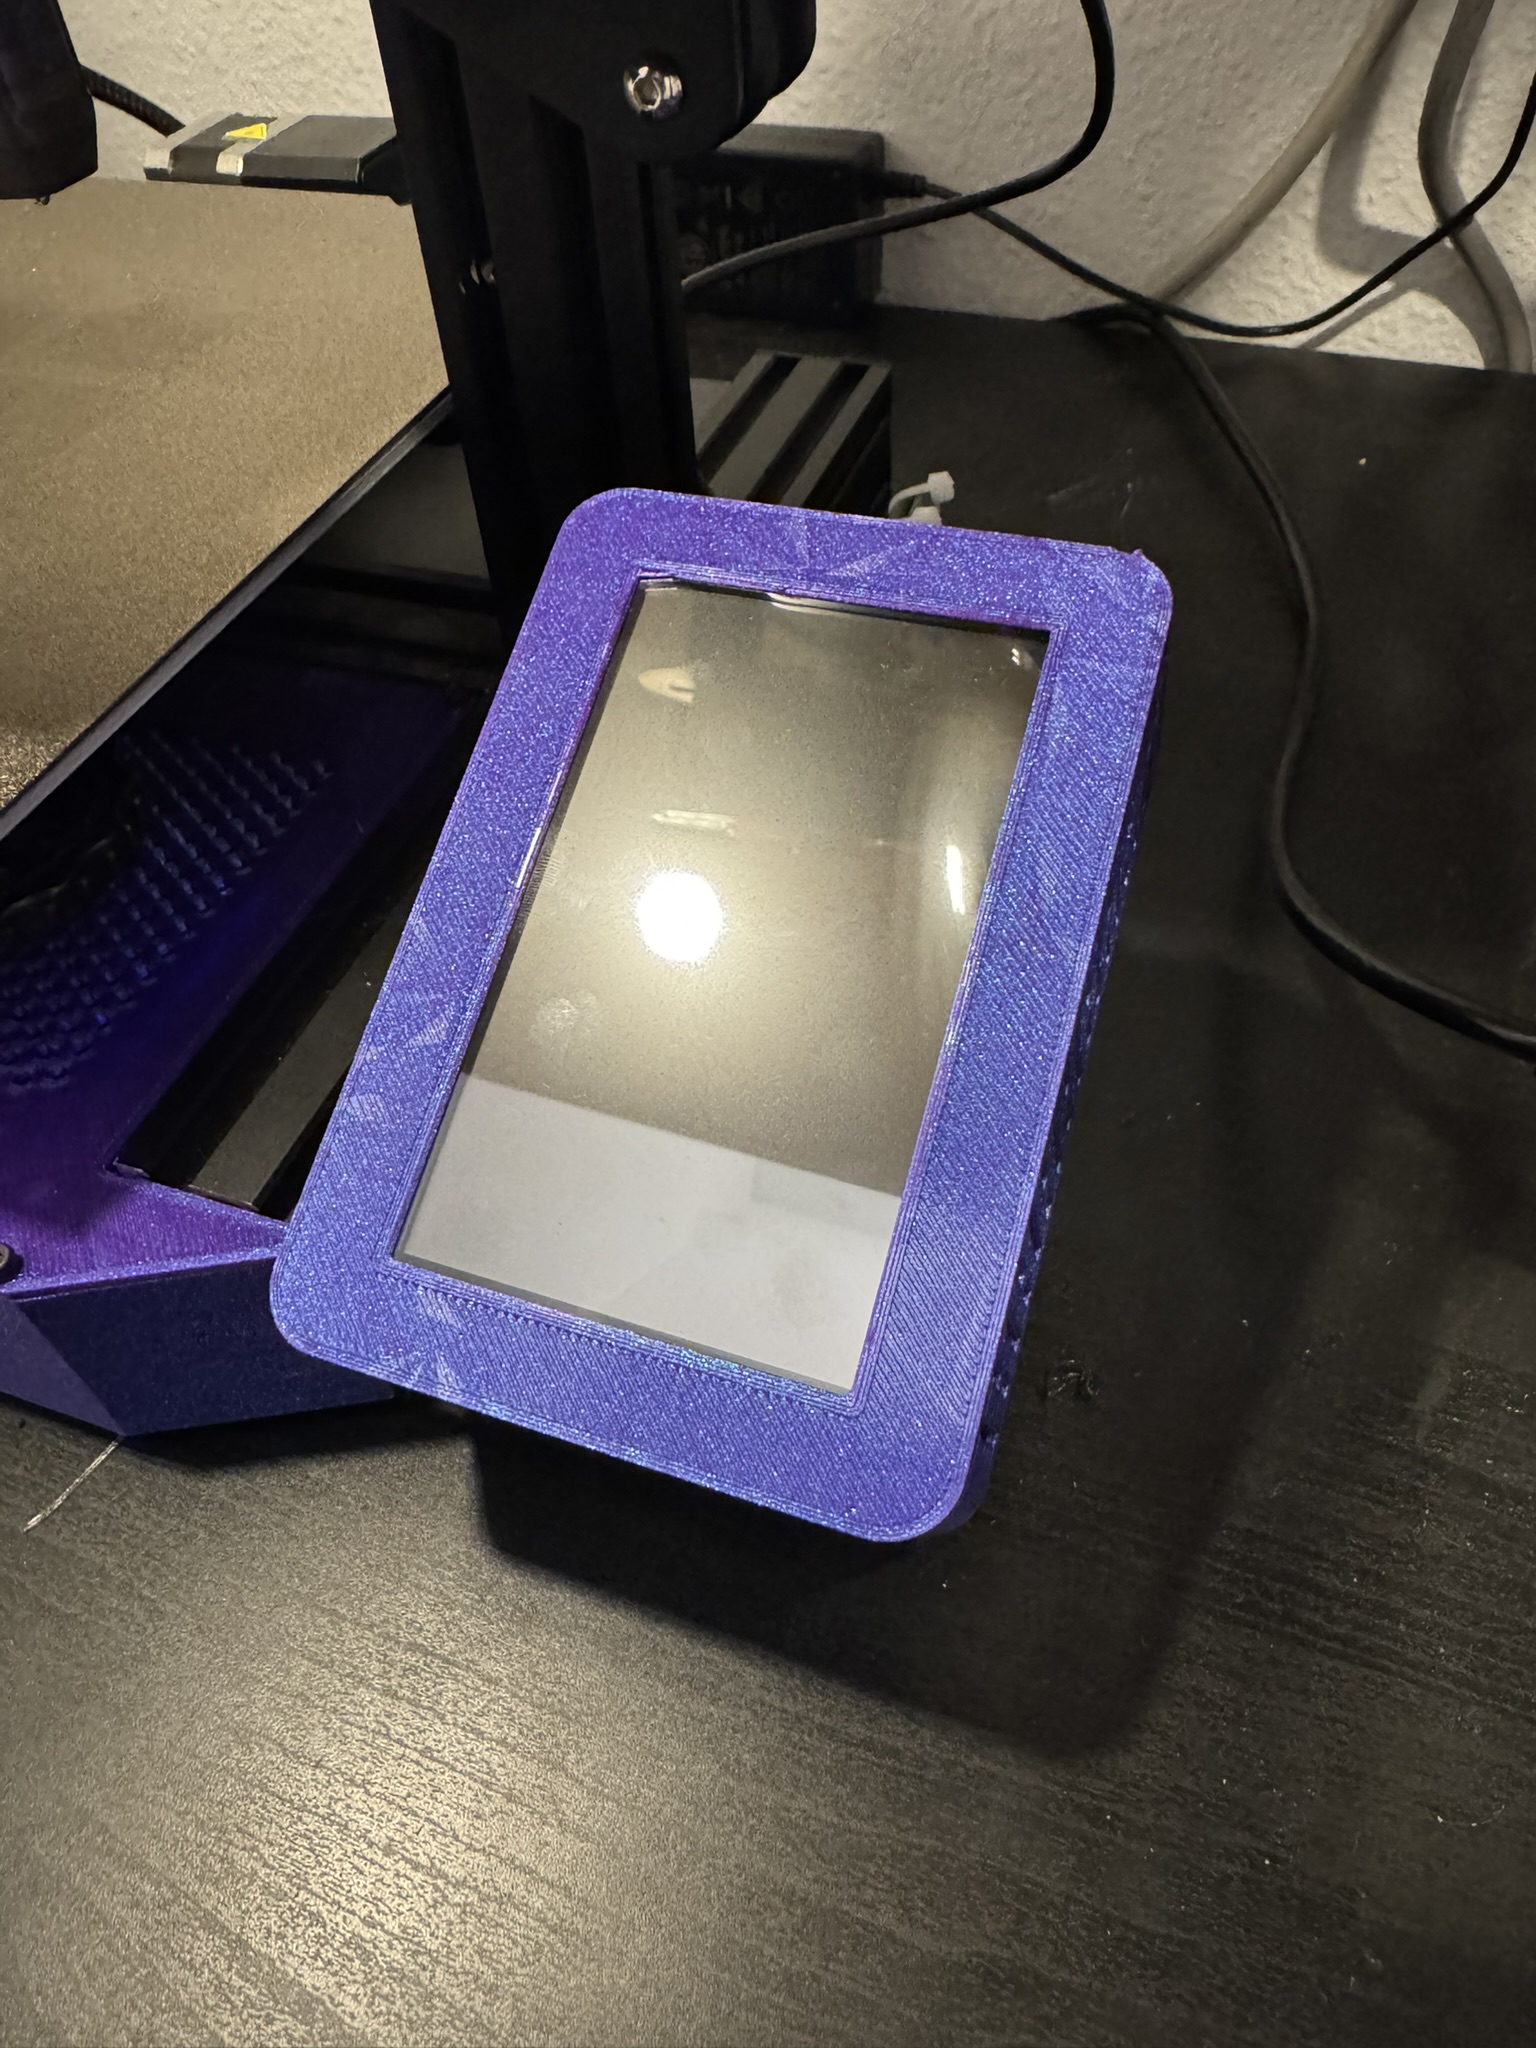
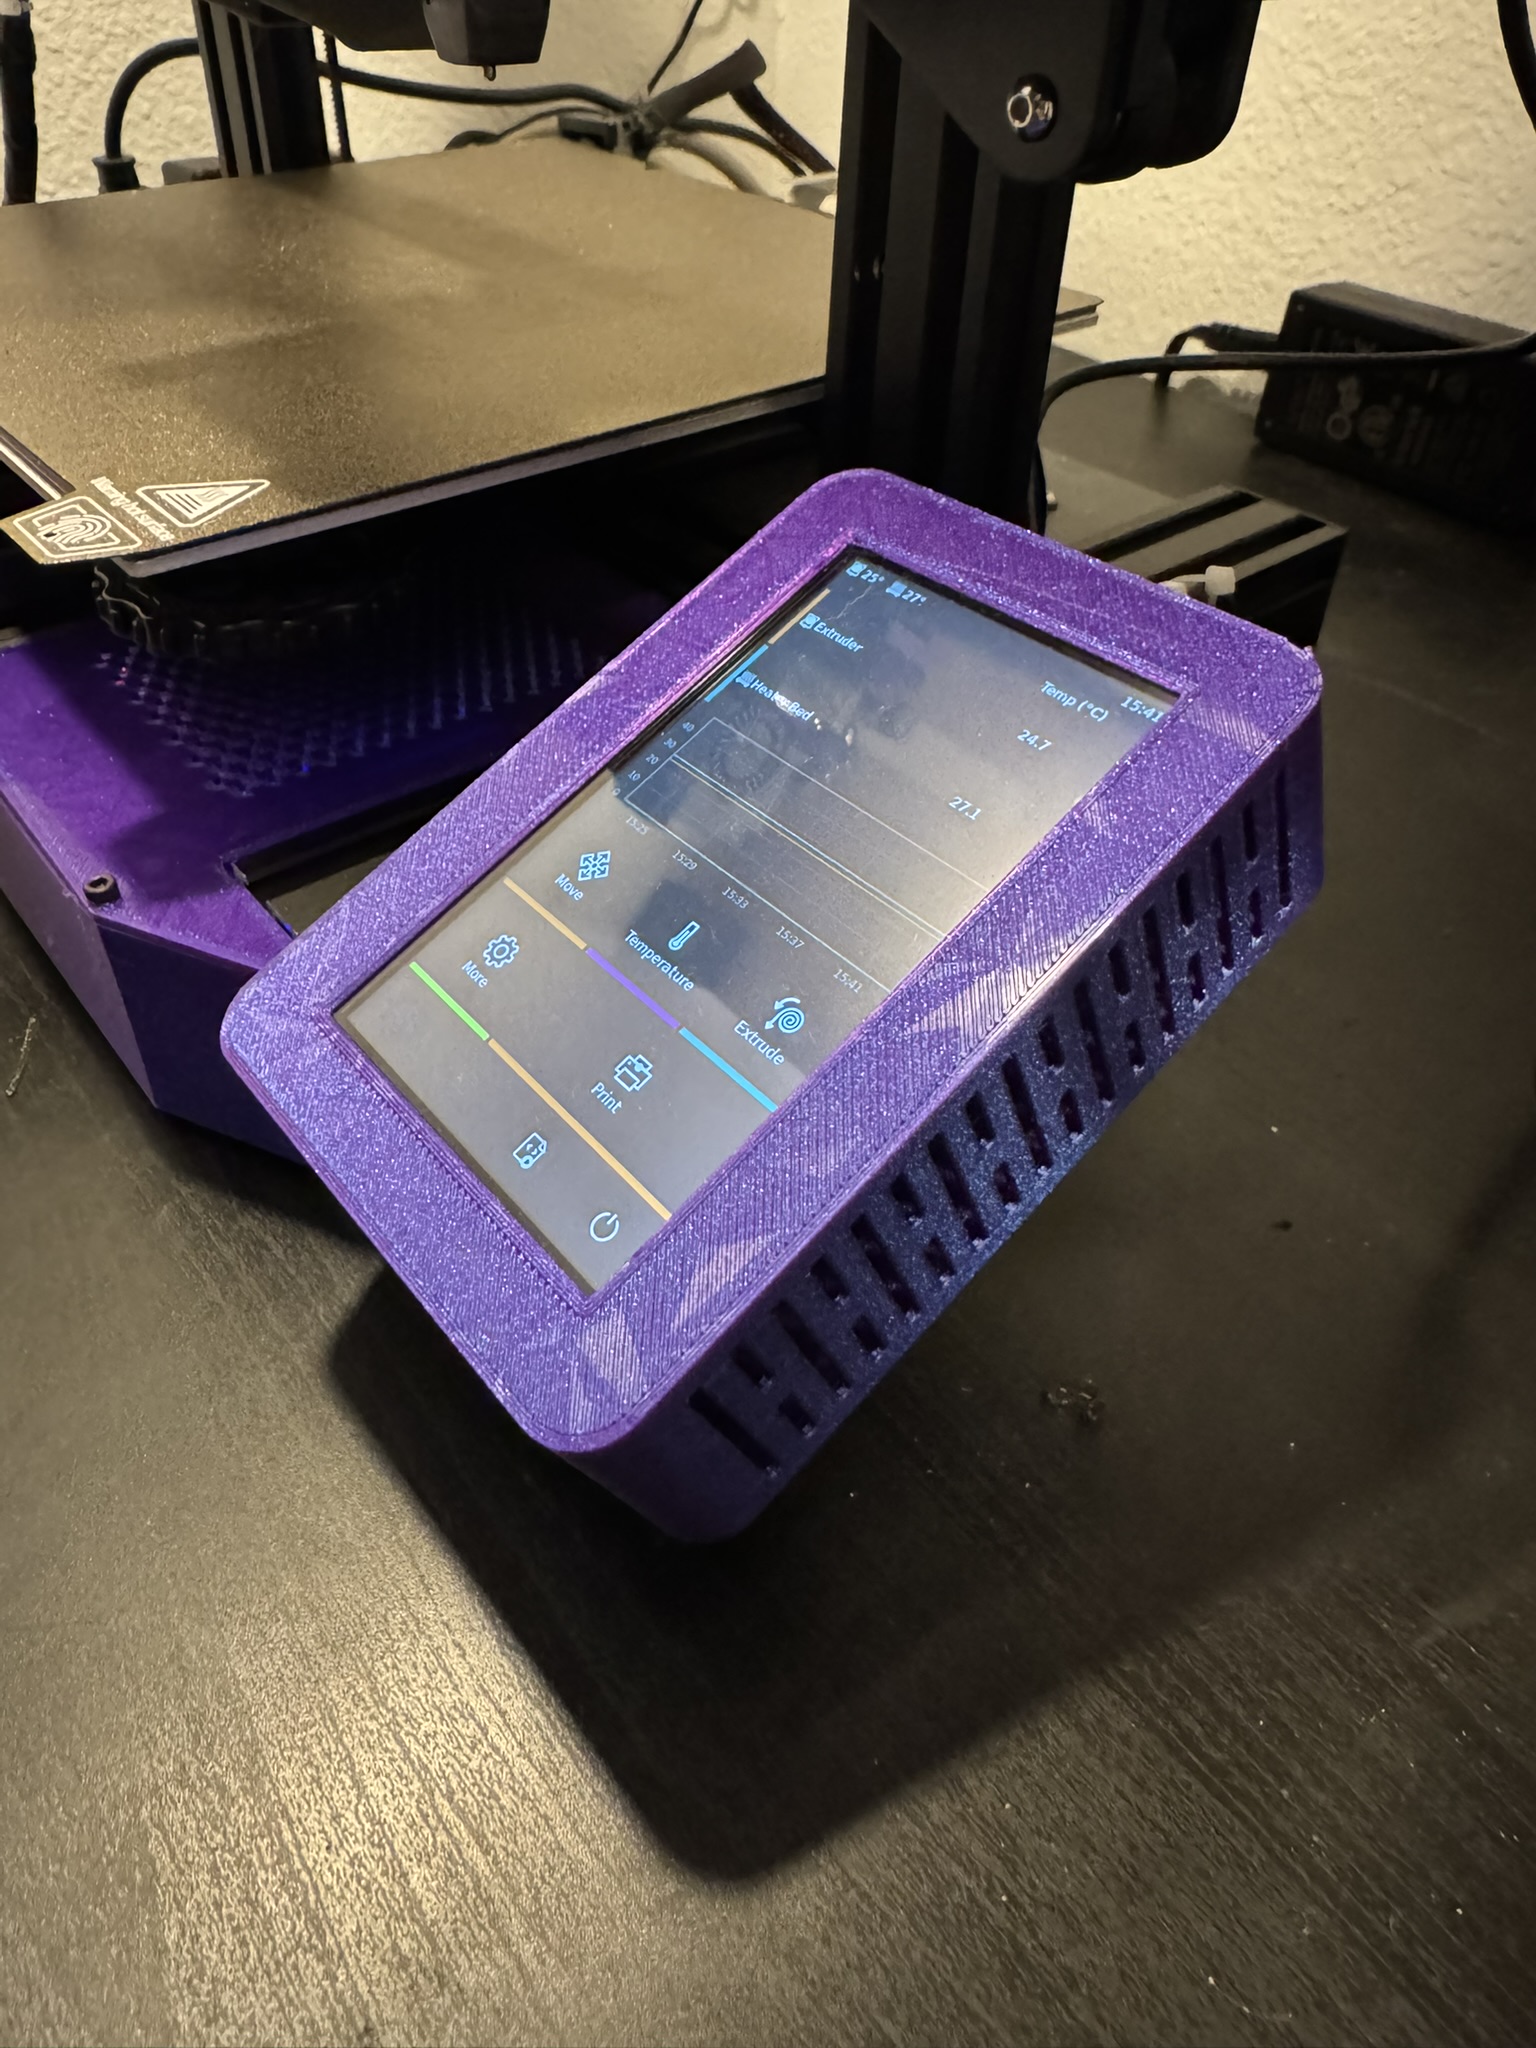
000This is a bit of a niche need but I recently bough this 5" Raspberry Pi touchscreen from Amazon {https://www.amazon.com/dp/B0DJSSDL37?ref=ppx_yo2ov_dt_b_fed_asin_title&th=1}, which only had rear mounting locations. Nearly all the other cases I could find were for front-mount screens. I also wanted to be able to use the existing display bracket on my Ender3 v2.
 |  |
The hardware needed is pretty minimal and you probably have most of the items already laying around. Below is the BOM:
(8) M2.5 x 5mm Screw (There's a pretty good chance the screen ships with these)
(2) M3 x 6 mm Screw
(2) M5 x 16 mm Screw
(2) M5 Hex Nut
(2) M3 Heat Insert
(2) M5 Heat Insert
Assembly is pretty straightforward. Start by installing the (2) M3 inserts into the tabs on the back of the case, and the (2) M5 inserts in the bottom.

Next, attach the screen to the case. The ports of the Pi should be on the same side as the tabs with the M3 inserts. There are clearance holes on the bottom of the case to fit a screwdriver or allen wrench through to install the screws.

Install the top of the case next. The front of the top has a tab that fits in a corresponding slot on the bottom. Secure using the (2) M3 x 6mm screws in the back.


Finally, install the (2) M5 hex nuts and (2) M5 x 16 mm screws. You'll want to adjust the height of the screws to get a secure connection between the case and the screen mount on the printer. Once you've got the height dialed in, tighten down the nuts to keep the screws from loosening.

From here you can install it on your printer the same way you installed the stock screen.