
Braided flippable triangles for Penrose tiling
Mir3luna

Find Similar with AI


Print Profile(0)
Model File(0)
 0
0 0
0 0
0
Published:2025-12-18 08:05:53
0
0



 000
000This is the same design as Penrose tiling based on flippable triangles with hidden tabs but with a layer on top and bottom with narrow grooves that fit together as braids when the tiles are placed. You can go to the original link to read more about how they fit together. The tabs are a little fragile but can be made to last if you're careful and don't try to force them upside down. You may also get greater strength by increasing top and bottom fill layers, density, and overlap perimeter. The tabs are somewhat aggressive with overhang but work for me and they will not be visible when they are fitted in slots.
The grooves can be highlighted in different ways. The simplest is to paint over the flat part, avoiding the grooves. I used acrylic paint on a sponge brush. I prefer painting in the grooves and I'm still working on that. You can get acrylic in the grooves and then wipe off the flat surface. However, paint still gets stuck because the 3D printed surface, especially the top, is somewhat pitted. I tried sanding and other approaches but decided the textured look wasn't so bad after all. That's my cover photo.
Each tile can be printed with either 0.5mm or 0.75mm grooves. The file names end with 50 and 75 respectively. The deeper grooves are more visible, and are illustrated by the photo of the blue star without paint. The painted ones all have 0.5mm grooves.
I made a coaster out of one using clear resin. It protects the paint and also stops me from continuing to experiment to the point of wrecking what I have already.
Update
I've experimented with many ways to highlight the grooves besides painting. If you just want to get a photo, shadows are quite effective.

For a simple approach that does not depend on lighting, fill the grooves with… well a lot of things work but in this case I used flour. It's simpler and more forgiving than paint and looks about the same in a photo. You can seal over it to make it permanent. While I worry a little about flour's perishability, I think fine sand might work.
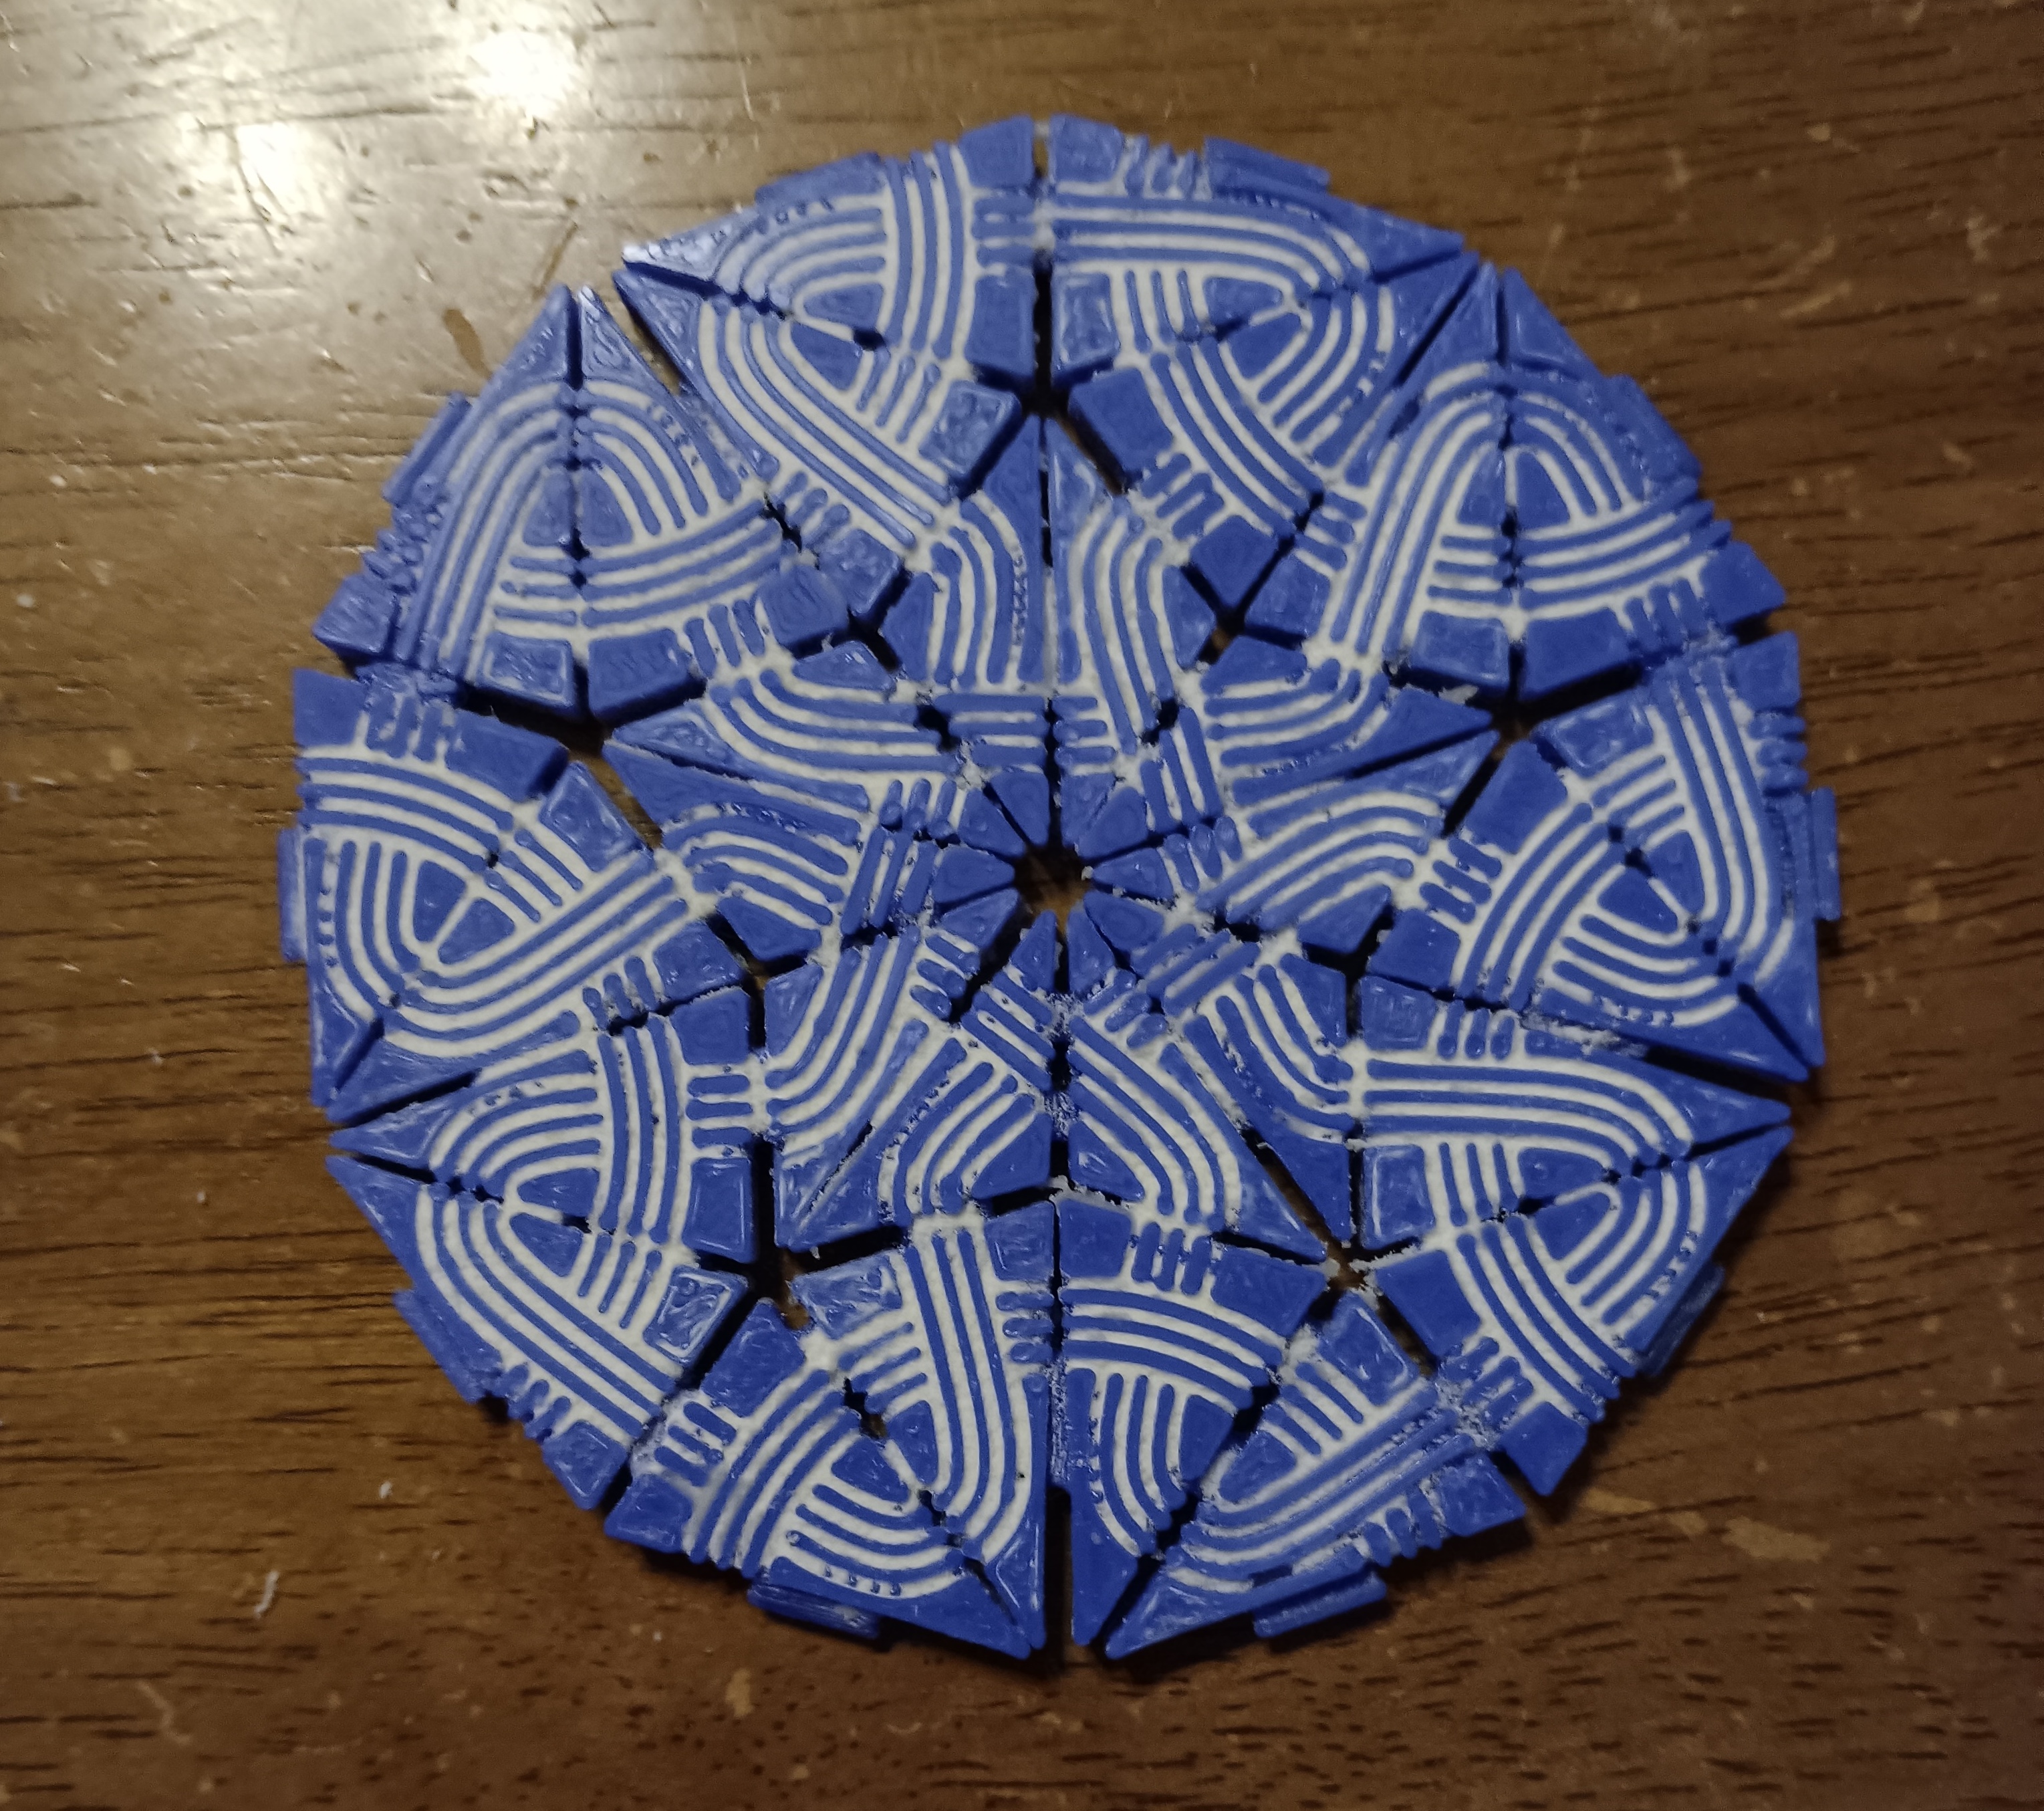
Finally, you can print in two colors. Unfortunately, my Flashforge only prints 1 color, but I could work around this limitation. First I used the slicing software to estimate how much was needed for the top and bottom braided layers (around 10cm each) and how much was needed for the tiles I was printing (around 1.1m). Then I hand-loaded 10cm of white filament, switched to 90cm of blue filament as it was loading, and switched back to white as I saw the last of the blue filament getting pulled into the feed. You have to measure ahead of time, because there is at least 55cm distance between the feed and the nozzle. There were supposed to be 6 tiles in this print but one failed. I am not sure if I'll make more but it's a nice effect.


