
Large drying oven
harris1980

Find Similar with AI


Print Profile(0)
Model File(0)
 0
0 0
0 0
0
Published:2026-02-04 06:19:34
0
0
 000
000Update 10/21/2024 12/25/2024 uploaded all .stl files.
This is a BIG dry box. Why did I make it?
1. Price was about 1/3 the price of many of the small, just big enough dry boxes.
2. Hold larger spools as needed.
3. Buffer fits inside a dry environment! I keep finding the first 1/2 meter of filament was brittle or had problems sticking. I think it was because the buffer was exposed.
I designed a box and then found this 24" truck side tool box was the 24" x18" x16" or 610mm x 450mm x 400mm. Just what I needed. There are many suppliers of this size truck side tool box. The price for me was cheaper than making one. It has a seal for the lid also.
The door chains make the lid fall on you if you touch them when you orient the box with the lid on top. . I drilled out the 4 rivets that held the door chains and removed the chains. I plugged the holes with a silicone sealer.
Lid Holder method 1.

I used a punch to round out both ends of 1 chain. Used a 6mm bolt to bolt the chain to the back of the box. Then a 3 mm bolt in the lip of the lid. 2 nuts, one inside the lip, one outside the lip, to hold the bolt. The chain loops on the bolt when open to keep the lid from falling on your head. With the lid all the way open, the chain should just fit over the bolt head.
Lid holder Method 2
A small hydraulic lift to hold the lid. A 20N/ 4.4lb/2KG 12"/300mm Gas strut opener is what I used.

This shows the strut installed. A strut-spacer.stl was created so the bottom mount was clear of the lip. 3, 3mm x 60mm bolts or 3, .125: x2.25" bolts with nuts are needed for the bottom mount.
Align the strut based on the instructions with the strut.
.stp file included if you need a different bolt spacing. You may also scale, fill and add holes as needed in the slicer.

PTFE holders
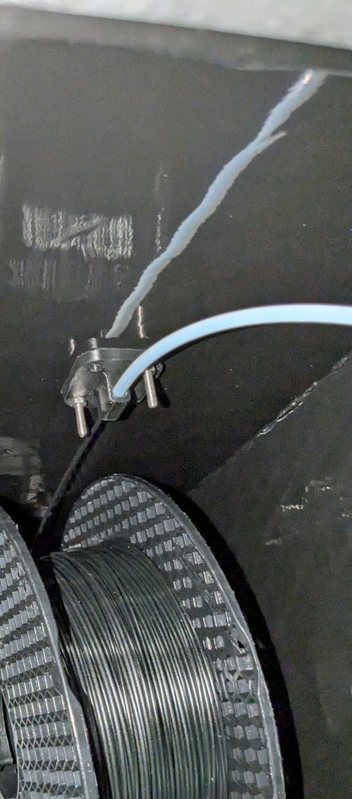

I designed, 2 tube holder styles. One style for the spools on the left end of the box pictured. And then the other style sticks out to feed from the center of the 2 spools on the right. I drilled 2, 3mm holes for each and mounted with 3 mm screws. Approximately 270mm from the floor. The hole in the PTFE holder for the PTFE tube has a 4mm hole and steps down to a 2mm hole. The 4mm hole goes up to fit the PTFE tube that goes to the buffer. The .3mf for these files is included.
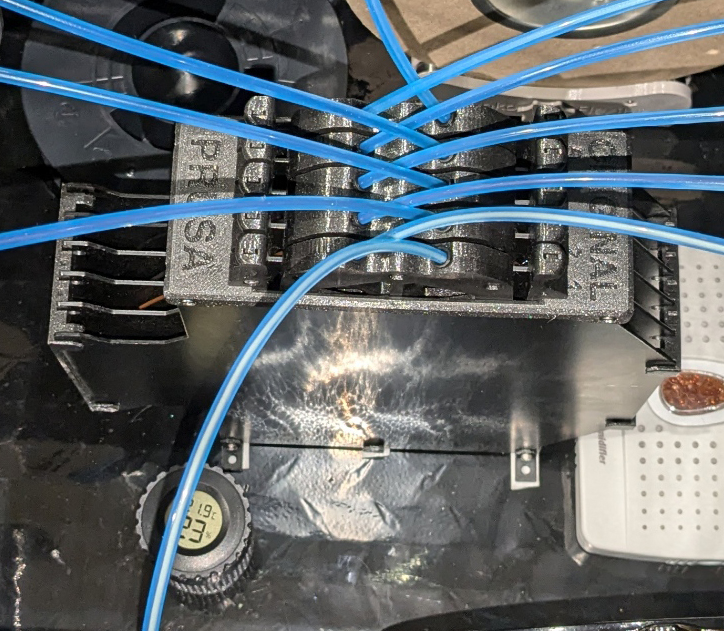
MMU3 buffer was mounted with 3, thick strips of double back tape to glue it to the floor. The floor is a little wavy so the thick tape works best.
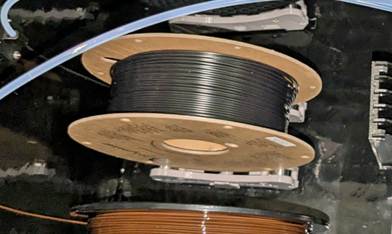
The spools roll on these adjustable rollers that will support up to 2KG spools. I glued rubber feet on them to keep them from sliding around in the box. Any adjustable spool roller should work.

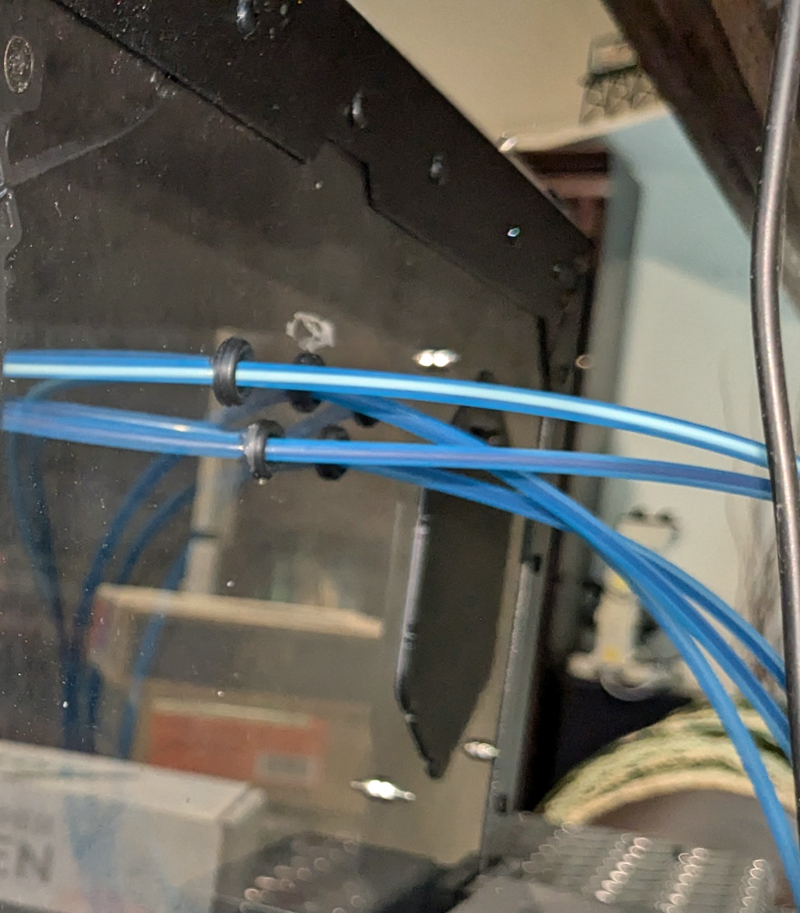
I drilled 5 holes about 7mm/.312" in size near the middle, top of the right side. 1.5 inch, 40 mm apart. These 4mm ID gromets seal the holes for the PTFE tubes that go thru the side to the MMU. Consider how you will orient the box and buffer inside the box when you add your feed thru holes. The feed thru holes can go on either side, front or back as you need. This box is big enough that you can place the buffer and spools in different orientations to fit your needs. Keep the tubes as short as possible to keep friction down.
I switched to using Capricorn 3mm ID x 4mm OD filament guide tubing. I found the better quality tubing was needed for the lowest friction for PETG, Glow in the dark and other filaments with a rougher OD.
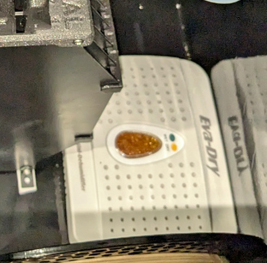
I use this desiccant, dehumidifier box. It just plugs in to recharge. Any desiccant you want to use is fine. The box has enough room to install a heater and fan if you desire. The desiccant holds at 23% humidity. That is why my humidity meter reads each time I open the lid. The dryer box needs recharge about every 1-2 months in my use case. Average indoor humidity 60% where I live.
I mounted the MMU horizontal Horizontal mounted MMU3. Then added holes to the top of my enclosure to feed the filament straight into the MMU. Less friction and easier loading.
The big dryer box takes up more room, but I like having the room to work in. It puts the buffer in a dry environment.
If you want the box to look pretty, A good looking small table cloth will cover it.
