
Tiny Hook for Ikea Skadis
DeborahHall

Find Similar with AI


Print Profile(0)
Model File(0)
 0
0 0
0 0
0
Published:2025-12-23 12:05:00
0
0
 000
000This is a tiny hook for IKEA SKÅDIS pegboards. For the small things in life. It uses the Skadis T-Nuts Mounting System for a secure, rattle-free hold. It's designed for optimal layer orientation for strength and printability without supports.
Ideal for things like rulers, keys, scissors, etc.
 | Read more about the Skadis T-Nuts Mounting System and check out the Skadis T-Nuts Collection for more Skadis accessories that use T-Nuts. |
The hook is available in 8mm, 10mm, 12mm, and 14mm lengths and for flat head countersunk cap screws (recommended) and button head cap screws. The FHCS version is nice and flat below the prong so that the screw head doesn't interfere with item you're hanging. Relevant for flat items such as rulers.
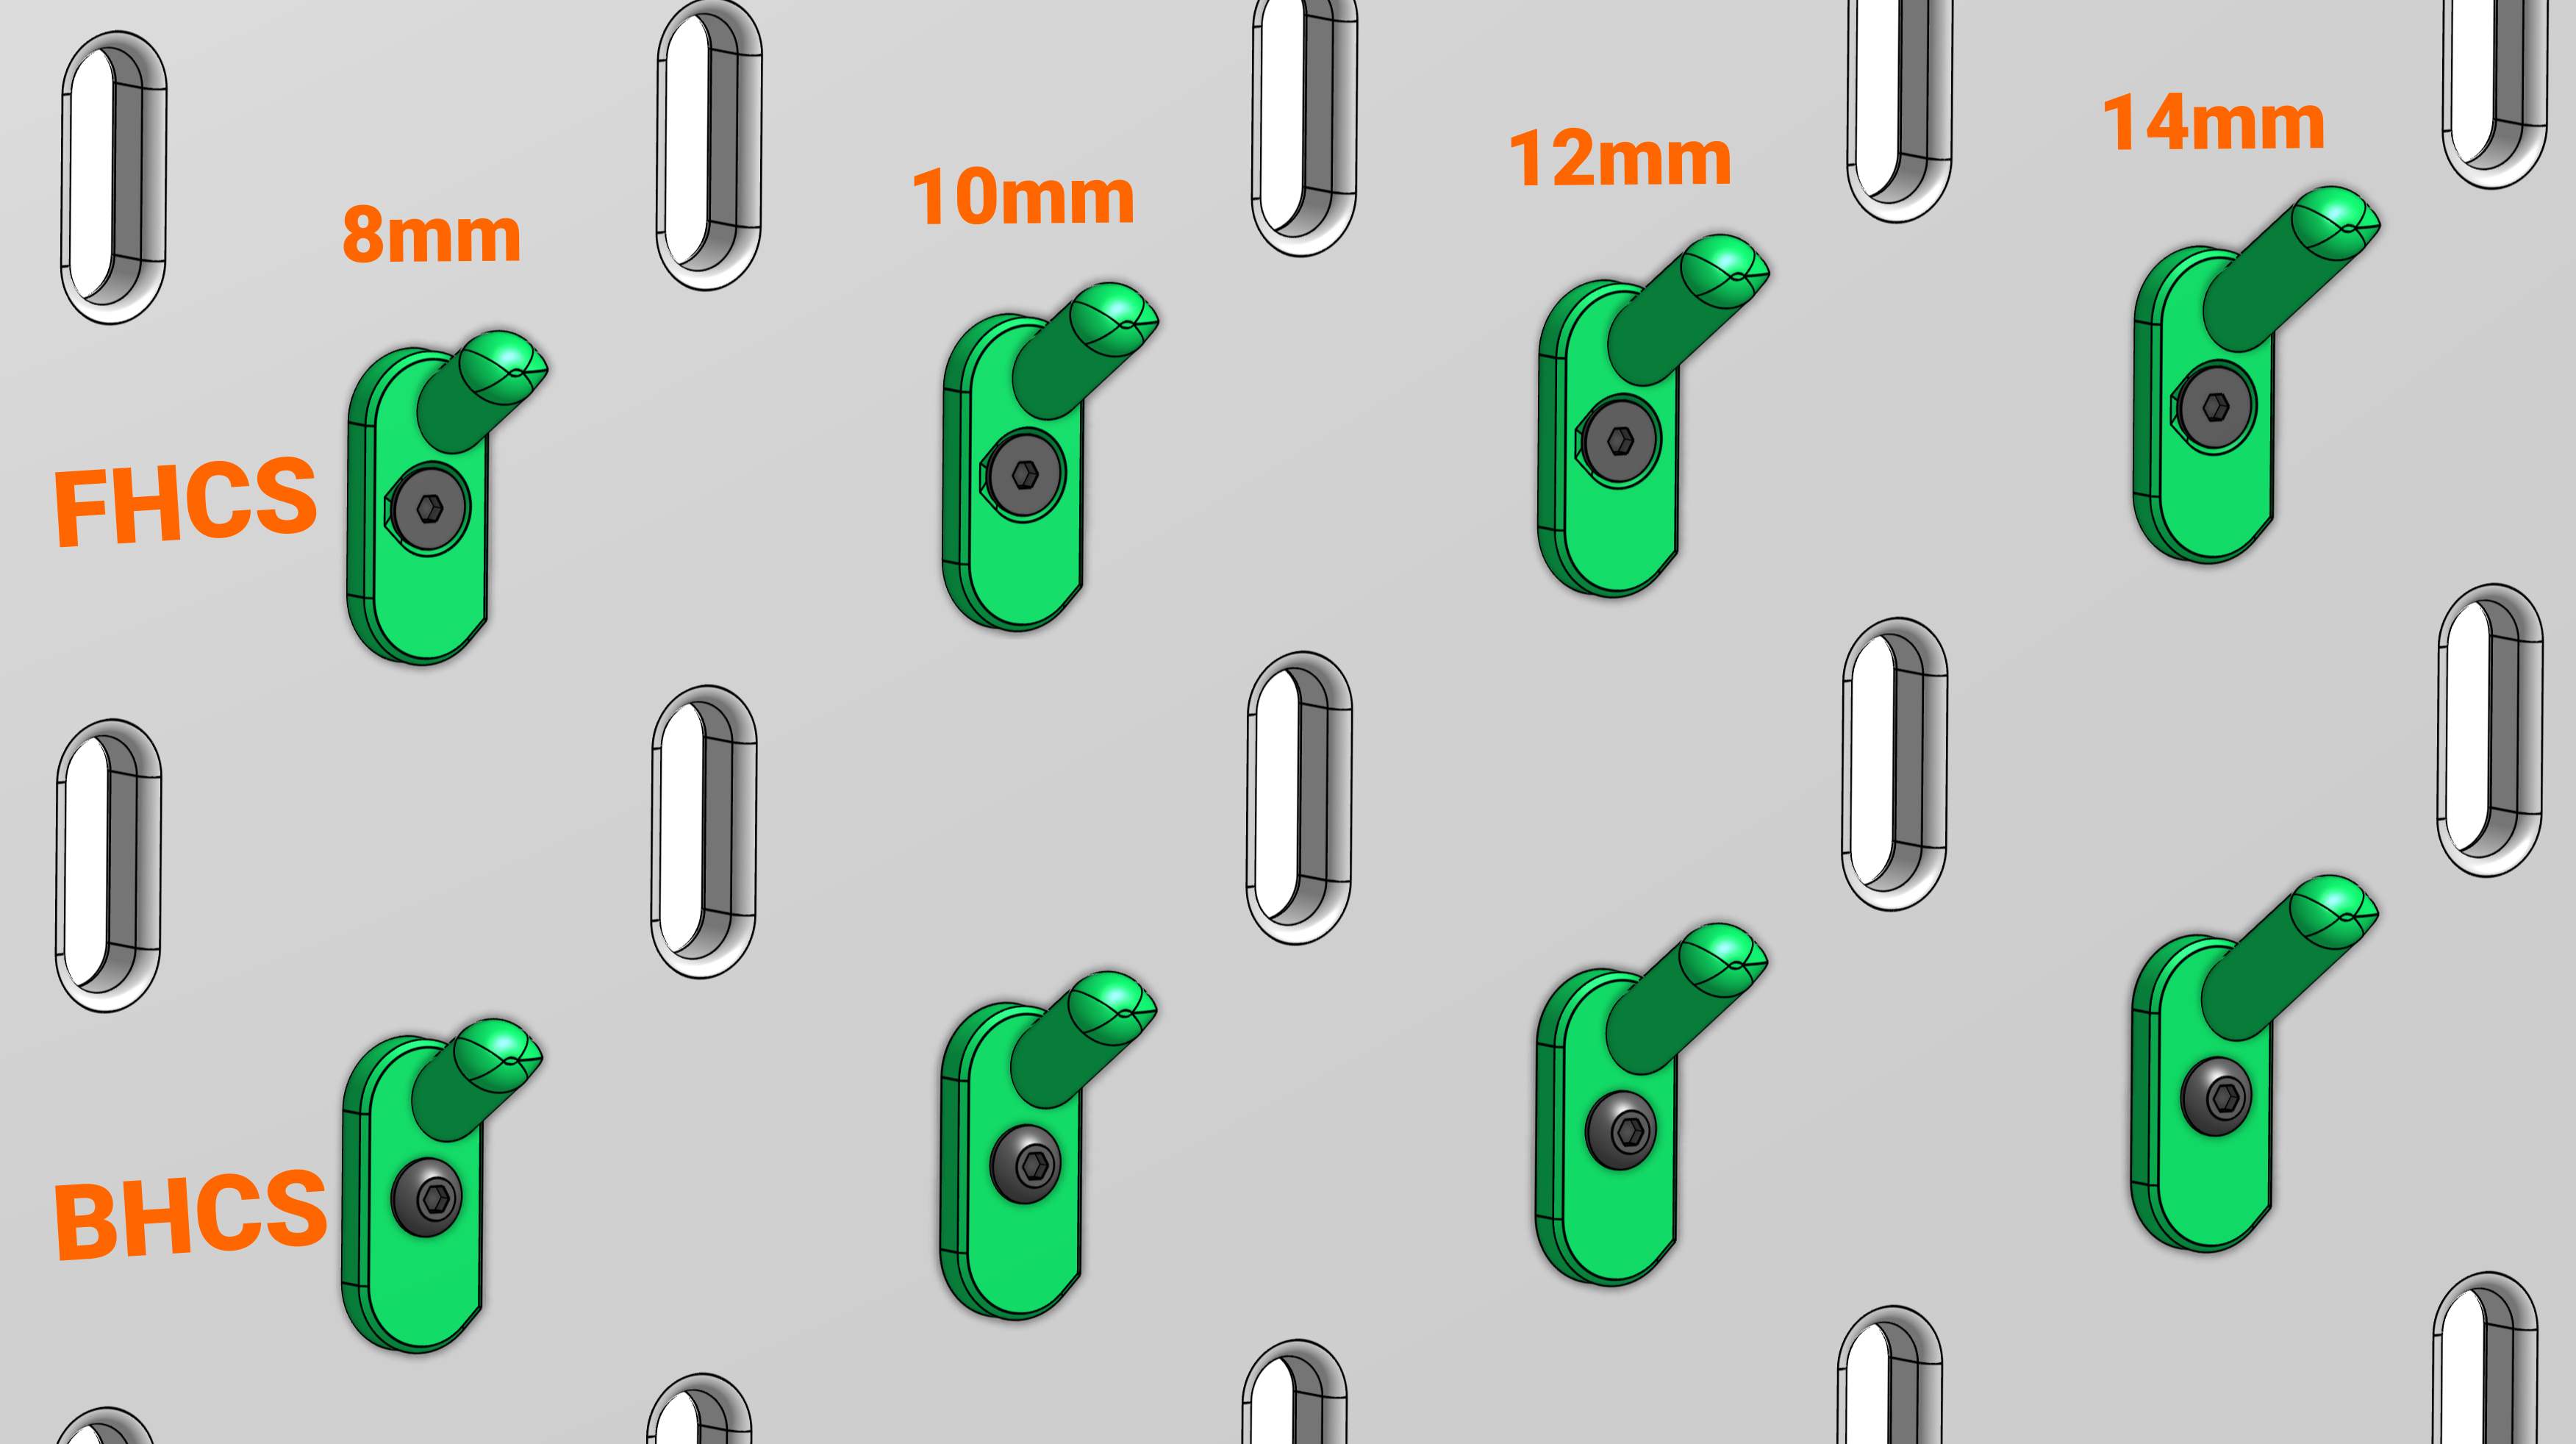
Each hook has a 60 degree prong angle. The length is measured along the prong. The prong diameter is 5mm.

| Qty | Description | Sourcing |
|---|---|---|
| 1 | M2.5x12mm Countersunk Flat Head Cap Screw | Aliexpress |
| 1 | M2.5 DIN934 Hex Nut | Aliexpress |
| Qty | Name | Download |
|---|---|---|
| 1 | Tiny Hook FHCS [length].stl | this project |
| 1 | Skadis T-Nut M2.5.stl | Download here |
| Qty | Description | Sourcing |
|---|---|---|
| 1 | M2.5x12mm Button Head Cap Screw | Aliexpress |
| 1 | M2.5 DIN934 Hex Nut | Aliexpress |
| Qty | Name | Download |
|---|---|---|
| 1 | Tiny Hook BHCS [length].stl | this project |
| 1 | Skadis T-Nut M2.5.stl | Download here |
Print the parts in the original orientation. All STLs are pre-rotated for printing.
The T-Nut should be printed with a material that has good layer adhesion, such as PETG or better.
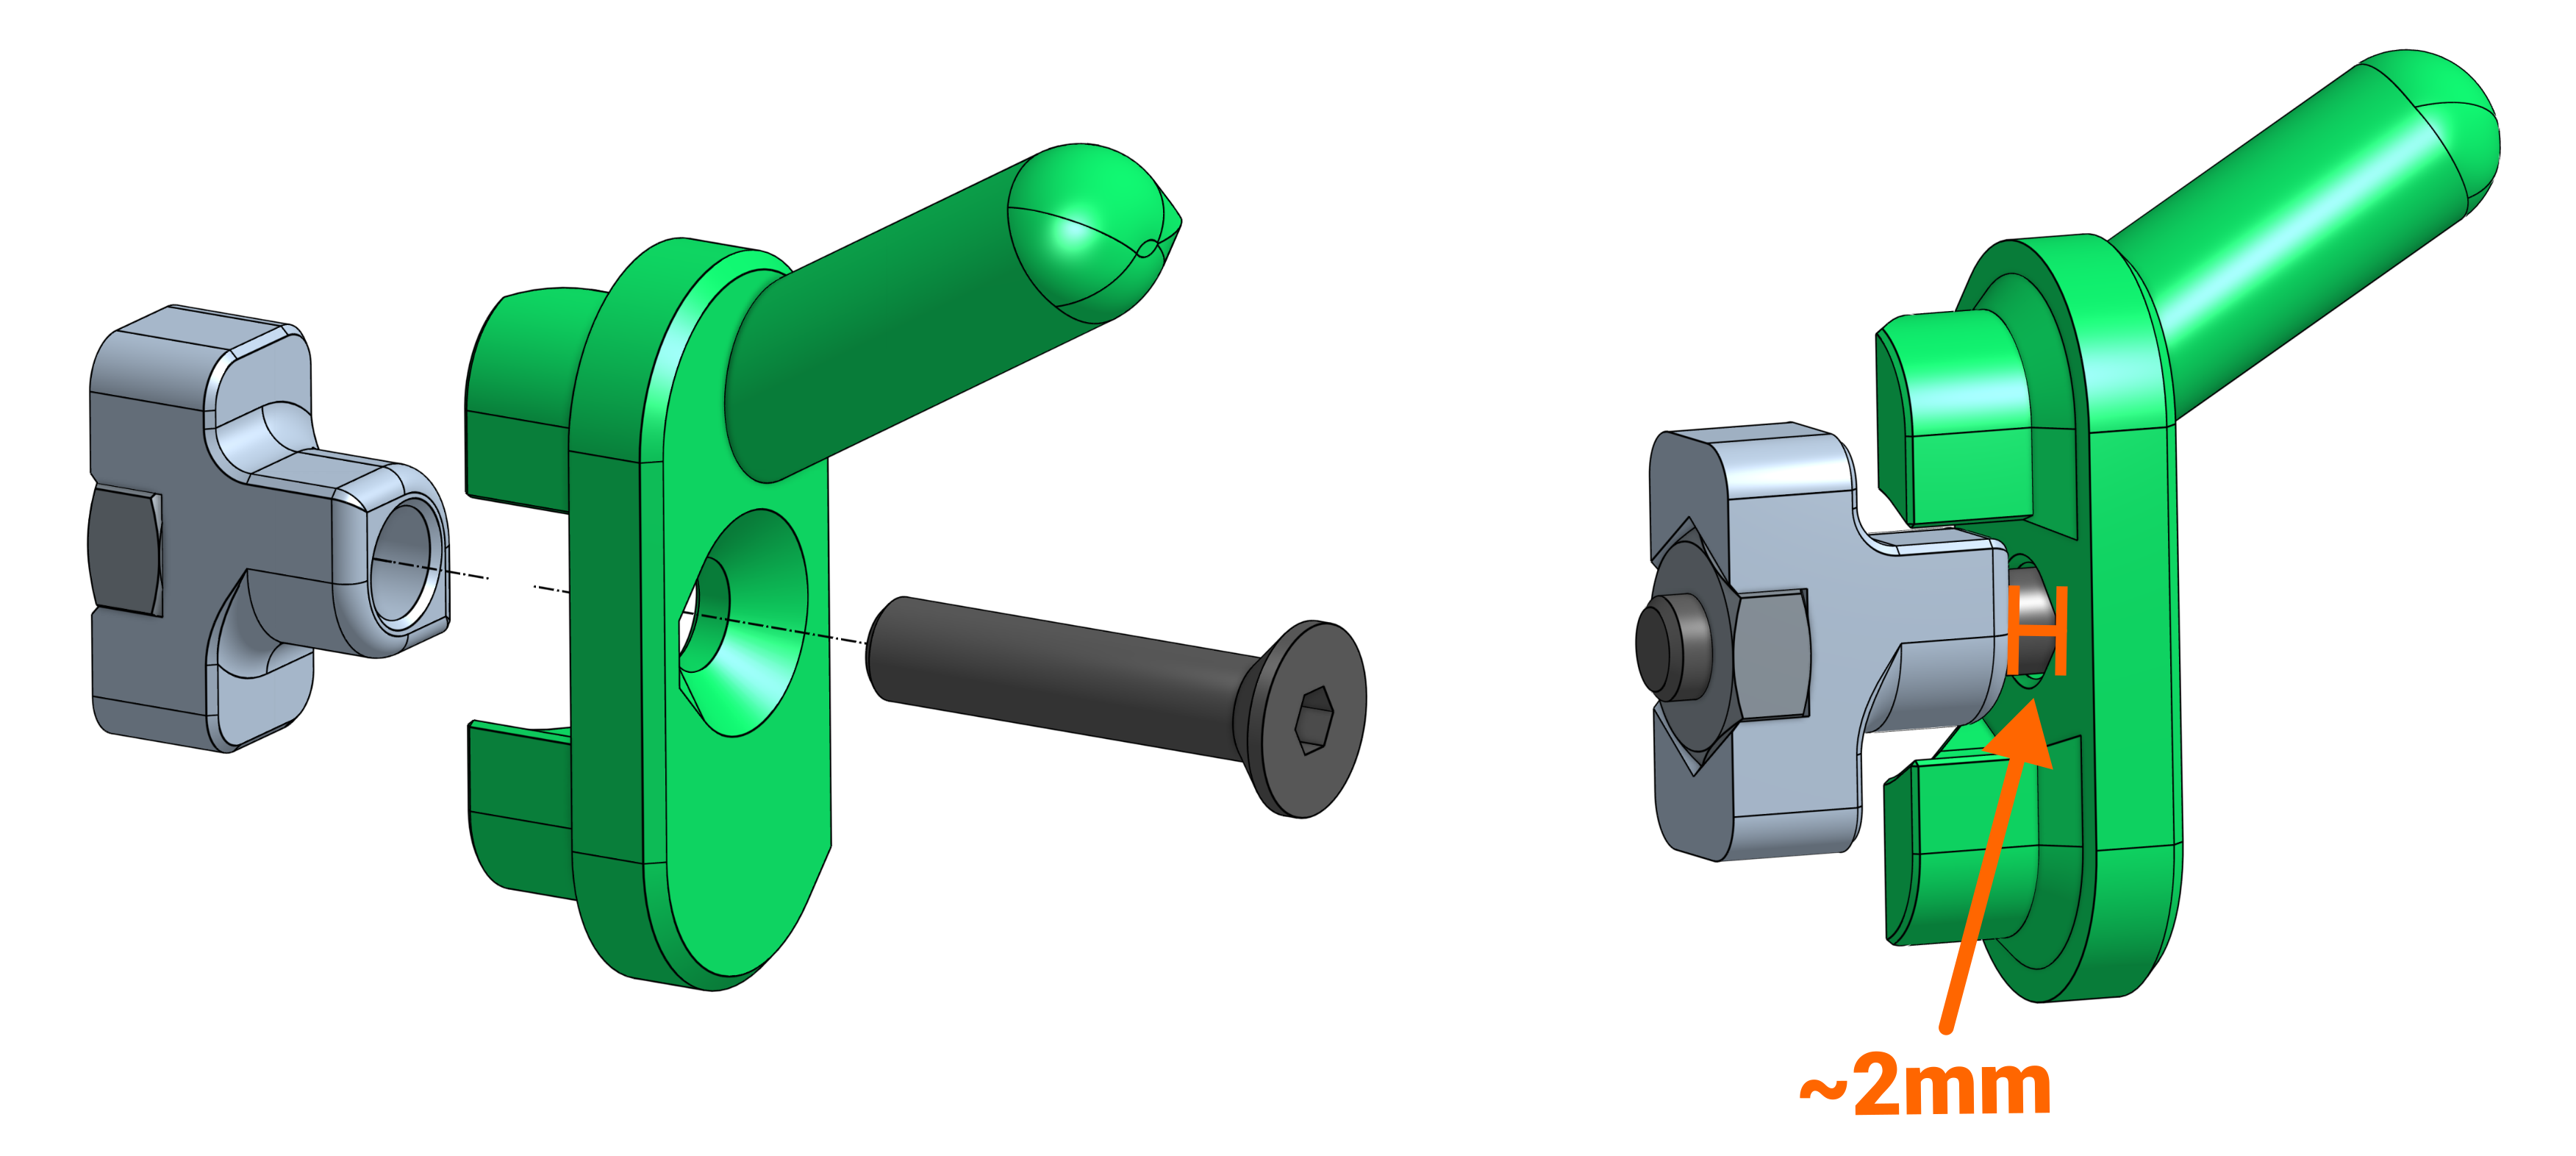
Insert the hex nut into the T-Nut. You may use pliers to push the nut in. The fit should be snug and the hex nut should not come loose. Use a small dot of superglue if the fit is loose and make sure to get any glue into the threads.

Push the screw through the hook all the way and screw on the T-Nut assembly until there is a gap of about 2mm between the T-Nut and the hook.
Push the whole assembly through the pegboard hole. Tighten the screw with a screw driver while maintaining some pressure. The T-Nut will lock itself in the horizontal orientation and then tighten itself.
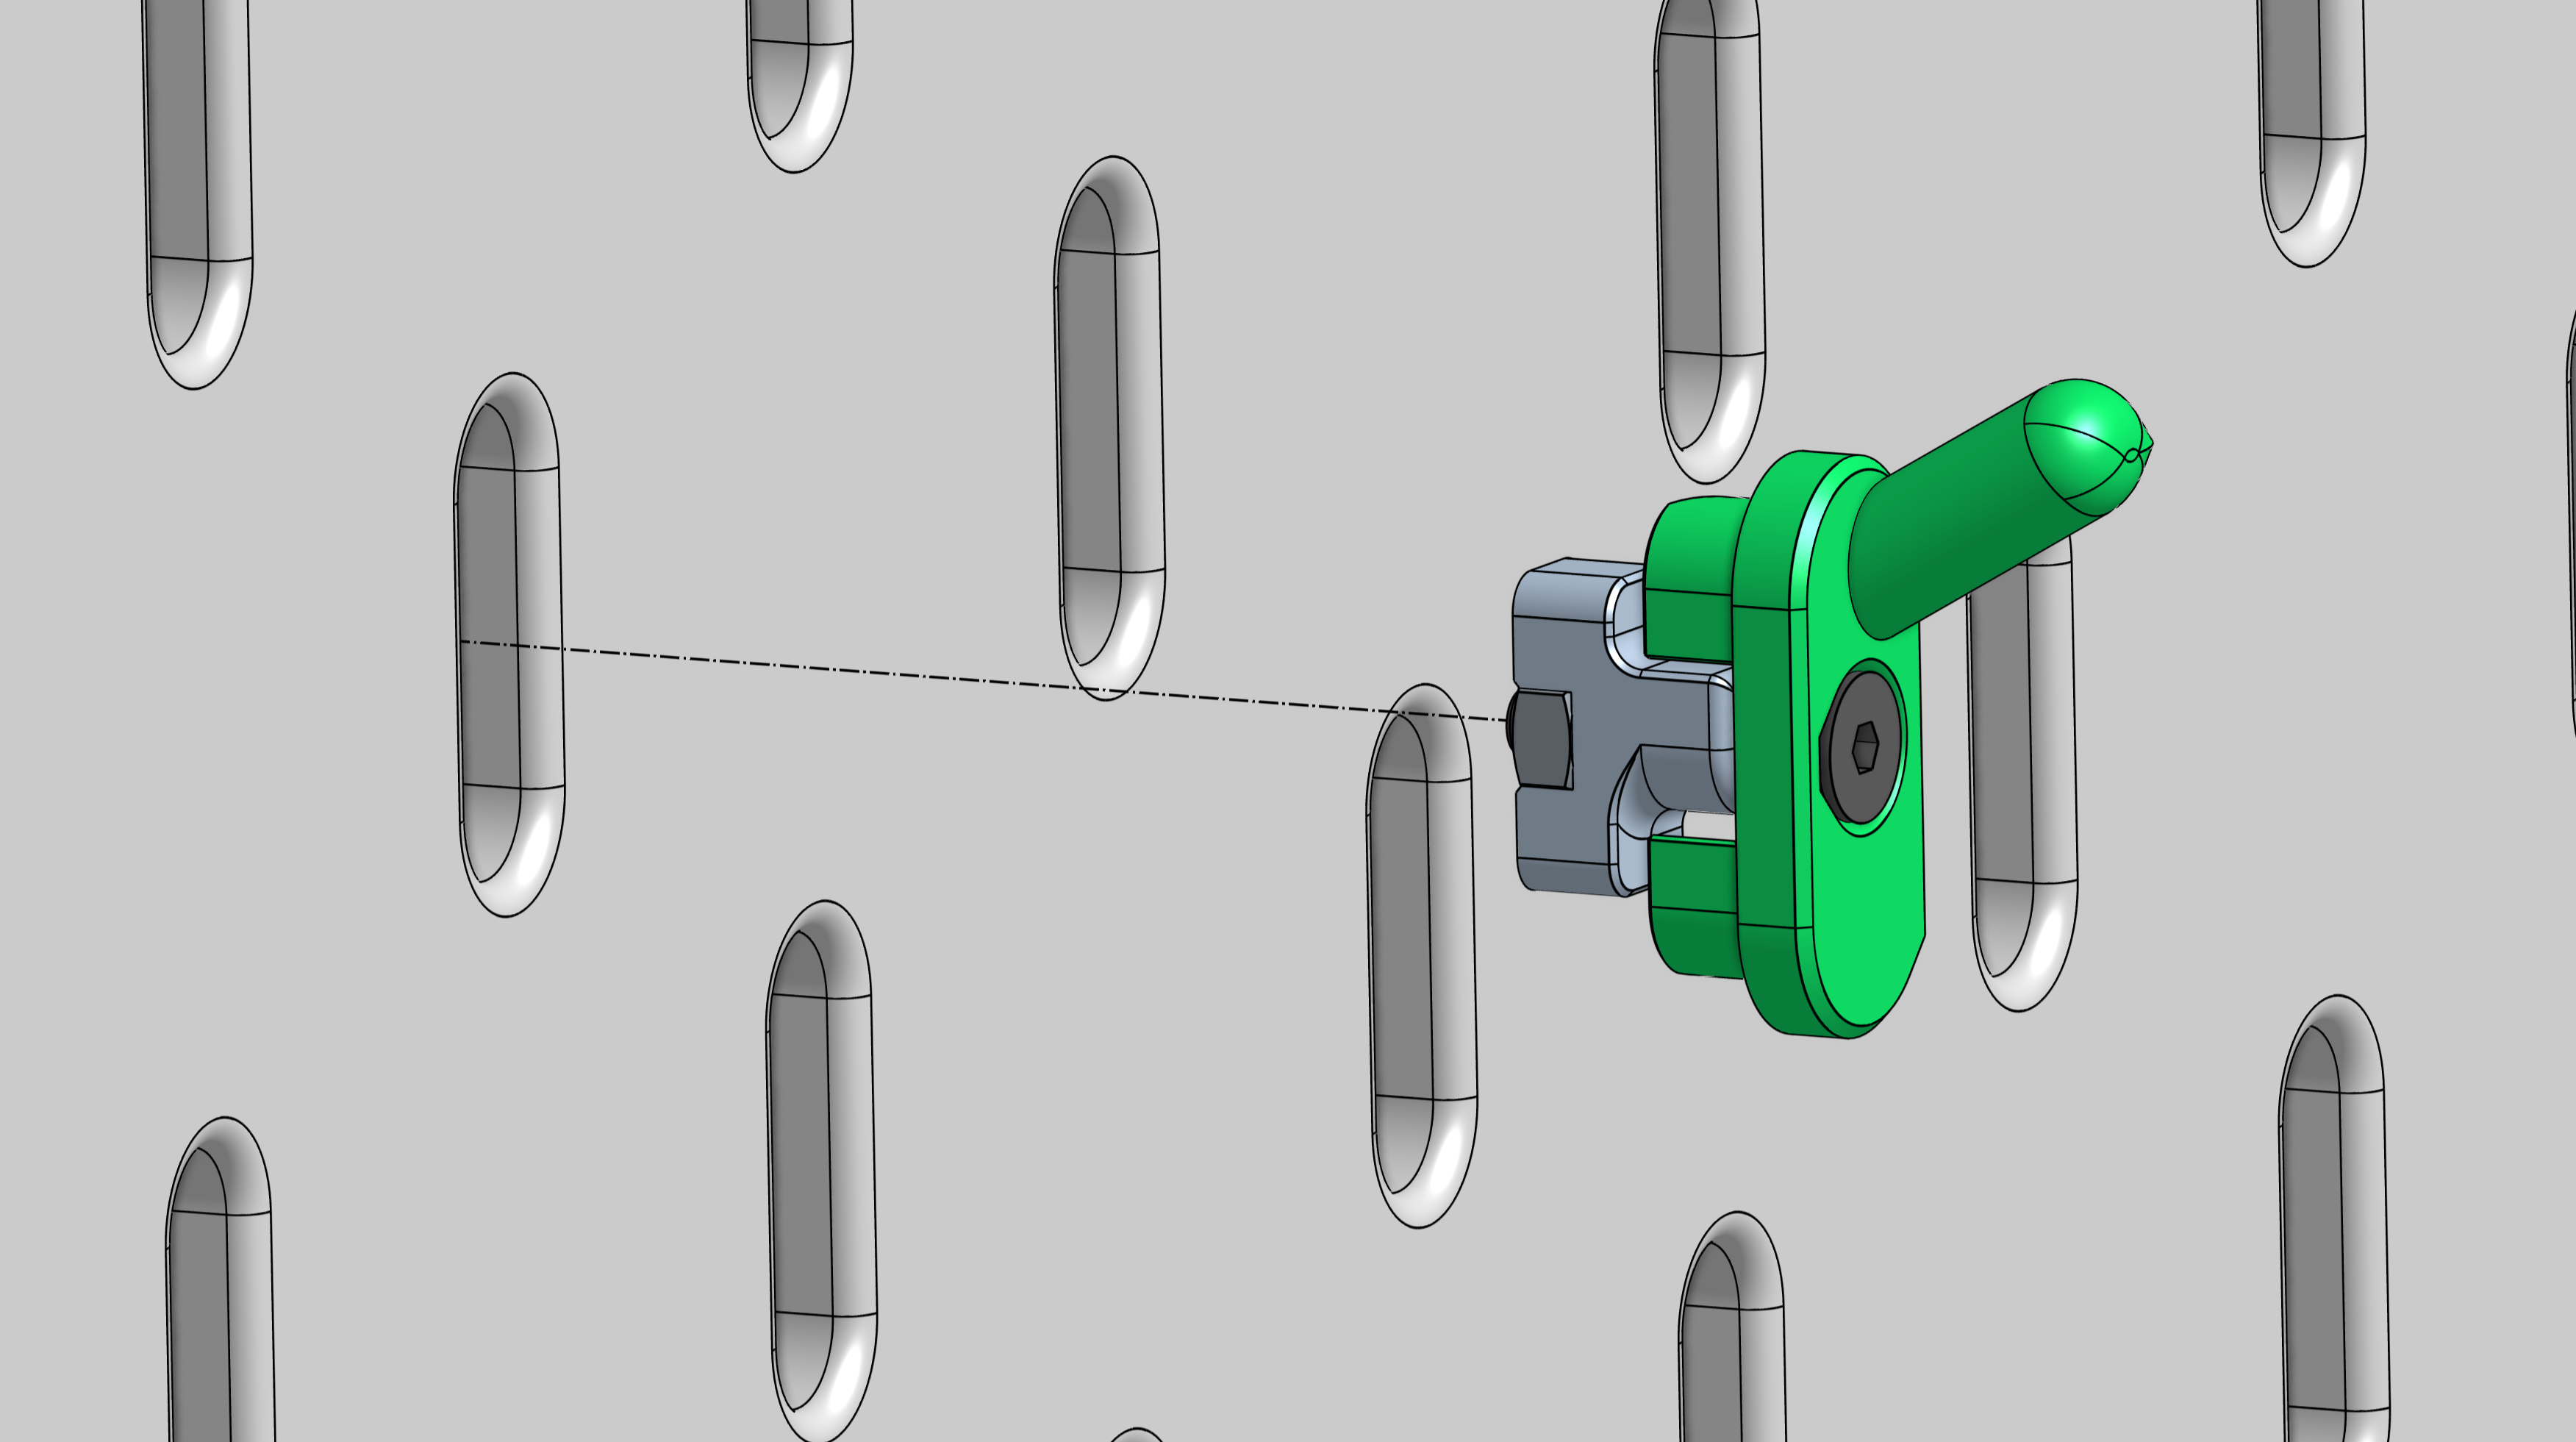
Loosen the screw about one full turn. The T-Nut will lock itself in the vertical orientation and the hook can be pulled off the board.
This hook is loosely inspired by URSPB's Skadis Peg and Clemi's Simple Screwed T-Nuts Hook.
