Dieser Inhalt wurde automatisch übersetzt. Original anzeigen
This is a free model. If you want to compensate me for my work, please feel free to use my Meta Quest game recommendation code:
- You will get a 25% discount, and I will get up to $5:
-------------------
This is an original model used to convert the straps of the BoboVR M2 Pro into ones compatible with the Meta Quest 3.
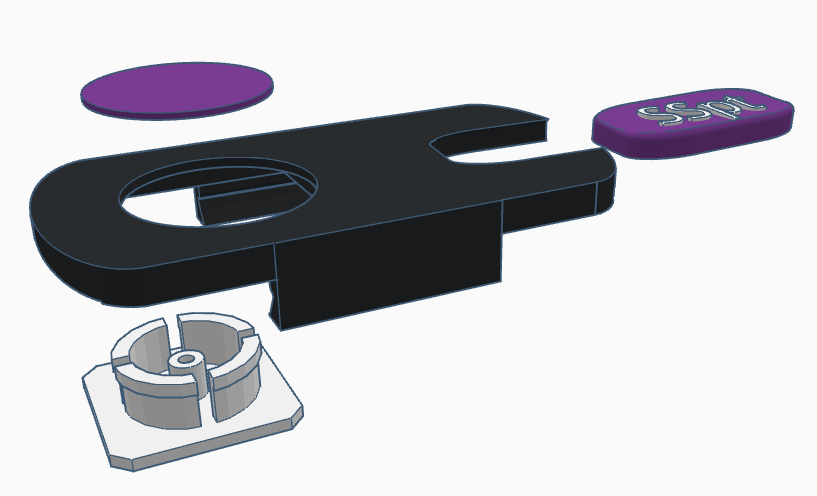
Update Log
v4 - 2023/10/14
- More tolerances have been added to the support components, allowing for adjustments and increased grip strength using TPU
- Some of the arm supports have been removed, allowing it to move forward to the arm of the Quest
- An "blob" that can be customized has been added
- A TPU insert
v3 - 2023/10/13
- The mesh has been repaired
- The locking height of the second part has been increased
- The size of the second part has been reduced by 0.1mm
- A version with a lid that adds two screws
v2 - 2023/10/12
- The "grasping hand" has been repaired, using the scanned mesh of the Quest 3.
v1 - 2023/10/11
Recommended printing settings
Support:No. Just place the flat surface on the printing board.
Printing materials:Part 1 - PETG or PLA | Part 2 - PETG.
Fill in:20%.
Floor height:0.12mm to 0.2mm.
Hint:You can use 999 layers of walls, without filling, with 0 top layers and 0 bottom layers to print a screw cap
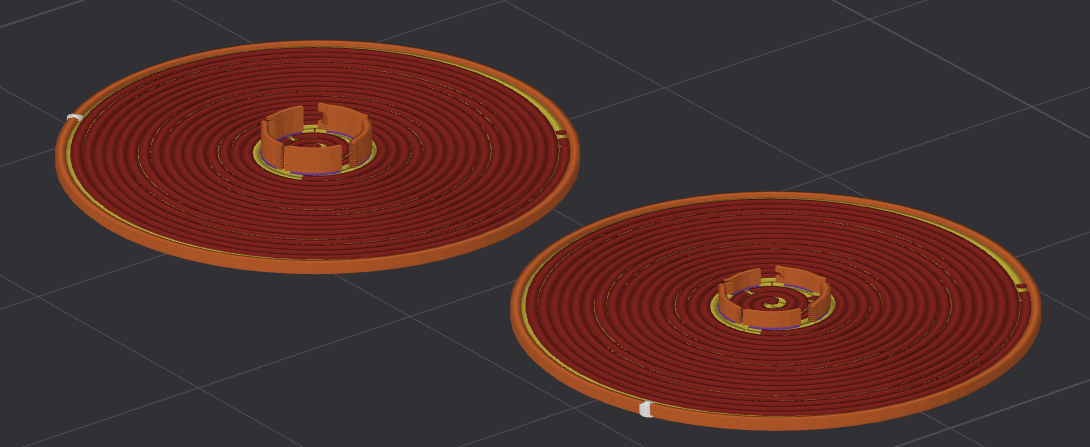
Because you will slide the side of the Quest 3 into "Part 1", you should use TPU for laminating
Instructions for use
Disassembly instructions
Instructions for disassembling the original M2
- Remove the screw cover
- Remove the screws on the arm.
- Lift the cover of the arm
- Pull out the black support component that needs to be replaced
- Remove the cover of the arm
Assembly instructions
- Prepare all the materials:
- Printed parts
- 10cm TPU
- Insert the TPU into the slot of Part 1.
Hint:You can try putting your Quest in it. If it feels sturdy enough, you won't need the TPU.
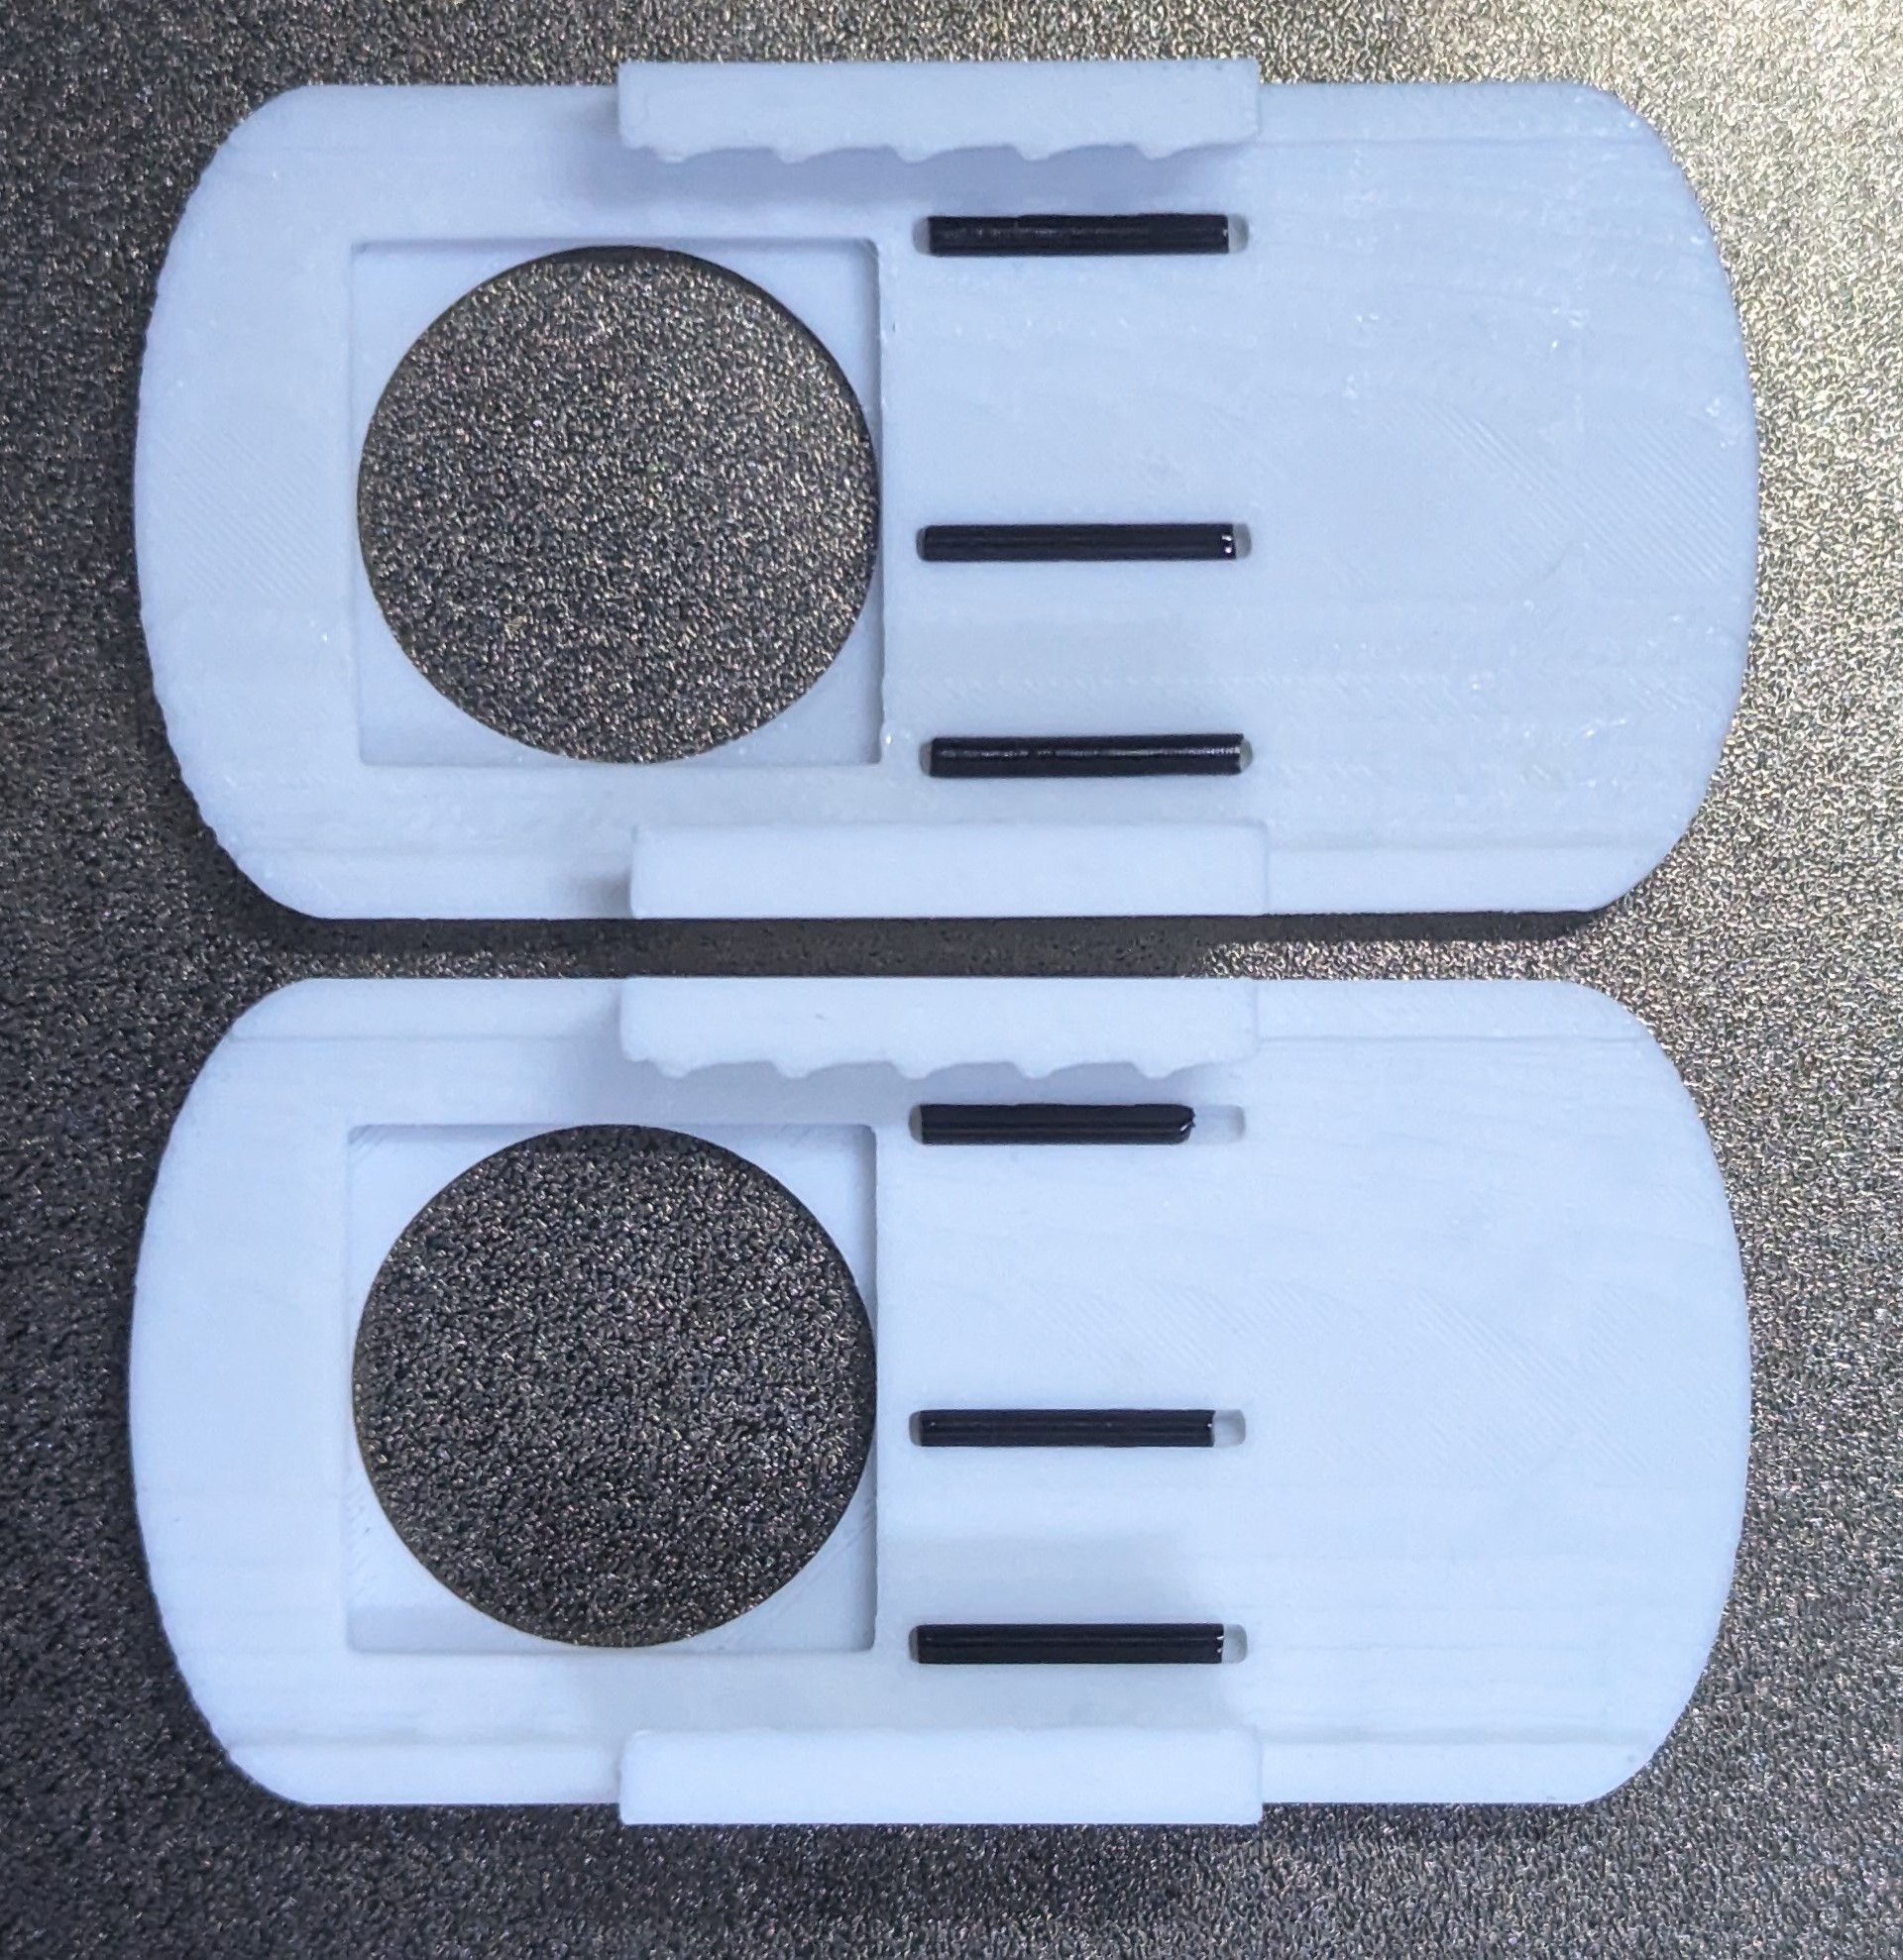
- Put Part 1 into Part 2.
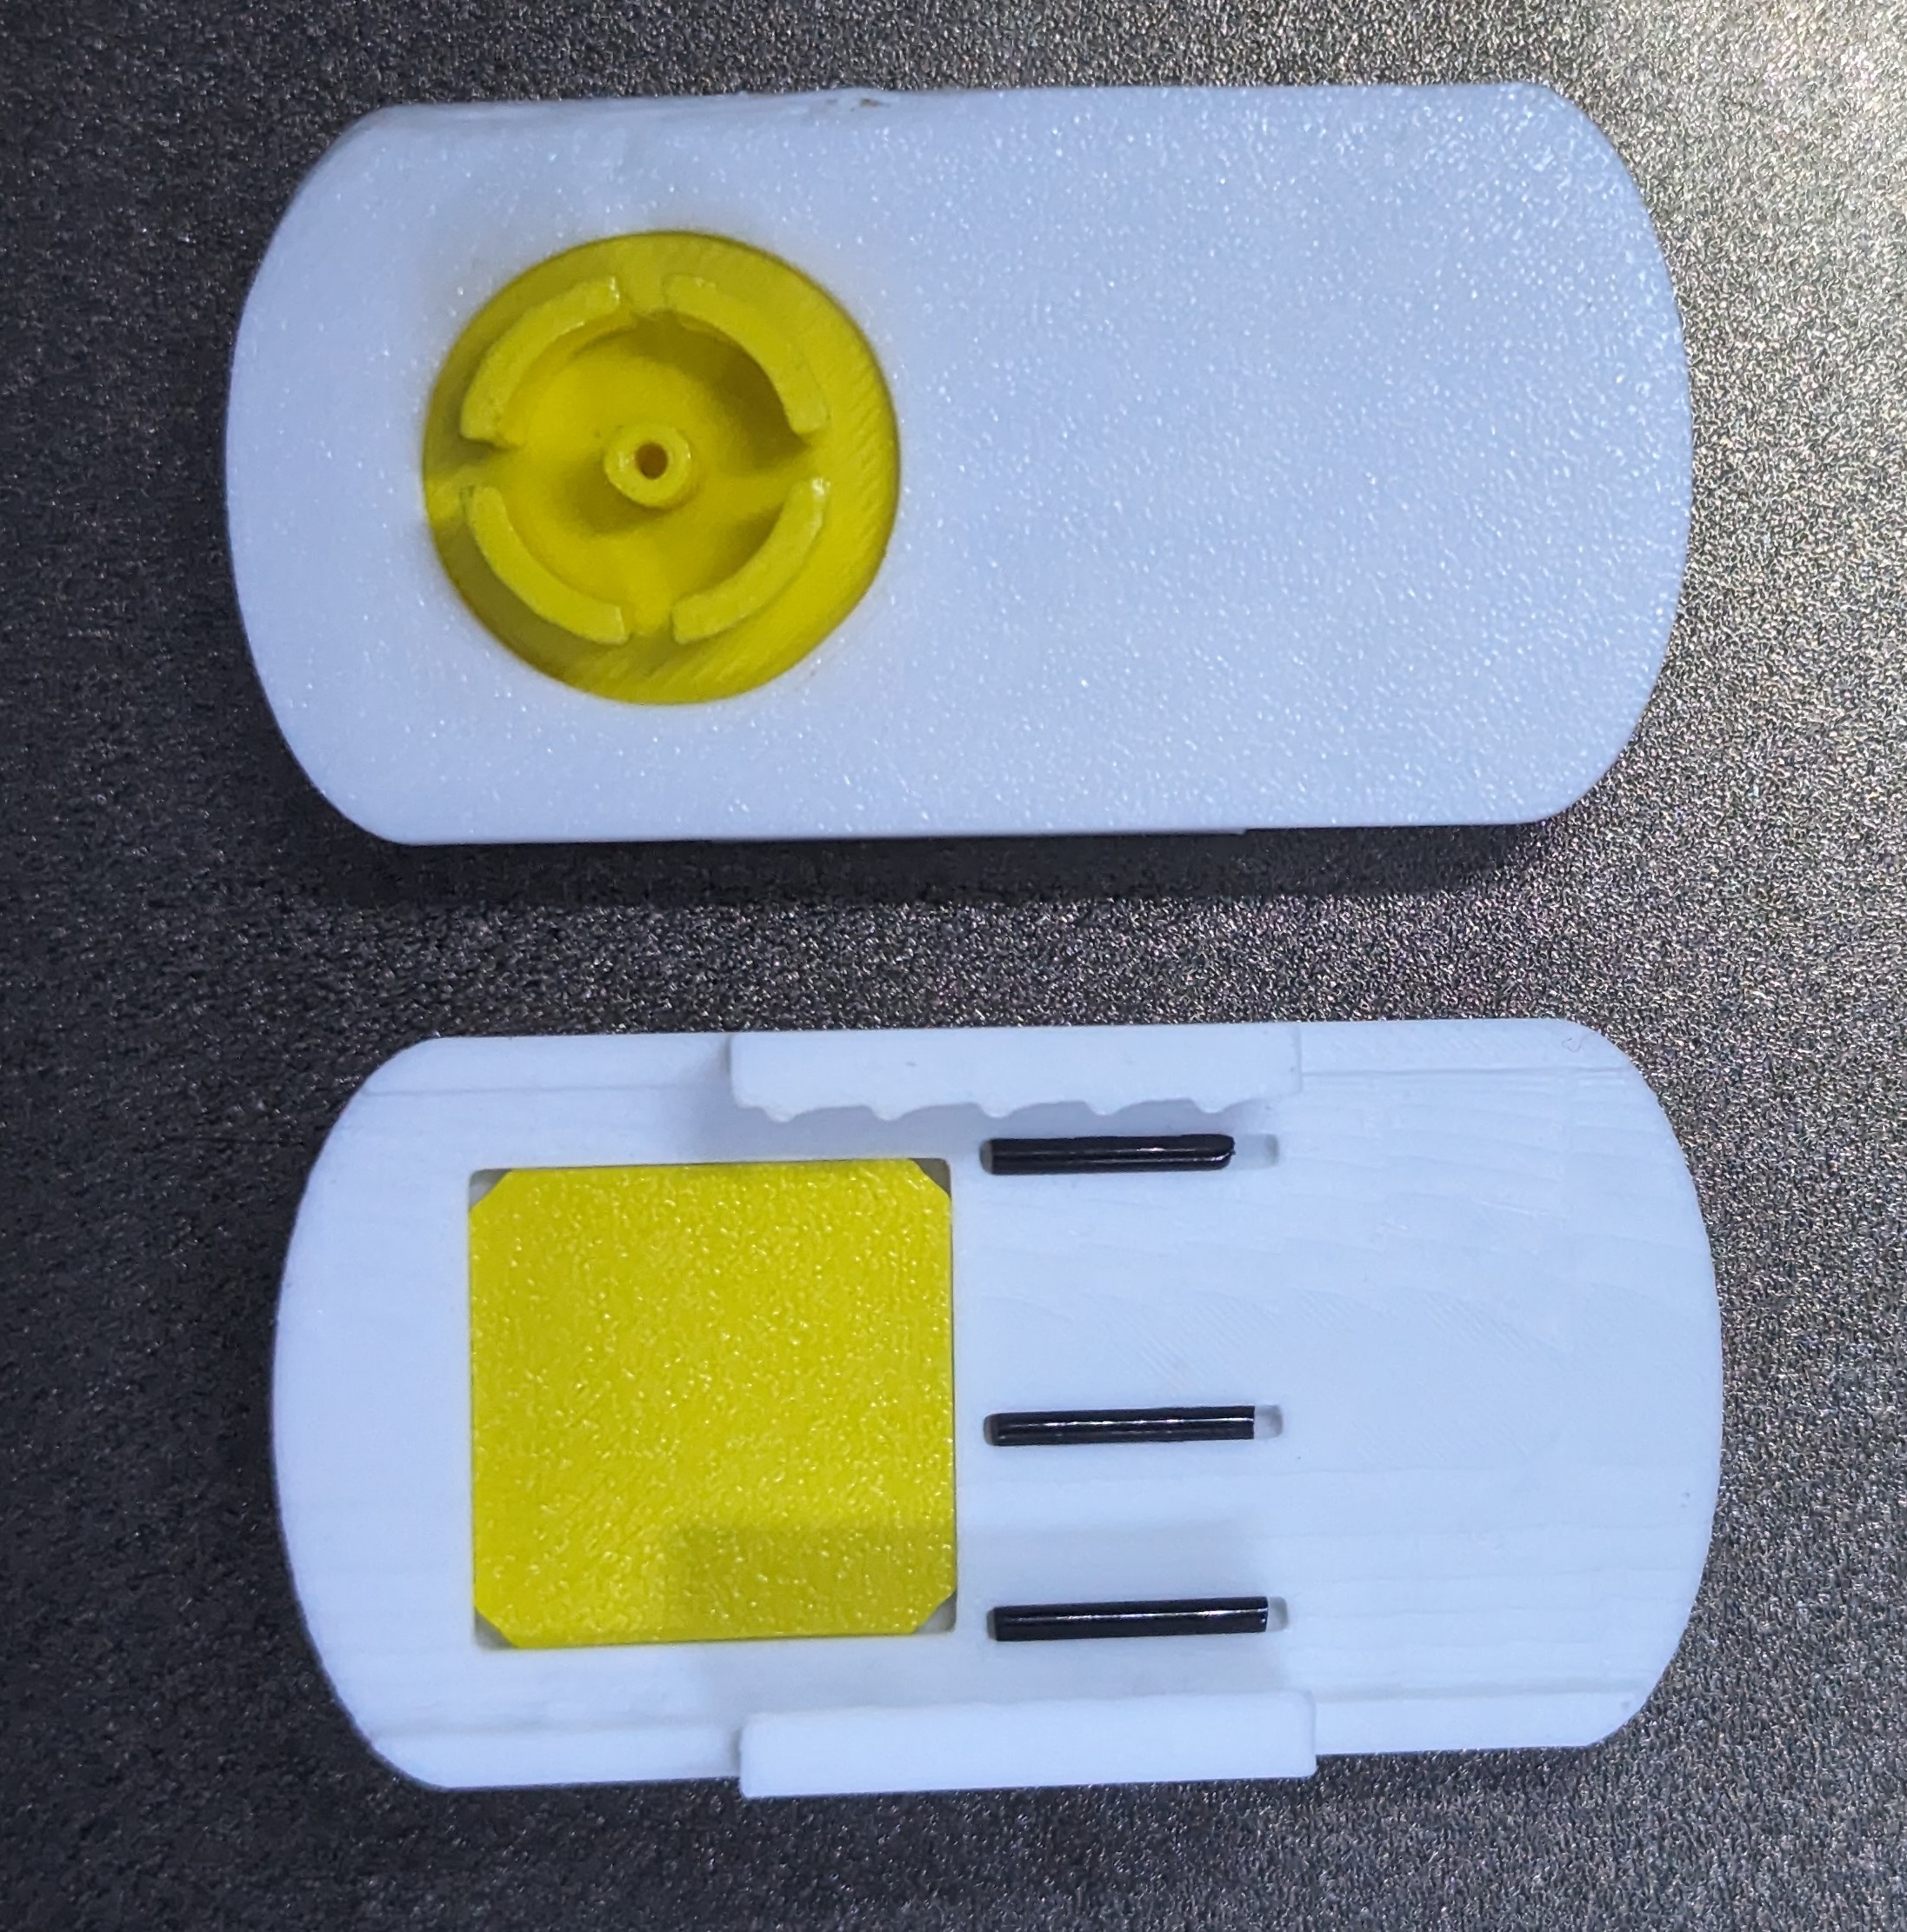
- Place a rubber ring on Part 1.
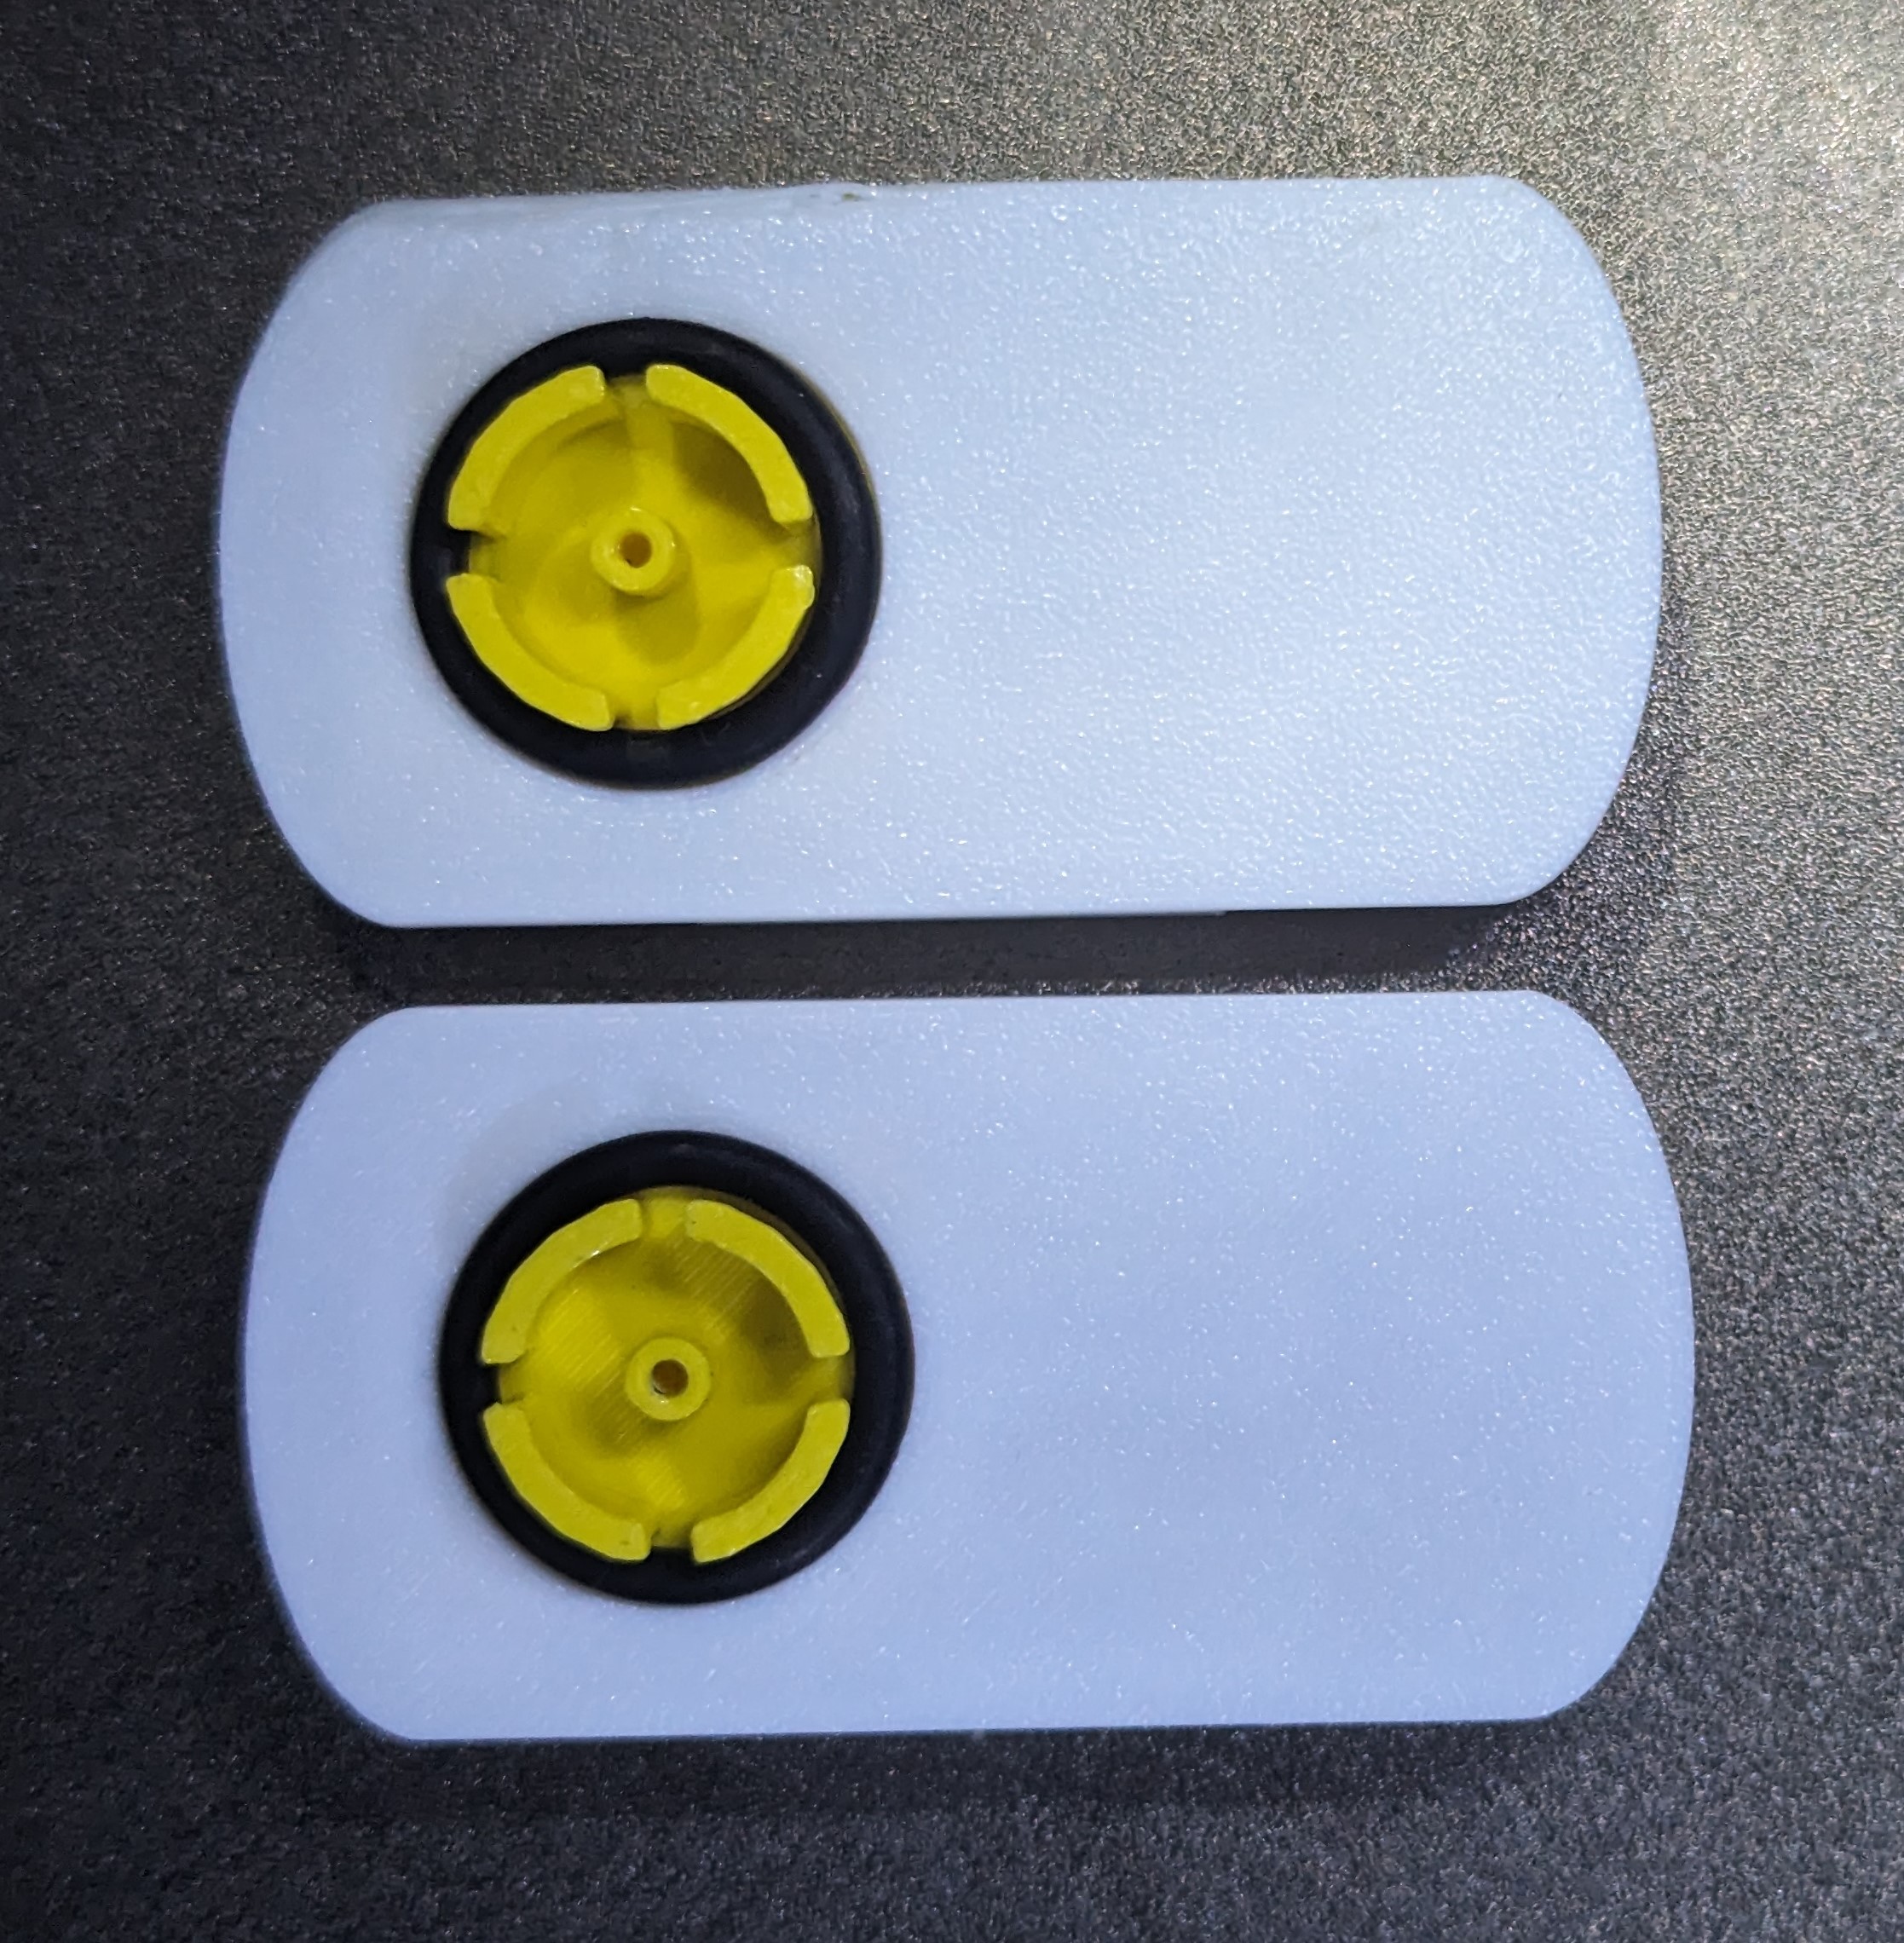
- Install it on the M2 arm.
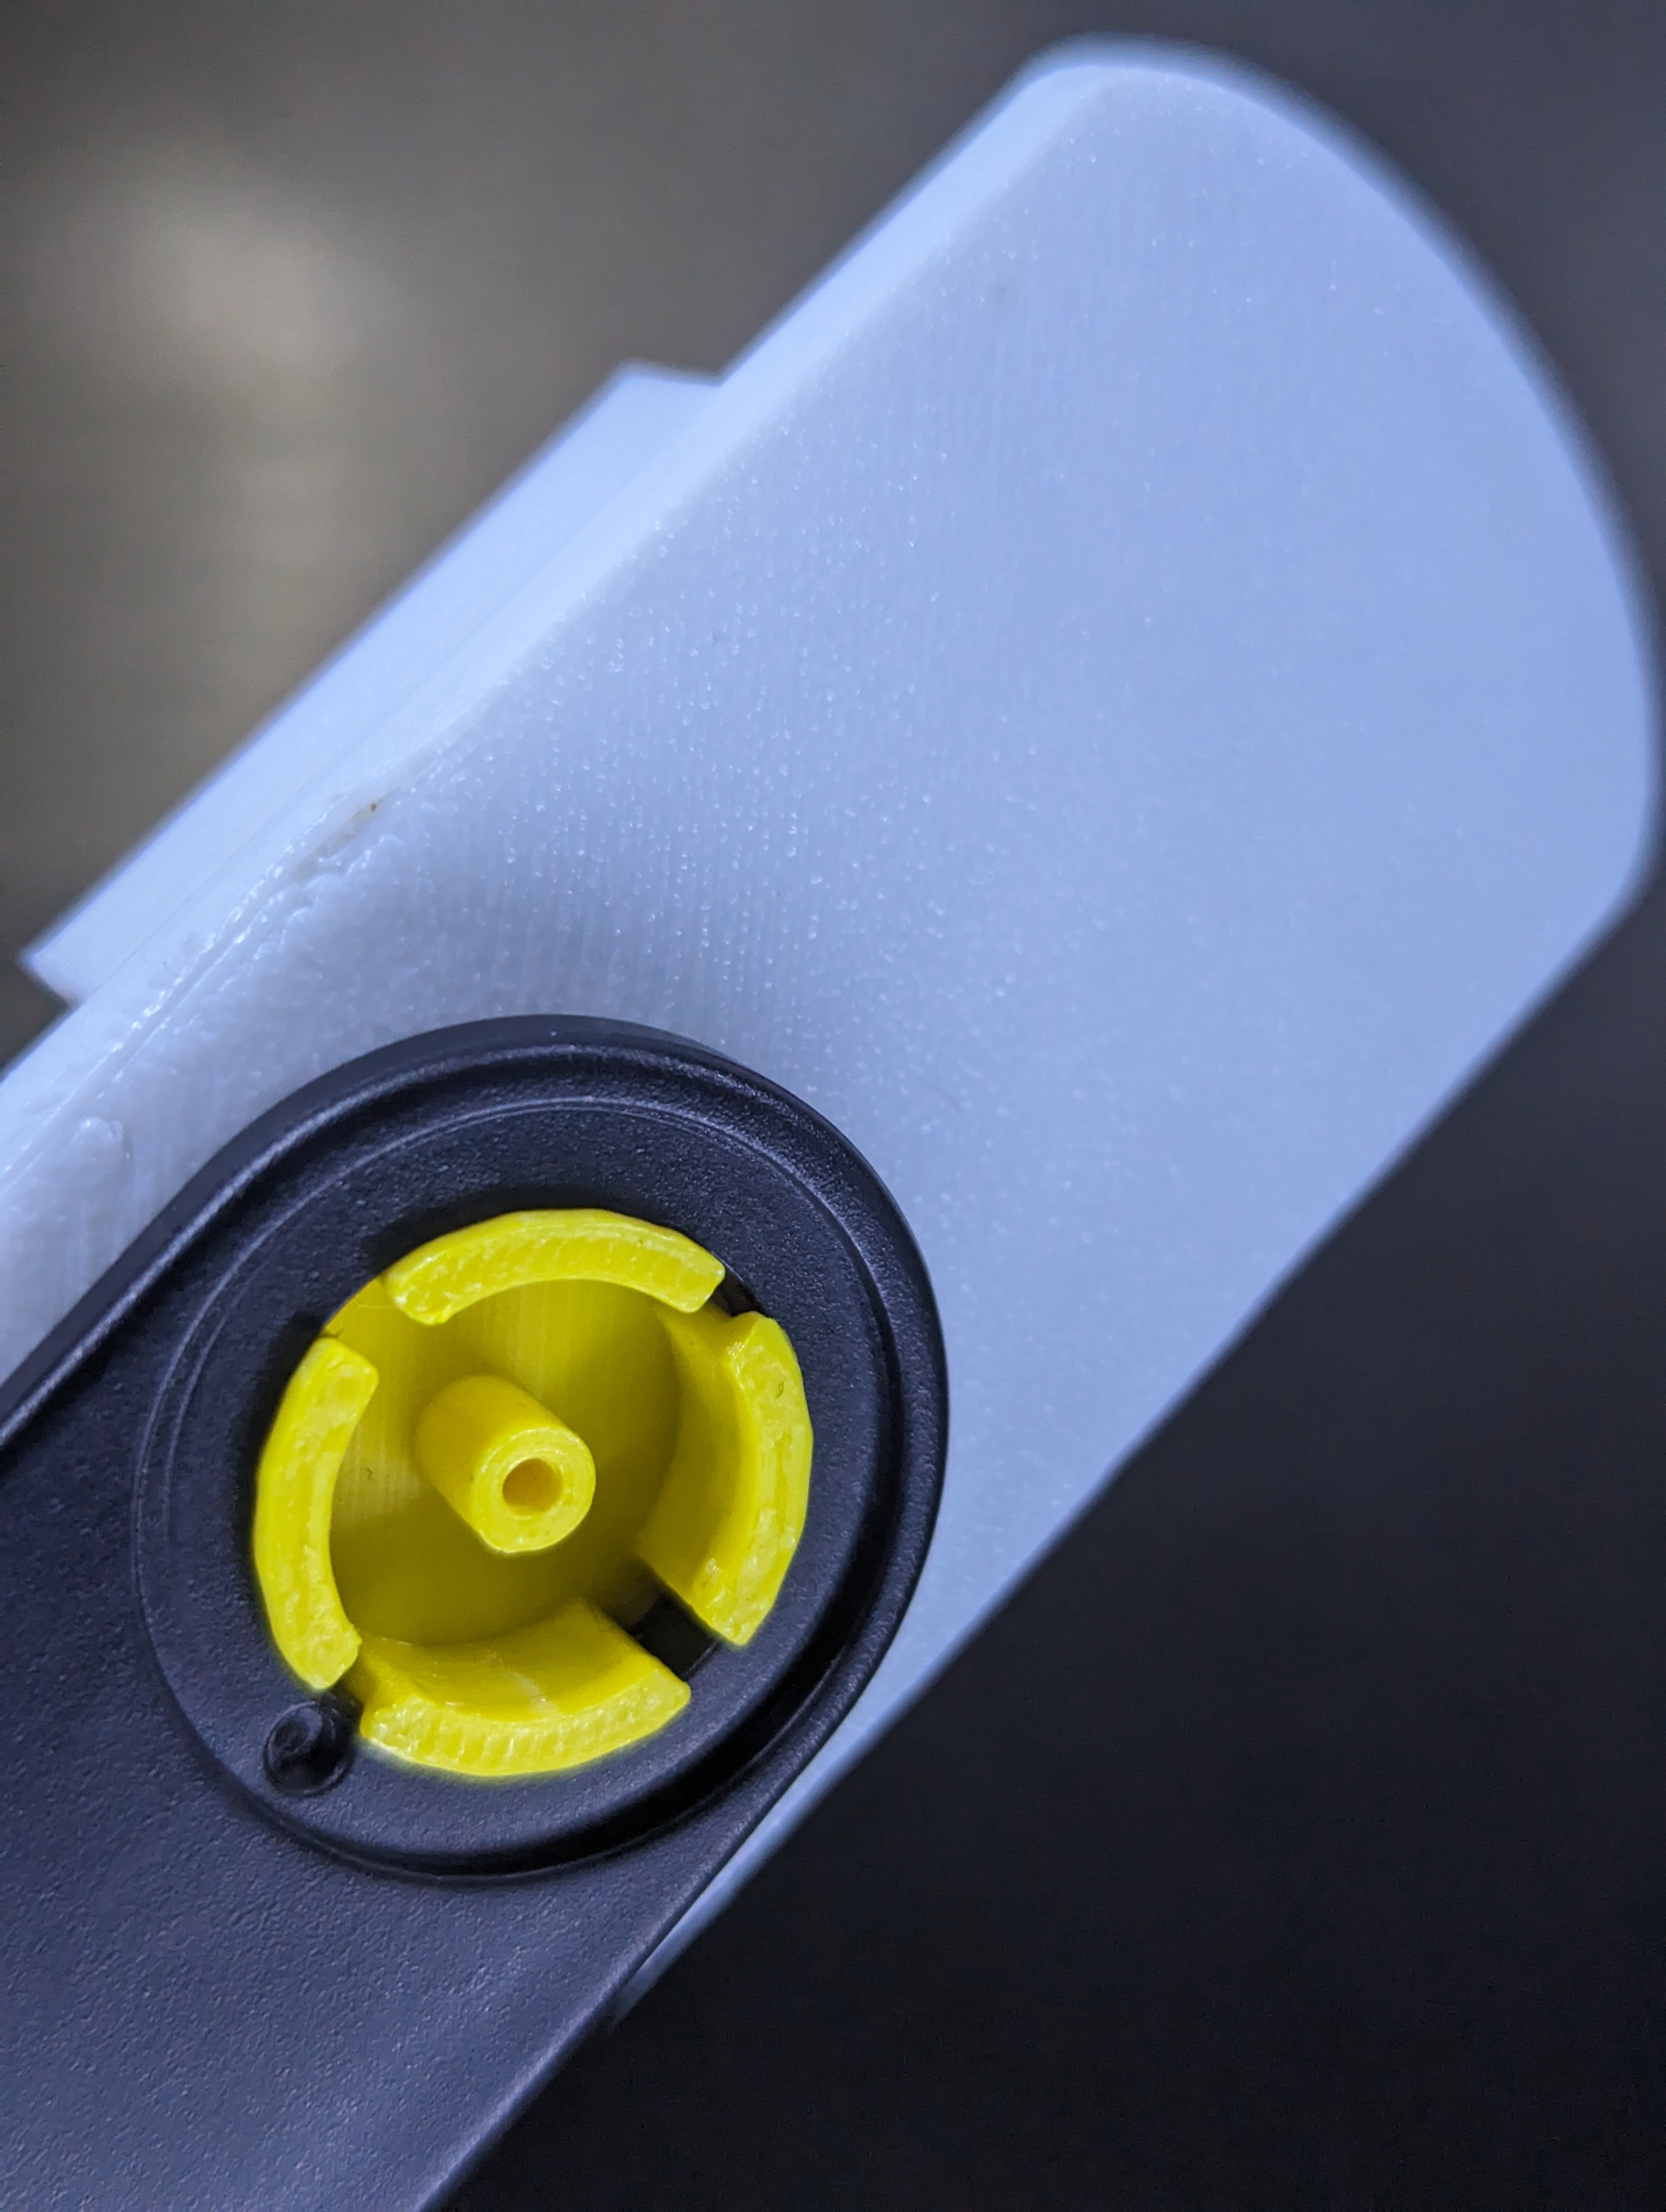
- Put the original white lid and screws back in place, and you're done!
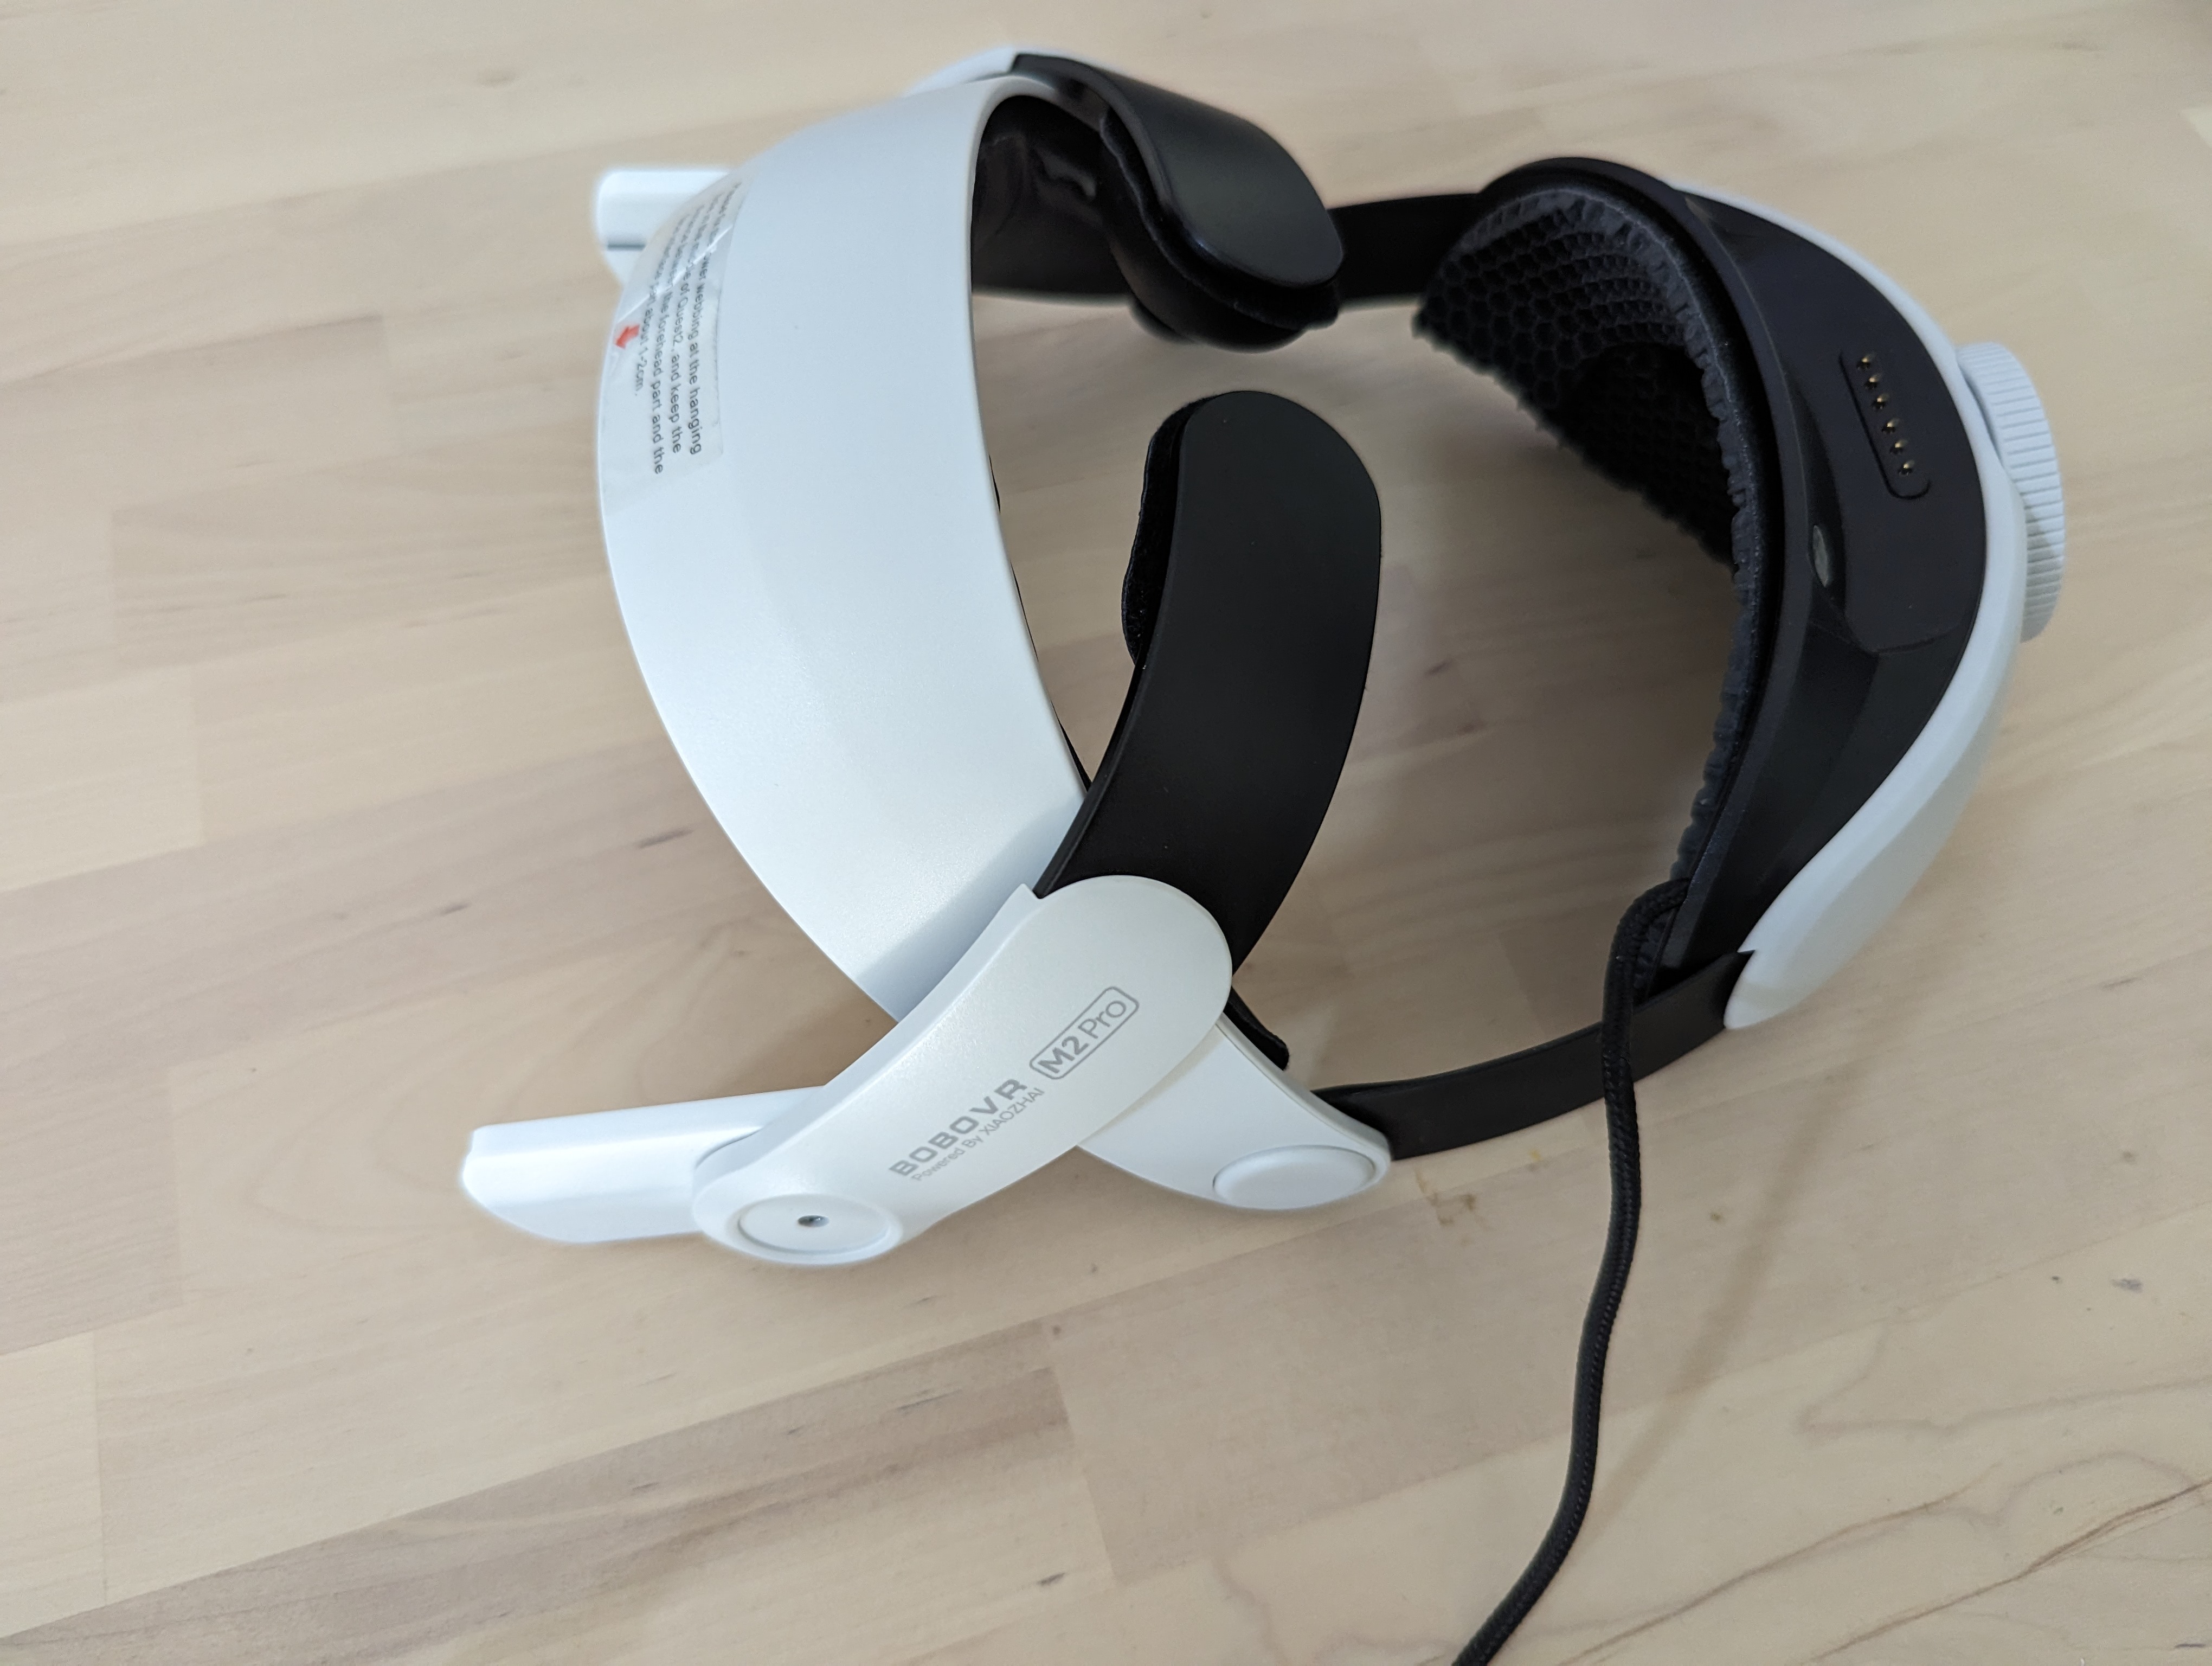
- Let's give it a try.
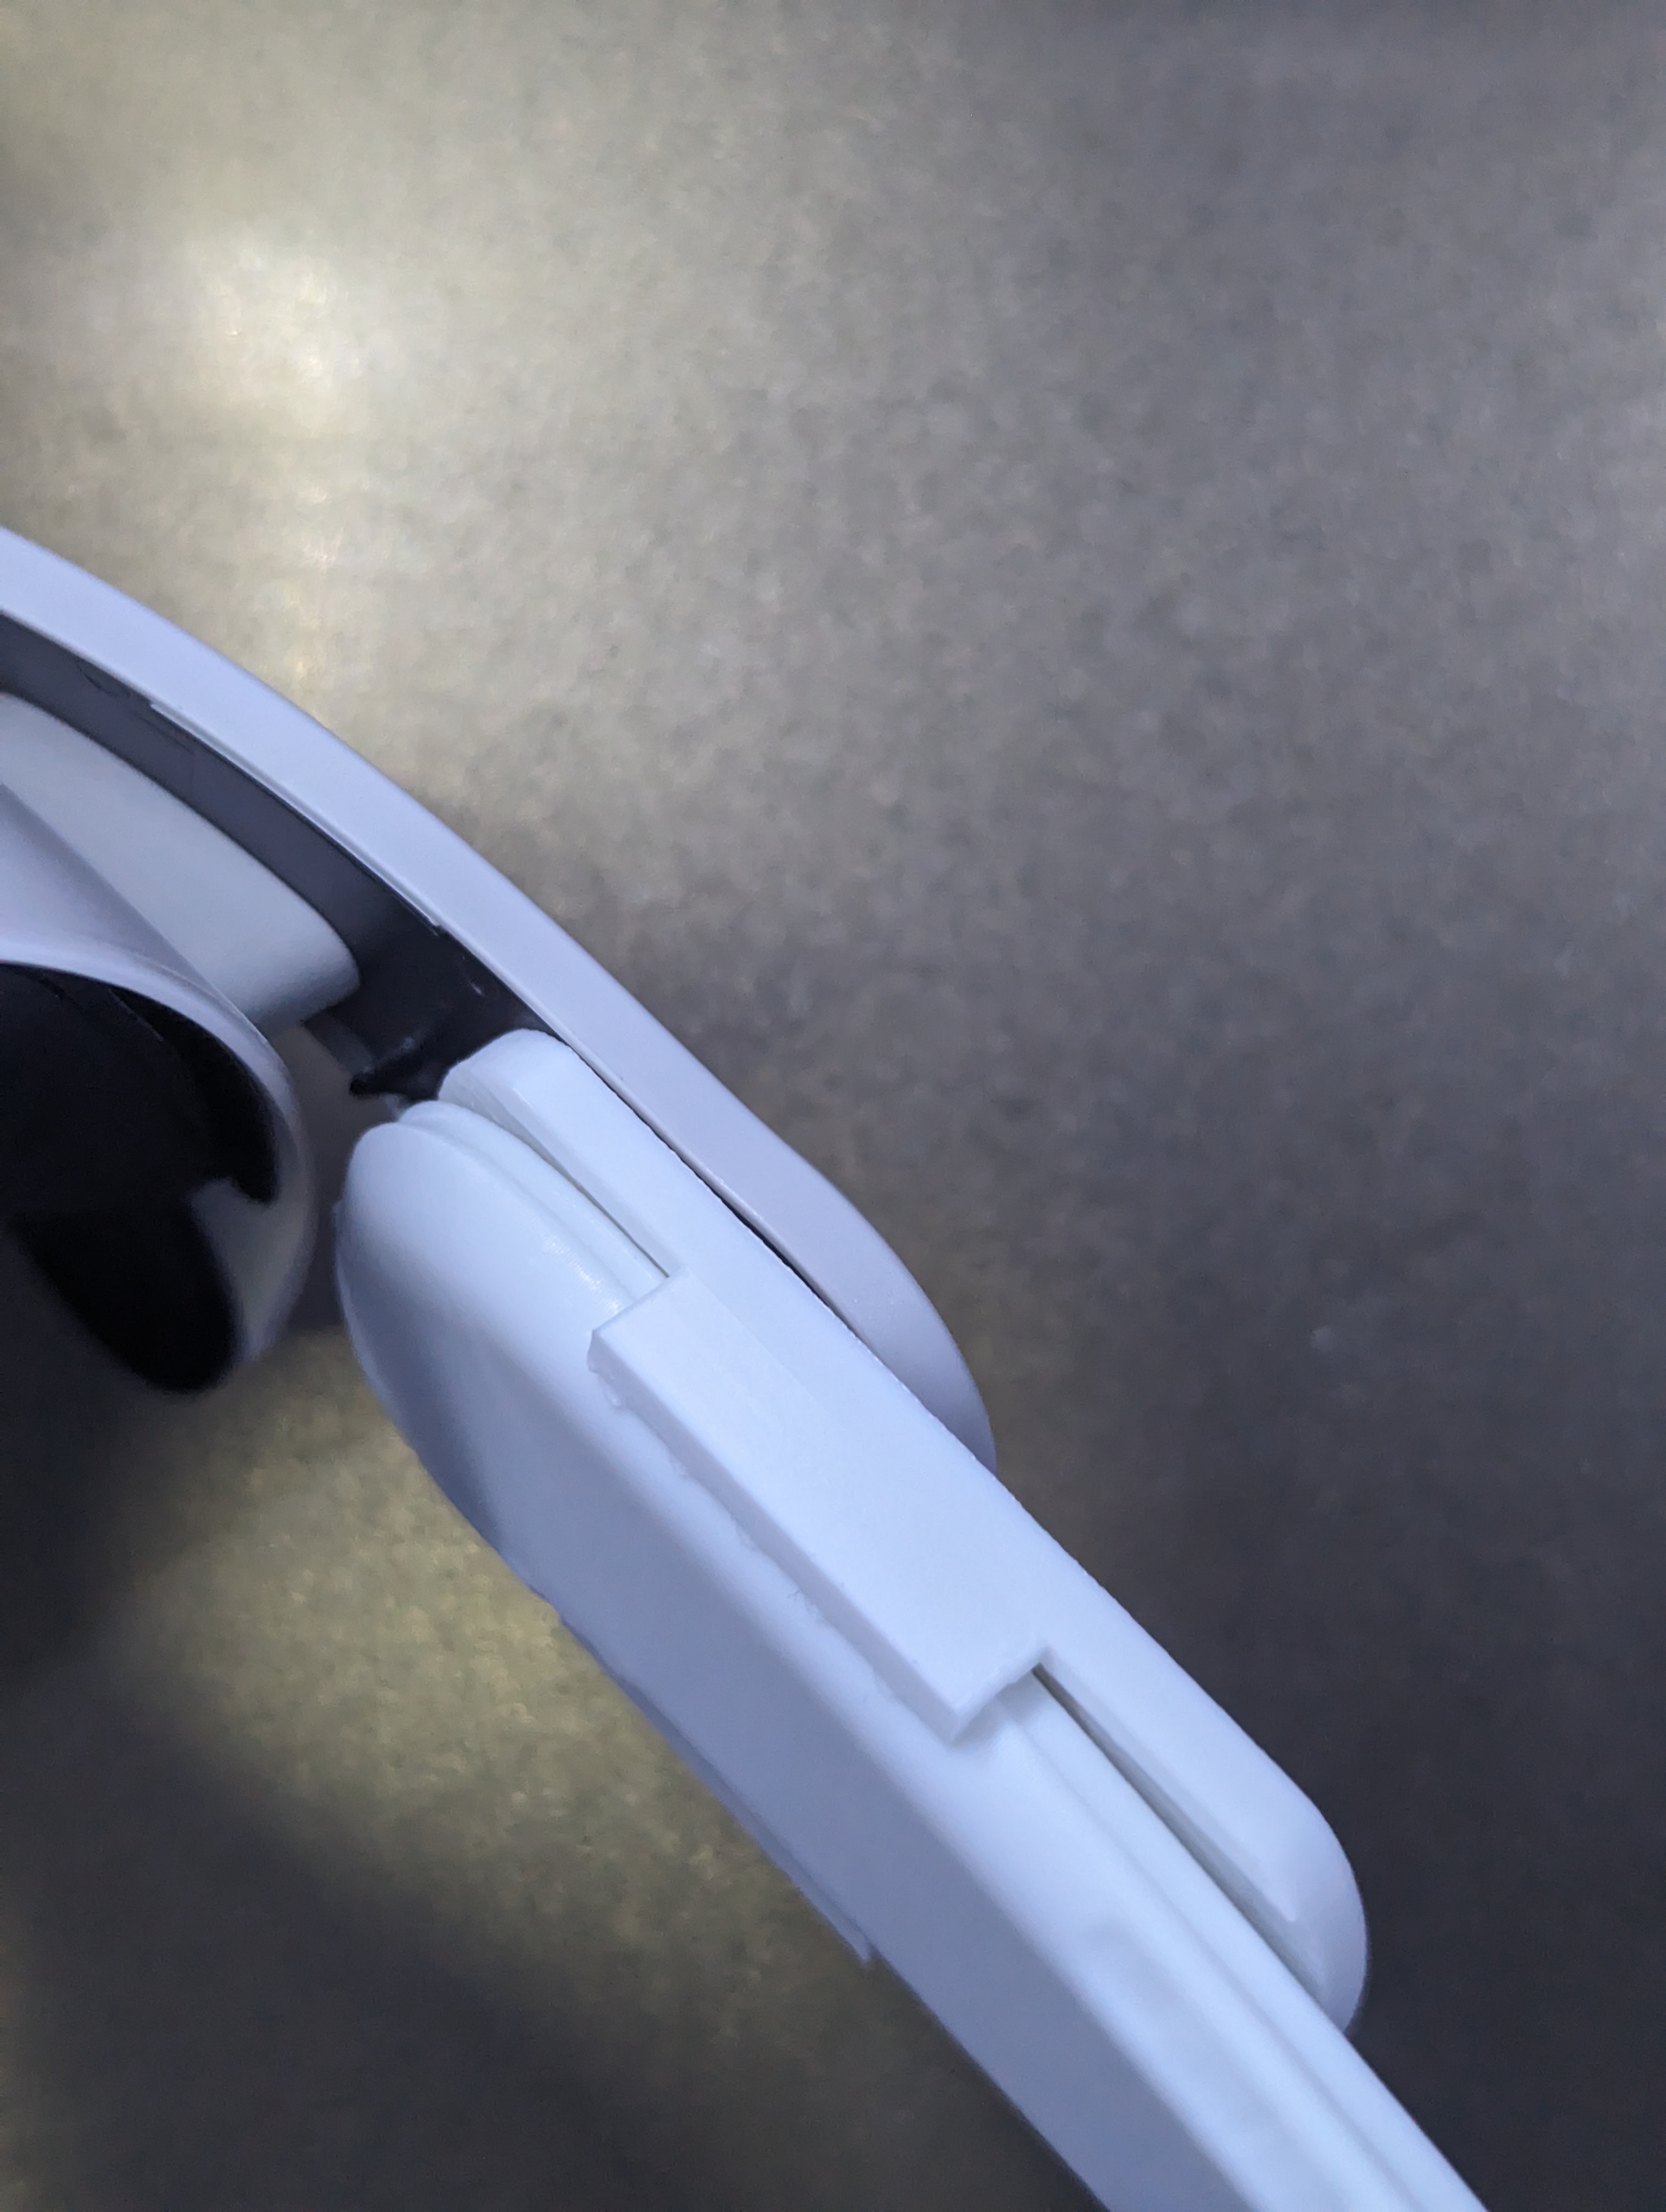
- If everything is fine, please install the screw cover and publish your work :)


 0
0 0
0 0
0



