
FrankenSphere Lamp
Anastasia Rossi

Mit KI Ähnliches finden


Druckprofil(0)
Modelldatei(0)
 1
1 0
0 0
0
Veröffentlicht:2026-05-07 14:00:18
0
0
 100
100This spherical lamp was broken into 27 separate shards and then stitched back together with 107 connectors. It works with any standard sized LED light bulb (A19, 4.5w/40w equivalent or less) screwed into almost any type of socket. I've also supplied a simple desktop lamp base designed for use with a E26 ceramic light socket.
This is, however, a bit of a project to put together as each of the 107 connectors must be glued in place. (I would have loved to make everything click together, but to keep each facet thin and uniform to create the right visual aesthetic, there just wasn't room to create a sturdy enough snap connection.) 15 pieces get glued together to form the lower section and the last 12 form the upper section. The two halves then fit together without any glue so that they can be separated for changing the bulb.
The sphere is held in place by the lightbulb screwed through a hole in the bottom into the light socket. To get a snug fit, I've included a little 1mm thick spacer (see plate 4) that can be scaled in Z to accommodate and gap there might be with your particular light socket.
CAUTION:
- Do not use with an incandescent bulb. The actual wattage of the bulb should be 4.5w or less to prevent overheating the 3D printed plastic.
- Use a fan for ventilation when gluing the connectors. You need your face in pretty close and fumes from the amount of glue used can really make you sick without good ventilation.
Assembly
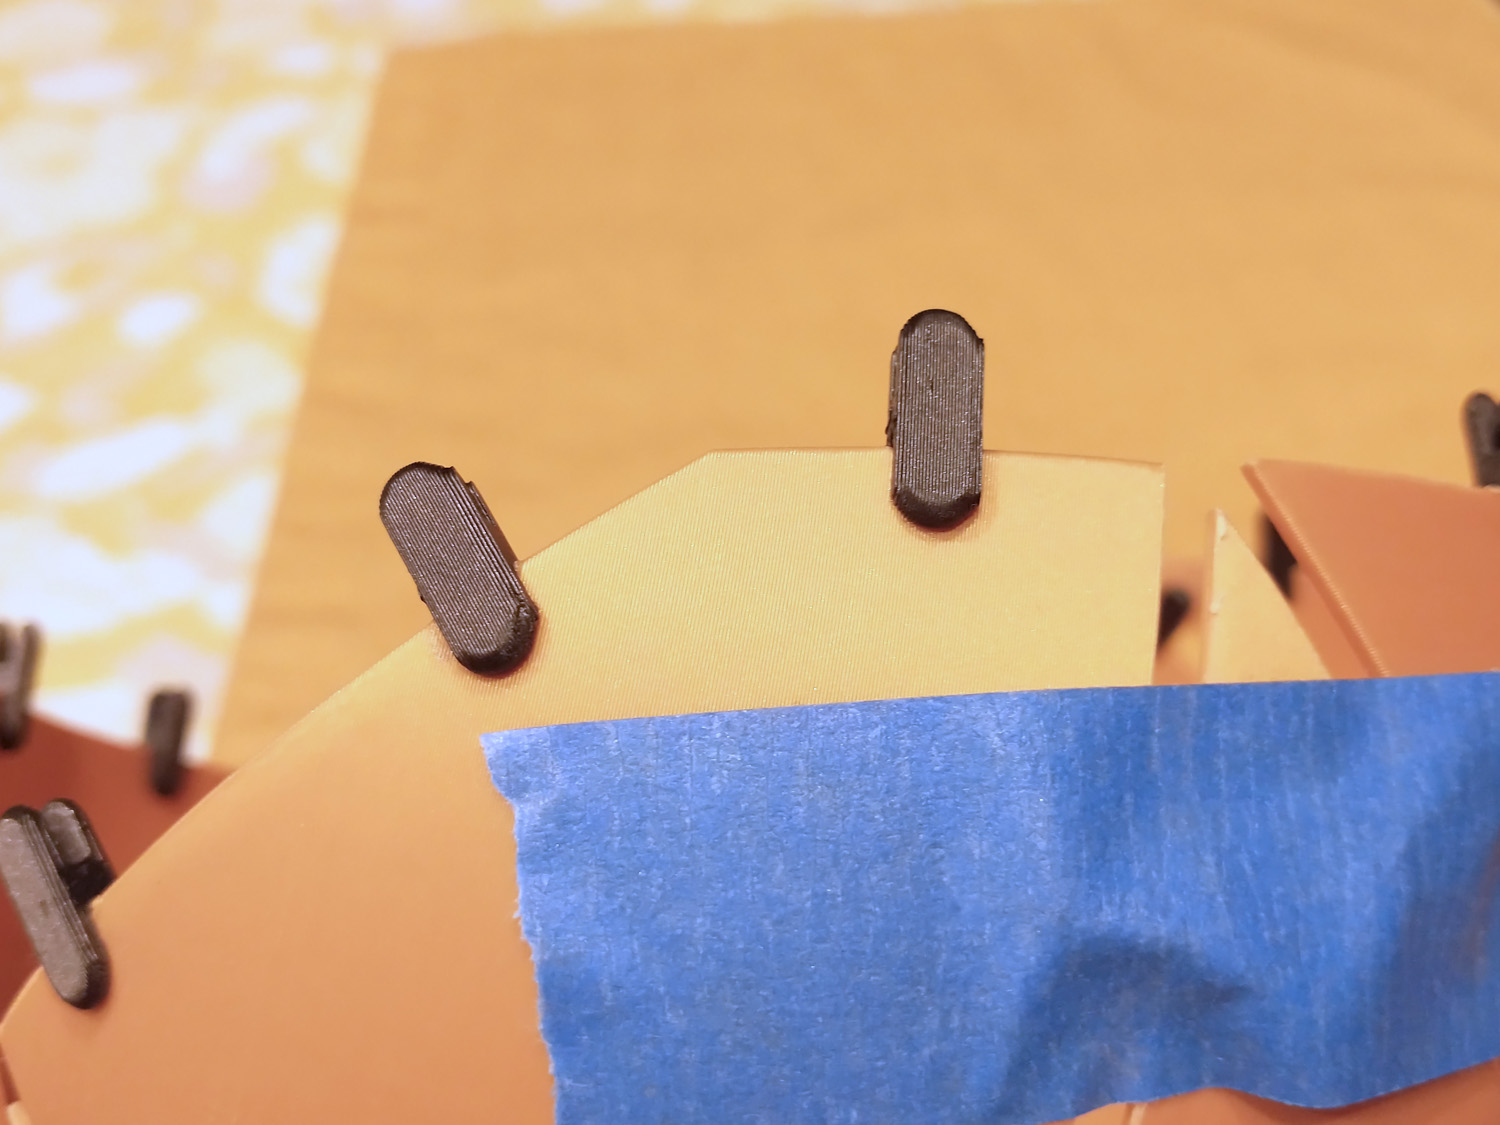
The Connectors - The edges of each facet have V-notches that line up with notches in the adjacent facet. The little black clips used to connect them together have a V-shaped profiles on the inside that fit into the V-notches for accurate alignment. Note that the connectors are not completely symmetric: one side presses into the V-notch while the other has a sliding fit. This helps the connectors stay put on one side while the other side gets adjusted into place.
Lastly, there are two different type of connectors. The bulk of them (the 100 grouped together on Plate 2) have V-profiles on both sides. There is a smaller group of 20 connectors that only have the V-profile on one side and the other side is flat. These get used for the connecting the upper an lower halves of the sphere.
Supplies - You will need masking tape (I recommend 3M blue painter's tape), thin superglue, and ideally, some gel superglue. Make sure your glue has a fine-tip for precision dispensing.
Lamp Base Parts
E26 ceramic light socket
Lamp cord with plug (you can cut this off of a cheap extension cord)
2 wire nuts
Optional in-line cord switch
Bottom Half-Sphere
Have the challenge in assembling this is figuring out which piece goes where. To help guide you, the 4th plate of the provided 3MF file shows the assembled sphere with the bottom half in one color and the top half in another. I started off by laying out all the pieces for the bottom half as adjacent to one another as possible when smashed flat (kind of like a spatchcocked chicken) as shown in the photo below:
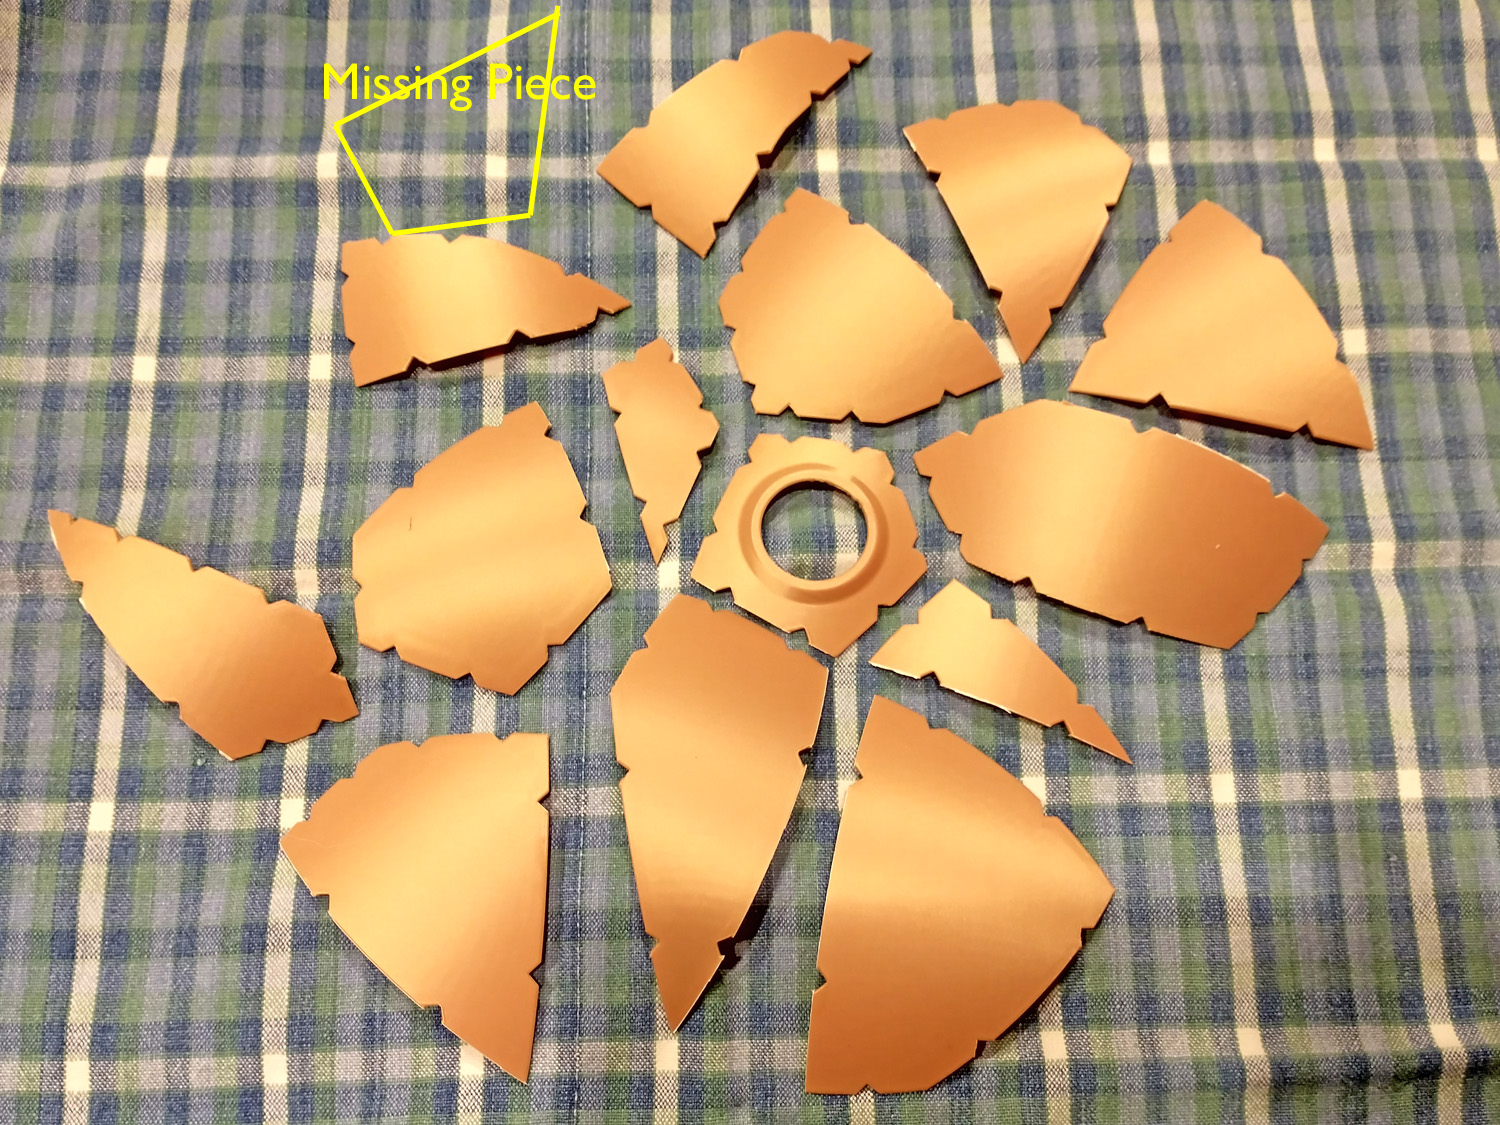
(I apologize for the one piece missing from the photo.) Start with any piece and press connectors into the notches along one edge. Take the adjacent piece and press the mating edge into the other side of the connectors. Make sure the connectors are fully seated into the notches. Next, take a strip of tape and lay it perpendicular to the seam on the outside of the sphere, pulling the tape taut as you press it down.
Repeat this process to add new pieces onto the sub-assembly you have started. If some of the connections seem to loosen up, add more tape. Lots and lots of tape. As you complete the half-sphere you'll find that you really need to tug on the tape to get the gaps to close. This is because when printing thin shells like this, they tend to flatten out a bit when you take them off the bed. When all done, the outside should look like this:
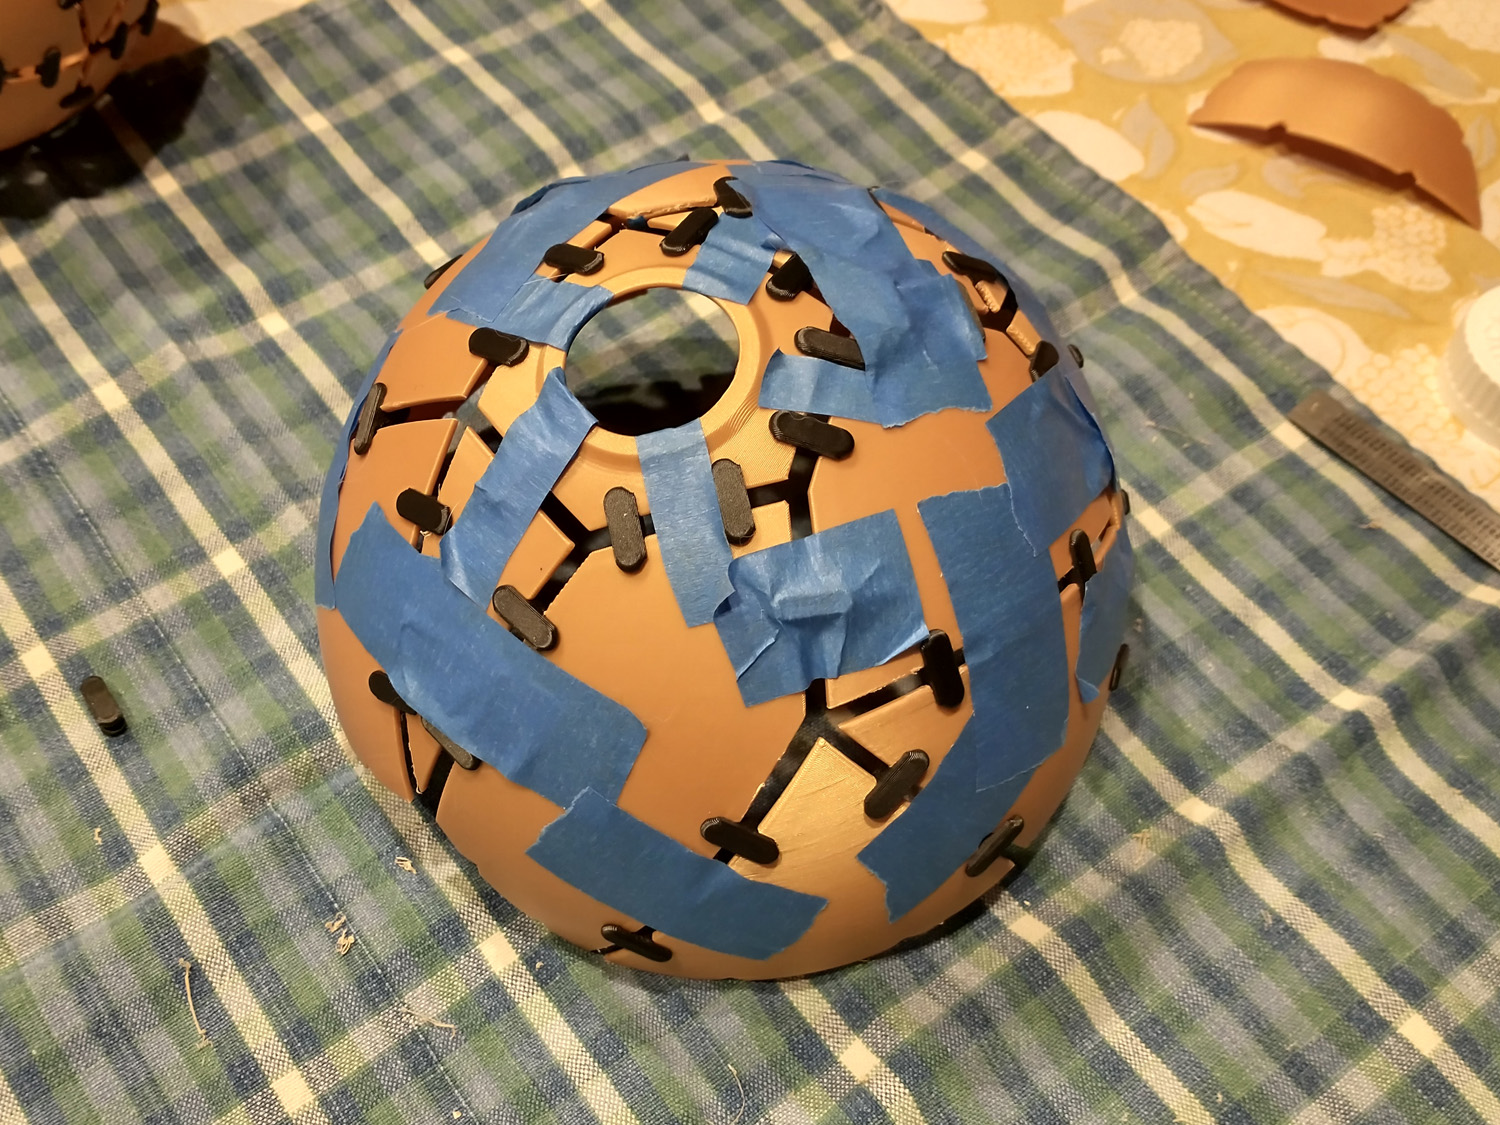
and the insides should look like this:
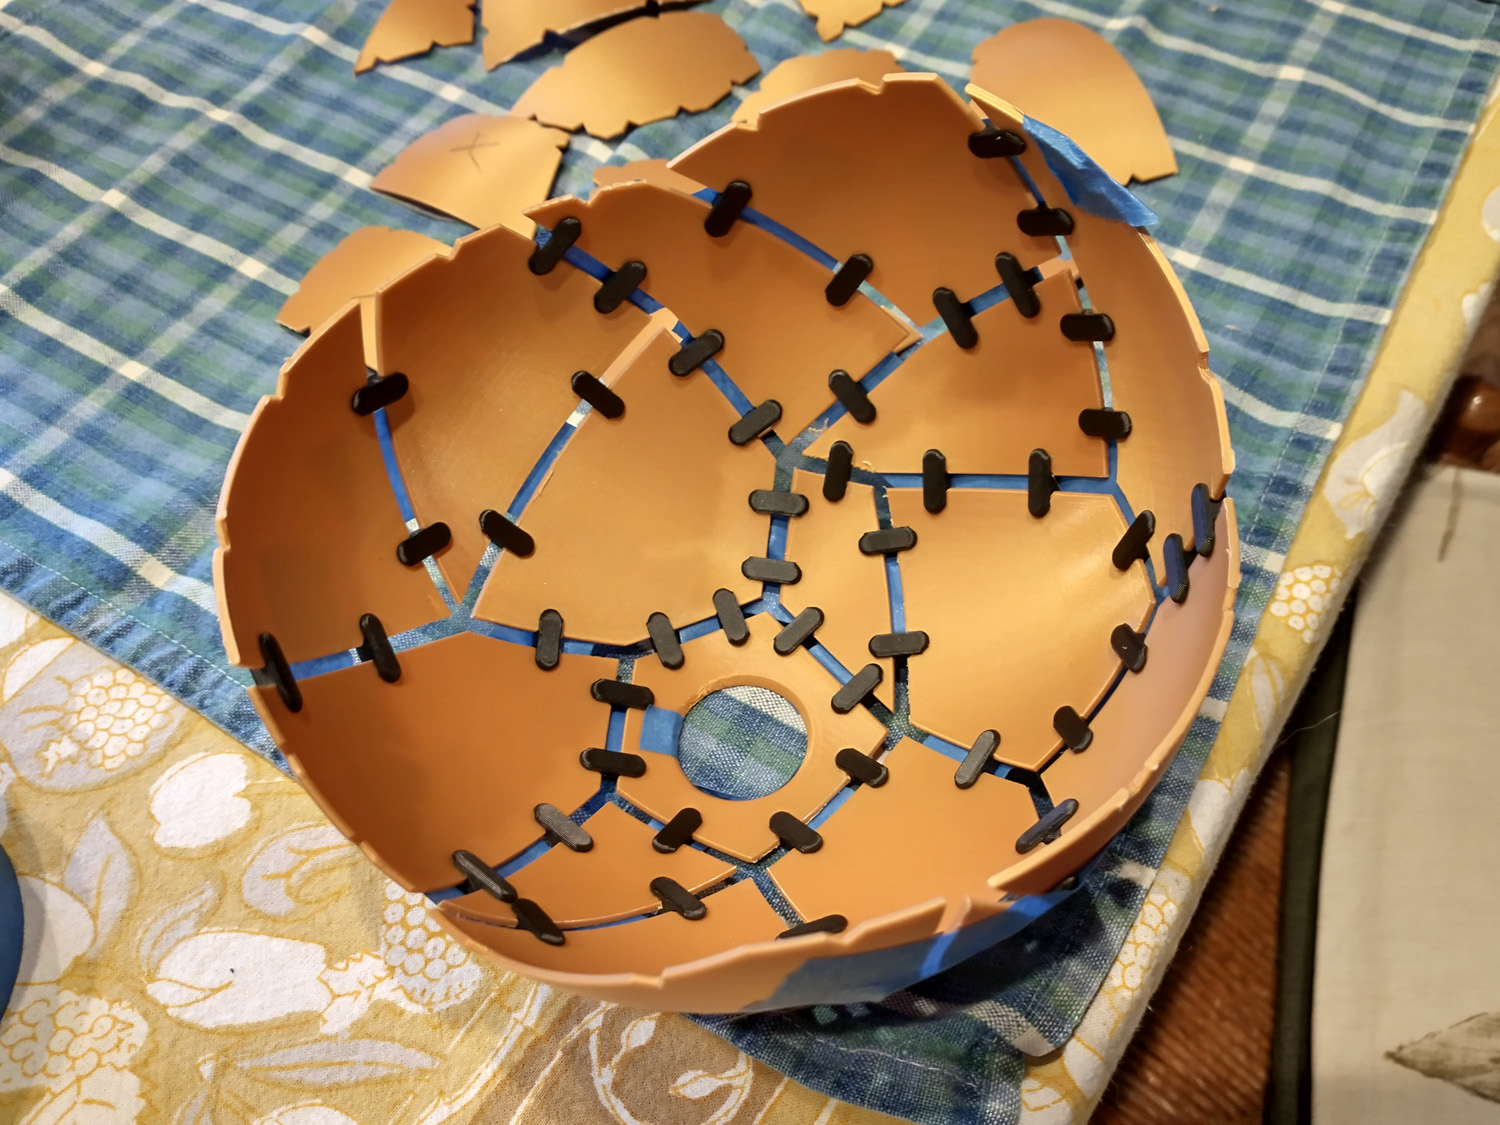
Top Half-Sphere
The parts for the top half laid out look like this:
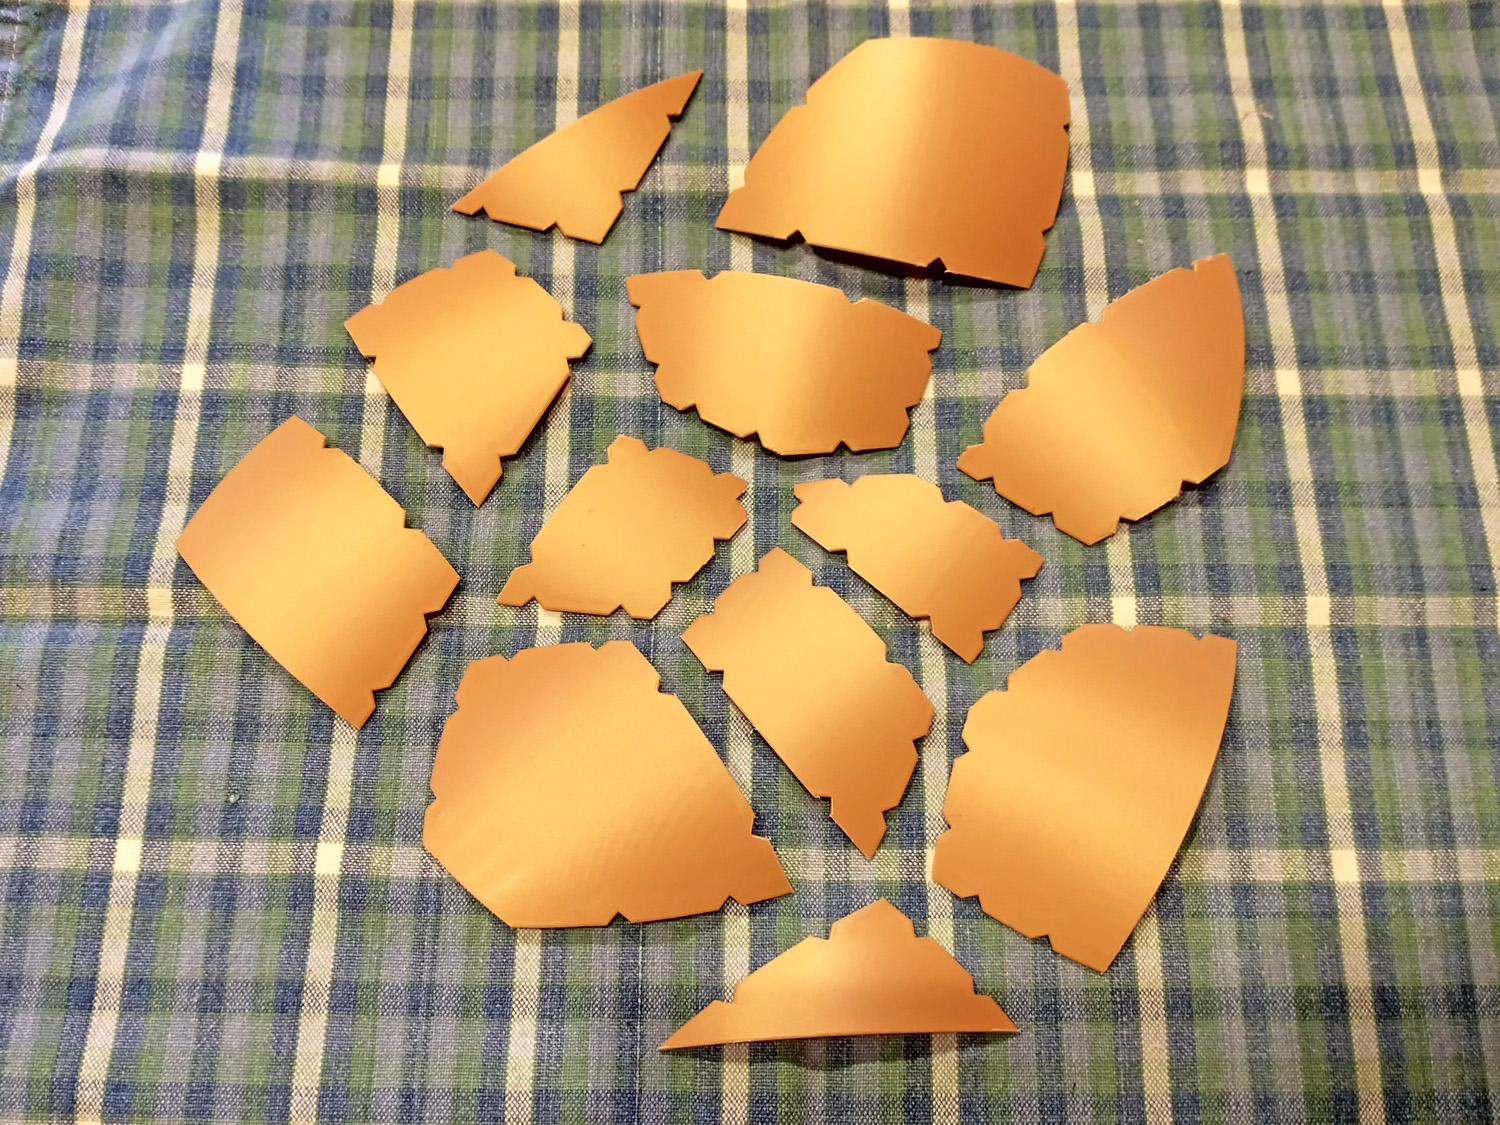
Repeat the same assembly process as for the top half. Note that along the bottom edge of the upper half, the facets have no notches. This is to make them easier to fit the two halves together.
Top Edge Connectors
On the bottom half-sphere, now all taped together, take the special connectors (from the set of 20) and press them into the V-notches around the top edge. Make sure you are using the side that is a press fit and not the side that is a sliding fit. There are two ways to glue these in place. If you have gel-type superglue, put a dab on the notch before pressing the connector into place. If using thin superglue, however, place a drop of superglue at the tip of the connector in the inside of the sphere. You really want to to avoid getting any glue anywhere on the outside of the sphere.
Assemble the Two Halves
With both halves still taped up, press the two sides together getting all 15 connectors lines up. This is a little bit tricky, so you have to be patient working your way around the seam. Massage the two sides together to make sure everything is seating together nicely. At this point, I recommend applying more tape around the top of the bottom half and around the bottom of the top half to make sure nothing is going to move after you pull the sides apart again.
Gluing
Very carefully pry the top and bottom halves apart. You can now go around the inside of each half-sphere and apply a drop of superglue to the tips of each connector. Use just a tiny drop and then tease it around the edges of the tips. I recommend using magnifiers (and a fan for ventilation) because you need to have a really good view to apply the glue accurately and not get any wicking around to the outside of the sphere. Let the glue dry for at least ½ hour.
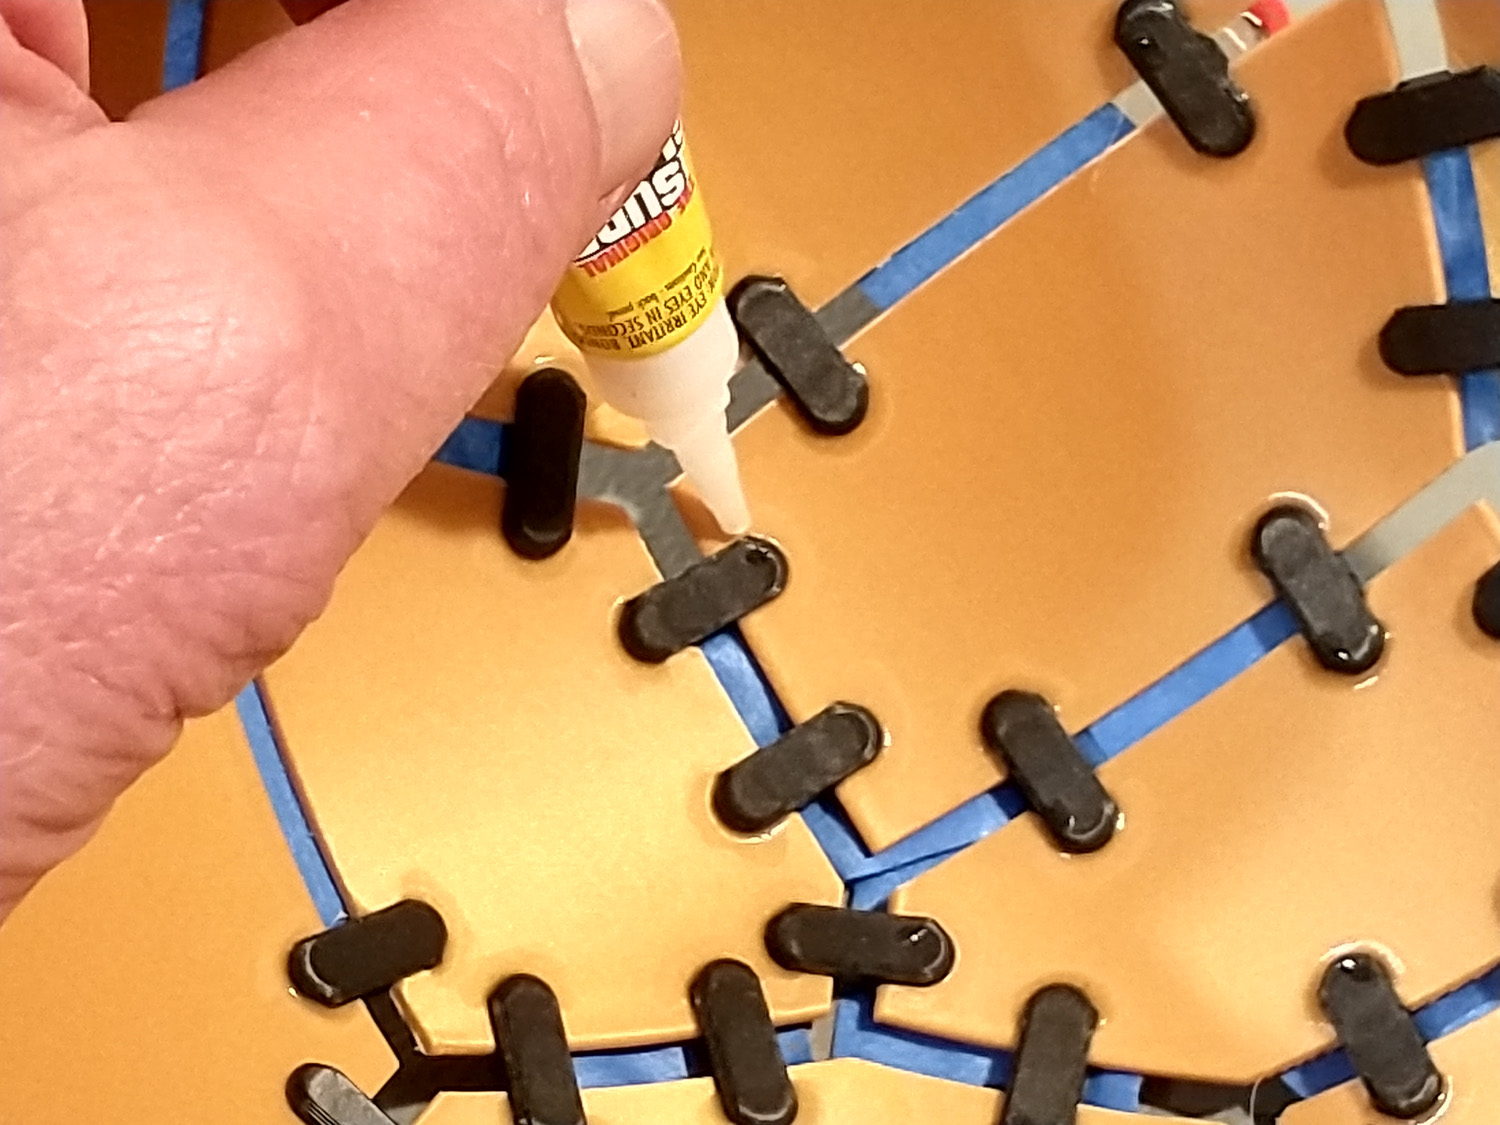
Before removing the tape, daub a paper towel around the inside of the sphere half to wick up any uncured glue. Remove the tape, looking out for any spots where the glue might have wicked to the outside, and clean it up as best you can. Press the two sides back together. With any luck you won't be able to discern the separable seam from any of the other gaps.
Lamp Assembly
This last photo shows the bulb screwed into place in the light socket through the hole in the bottom half-sphere.:
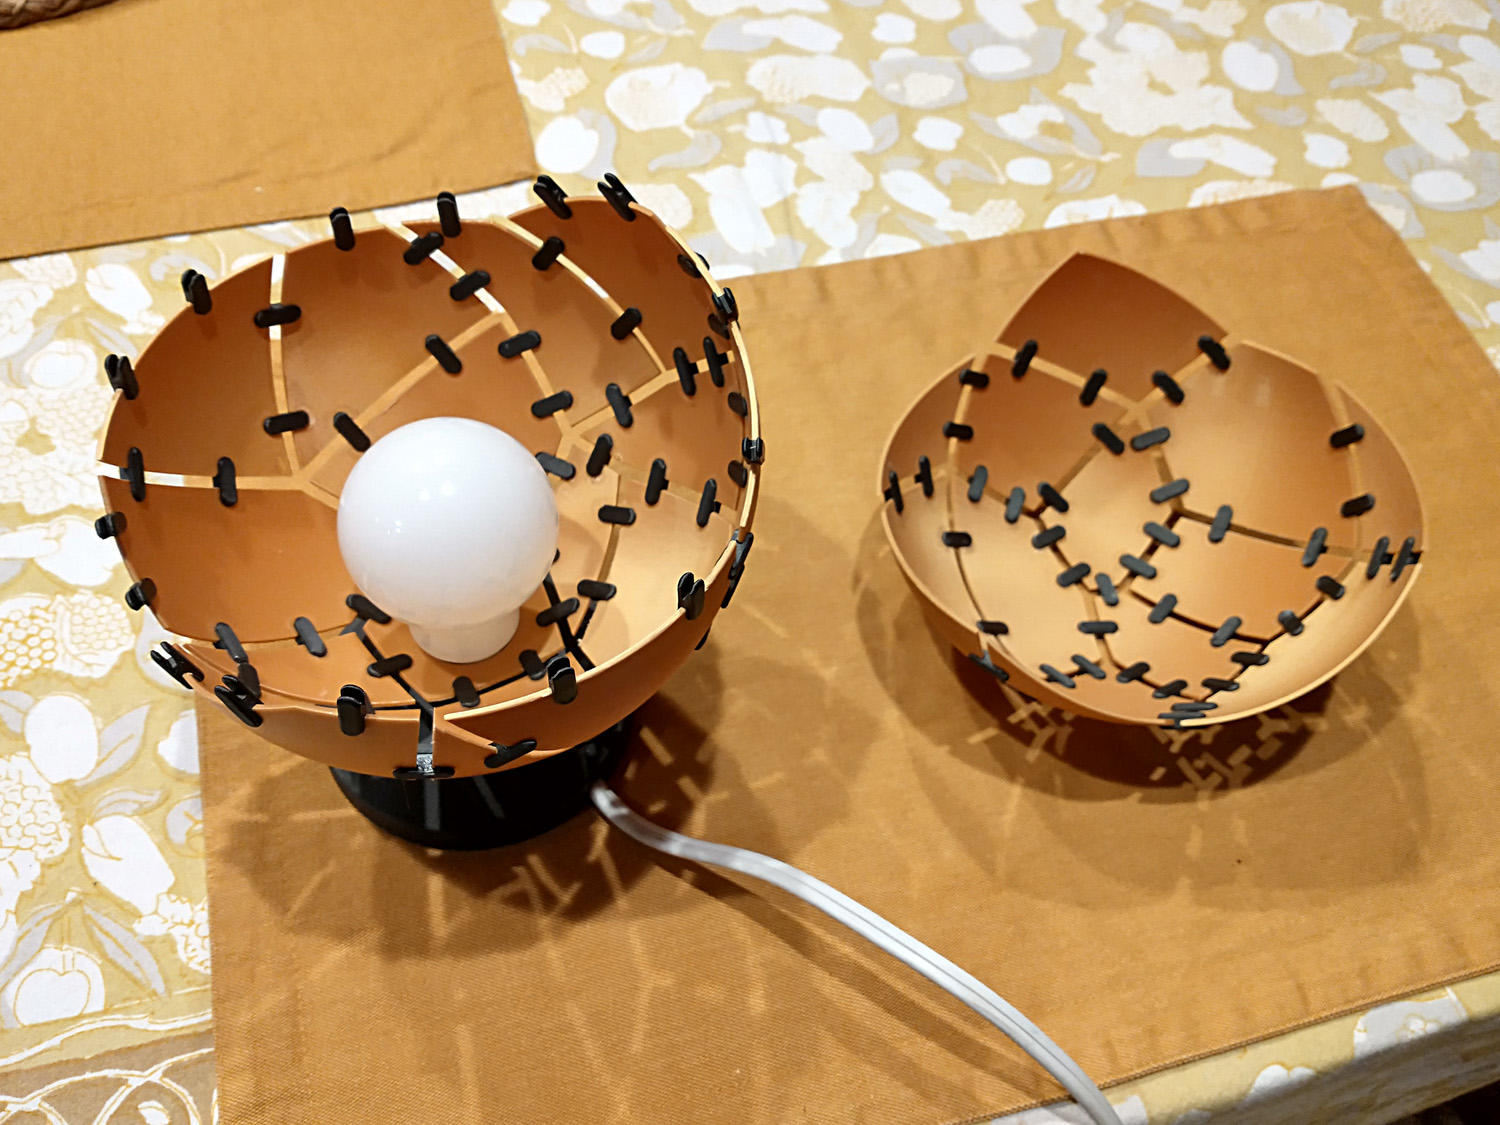
If the sphere is a little loose between the bulb and the socket, estimate the thickness of the gap and then print up a spacer scaled to that height. Push the bulb through the sphere, then put the spacer over the bulb thread and then screw into the socket. You may need to reprint the spacer with a slightly different thickness to get a good fit.
If using the lamp base I provided, first remove any metal bracket from the ceramic socket. Press the socket into the base. Wrap a little masking tape on the outside of socket as needed to get a snug fit. Tease the socket wires into the cavity of the base. Put your AC lamp cord through the outside hole and connect it to the socket wires with wire nuts. Add an in-line cord switch to your lamp cord if desired.
