
Upgrading the tiered storage box.
cannywinch98

Mit KI Ähnliches finden


Druckprofil(0)
Modelldatei(0)
 55
55 70
70 0
0
Veröffentlicht:2026-03-26 11:31:31
41
0



 55700
55700
Not long ago, I redesigned the upper tray and turned it into a fully closable compartment. In the first version, it was more like a tray for quickly retrieving and placing parts, but in actual use, this solution wasn't very convenient: the lid wasn't sealed well enough, often causing some minor but annoying problems.
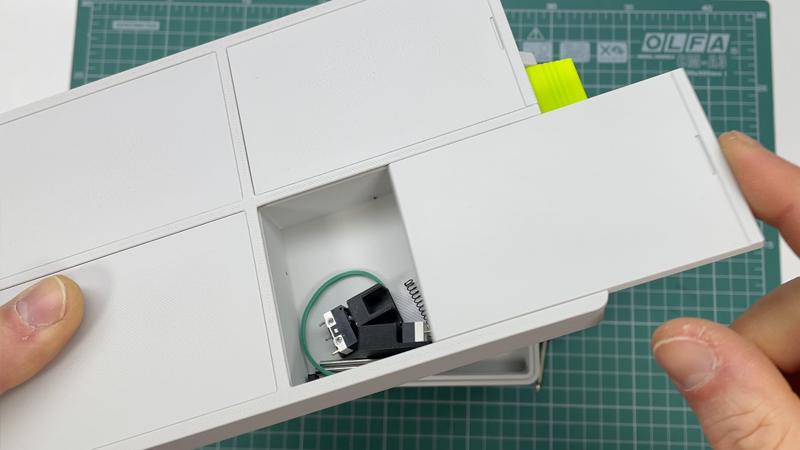
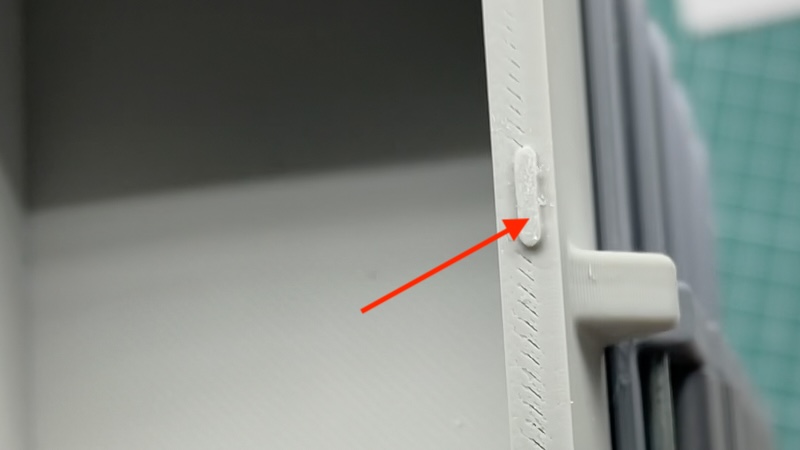
The final solution was much simpler than expected. I divided the lid into four separate closable parts and adopted a sliding lid design with locking latches.
The changes are not limited to the lid. I also optimized the design of the lock - adding an extra slot to make the connection between the compartments tighter and more reliable.
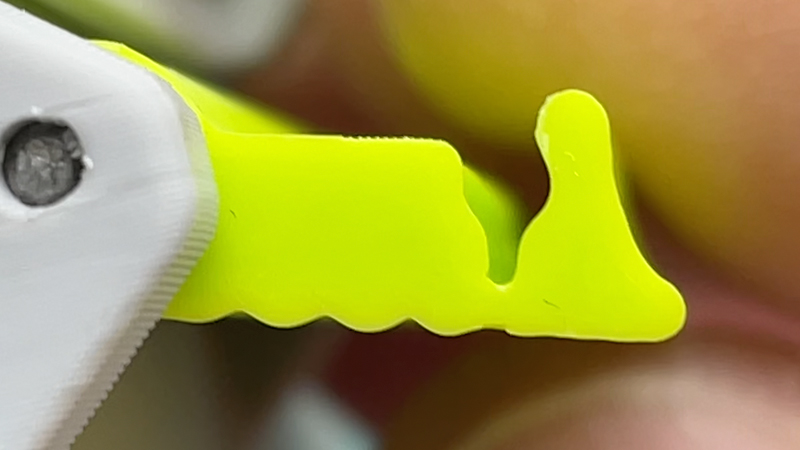
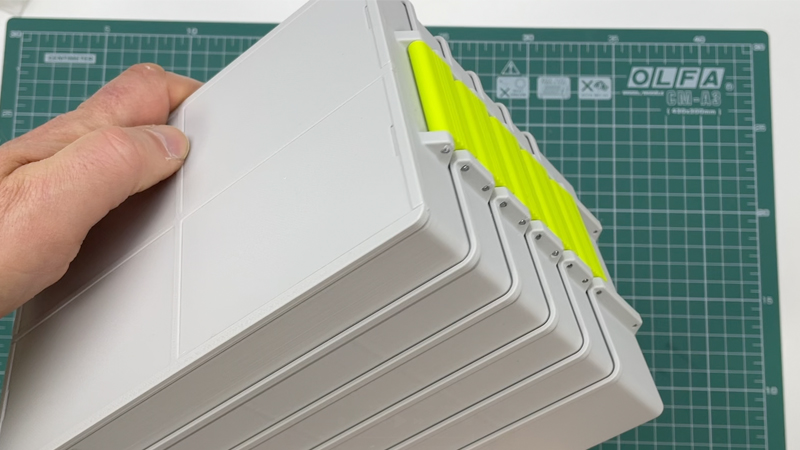
In addition, I also address a common question about the tolerance of the rod parts of the fixed lock: I deliberately did not include these rod parts. Even the smallest gap can have a negative impact on the performance of the lock. Therefore, it is very important to use rods with precise diameters - as before, bicycle spokes are still the best choice: they are inexpensive, easy to obtain, and have high precision.
In the attached video, I once again demonstrate the assembly process. Many people are encountering this storage system for the first time and often face assembly-related issues—so rather than explaining it in words, it's more intuitive to just watch it once.
Important noticeThis update only modifies the upper tray, and all other parts remain unchanged—you can continue to use the previous version. There are currently about 50 partition and height variants available.STEP format model
As for the lid, I also experimentally added a grid-like version. Although I didn't use it myself, it was still interesting to test this idea. If you're interested, you can also create your own variants using the filling settings in slicing software - the 3MF file contains all the information needed to understand how to make it.
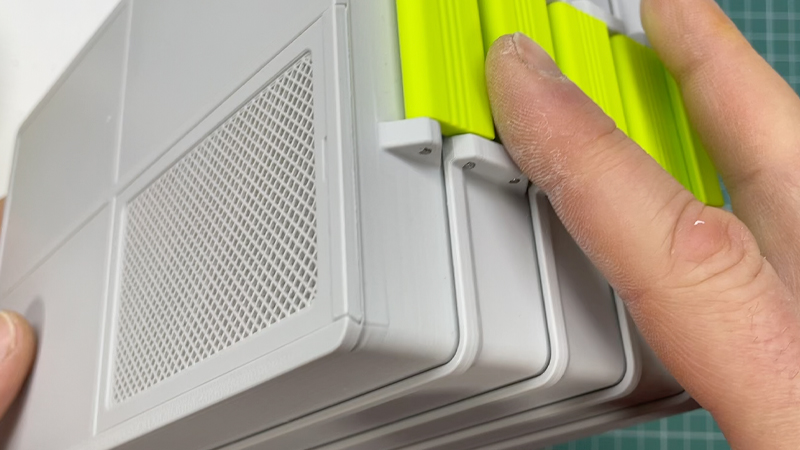
It is recommended to apply methylene chloride to the buckles to enhance the adhesive strength between the layers. These components are very small and prone to breakage, so after chemical treatment, they will be more durable and reliable. This method can minimize the risk of damage during assembly or use.
Personally, I prefer to use a closed lid. However, the final decision is up to you.
I hope that this update will make this storage system more convenient to use in daily life than before.

If you like this work, please give it a thumbs-up!
This is a great recognition for me, and it has greatly helped me to keep going!

BTC:bc1qplpzq36ghw84hty4nn2zzu4ps4sdh4th0v93j8
ETH:0xc766ebbeAa76aaf629788c8F99C33A8d80d48977
