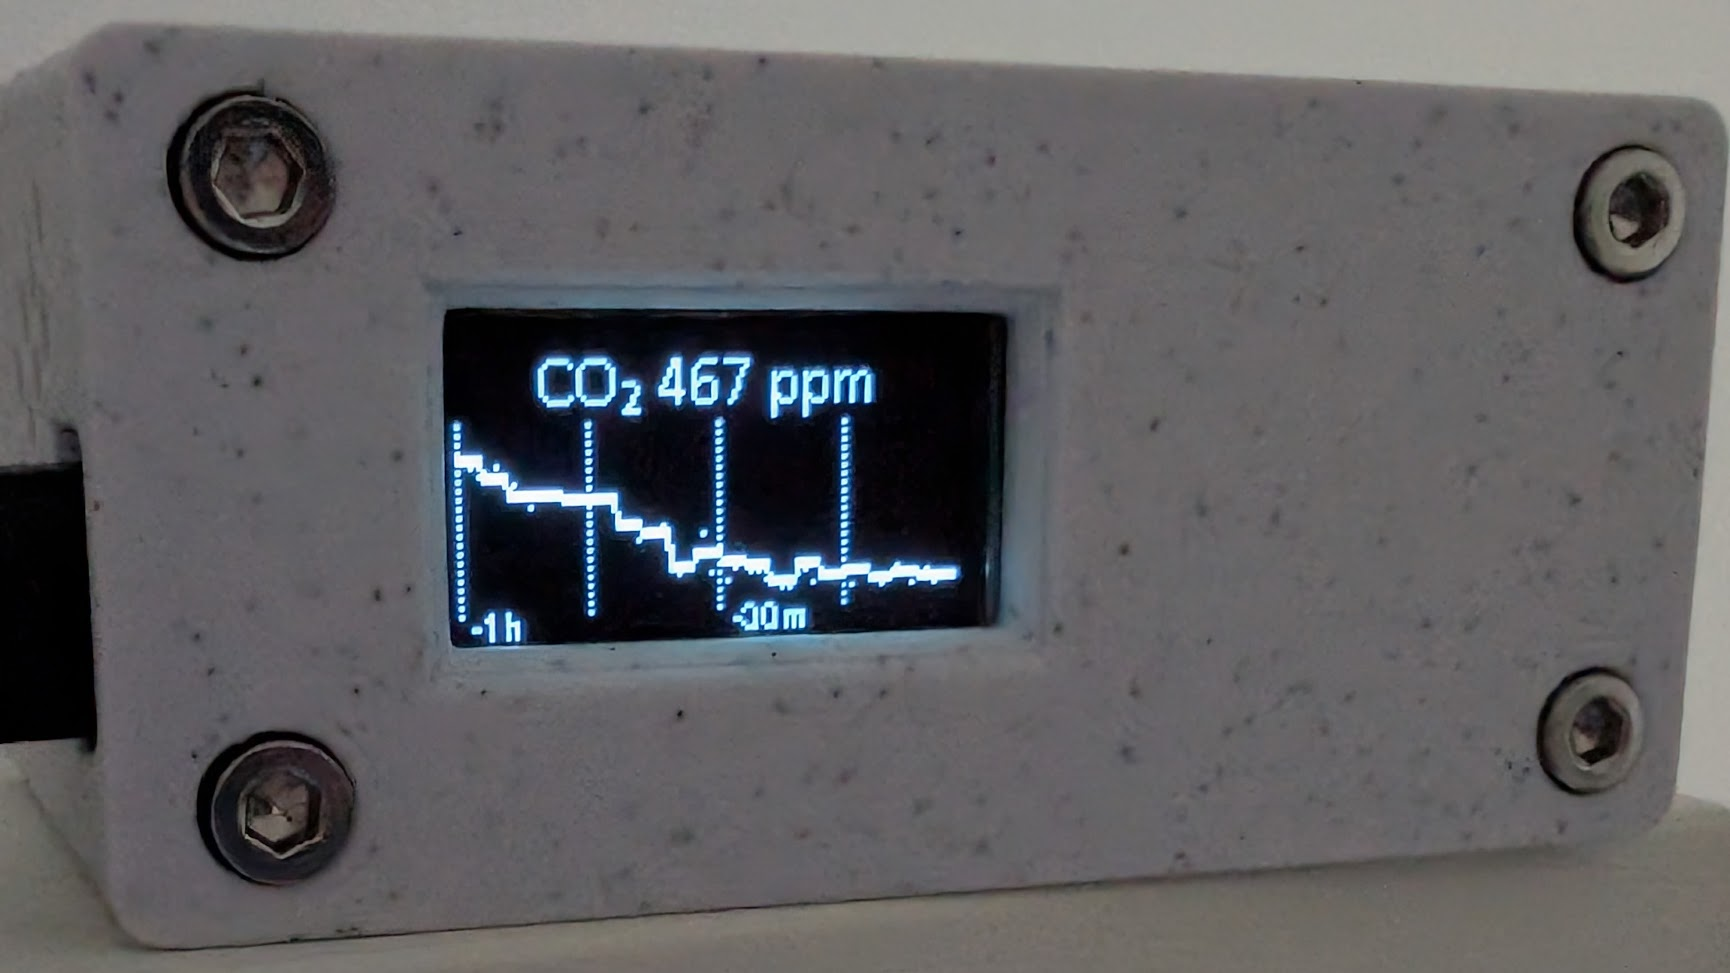
This is a little sensor to do one thing, measuring carbon dioxide (CO₂). Compact and versatile, it can be integrated in home assistant via ESPhome addon or it can be used as standalone sensor with the integrated OLED display.
Before starting to solder and connect wires it's important to consider these three notes.
The sensor has no power inversion protection, so after installing the two pin male connectors on the Senseair, the first thing to do is take a red nail polish and mark the 5V DC pin to avoid inverting +/- power connections. Power inversion will fry the sensor and 25€ will go into the trashcan.
Image: use red nail polish to mark the 5V soldered pins in on the Senseair.
The sensor is very power efficient, but uses an IR laser to measure CO₂, so it will pulse every 30 seconds drawing power with peak of 1.5W, adding the power of the ESP32, with WiFi and OLED you will need a 5W USB outlet with a good cable, otherwise it could be unstable.
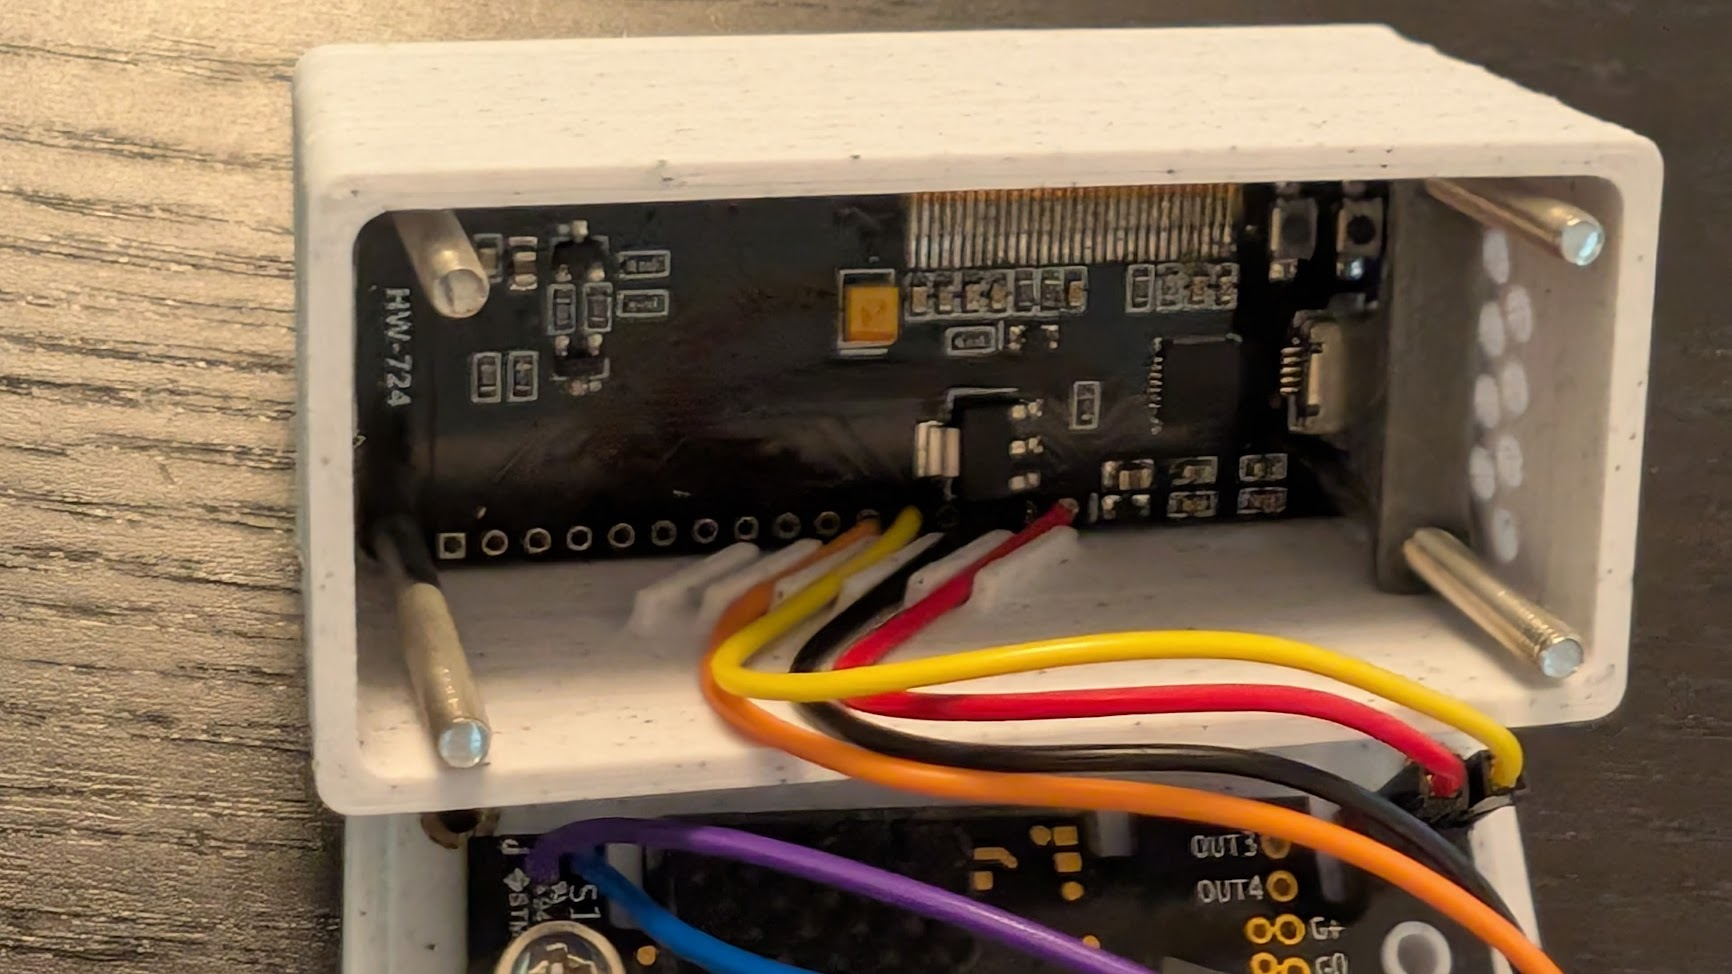
RX and TX pins have to be crossed. It took me some time before realizing what we did when we play Doom in high scohool computer room with crossed 9pin serial cables. Crossed cables have Rx/Tx inverted on one side, so: - ESP32 RX goes to sensor TX - ESP32 TX goes to sensor RX
Used these pins:
All on the same side to better route cables in the sensor container.
pin 3 (RX)
pin 1 (TX)
GND pin
5V pin
See image below for better clarity. Note: Unless you want a steampunk version of the sensor 😀 you should solder cables exiting on the opposite side of the OLED screen.
*** Assembly Instructions **
Prepare the electronic
Senseair
Solder the male pins on ground, 5v DC and eventually the optional female cables for sensor calibration (you need to short them to calibrate: this is not necessary check on internet how to calibrate the senseair)
Solder direction: pins must go on the opposite PCB side of the senseair components.
ESP32 Wemos
Solder female wires to correct pins, using correct colors. See yaml file for uart colors.
Solder a red wire to 5VDC Solder a black wire to GND
Prepare the printed components
Push 4 brass inserts into the sensor Cover
Insert carefully the wemos ESP32 into the sensor Container OLED should fit perfectly into the container window Rotate 45° while inserting it's a bit difficult, depending on print tolerances.
Slide the 4x M3x40mm into the sensor container thru the wemos holes
Slide the sensor lock by screwing the 2x M3x40mm until the lock arrives 1-2mm distance to the microUSB port, screw alternating some rotations on both screws (it will take some time)
Fix the Senseair with the M3x4 (standard case 3.5" floppy screw) and the O-ring.
Put the cover on the sensor container
Tight the front screws, the cover will close and the internal lock will push on the microUSB port on the wemosoled.


 0
0 0
0 0
0