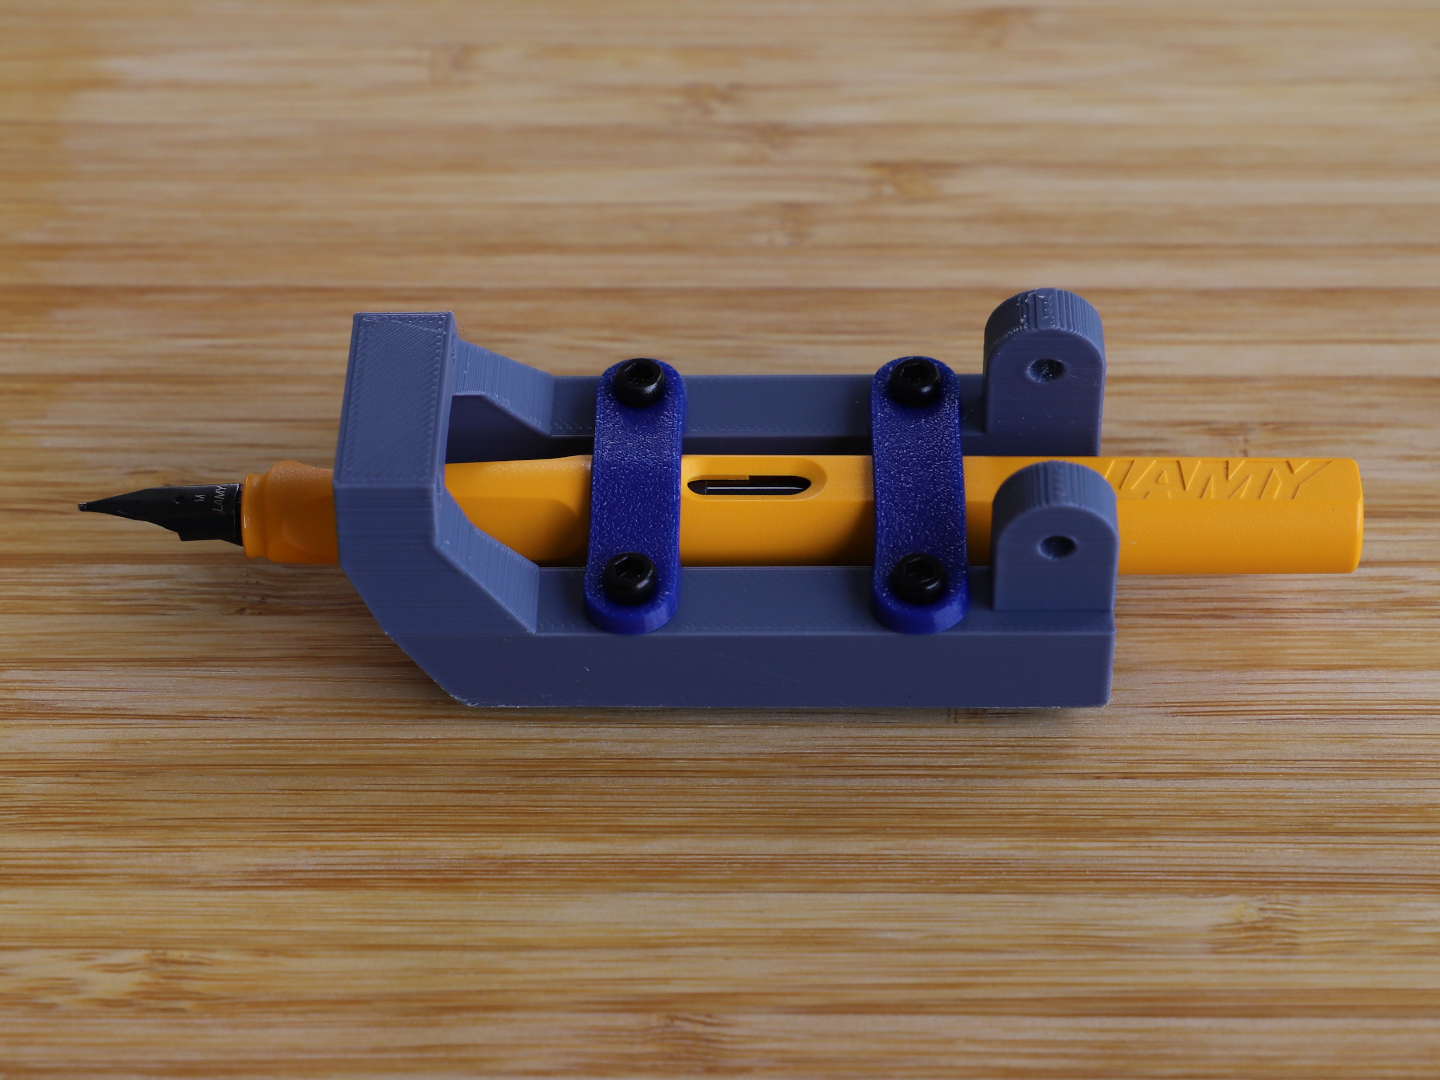
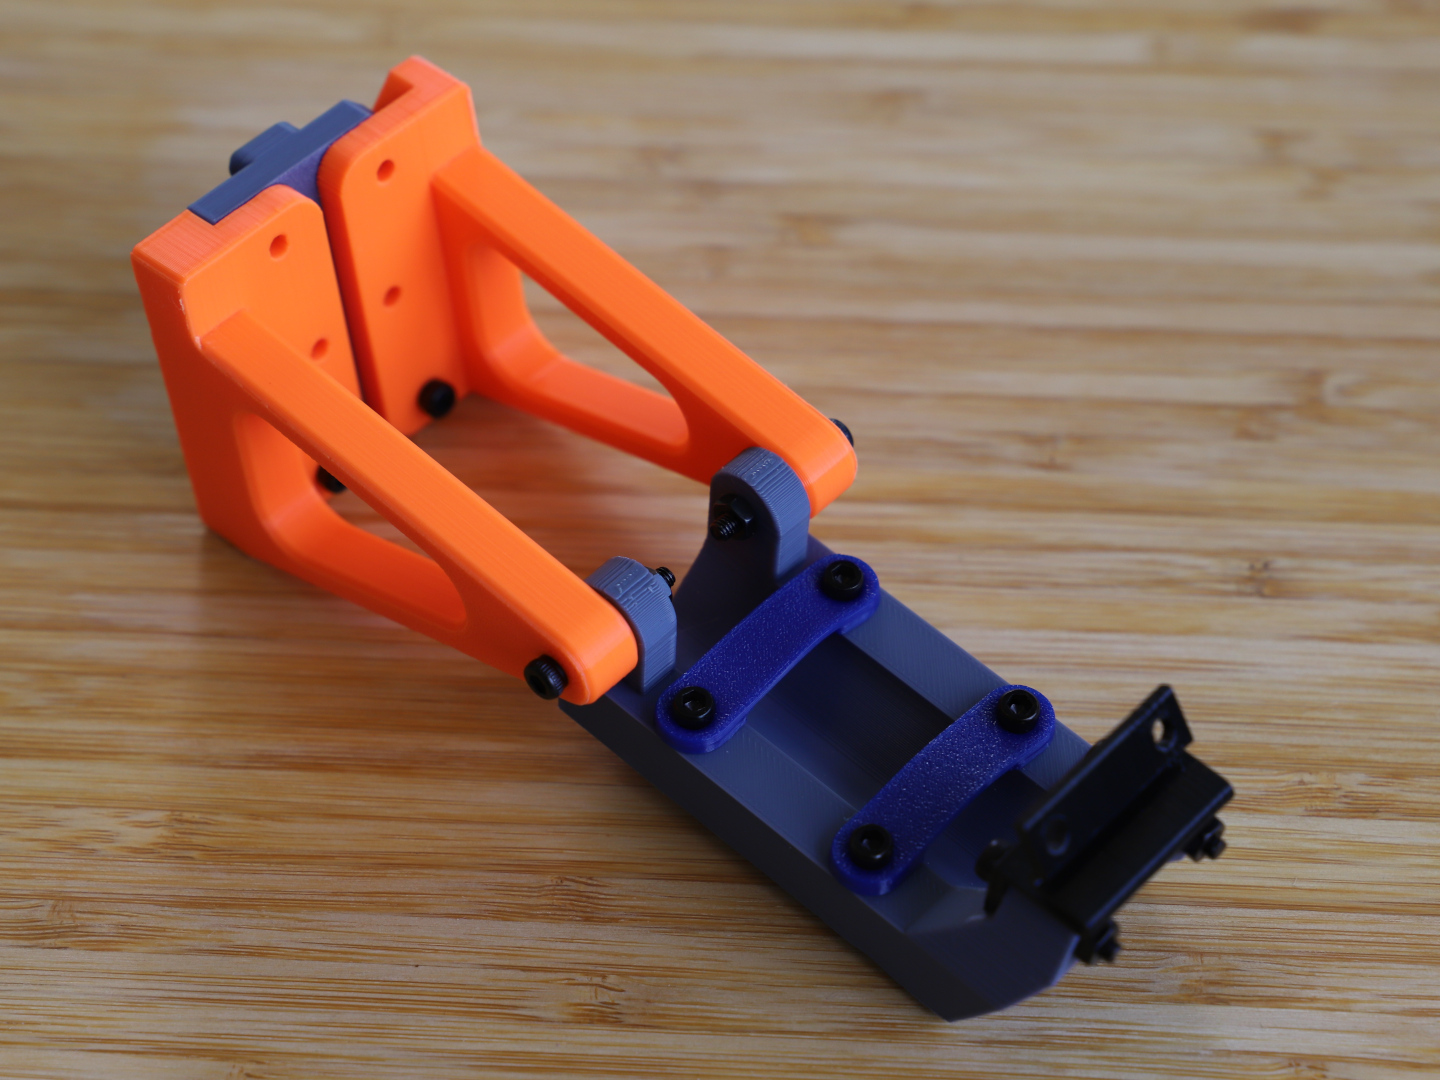
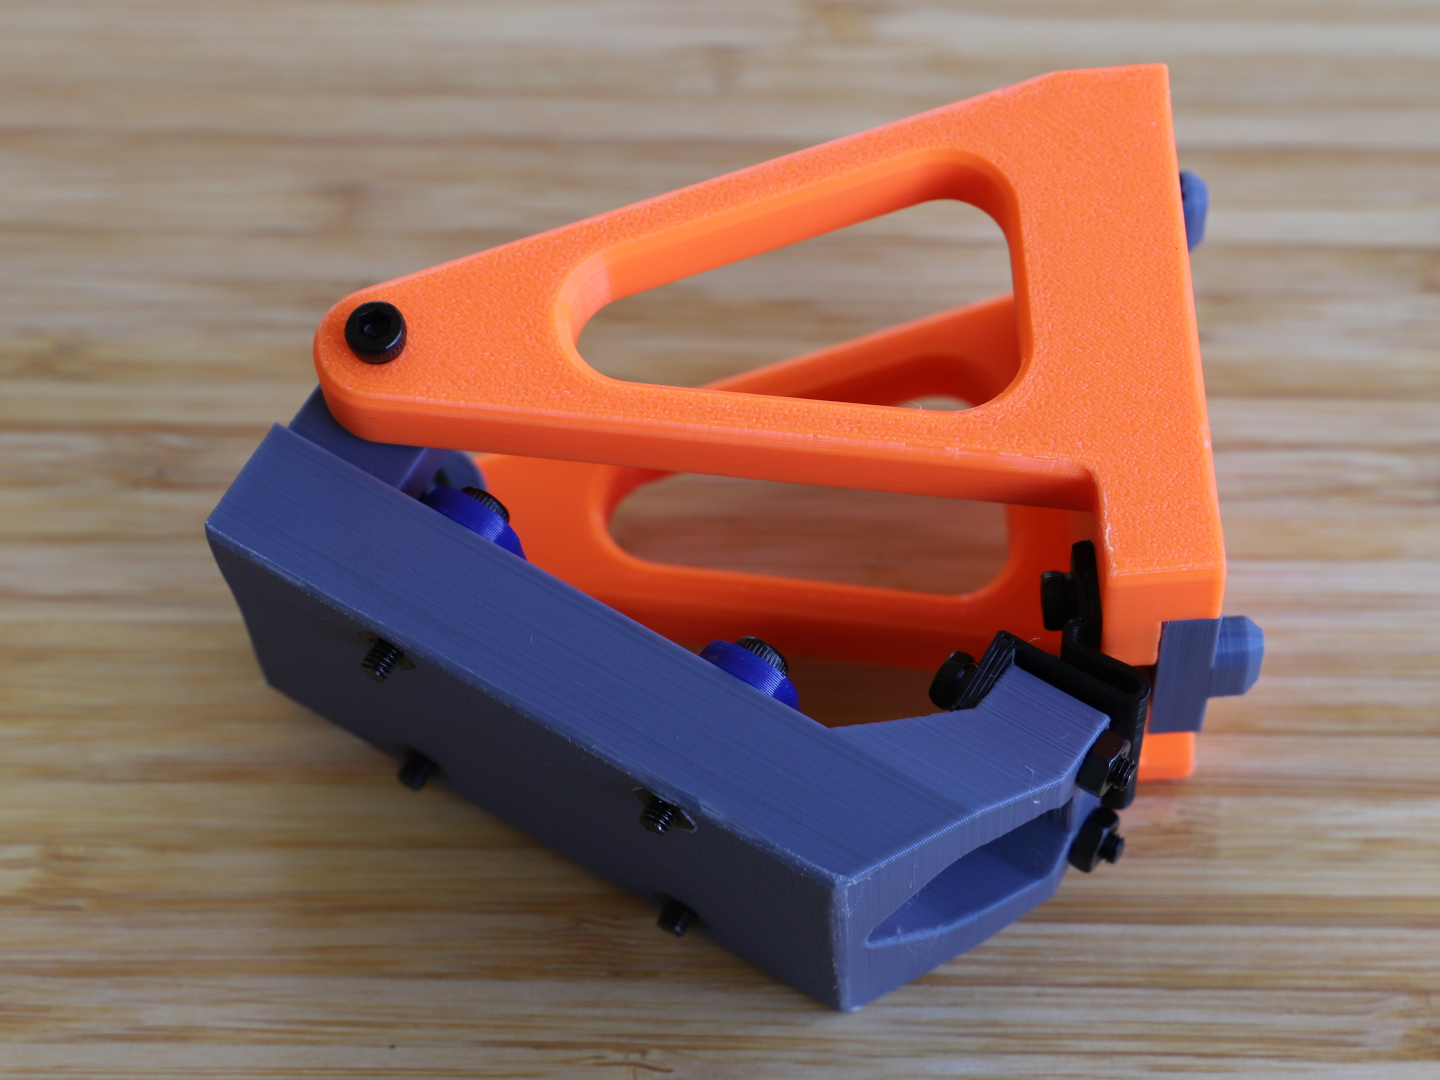
There are many pen plotter conversion mods for 3D printers around. Most of them hold the pen perpendicular to the paper, which is suitable for ballpoint or felt tip pens. Fountain pens need to be held at an angle, which this device does.
Printed parts needed to make this
1x Cradle (PLA)
1x Base (PLA)
1x Left Arm (PLA)
1x Right Arm (PLA)
1x Spring (PETG or PLA, I prefer PETG because it is a bit more springy)
2x Strap (TPU, but I guess you could alternatively use rubber bands to secure the fountain pen to the cradle)
1x Z Axis End Stop Spacer (PLA)
Print all parts with 20% infill.
Other parts required
1x Ender 3
1x Fountain pen
4x M3x20 bolts
6x M3x16 bolts
2x M3x20 bolts
12x M3 nuts
Assembly
Print all printable parts.
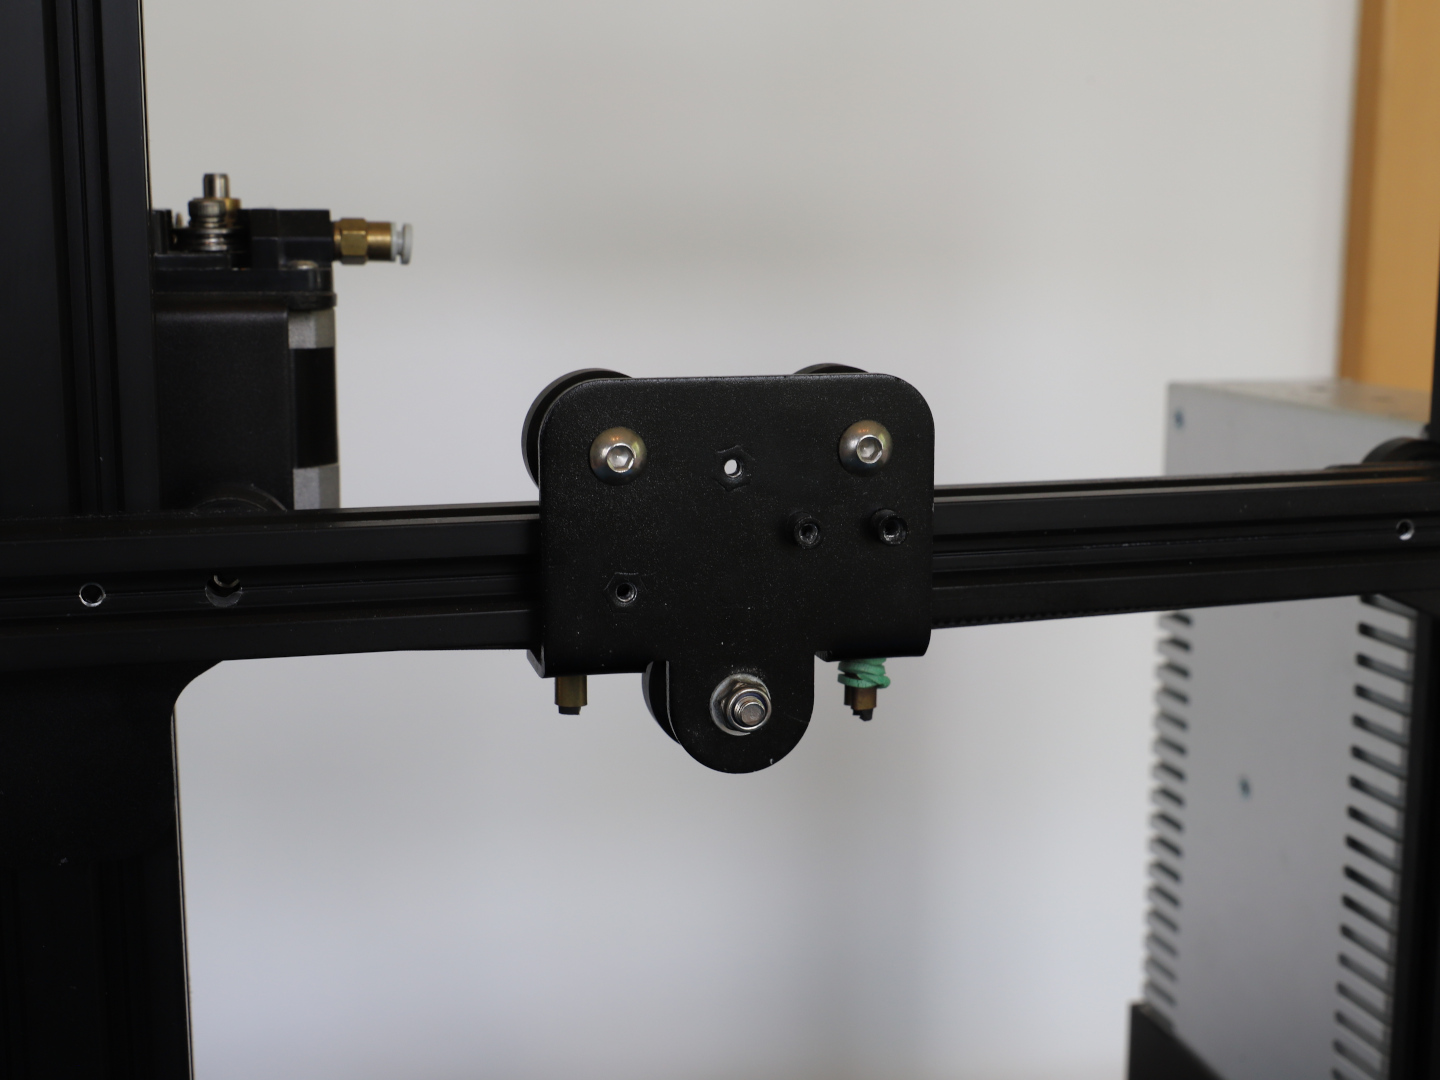
Remove the Ender 3's fan assembly and hotend. Keep the screws that were used to mount the heatsink, as you will use them later to mount the plotter.
Mount your fountain pen to the cradle using the straps and 4 M3x16 bolts and nuts. Make sure it is held tightly and does not move. Then loosen the bolts a bit and remove the fountain pen, so it cannot be damaged during the rest of the assembly.
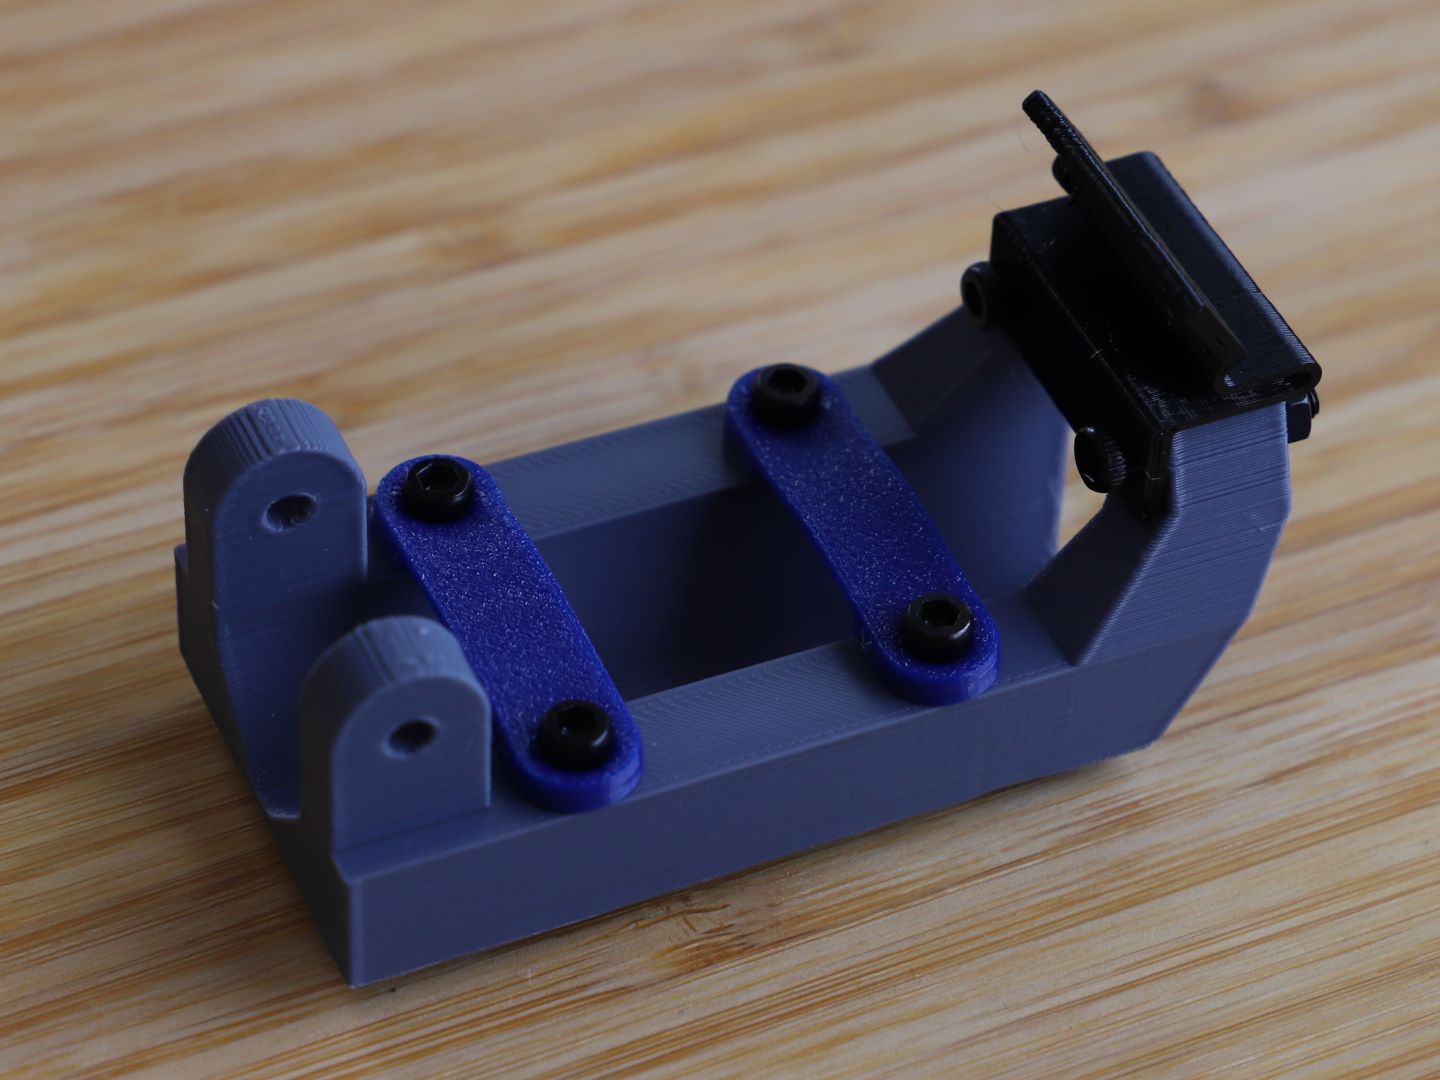
Mount the spring to the cradle using 2 M3x16 bolts and nuts. Make sure you mount it the right side up.
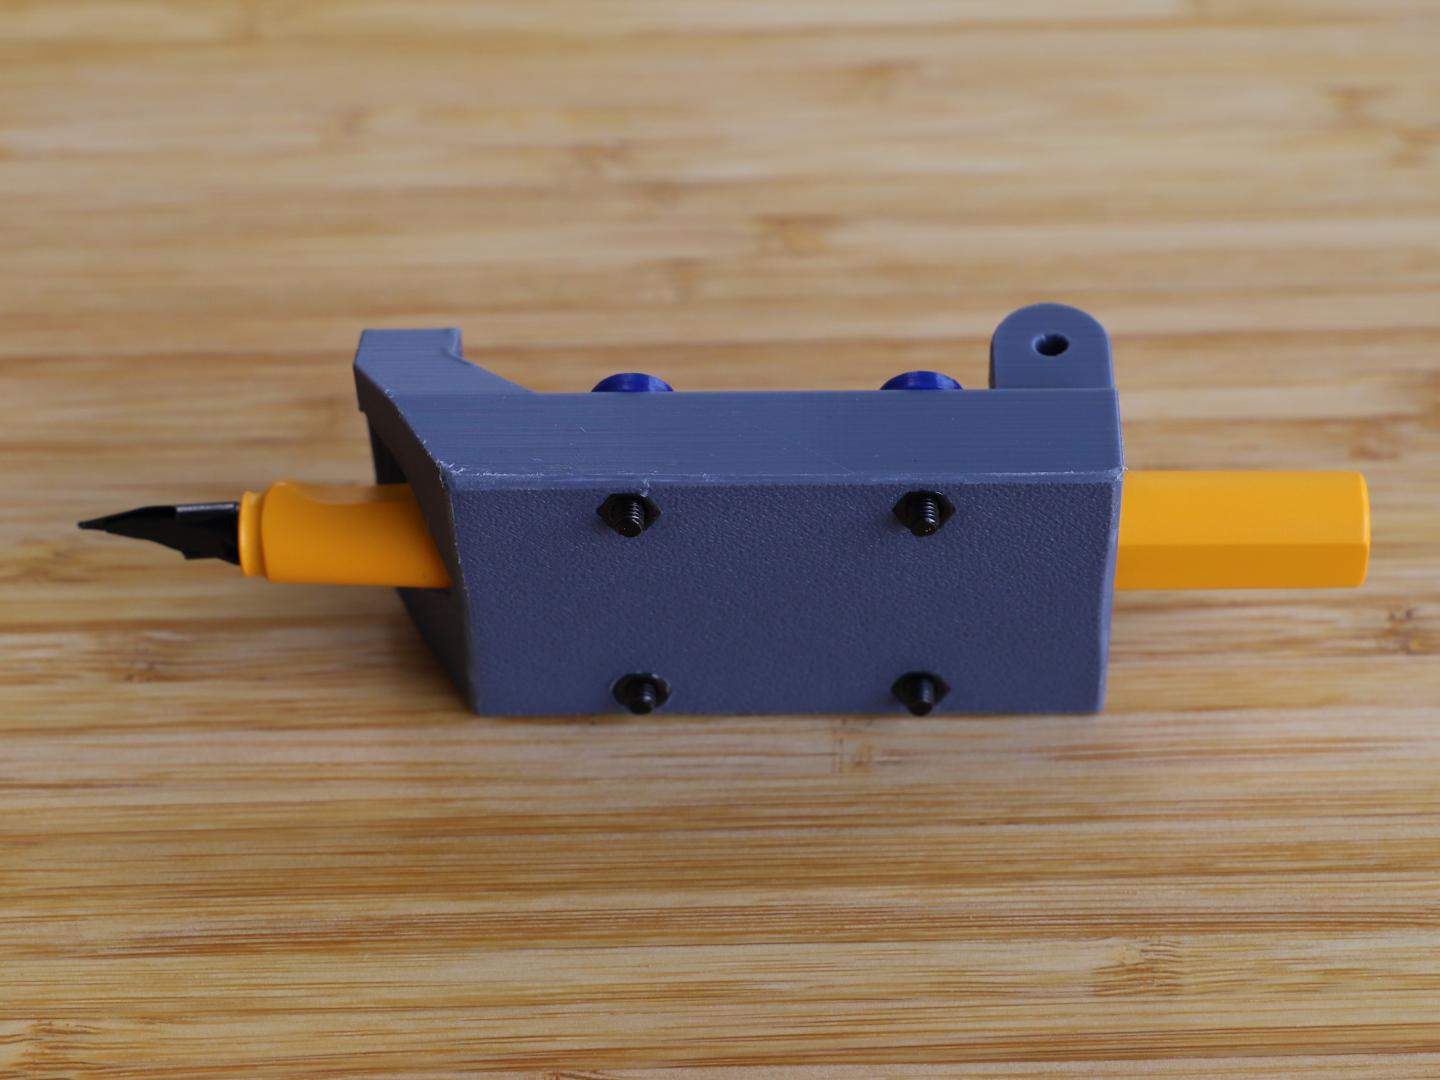
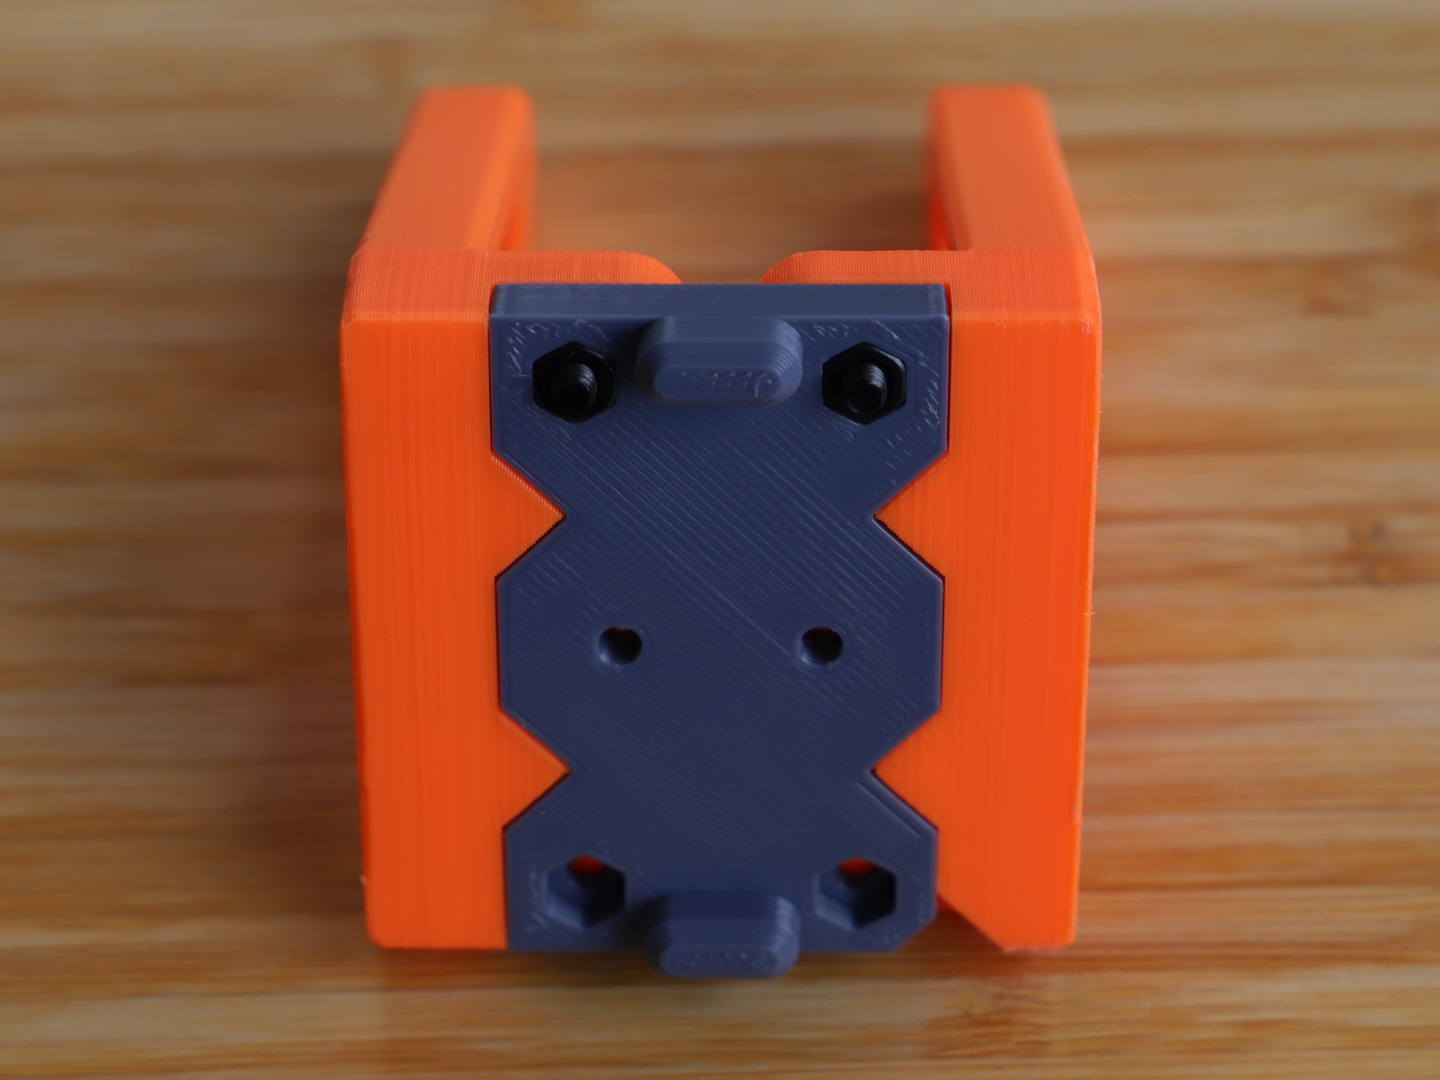
Fasten both arms to the base using 2 M3x12 bolts and nuts through the upper pair of holes. Both the left arm and the base have a cutouts for a nut and bolt on the Ender 3. Make sure those are aligned.
Mount the cradle to both arms using 2 M3x20 bolts and nuts. Do not fasten those too tightly, because the cradle is supposed to pivot around the bolts.
Use the remaining 2 M3x12 bolts and nuts to fasten the spring to both arms and the base through the lower pair of holes.
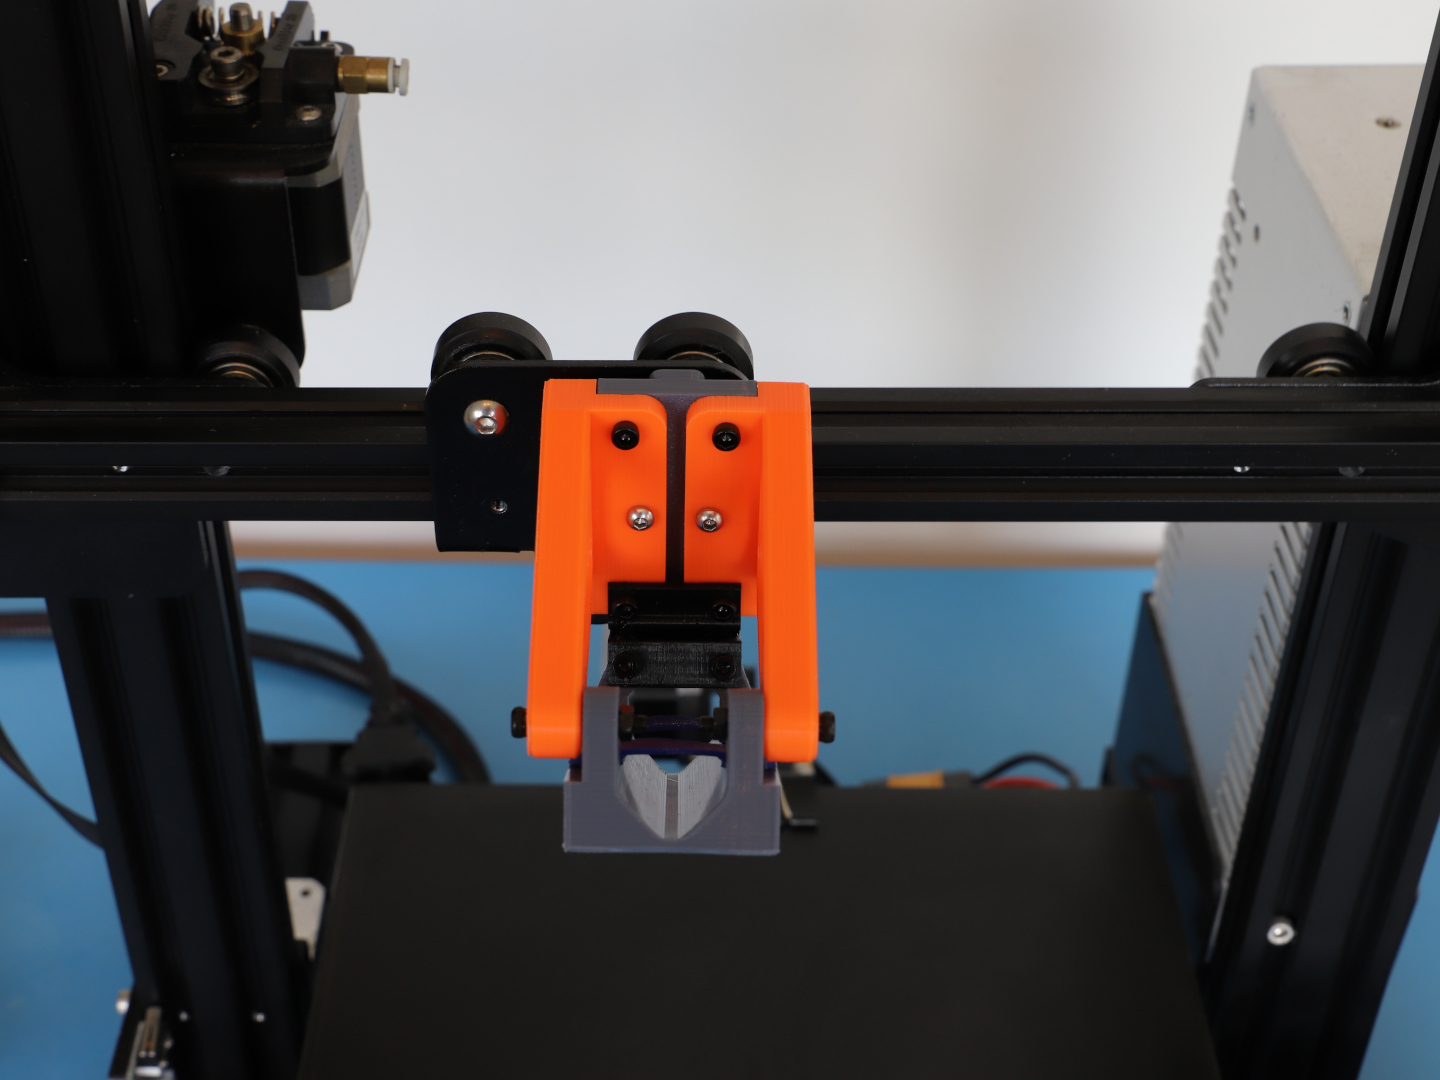
Finally, mount the plotter assembly through the middle pair of holes in the arms and base using the bolts from the Ender 3's heatsink.
If you use the original glass bed or a print bed of similar thickness, you will also need to mount the Z axis end stop spacer on the X axis gantry, so that it depresses the Z axis limit switch when the gantry moves down. I just used double sided tape here. This way, the pen and cradle have enough clearance to the print bed. If you use a very thin print bed, this might not be necessary.
Usage
I will not go into the details of generating the gcode for the plotter, partly because there are already many good tutorials around, but mostly because I am still at the very beginning of figuring this stuff out. But for a start, I'll point you to this medium article and this video by Teaching Tech.
Obviously, you need to put paper on the printer's bed first.
Turn on the printer and home all axes.
Then put the fountain pen into the cradle and secure it using the straps. The tip of the nib should just be touching the paper.


 0
0 0
0 0
0